
10-Step Guide To Applying Eye Makeup For Beginners
Remember the first time you tried eye makeup and ended up looking like a raccoon after a rough night? I’ve been there too!
Eye makeup can transform your look, but getting it right takes practice and knowing the right steps.
I’m sharing my tried-and-true beginner’s guide that I wish someone had given me years ago when I was struggling with smudged eyeliner and clumpy mascara.
1. Prime Your Canvas
Eyeshadow primer is the secret weapon nobody told me about when I started doing makeup. Dab a tiny amount—seriously, pea-sized is plenty—onto your eyelids and gently pat it in with your ring finger. This creates a smooth base that prevents creasing and helps colors pop.
I once skipped primer for a summer wedding and my carefully applied shadow disappeared faster than the appetizers at the reception. The right primer also neutralizes any discoloration on your lids, creating an even canvas for your artistry.
For oily lids like mine, look for long-wearing formulas. If you don’t have primer, a dab of concealer set with translucent powder works in a pinch, though it won’t have the same staying power.
2. Lay Down Your Base Shadow
Grab a neutral shade close to your skin tone—think soft beige, peach, or light brown. Using a fluffy eyeshadow brush, sweep this color from your lash line all the way up to your brow bone. This step creates dimension and helps other colors blend seamlessly later.
My makeup game changed when I learned that pressing the shadow onto the lid works better than dragging. Tap off excess powder before applying to avoid fallout that’ll mess up your under-eye area.
Matte finishes are more forgiving for beginners than shimmery ones. When I started, I went shimmer-crazy and looked like a disco ball in daylight! The base shadow also acts as a blending agent for the colors you’ll add next.
3. Define Your Crease
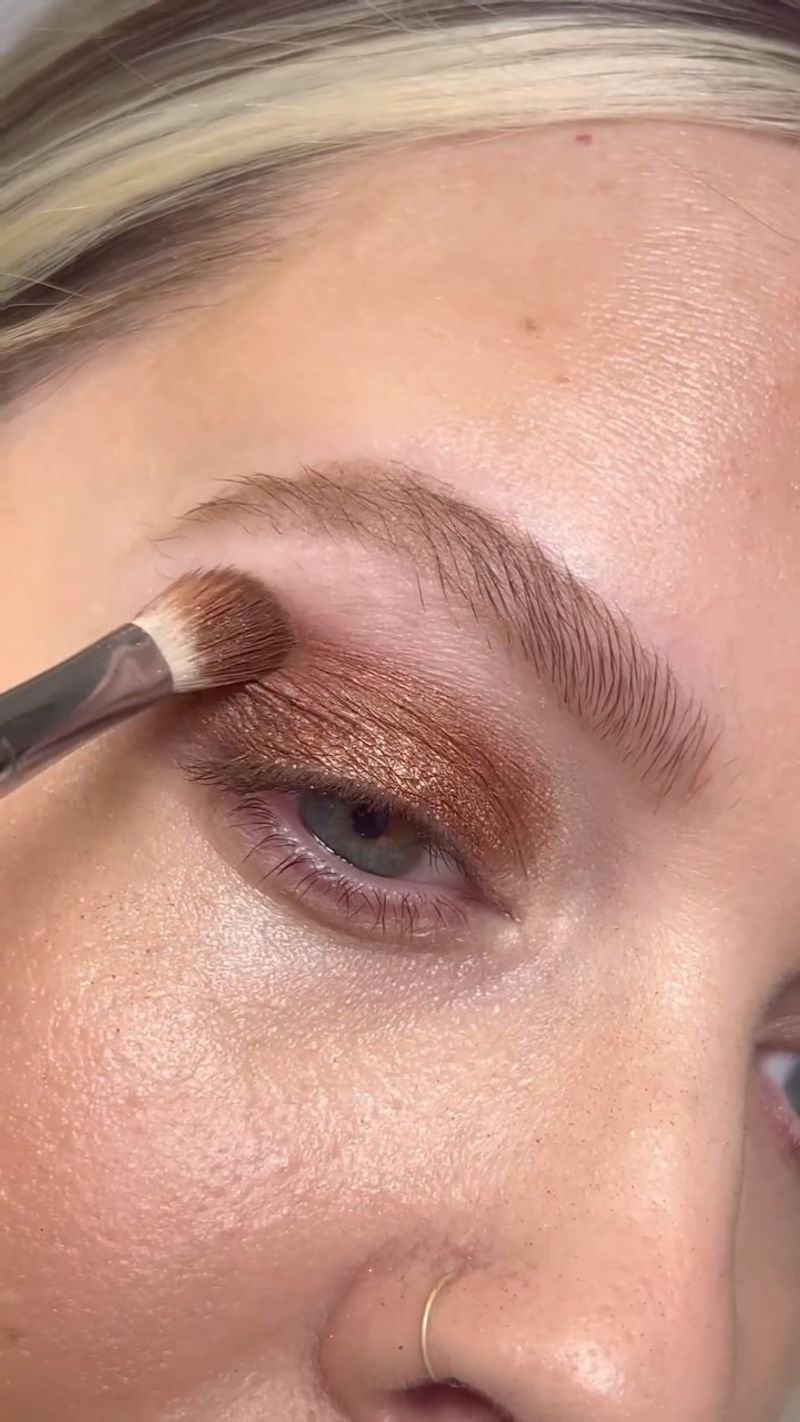
Finding your eye crease is like discovering a secret map to dimensional eye makeup. Take a matte shadow a few shades darker than your base and use a crease brush to apply it in a windshield-wiper motion right where your eye naturally folds.
My first attempts at crease definition looked more like bruises because I went too dark too fast. Start with a light hand and build up color gradually—you can always add more, but removing excess is a pain.
For hooded eyes like mine, apply the crease color slightly above your actual crease so it remains visible when your eyes are open. Keep the color concentrated on the outer two-thirds of the eye for a natural look that opens up your gaze.
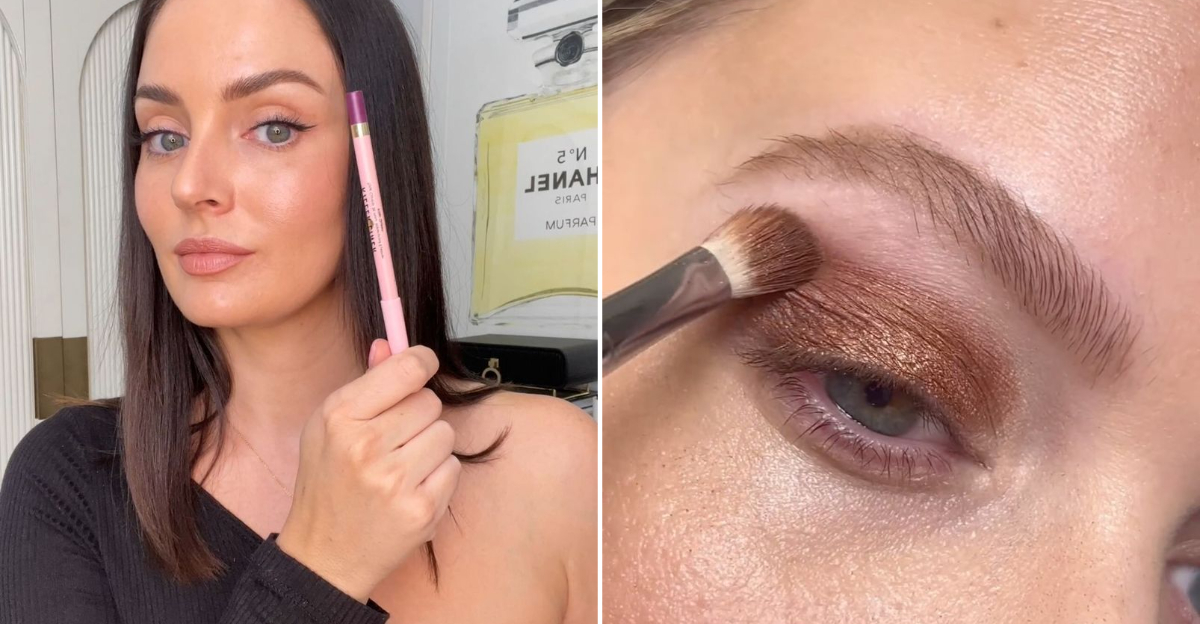
4. Add Lid Color
Now for the fun part! Choose a shade that complements your eye color—purples make green eyes pop, bronzes enhance blue, and golds warm up brown eyes. Using a flat shader brush, pat (don’t sweep) the color onto your mobile lid, staying below the crease shade.
The first time I tried this, I made the rookie mistake of blending too much and lost all definition. Remember that patting motions pack on color, while sweeping motions blend it away.
Keep the most intense color concentration on the center of your lid for a brightening effect. For everyday looks, I stick with satin finishes that have a subtle sheen without full-on glitter, which can highlight texture and fine lines.
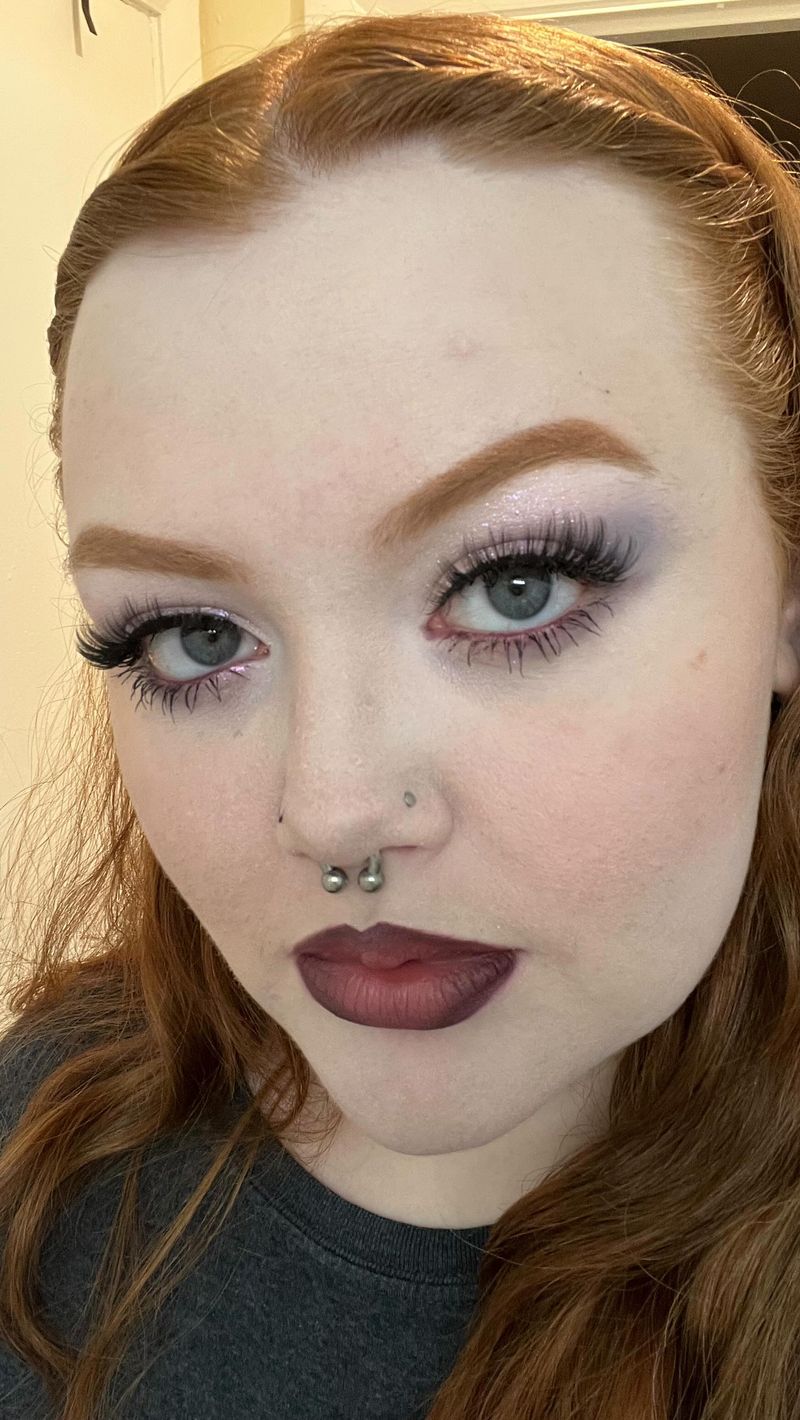
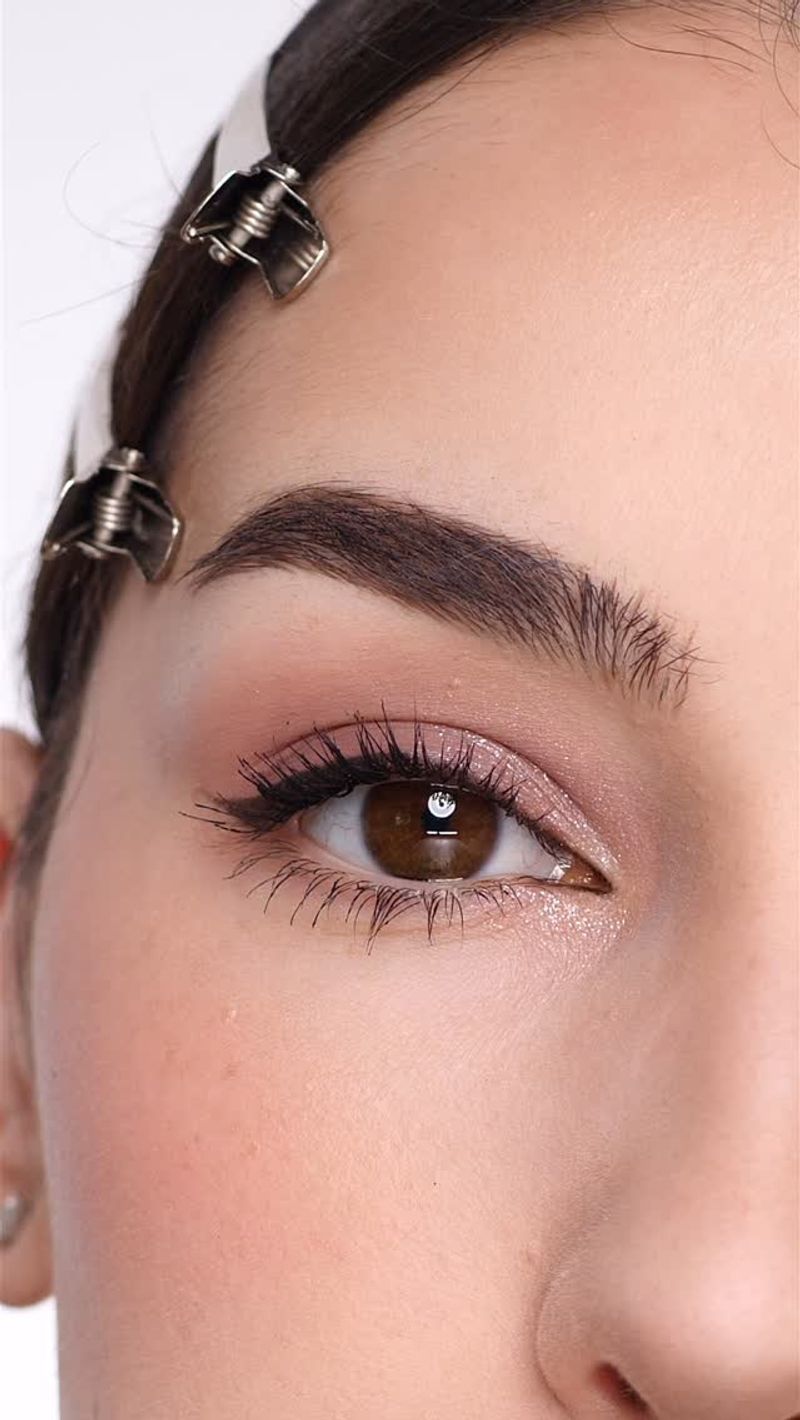
5. Highlight Strategic Points

Brightening your inner corners and brow bone creates the optical illusion of more awake, lifted eyes. Choose a light, slightly shimmery shade and apply it with a small precision brush to the innermost corner of each eye, blending slightly onto the lid.
My makeup routine transformed when I realized that inner corner highlight should be subtle—not a spotlight. Then, with what’s left on your brush, lightly dust under your eyebrow arch for definition without harsh lines.
Fair skin tones look great with pearl or champagne highlights, while golden tones flatter medium skin, and copper or rose gold works beautifully on deeper complexions. When I’m running late, this step alone with mascara makes me look instantly more polished.
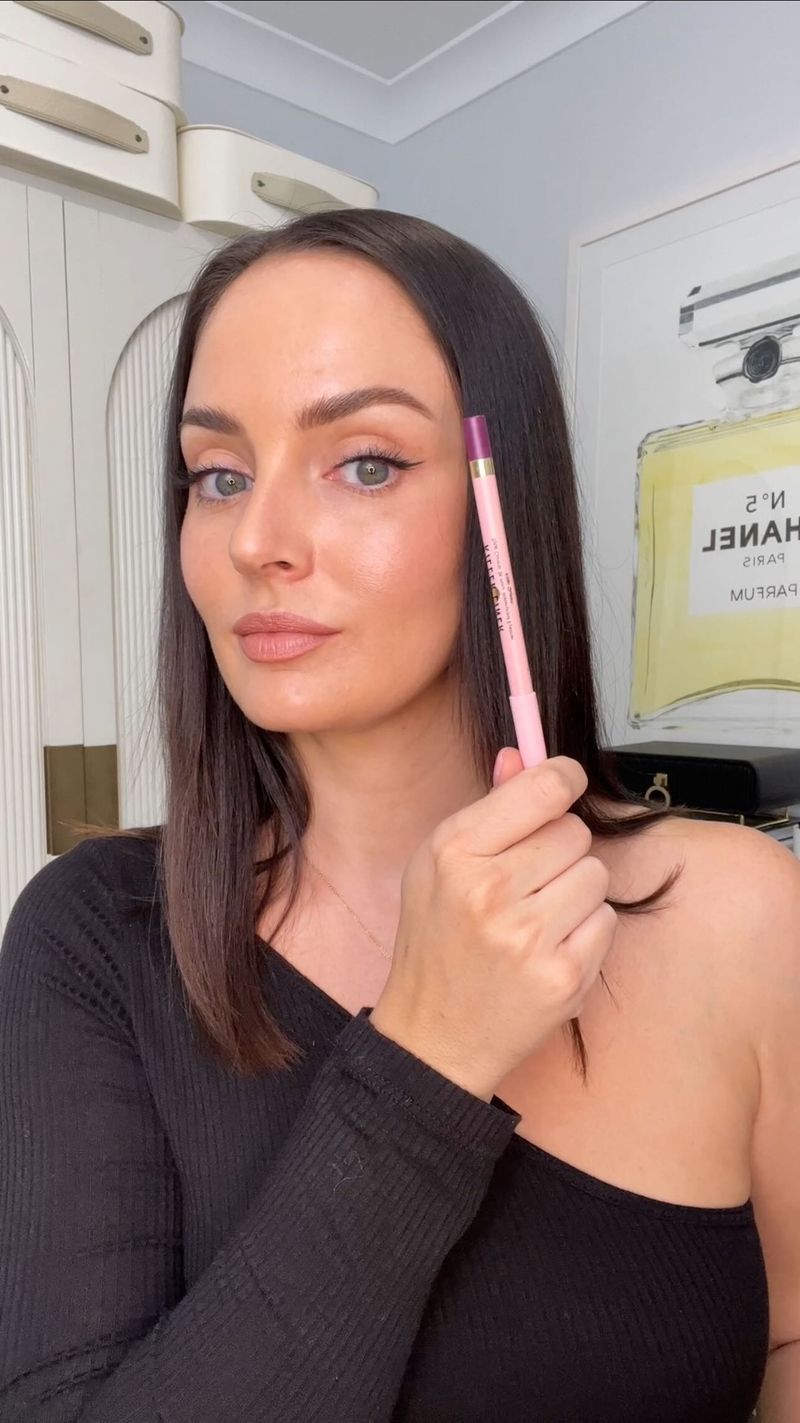
6. Master Basic Eyeliner
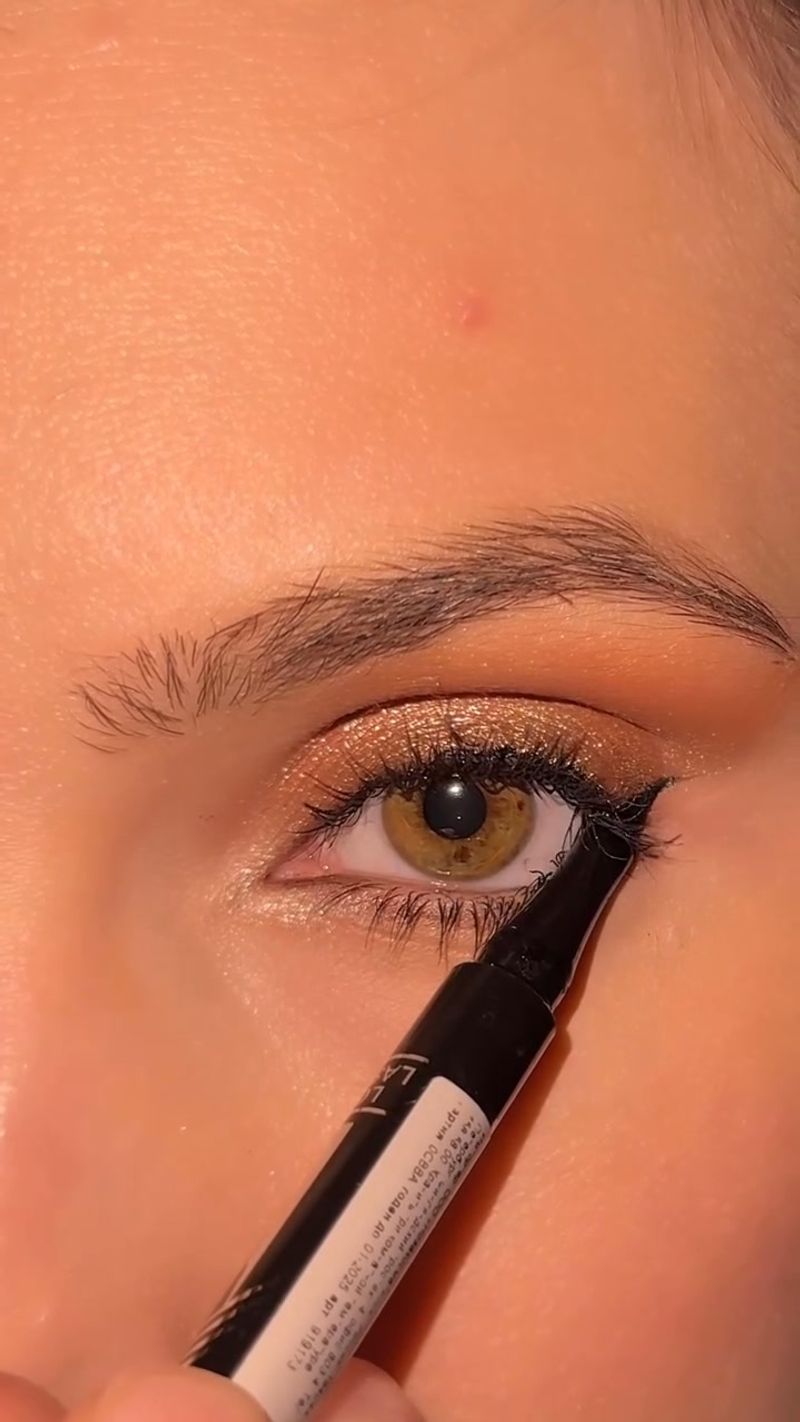
Eyeliner terrified me for years until I discovered the connect-the-dots method. Start by making small dashes along your upper lash line, then connect them using short, controlled strokes. For beginners, a pencil liner is more forgiving than liquid or gel.
Keep the line thinner at the inner corner and slightly thicker toward the outer edge for a natural-looking definition. My hands aren’t steady, so I rest my elbow on a flat surface and my pinky finger against my cheek for stability.
Brown liner creates a softer look than black, which can be harsh if you’re just starting out. The goal isn’t perfection—slightly smudged liner often looks more natural and flattering than a precise but wobbly line that screams “I tried too hard!”
7. Soften Your Liner
Hard lines can look severe and show every mistake. Take a small smudge brush or even your fingertip and gently blur the eyeliner you just applied, focusing on softening the edges rather than moving the product around too much.
My favorite trick is using a tiny bit of dark eyeshadow over pencil liner to set it and create a smoky effect in one go. This prevents the dreaded midday raccoon eyes that happened constantly when I first started with makeup.
For a super quick smoky eye, apply pencil liner and immediately smudge upward with a brush before it sets. This creates dimension without requiring multiple eyeshadow shades. The softened line is more forgiving of unsteady hands and looks intentionally lived-in rather than messy.
8. Curl Those Lashes
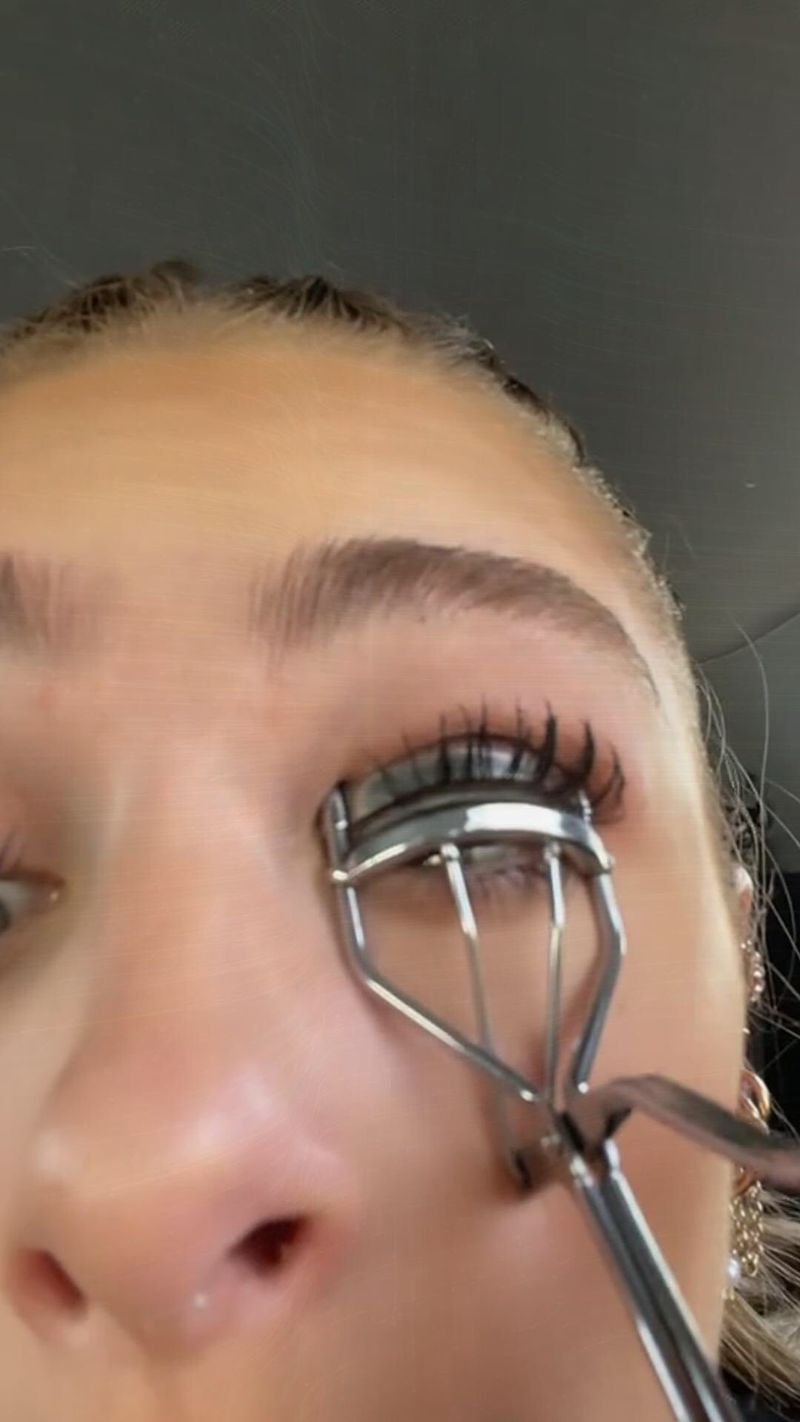
An eyelash curler might look like a medieval torture device, but it’s actually the secret to wide-awake eyes. Position the curler at the base of your upper lashes, being careful not to catch any skin. Gently squeeze for 5-10 seconds, then move slightly outward and repeat.
The first time I used an eyelash curler, I crimped my lashes at a sharp angle by squeezing too hard. The key is gentle pressure and patience—not a death grip! Warming your curler with your breath (like fogging up glasses) helps the curl hold better.
For extra-stubborn straight lashes like mine, try the “pump” technique: squeeze at the base, middle, then tips of lashes for a natural-looking curl. Always curl before mascara, never after, unless you enjoy the look of broken lashes!
9. Apply Mascara Strategically

Mascara application isn’t just about coating lashes—it’s about building volume and length without clumps. Start by wiggling the wand at the base of your lashes, then pull upward in a zigzag motion to separate and coat each lash.
My game-changing discovery was that less is more. One or two coats applied correctly look better than multiple goopy layers. Focus the darkest application at the lash roots for definition, with lighter coverage toward the tips for a feathery effect.
For bottom lashes, hold the wand vertically and use just the tip to lightly coat them—this prevents the dreaded spider leg look. If you make a mistake, wait until the mascara dries completely, then flake it off with a clean spoolie brush rather than using makeup remover that’ll ruin your shadow.
10. Clean Up The Edges
Even pros make mistakes, which is why this final step is crucial. Dip a cotton swab in a tiny amount of micellar water or makeup remover and precisely clean up any smudges, fallout, or uneven edges. This instantly elevates your entire look from amateur to polished.
My favorite cleanup hack is using a concealer slightly lighter than my skin tone on a flat brush to sharpen the outer edge of my eyeshadow. This creates a lifted effect without having to master the perfect cat-eye flick.
For precision work, pointed cotton swabs are worth the extra cost. They can get right into the lash line without disturbing your carefully applied shadow. A bit of concealer applied with a small brush under the eyeshadow also creates a clean edge that makes eyes look brighter.