
10 Makeup Tips Gen X Women Swear By
Growing up before YouTube tutorials and Instagram filters, we Gen X women figured out makeup through trial, error, and those tiny folded papers that came with eyeshadow quads.
We’ve seen trends come and go, but some techniques stand the test of time.
These are the tried-and-true makeup tips that got us through the 80s and 90s, and still work beautifully today.
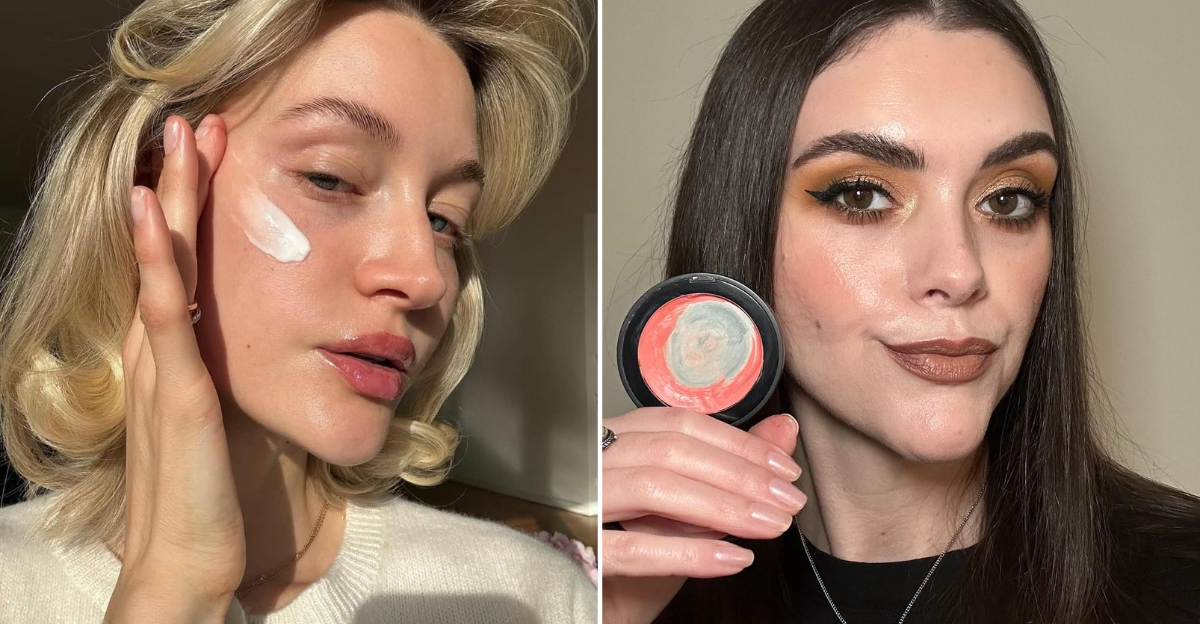
1. Moisturize Before Everything Else
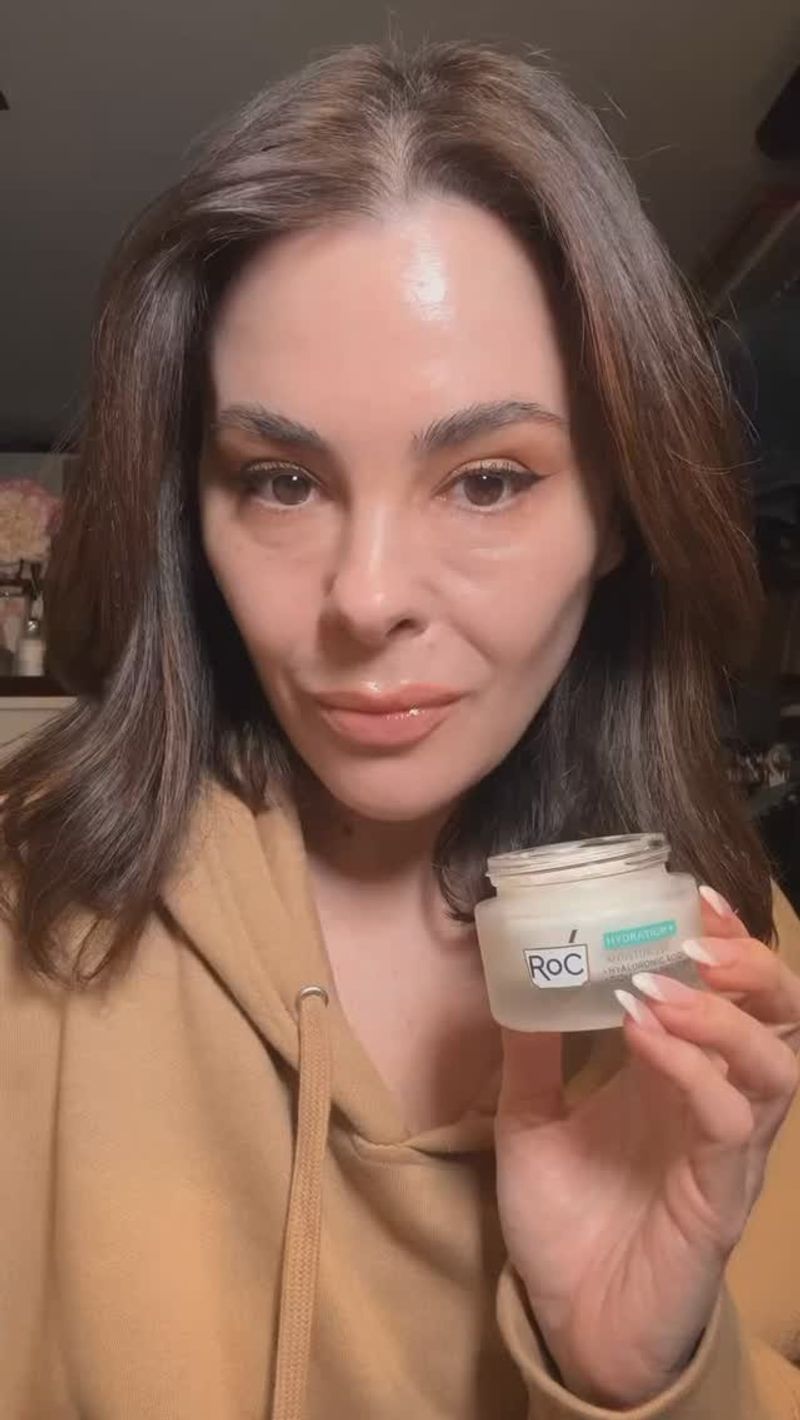
My generation watched our mothers slather on cold cream religiously, and we learned early that hydrated skin makes makeup look infinitely better. Remember Noxzema jars on bathroom counters? That cooling tingle meant beauty was happening.
I always take an extra minute to massage moisturizer into my skin before applying a drop of makeup. This creates a smooth canvas and prevents foundation from clinging to dry patches or settling into fine lines that weren’t there in our twenties.
For an extra boost, I’ll mix a drop of facial oil into my moisturizer during winter months. The difference is remarkable – makeup glides on effortlessly instead of dragging across the skin. This simple step makes everything else work better.
2. Match Foundation to Your Neck, Not Your Face
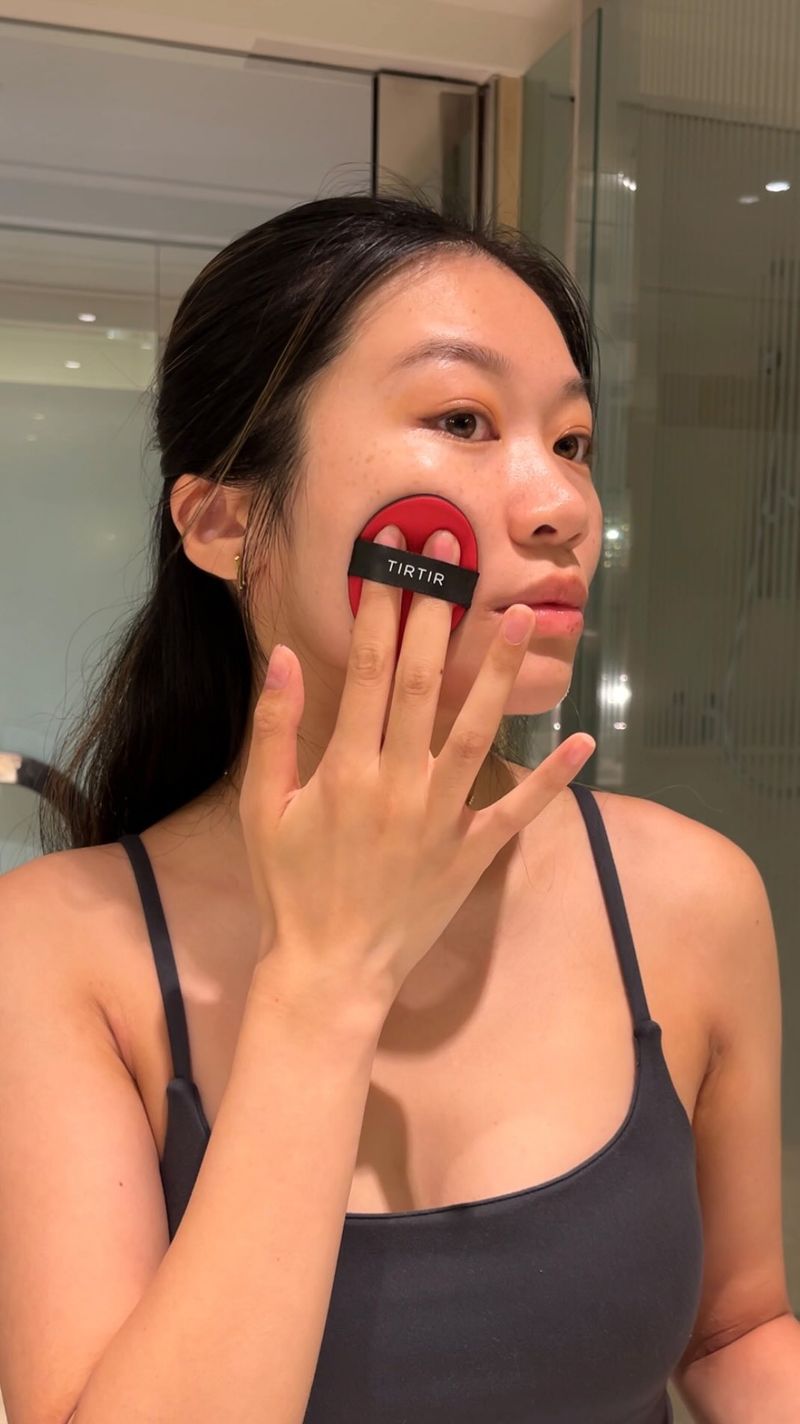
Back in high school, orange foundation lines were practically a rite of passage. We’ve since learned that matching foundation to your face often creates that dreaded mask effect – something nobody wants.
The neck test never fails me. I always swatch foundation along my jawline and blend down slightly onto my neck. If it disappears seamlessly, I’ve found my match. Natural light is non-negotiable for this check – those department store fluorescents led to many regrettable purchases in the 90s.
Foundation should even out tone, not change your color entirely. When in doubt, go slightly warmer rather than cooler – a lesson learned after too many ‘corpse-like’ foundation mishaps during my college years.
3. Cream Blush Is Your Best Friend
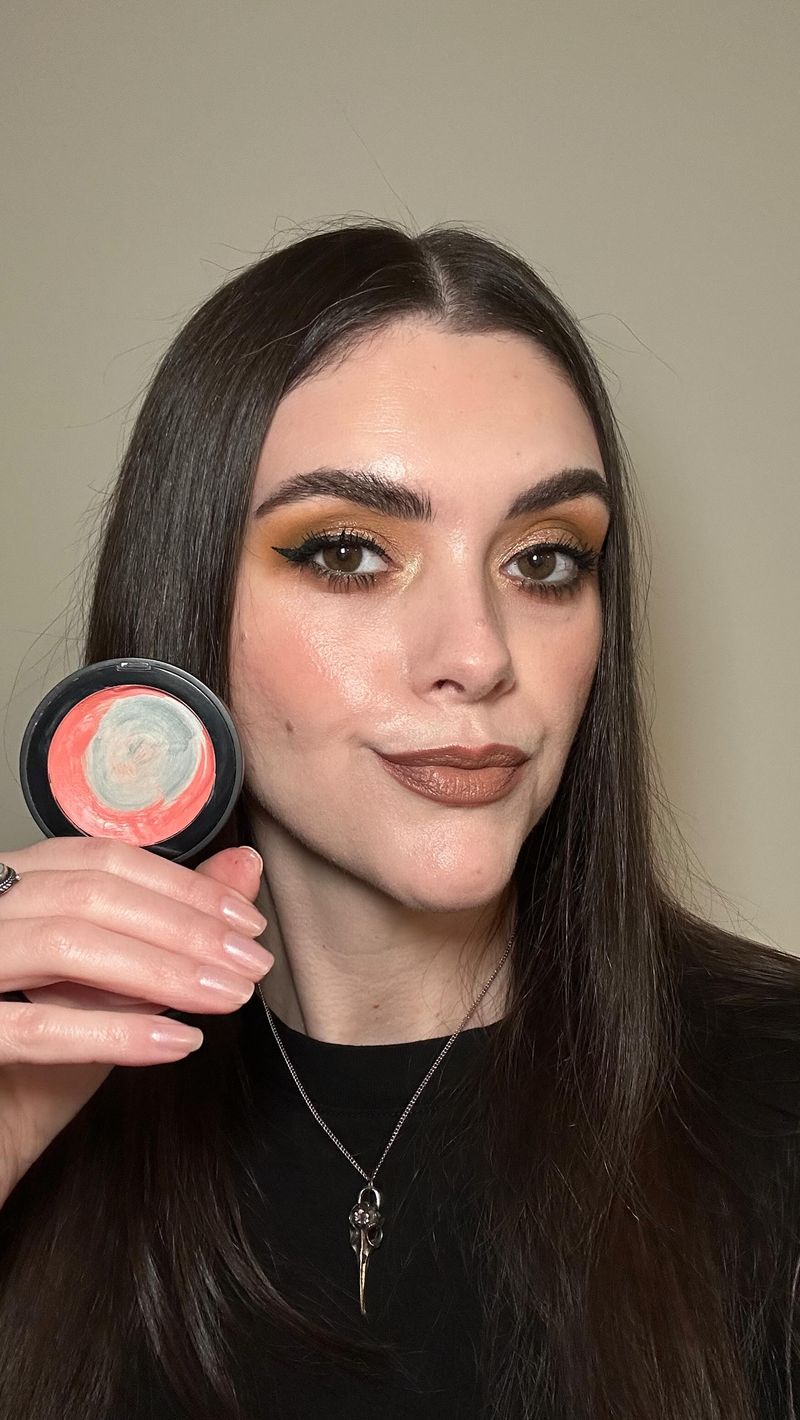
Remember those chalky powder blushes we packed on in the 80s? Thank goodness we’ve evolved. Cream blush creates that natural flush that looks like you’re glowing from within – not like you’ve been slapped with color.
My technique involves using fingertips to tap cream blush onto the apples of my cheeks, then blending upward toward my temples. The warmth of fingers helps the product melt into skin rather than sitting on top. For those days when my skin looks particularly tired, I apply cream blush before foundation for a truly natural effect.
Bonus tip: most cream blushes double as lip color in a pinch. This trick saved me countless times during my working mom years when I had approximately three minutes to get ready.
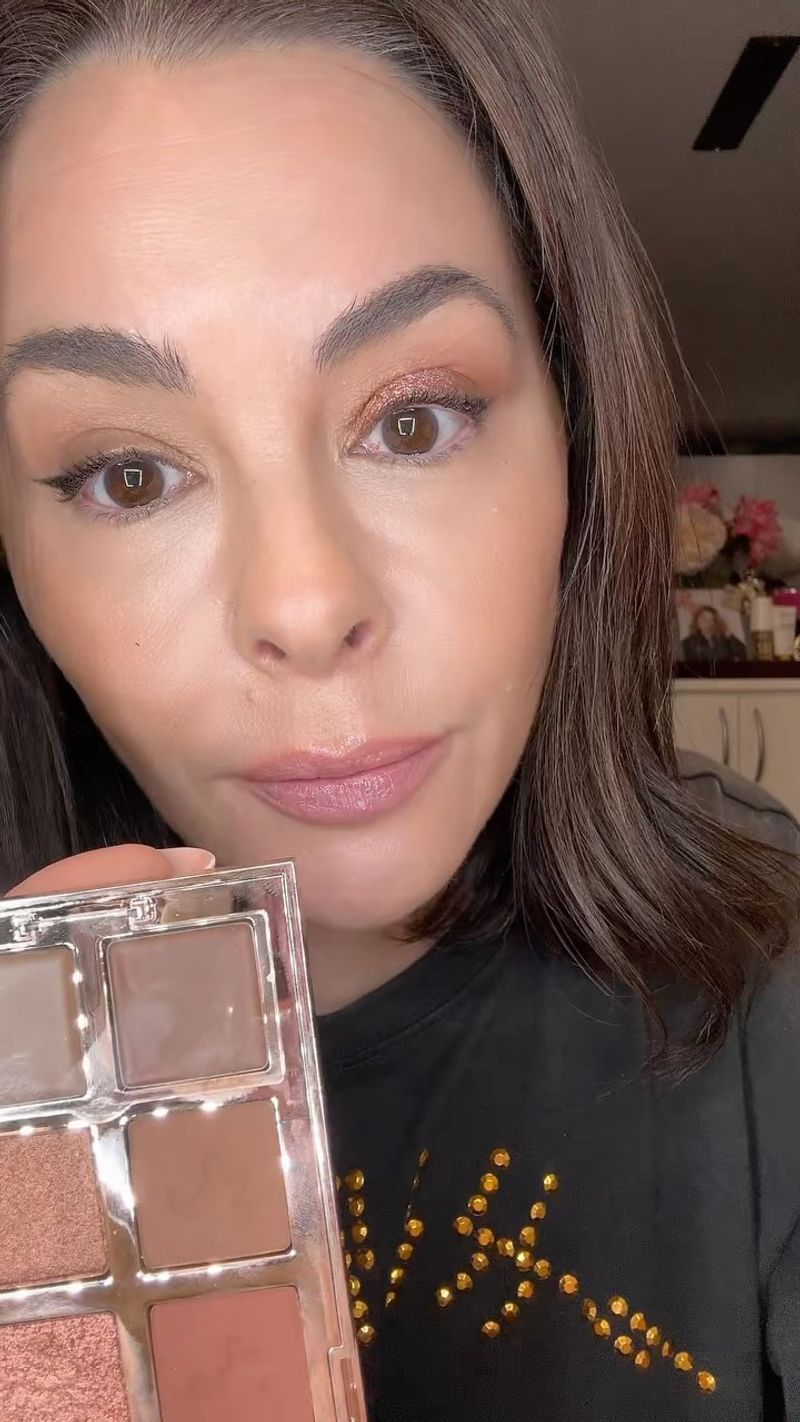
4. Fill Brows, Don’t Draw Them
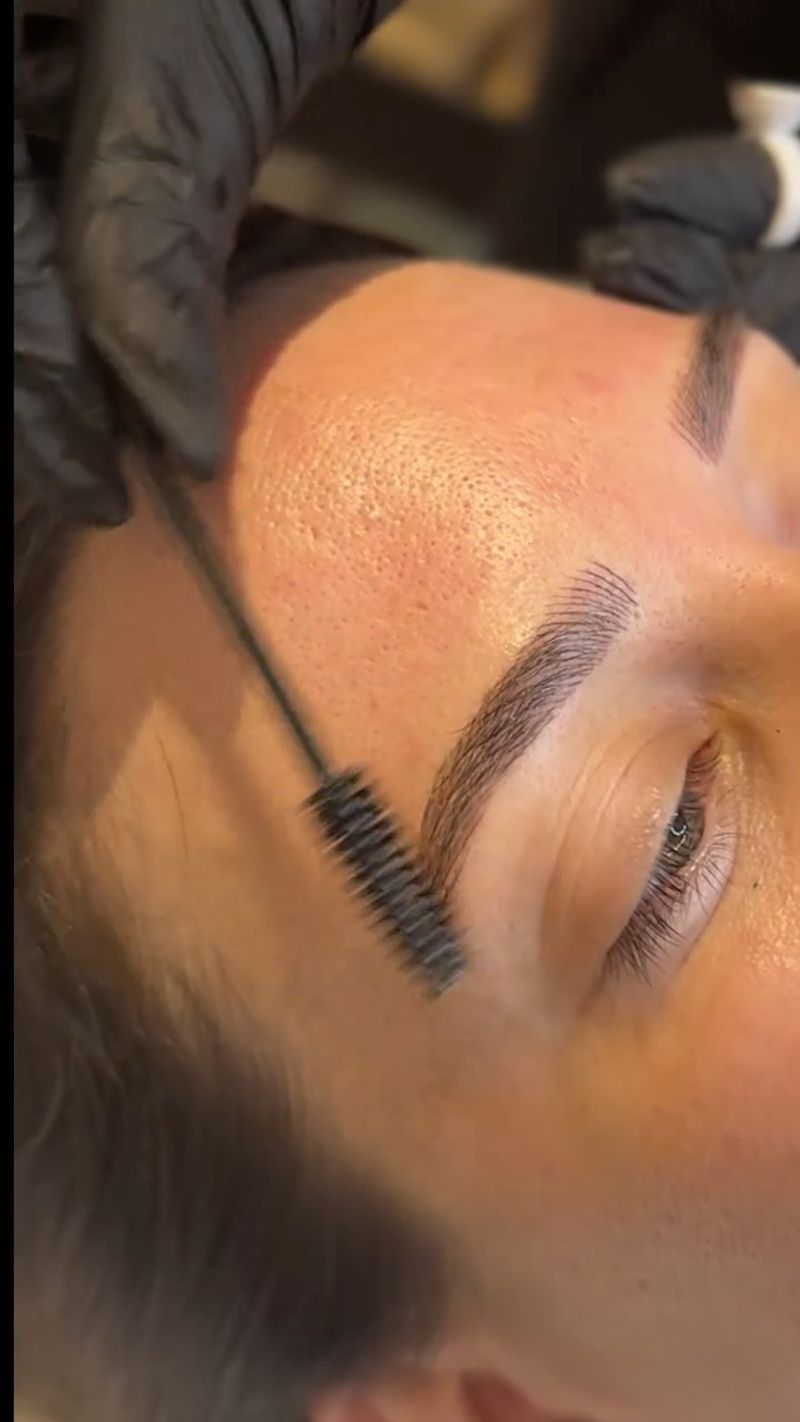
Many of us survived the pencil-thin brow trend of the 90s. Some brows never fully recovered. After years of overplucking, I’ve learned that filling in brows with feathery strokes looks far more natural than drawing hard lines.
A brow powder or soft pencil in a shade lighter than your hair creates dimension without the harshness. I focus on the sparse areas only, using short strokes that mimic natural hair. The goal isn’t perfection – it’s framing your face in a way that looks effortless.
For those of us noticing brows thinning with age, a tinted brow gel adds volume while keeping everything in place. After years of makeup experiments, I’ve found that well-groomed brows can take years off your face without looking like you’re trying too hard.
5. Curl Your Lashes Before Mascara

The humble eyelash curler might be the most underrated tool in my makeup bag. After watching my older sister use one in the 80s, I’ve never skipped this step. Nothing opens up tired eyes faster than curled lashes.
My technique hasn’t changed since 1992: position the curler at the base of upper lashes, gently squeeze for 10 seconds, then pulse twice more as you move toward the tips. The difference is dramatic, especially for those of us noticing our lashes aren’t as perky as they once were.
A heated curler works wonders for stubborn lashes, but the old-school metal ones do the job perfectly. Just warm it with your blow dryer for five seconds first. And always curl before mascara – curling after can break lashes, a painful lesson I learned the hard way.
6. Blend Eyeshadow Like Your Life Depends On It
The harsh, unblended eyeshadow looks of the 80s taught us what not to do. Now I know that blending is everything. My generation might have pioneered dramatic eye looks, but we’ve perfected the art of making them look seamless.
A clean, fluffy brush is essential for this job – not those tiny sponge applicators that came with drugstore quads. I use windshield-wiper motions to soften any harsh lines between colors. The goal is a gradient effect where you can’t tell exactly where one shade ends and another begins.
For everyday looks, I stick with neutral tones that enhance rather than overwhelm. Those electric blues and purples were fun in high school, but now I save bold colors for special occasions. Proper blending makes even dramatic looks appear sophisticated rather than dated.
7. Apply Concealer After Foundation
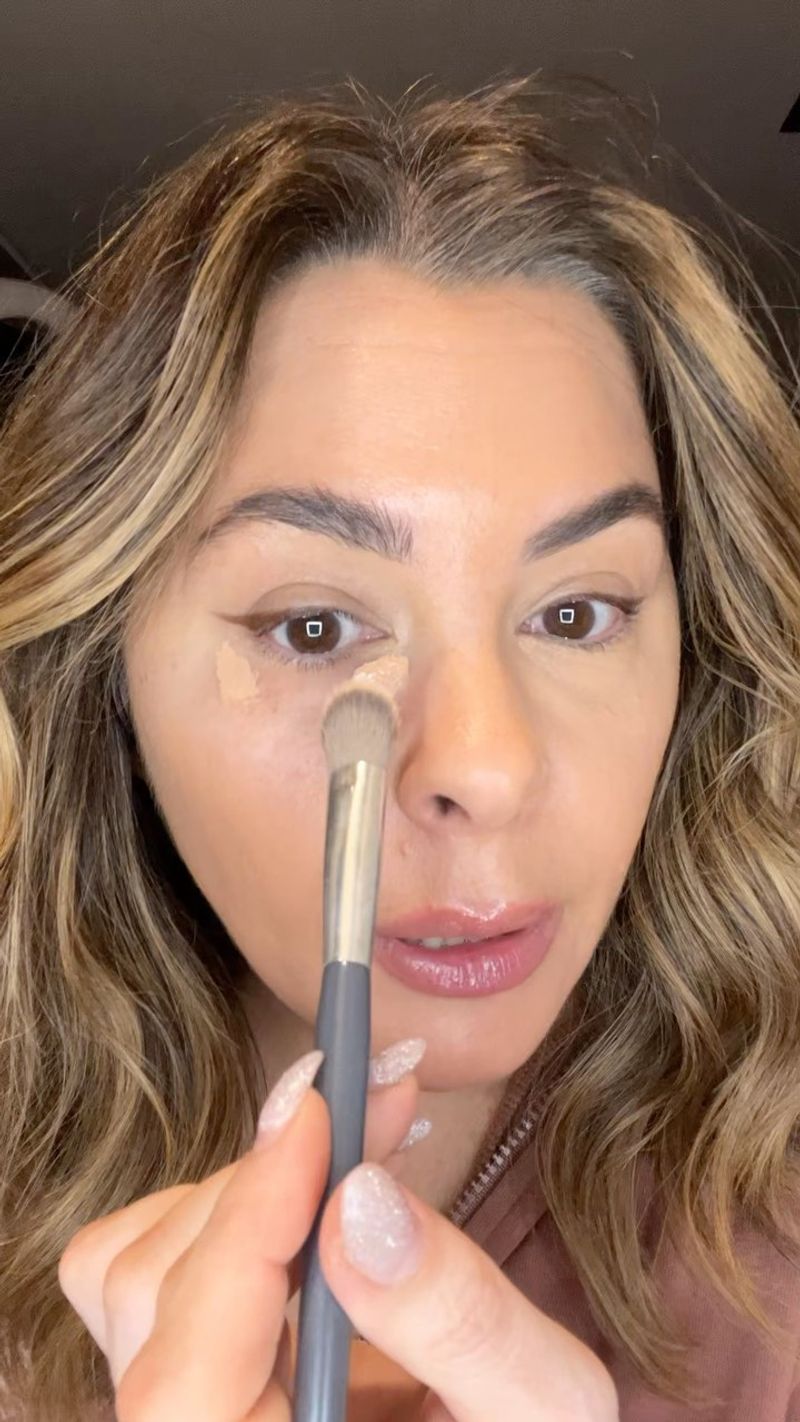
For years I slathered on concealer first, then wondered why it disappeared under my foundation. The game-changer was reversing the order. Foundation already covers a multitude of sins, so concealer is only needed for what remains.
I dot concealer only where needed – usually under eyes and around the nose – then pat gently with my ring finger. The warmth helps it melt into skin rather than cake up. Less is definitely more here – a lesson I wish I’d learned before all those college photos with obvious under-eye triangles.
For stubborn dark circles, I use a peachy corrector first, then a tiny amount of concealer on top. This technique has saved me countless times after sleepless nights. Remember when we could party until 2am and still look fresh the next morning? Those days are gone, but good concealer technique helps fake it.
8. Set Makeup Strategically, Not All Over
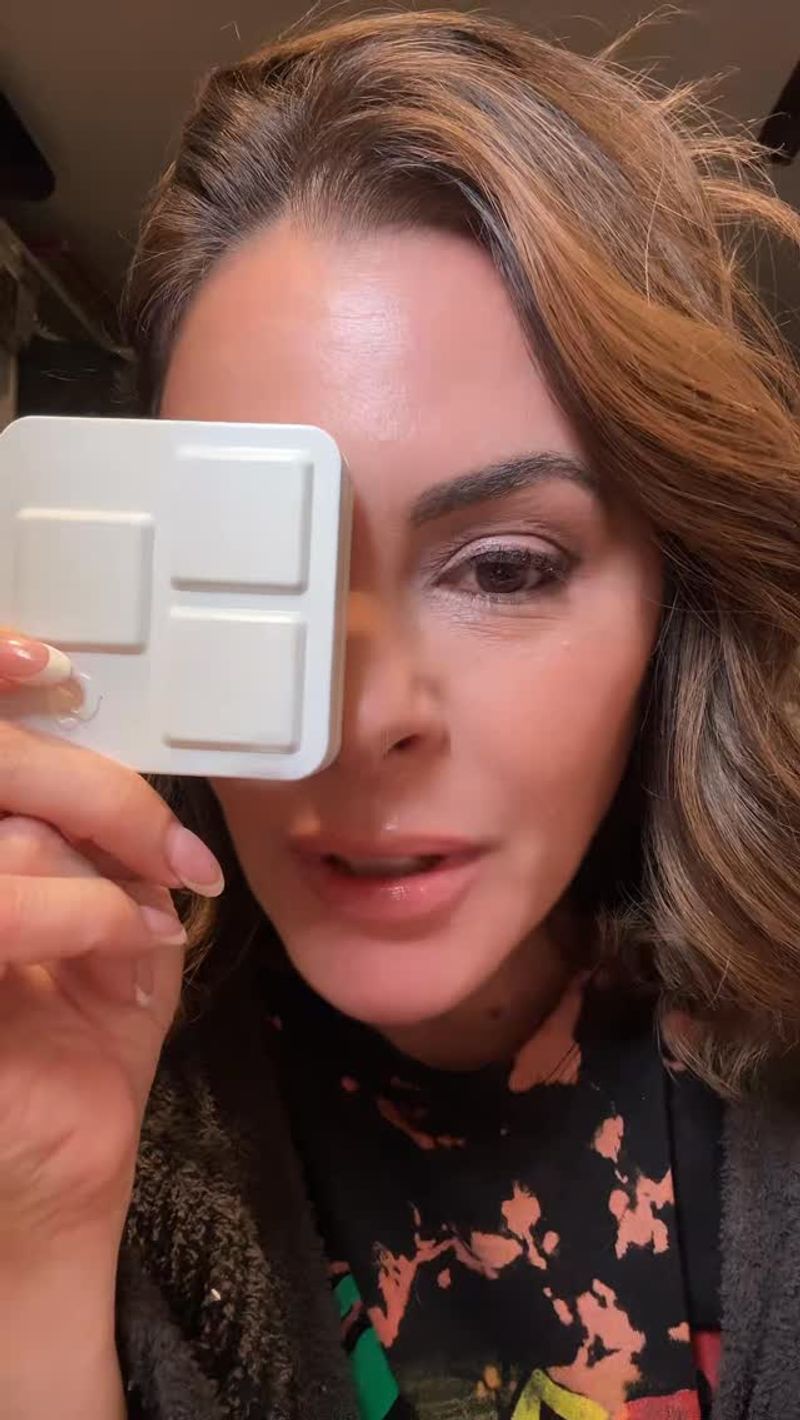
Remember when we powdered our entire faces until we looked like Renaissance paintings? Those days are thankfully behind us. Now I only set makeup in specific areas – typically the T-zone and under eyes.
The rest of my face looks more youthful with a natural finish. I use a small brush to apply translucent powder precisely where needed, avoiding areas that tend to look dry. This technique preserves that healthy glow while preventing shine in problem areas.
For special occasions when longevity matters, I’ll press powder gently into skin with a puff, then brush away excess. This method, which I learned from a makeup artist in 1997, ensures makeup lasts without looking heavy. The goal is skin that looks like skin – just slightly better and longer-lasting.
9. Line Lips First, Then Fill In
The 90s brown lip liner with pale lipstick trend was not our finest moment. But liner itself remains essential in my routine – just used differently now. I’ve learned that lining lips first creates definition that prevents color from bleeding, especially important as fine lines appear around the mouth.
My technique involves using a liner that matches my natural lip color, not darker. I follow my natural lip line without overdrawing, then fill in the entire lip with the same pencil. This creates a base that helps lipstick last longer while preventing that obvious ring around the mouth as color fades.
For a modern take on 90s lips, I’ll use a neutral liner all over, then apply a slightly glossier formula in the center. This creates dimension without the harsh contrast we once thought looked good. Live and learn!
10. Always Check Makeup in Different Lighting
My generation learned this lesson the hard way – looking flawless in bathroom lighting, then horrified when catching a reflection in daylight or a car mirror. Now I never finish my makeup without checking it in at least two different lighting situations.
Natural light reveals the truth about foundation matches and blending. I keep a small mirror near a window for this purpose. Bathroom lights can wash out color, making you apply more than needed, while car mirrors seem designed to highlight every flaw and unblended edge.
This habit has saved me from many potential makeup disasters over the years. I particularly check for foundation lines along the jaw, overdone blush, and any eyeshadow fallout. Taking this extra minute prevents those mid-day moments when someone mentions you have sparkles all over your cheeks – mortifying at any age!