
12 Ways To Wear The Jelly Nail Trend
I’m absolutely obsessed with jelly nails right now! This transparent, candy-like manicure trend has completely taken over my Instagram feed and I can’t get enough.
The glossy, see-through finish reminds me of those plastic jelly shoes we all loved in the 90s, but way more sophisticated.
If you’ve been wanting to try this look but aren’t sure where to start, I’ve rounded up my favorite ways to rock this sweet trend.
1. Clear Pink Jelly Nails
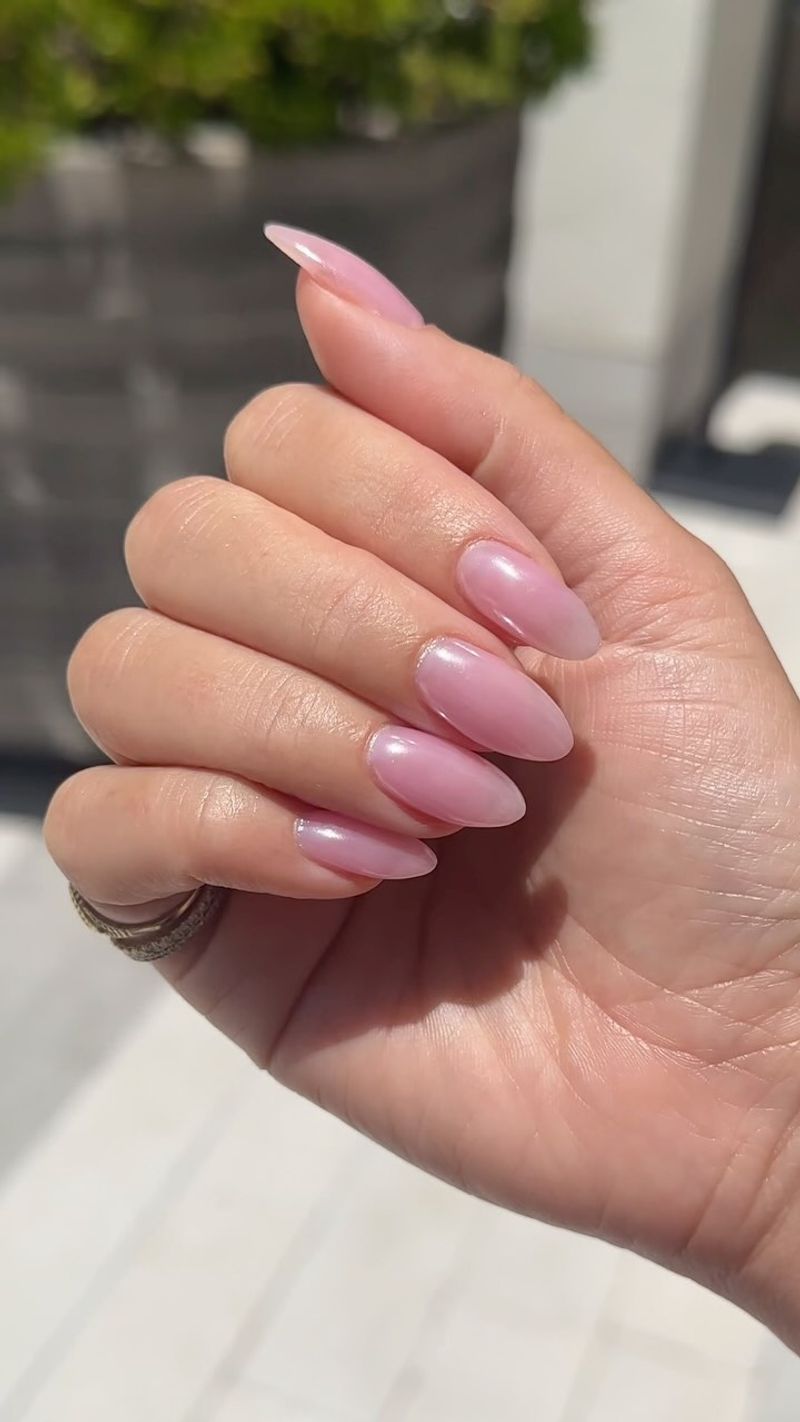
Remember those strawberry hard candies your grandma always had? That’s exactly what clear pink jelly nails remind me of! The sheer, rosy tint catches light beautifully and works with literally everything in my closet.
I tried these for my cousin’s wedding last month and got more compliments than the bride (don’t tell her I said that). The best part? They’re super low-maintenance since chips are less noticeable with translucent polish.
You can go super pale for a barely-there look or build up to a deeper candy apple shade. Either way, pink jelly nails are my go-to when I want something pretty but not too flashy.
2. Neon Green Glass Tips
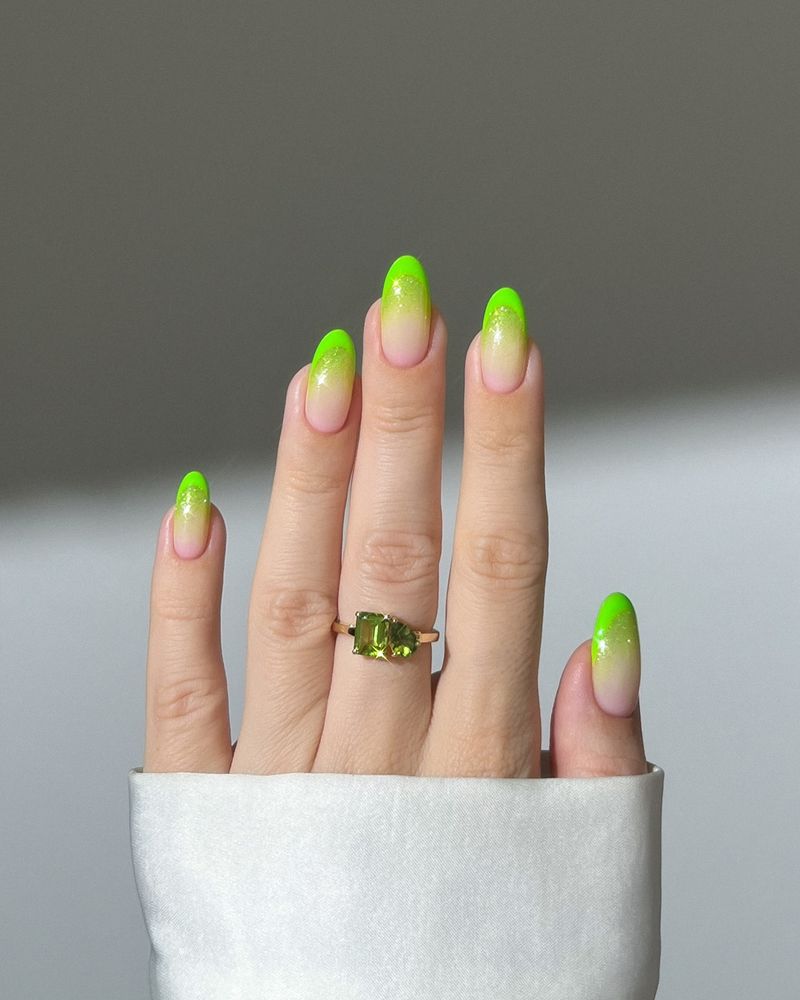
Green jelly nails are not for the faint of heart! I wore these bad boys to a music festival last summer and they practically glowed under the lights. They gave me major alien vibes in the best possible way.
The trick is finding that perfect lime shade that’s both electric and see-through. My nail tech mixed a neon polish with clear topcoat to get the perfect jelly consistency. These are total conversation starters.
Fair warning though—friends might ask if you can see through walls with these supernatural-looking tips! Pair them with all-black outfits for maximum impact or embrace full color chaos.
3. Glitter-Infused Jelly Magic
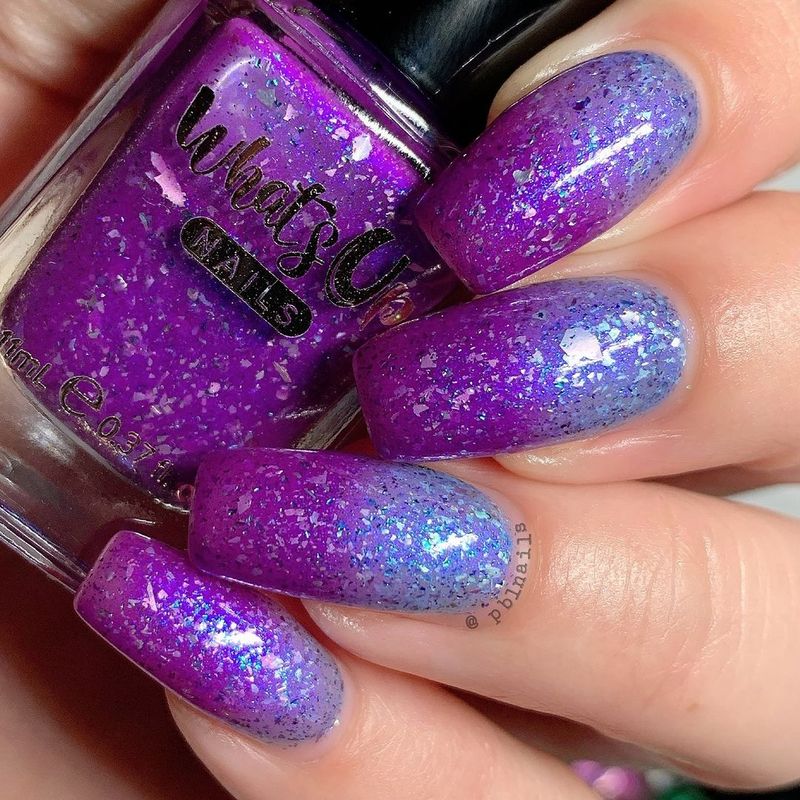
My inner magpie can’t resist anything sparkly. Mixing fine glitter into jelly polish creates this amazing suspended-in-glass effect that looks like you’re wearing tiny galaxies on your fingertips!
I rocked these for New Year’s Eve and couldn’t stop staring at my hands all night. The way the glitter catches light through the transparent polish creates actual depth, unlike regular glitter topcoats.
Gold glitter in clear jelly gives a champagne vibe, while silver in blue jelly looks like winter wonderland magic. You can also try chunky holographic glitter for maximum sparkle—just be ready for strangers asking where you got them done.
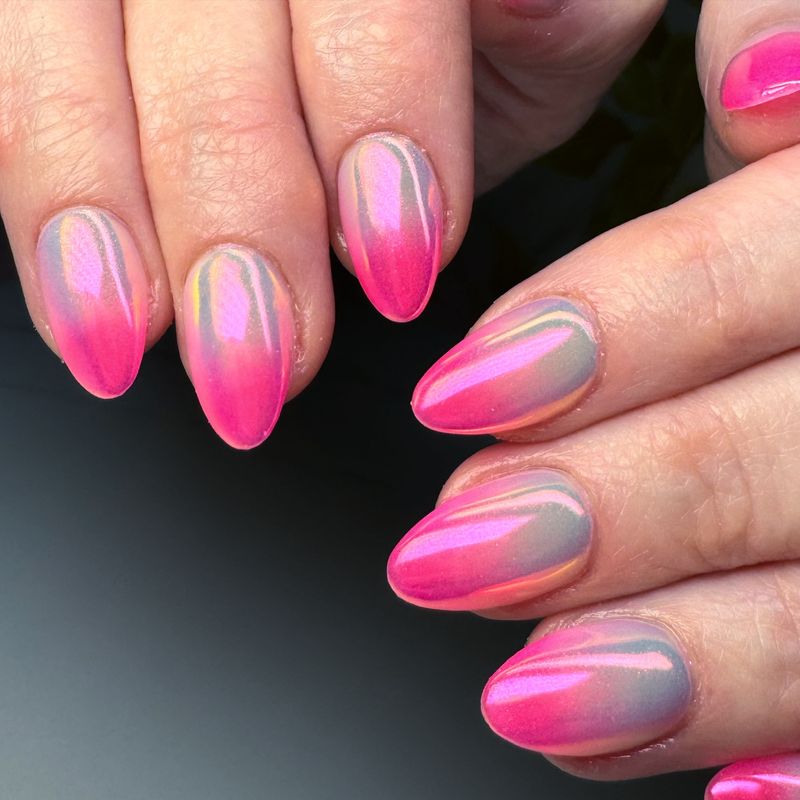
4. Sunset Ombré Jellies

I’m usually terrible at choosing just one color, which is why ombré jelly nails are my saving grace! The gradual blend of oranges into pinks creates this sunset-in-a-bottle effect that’s totally mesmerizing.
My nail artist used a makeup sponge to dab the colors together, building up the jelly polish in thin layers. The result was this dreamy, vacation-worthy fade that looked different depending on the lighting.
The see-through quality makes the color transition extra smooth compared to regular polish. These are perfect for summer beach trips or anytime you need a mood boost—just looking at them makes me happy!
5. Playful Decal Jellies
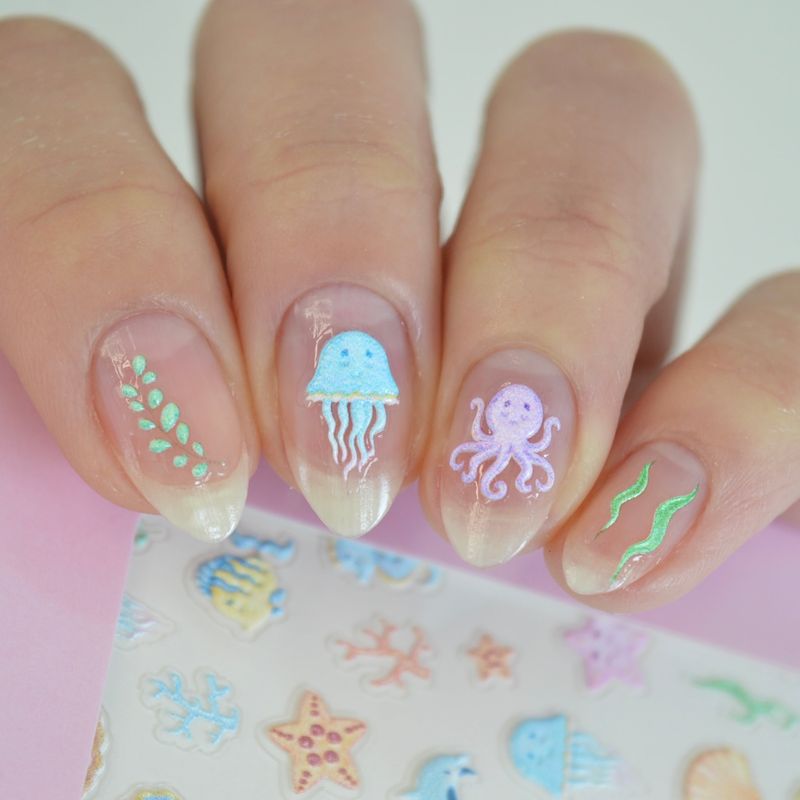
Adding tiny decals under jelly polish creates this floating effect that’s honestly magical! I tried this with small butterfly decals, and they looked like they were suspended in amber—very Jurassic Park, but make it fashion.
The key is placing the decals on a base coat first, then covering with 2-3 thin layers of jelly polish. My favorites are tiny dried flowers, which look like they’re preserved in time.
You can also try metallic stars, hearts, or even minimalist line designs. Just don’t go overboard—one or two decals per nail lets the floating effect really shine without looking cluttered.
6. Jelly French Tips Twist
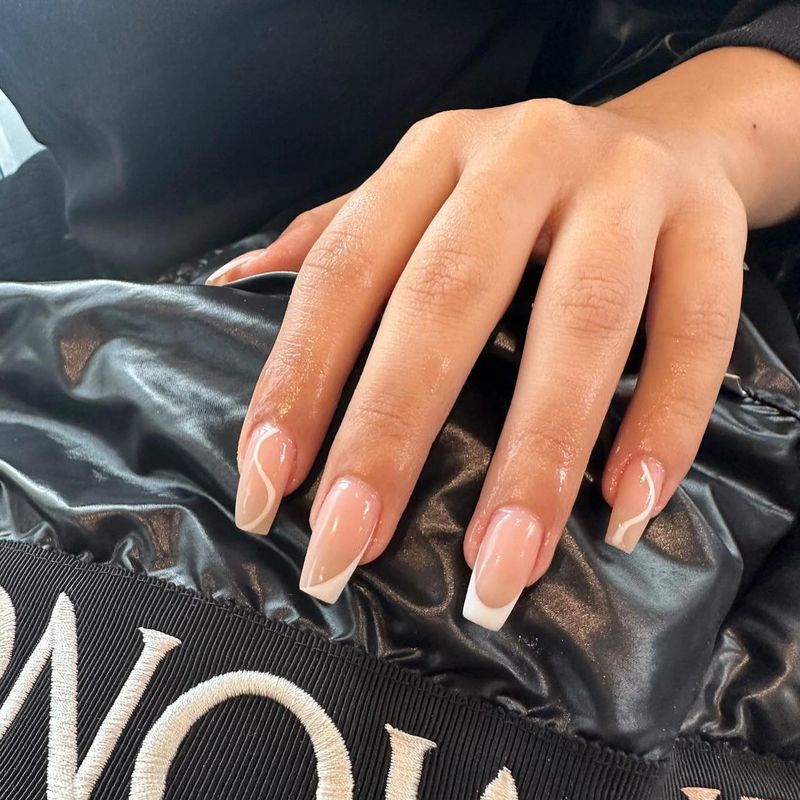
French manicures but make them 2023! Using jelly polish for just the tips creates this modern, edgy take on a classic look that I’m completely hooked on. The transparent colored tips look like they’ve been dipped in candy.
I went with cobalt blue jelly tips over a sheer nude base for my job interview (got the job, by the way!). The look was professional but still showed personality. My sister chose purple tips for her graduation and looked absolutely stunning.
You can go thick for a bold statement or super thin for a subtle hint of color. Either way, this look is clean, fresh, and way more interesting than traditional white tips.
7. Sweet Heart Jelly Accents
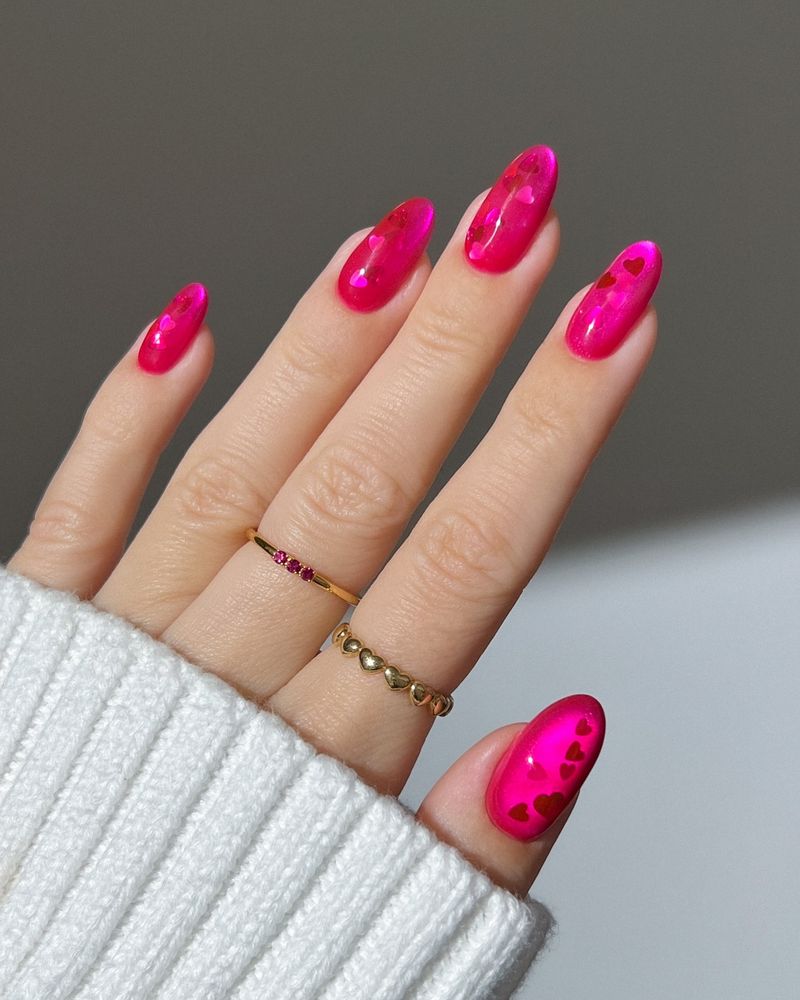
Nothing says cute like tiny heart accents floating in jelly polish! I tried this for Valentine’s Day but honestly kept redoing the same design for months because I couldn’t get enough of it.
My approach was simple—a clear jelly base with one accent nail on each hand featuring a small red heart that looked like it was suspended in the polish. The trick is placing the heart decal after your first layer of jelly polish, then adding another layer on top.
For a twist, try different colored hearts or mix hearts with tiny stars. These nails always earn me compliments from strangers and look way more complicated than they actually are!
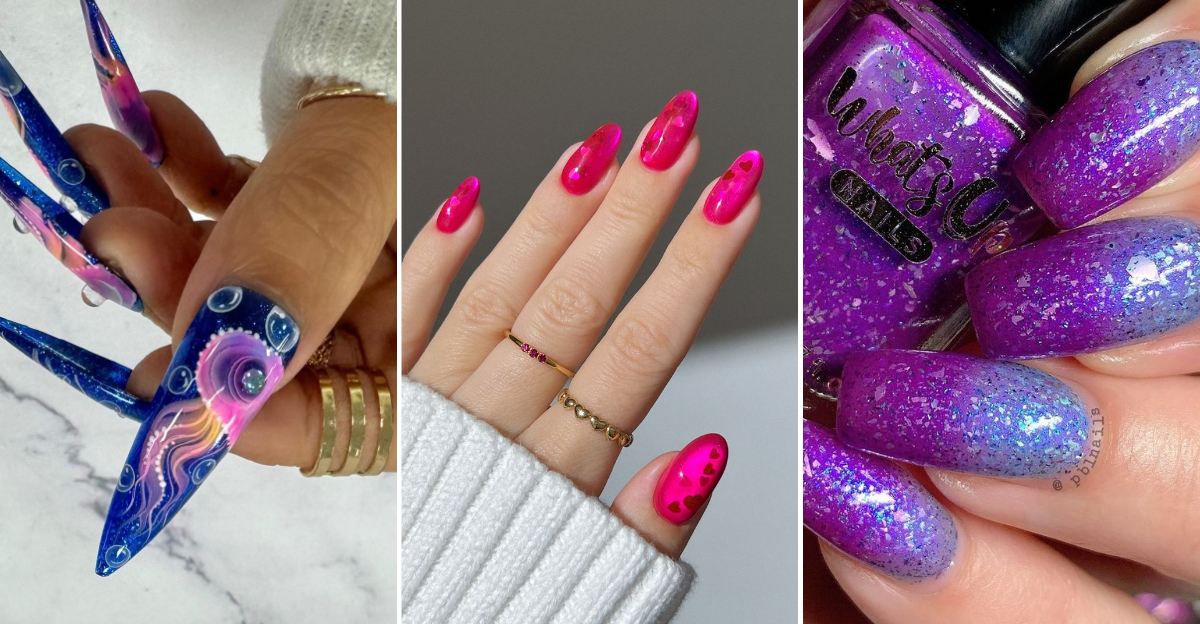
8. Chrome Outline Jellies
Adding thin chrome outlines to jelly nails creates this high-fashion look that’s seriously next level! I tried gold chrome lines around the edges of my purple jelly nails for a friend’s gallery opening, and even the artists were asking about my manicure.
The contrast between the metallic borders and the see-through centers creates this stained-glass window effect that catches light in the most beautiful way. My nail tech used a super fine brush to apply the chrome powder just around the edges.
You can outline the entire nail or just do geometric shapes within the jelly base. Either way, this combo of shiny metal and transparent color feels luxurious and special.
9. Jeweled Jelly Masterpieces
Rhinestones and jelly nails are a match made in heaven! The stones look like they’re floating in colored glass, creating this incredible depth effect that regular polish just can’t achieve.
For my birthday nails, I chose lavender jelly polish with strategically placed crystals. Some stones were applied directly to the nail bed before jelly layers, while others sat on top—creating different levels that looked almost 3D.
Don’t go overboard though! A few well-placed gems look elegant, while too many can feel bulky. I love placing one larger stone near the cuticle with smaller ones scattered toward the tip for a rain-drop effect.
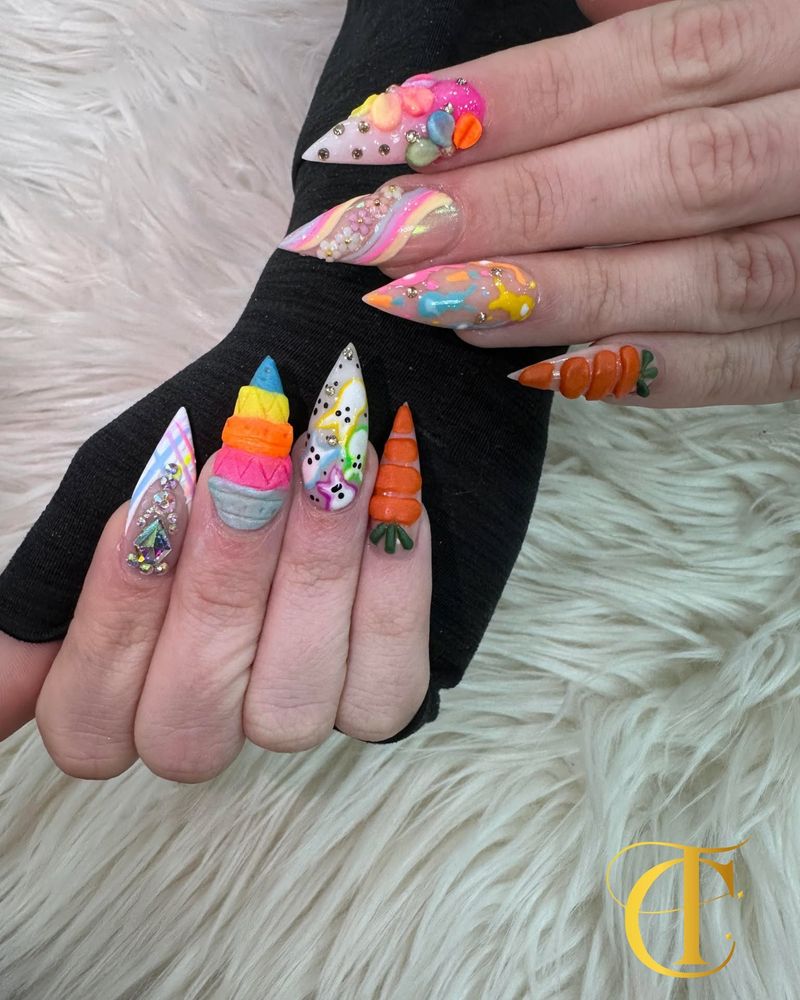
10. Pastel Rainbow Jellies

Can’t choose just one jelly color? Don’t! I went full-on unicorn mode with a different pastel jelly shade on each finger, and the result was pure joy on my hands.
The soft, see-through quality of jelly polish makes even a rainbow set look somehow sophisticated. I arranged mine in color order—pink, orange, yellow, green, blue—for that perfect ROYGBIV moment that made me smile every time I looked down.
These nails paired surprisingly well with everything in my closet and lasted nearly three weeks without looking grown out (the transparent nature helps disguise the grow line). They’re my go-to when I need a happiness boost!
11. 3D Bubble Effect Jellies
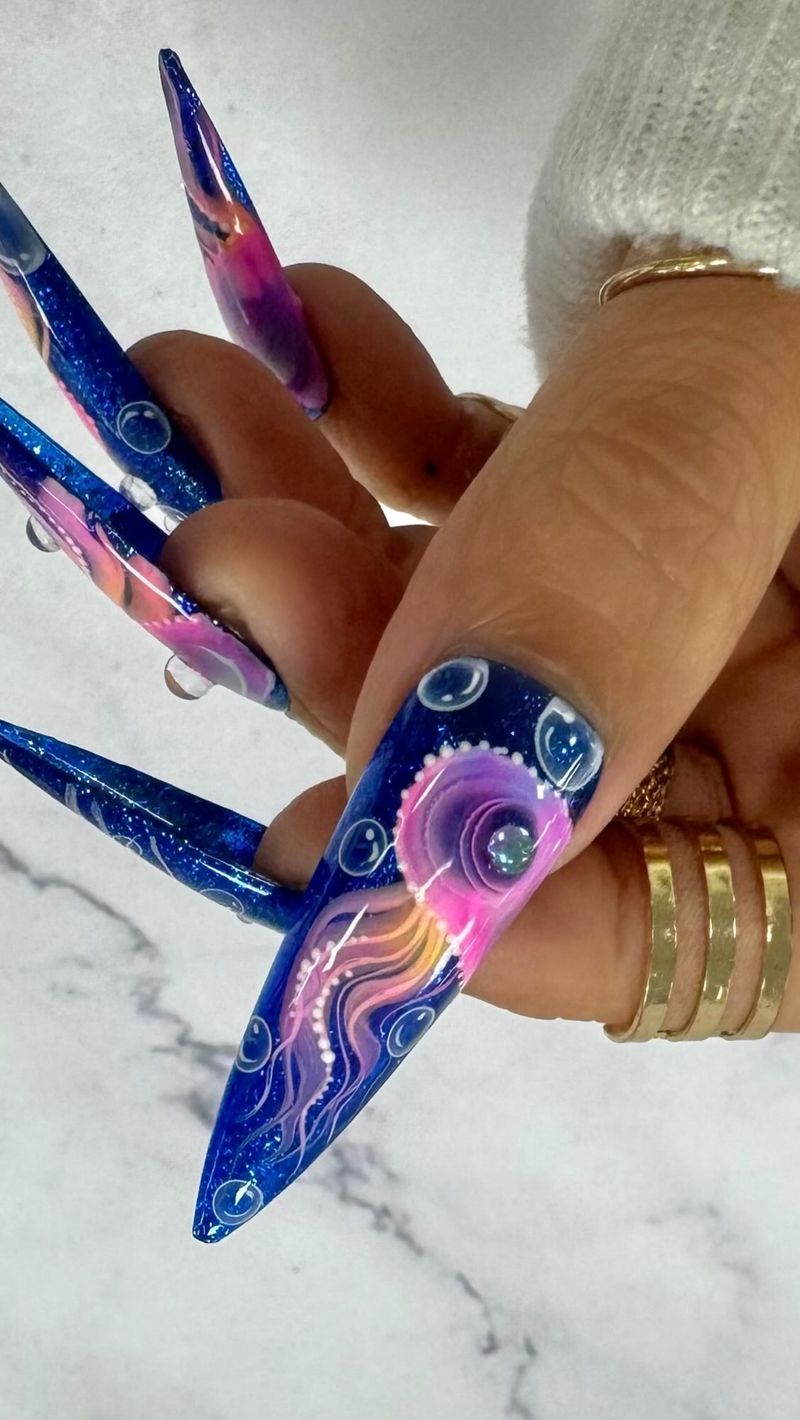
These nails literally look wet all the time! Using extra-thick jelly polish creates these dimensional bubble-like domes that catch light in the most mesmerizing way. My nail tech added small clear dots on top of the base jelly color to enhance the bubble effect.
I chose a coral jelly base with clear bubbles for a beach vacation, and they perfectly matched that underwater tropical vibe. The thickness does mean they take longer to dry, so plan for extra time at the salon.
Fair warning—you might catch yourself tilting your hands in different lighting just to watch how the bubbles catch the light! These are statement nails that don’t need any additional bling.
12. Fruity Jelly Delights
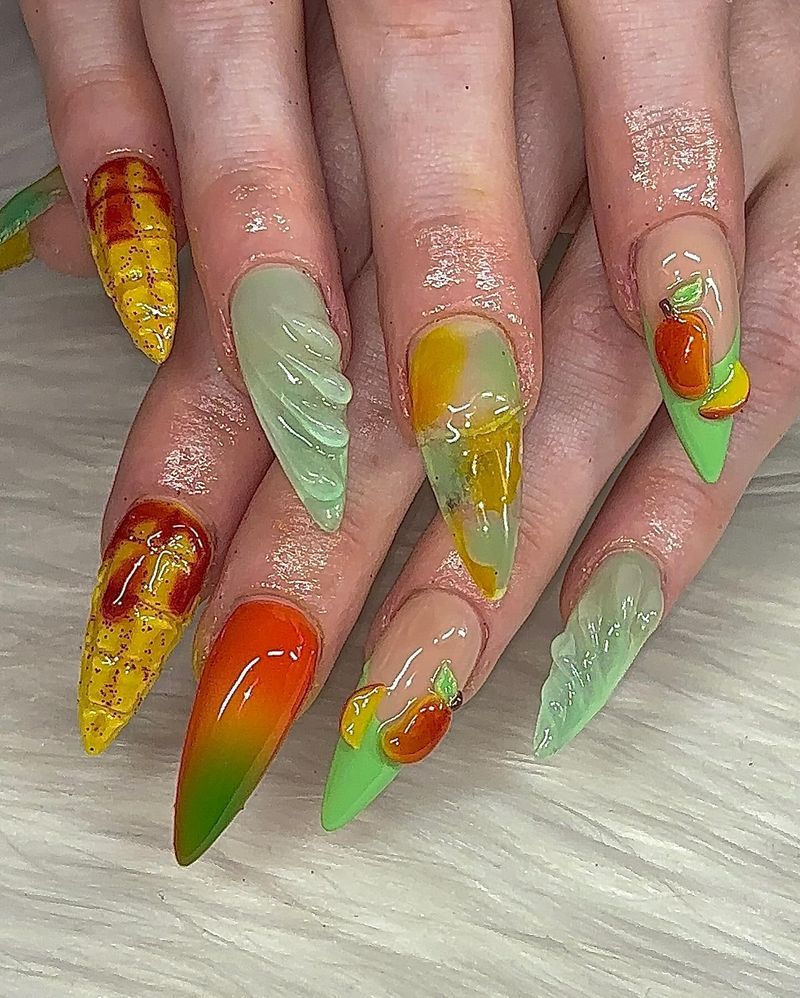
My summer obsession! Tiny fruit designs under jelly polish create these adorable little snacks for your fingertips that never fail to make me smile. I went with watermelon slices on a pink jelly base, and they looked good enough to eat!
The technique is similar to the decal method—tiny hand-painted fruits go on first, then get sealed in with layers of coordinating jelly polish. Lemons in yellow jelly, oranges in orange jelly, or kiwi in green jelly all look incredible.
These are total conversation starters and surprisingly versatile. I’ve worn mine to backyard BBQs and work meetings alike, getting compliments in both settings!