
13 Simple Solutions For Fading Eyebrows
Ever looked in the mirror and wondered where your eyebrows went?
You’re not alone. As we age, stress, or deal with certain health conditions, our once-bold brows can start thinning and fading away.
I’ve struggled with this issue myself and spent years testing different methods to bring back my barely-there brows.
The good news? There are plenty of simple fixes that don’t require a dermatologist appointment or expensive procedures.
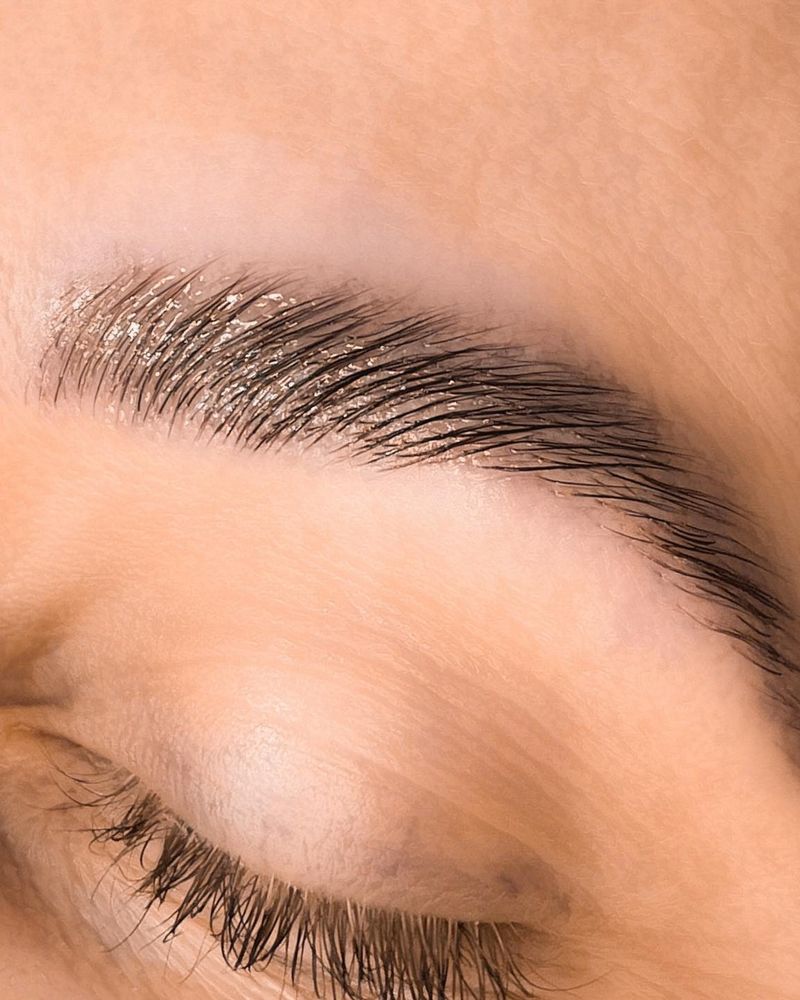
1. Nourish with Castor Oil
Grandma was right about this one! Castor oil works wonders for sparse brows because it’s packed with fatty acids that strengthen hair follicles. I started applying a tiny drop to each brow before bed using a clean mascara wand. After about three weeks, I noticed new little hairs sprouting in areas that had been bare for years.
The key is consistency – make it part of your nightly routine just like brushing your teeth. For best results, massage it gently into the skin beneath your brows to stimulate blood flow to the follicles. This simple kitchen cabinet remedy costs next to nothing compared to fancy serums, and a single bottle lasts forever since you only need a drop each time.
2. Pencil Perfect Strokes
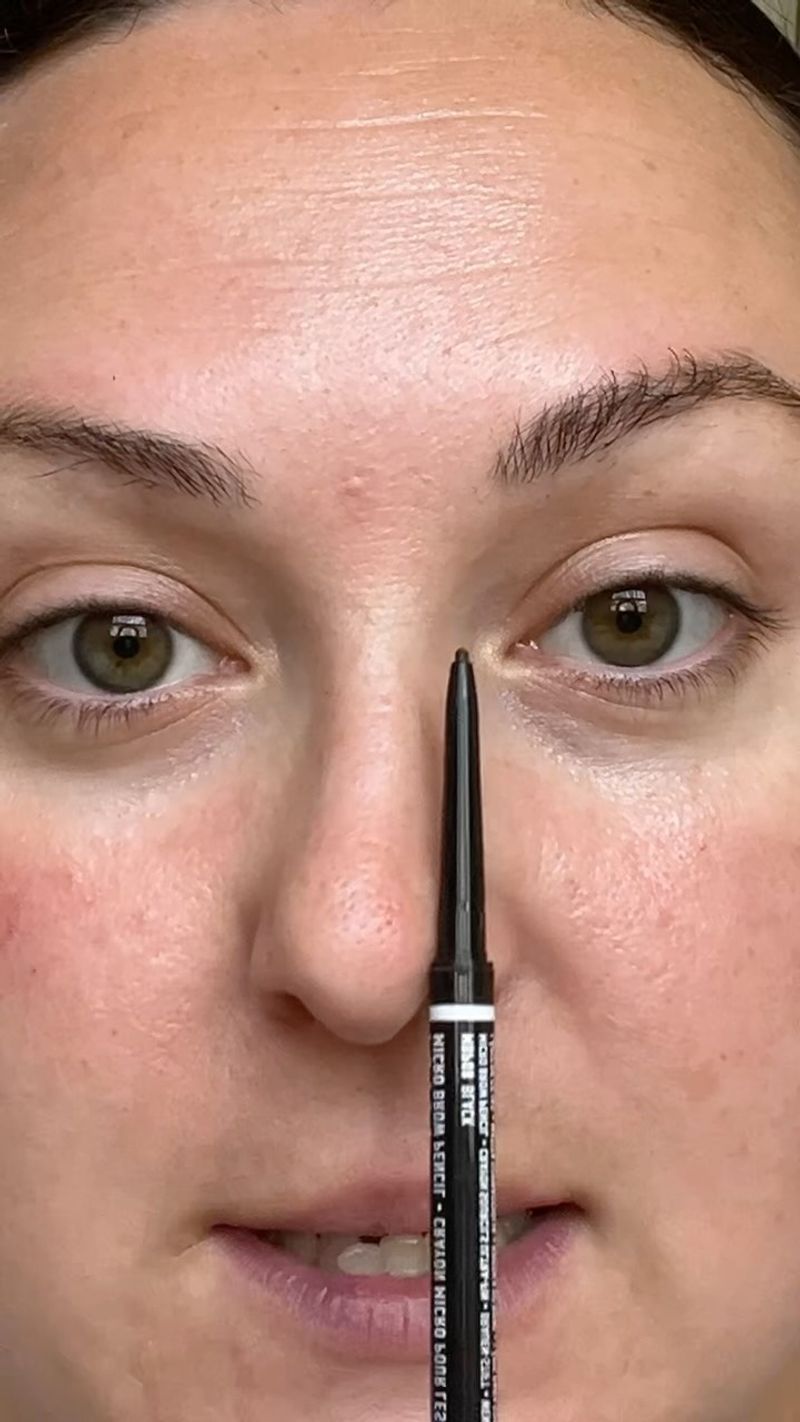
Finding the right eyebrow pencil changed my brow game completely. The trick isn’t covering your entire brow area with color but creating hair-like strokes that mimic natural growth patterns. I prefer pencils with a slightly harder consistency rather than super soft ones that smudge easily. Hold the pencil at an angle and use light, feathery upward strokes following the direction your hair naturally grows.
Start at the bottom edge of your brow and flick upward. Remember that less is more – you can always build up gradually. Always finish by brushing through with a spoolie to blend the product and prevent that dreaded drawn-on look. Cool-toned shades typically look more natural than warm ones, regardless of your hair color.
3. Brow Growth Serums Worth Trying
My first reaction to brow serums was skepticism – until I actually tried one. Many contain peptides and vitamins that nourish hair follicles and extend the growth phase of your brow hairs. Morning application works best because these serums are designed to absorb while you’re awake. Results typically take 4-8 weeks to become noticeable, so patience is crucial. I took weekly photos of my brows to track progress since day-to-day changes are subtle.
Not all serums are created equal – look for ingredients like peptides, biotin, and panthenol. Skip anything with harsh preservatives that might irritate the delicate skin around your eyes. While these products aren’t cheap, using just a tiny amount daily means one tube can last several months.
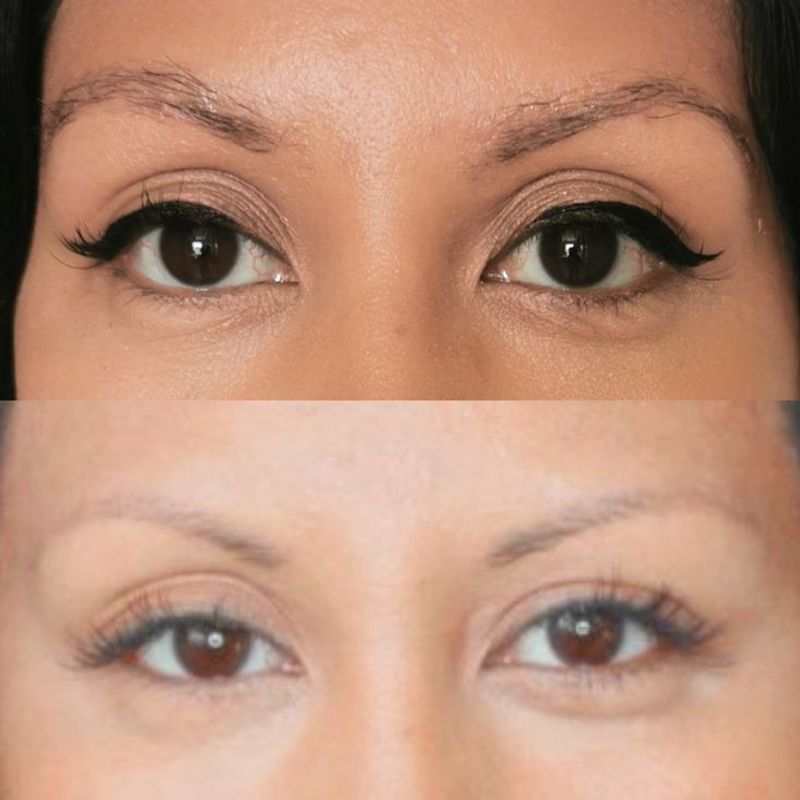
4. Powder Fill for Natural Fullness
Brow powder creates the most natural-looking fullness for those of us with significant brow thinning. Unlike pencils or pomades, powder diffuses softly across the skin, mimicking the subtle shadow that thick brows naturally cast. I apply mine with an angled brush, pressing the powder into areas where I need more density rather than sweeping it across.
Start with a light layer and build gradually – this prevents that harsh, obviously-filled look. For staying power, try applying a clear brow gel first, then press the powder over it. The gel acts like a primer, giving the powder something to cling to. This technique works especially well for those with oily skin who find most brow products disappear by lunchtime.
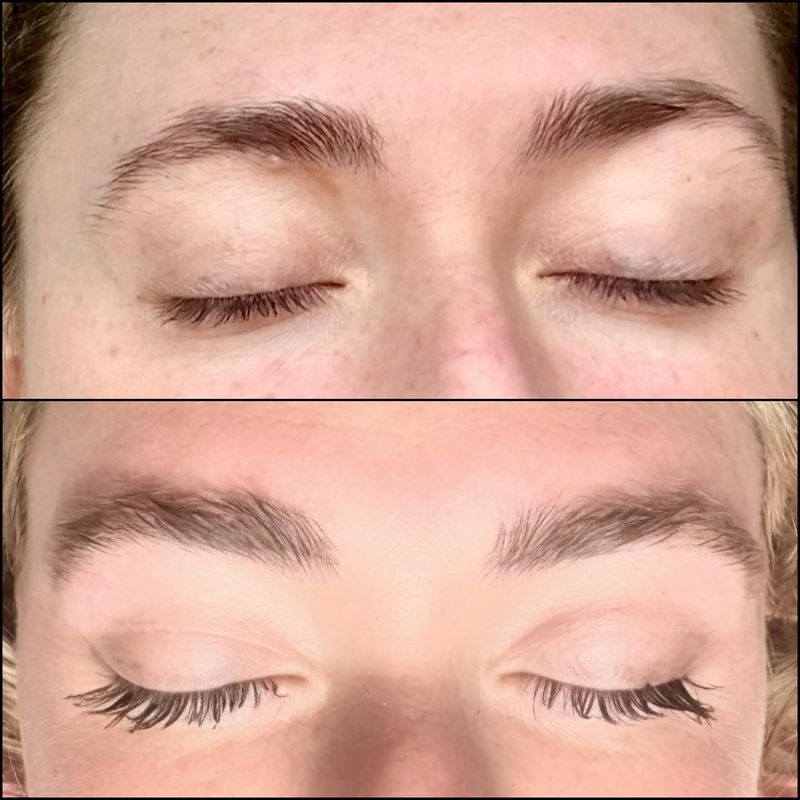
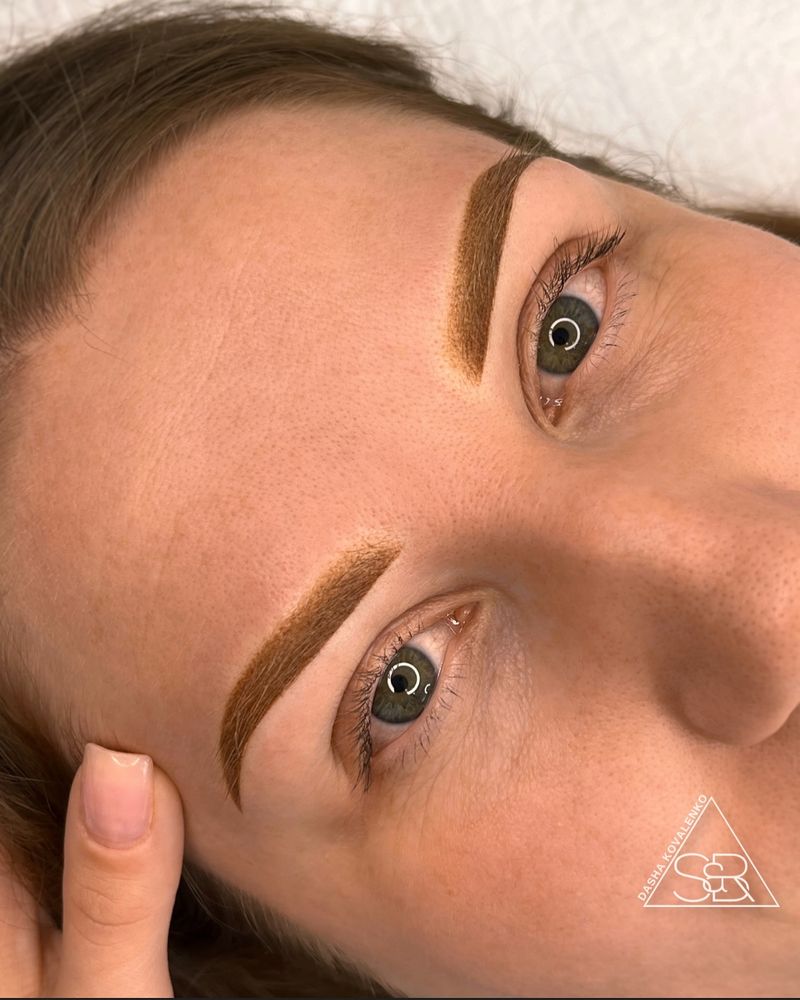
5. Microblading: Semi-Permanent Solution
After years of daily brow drawing, I finally took the plunge into microblading. This technique uses a tiny blade to deposit pigment into the skin, creating strokes that look just like real hairs. The initial session takes about two hours, with a touch-up typically needed 6-8 weeks later.
Results last 1-3 years depending on your skin type, sun exposure, and skincare routine. Oily skin tends to fade faster, while dry skin holds pigment longer. Finding the right artist is crucial – look for extensive before/after portfolios showing healed results, not just fresh work. While the $300-$800 price tag made me hesitate, when I calculated what I’d spend on brow products over those years, plus the daily time saved, it made financial sense.
6. Tinted Brow Gel for Quick Fixes
My desert island brow product would definitely be tinted brow gel. On rushed mornings when I have zero time for precise filling, a quick swipe instantly darkens existing hairs and creates the illusion of fullness. The tiny fibers in many formulas temporarily bulk up each hair. Apply in upward strokes, focusing first on the sparse areas.
Then brush the entire brow to distribute the product evenly. For maximum impact, hold the spoolie vertically and brush the hairs straight up before letting them settle. Most formulas now come in multiple shades – I actually prefer going one shade lighter than my natural color for daytime. This creates definition without the harshness that can come from matching exactly.
For special occasions, I layer a darker shade just at the arch and tail for added drama.
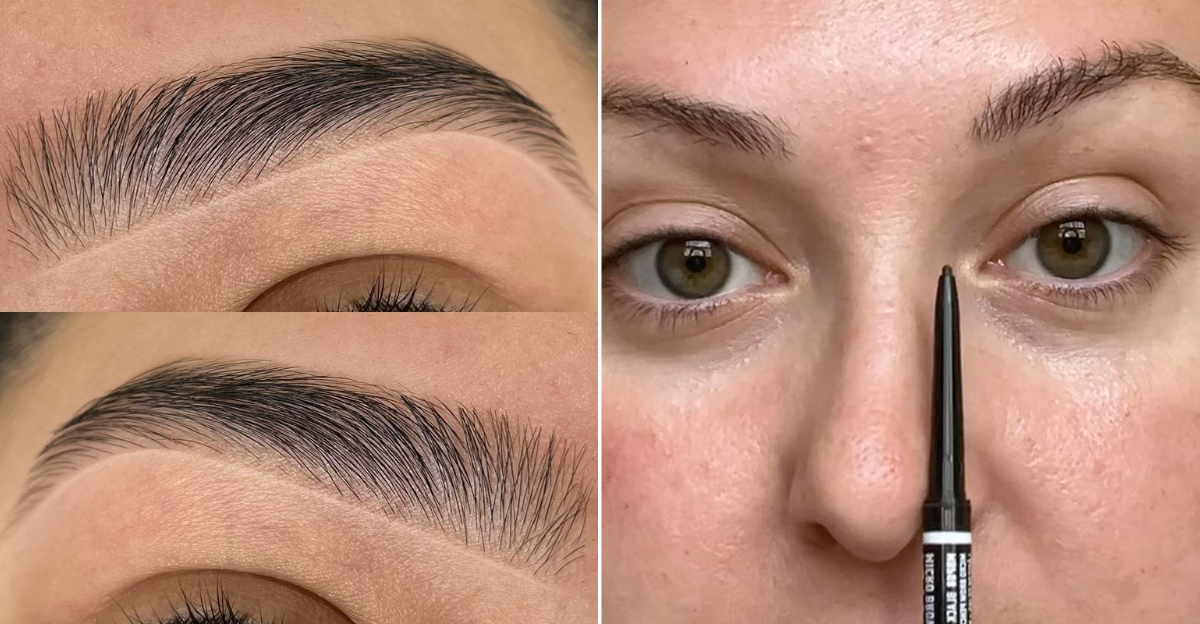
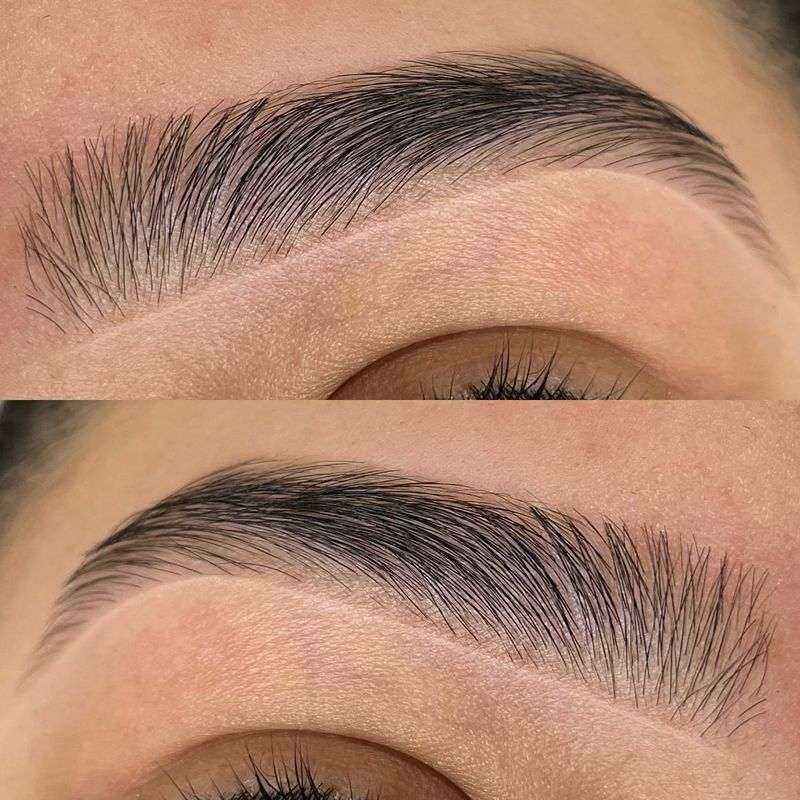
7. Brow Lamination for Unruly Hairs

Brow lamination was a game-changer for my sparse-yet-somehow-still-unruly brows. This salon treatment uses chemicals to straighten and set your brow hairs in an upward direction, creating the appearance of fuller, fluffier brows that last 4-8 weeks. The process feels similar to a perm but for your eyebrows.
First, a cream relaxes the hair structure, then another solution reshapes them pointing upward, and finally, a nourishing oil conditions the hairs.
Beyond just making brows look fuller, lamination helps makeup apply more smoothly afterward. I found my pencil and powder adhered better to the newly organized hairs. While professional treatments run $50-$100, at-home kits have become popular too, though they require steady hands and careful timing to avoid over-processing.
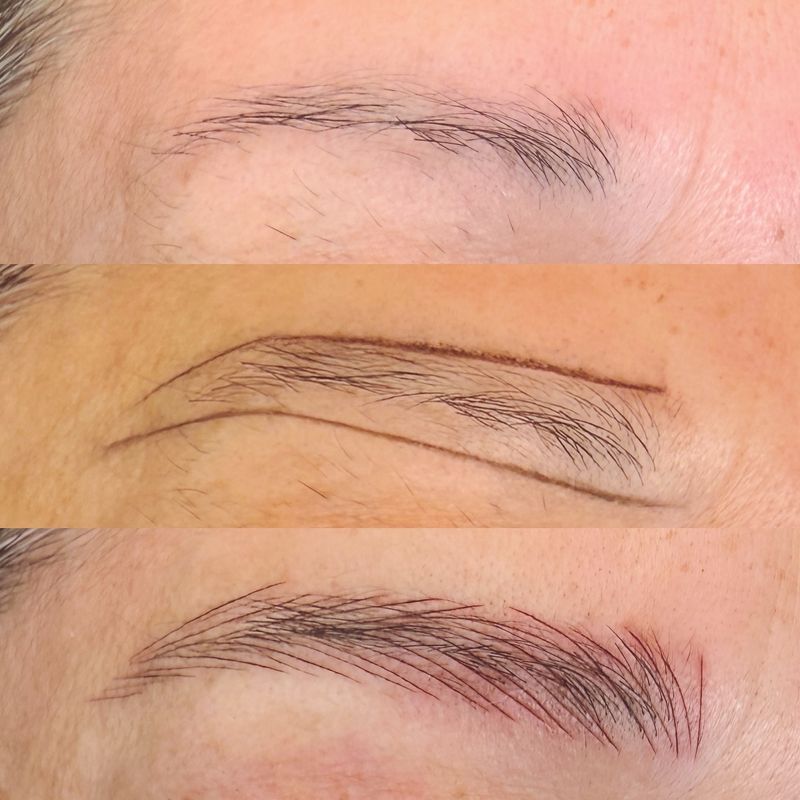
8. Eyebrow Transplants: The Permanent Fix
For those with severely thinning brows that don’t respond to other methods, eyebrow transplants offer a permanent solution. My friend underwent this procedure after losing her brows to alopecia, and the transformation was remarkable. Surgeons harvest hair follicles (usually from behind your ears) and implant them into the brow area. Recovery takes about a week, with tiny crusts forming around each transplanted follicle before falling away.
The transplanted hairs fall out after 2-3 weeks, but don’t panic! This is normal, and new growth appears about three months later. Since these are actually scalp hairs, they’ll grow longer than typical eyebrow hairs and require regular trimming. The procedure ranges from $3,000-$8,000 depending on how many grafts you need and your surgeon’s expertise.
9. Nutrition for Stronger Brows
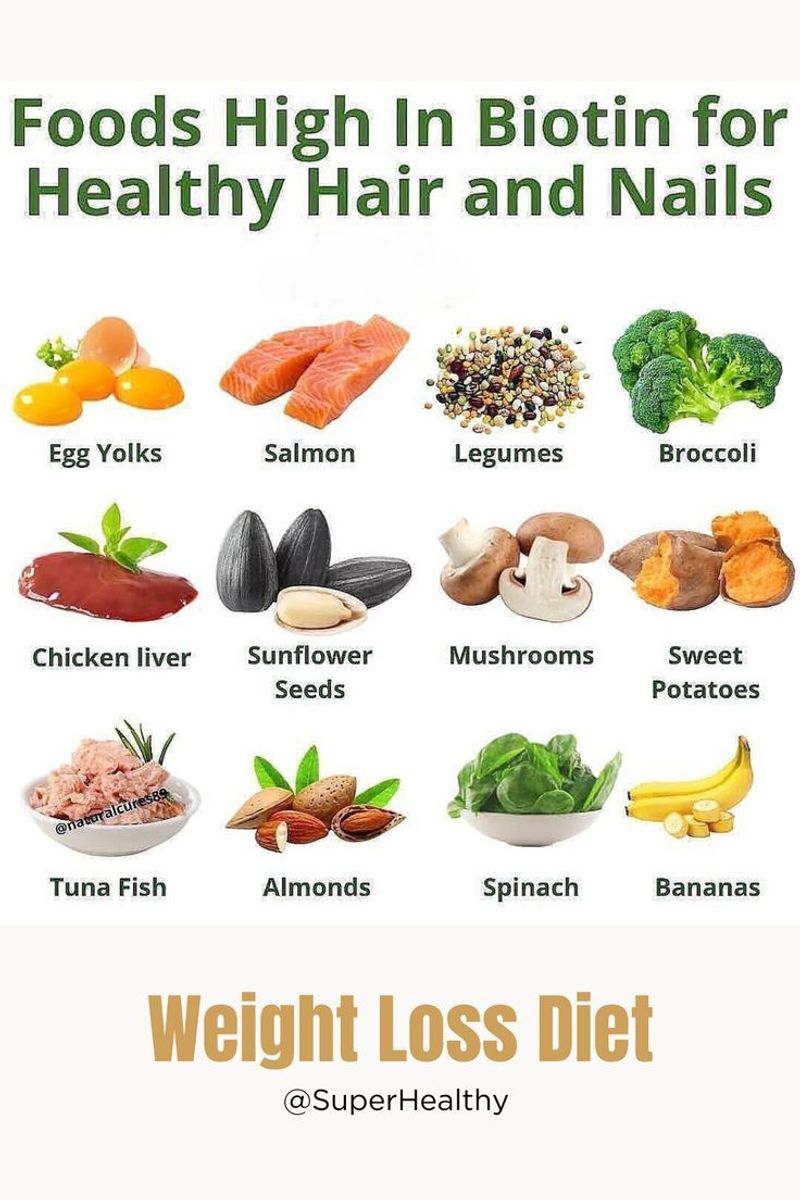
When my brows started thinning, I overlooked something obvious – my diet. Hair needs specific nutrients to grow strong, including biotin, vitamin E, and omega-3 fatty acids. Adding more eggs, avocados, nuts, and fatty fish to my meals made a noticeable difference after a few months. Protein is especially important since hair is made primarily of protein. I started having a protein-rich breakfast every morning and saw improvements not just in my brows but my overall hair health.
Hydration plays a crucial role too. When we’re dehydrated, the body prioritizes vital functions over hair growth. I noticed faster brow growth after increasing my water intake to at least 64 ounces daily. Consistency matters more than quick fixes – think of nutrition as laying the foundation for all your other brow-enhancing efforts.
10. Gentle Exfoliation Technique
Product buildup and dead skin cells can clog hair follicles and impede growth. I started gently exfoliating my brow area twice weekly and noticed new growth within a month. The key word here is gentle – harsh scrubbing can damage delicate brow hairs. My favorite method uses a soft toothbrush with a tiny amount of facial cleanser. Using circular motions, I lightly brush over and around my brows for about 30 seconds per side.
This removes any product residue and flaky skin without tugging at existing hairs.
After exfoliating, I apply a hydrating serum containing peptides to nourish the freshly revealed skin. This two-step process creates the optimal environment for new growth. Just be careful to avoid this technique if you have any active inflammation or sensitivity in the brow area.
11. Hormone-Balancing Strategies
Nobody told me that hormonal changes could affect my eyebrows until I noticed significant thinning during perimenopause. Thyroid imbalances, stress hormones, and fluctuating estrogen can all contribute to brow loss. Getting my thyroid levels checked was my first step toward addressing the root cause. Stress management became surprisingly effective for my brow regrowth. High cortisol levels can interrupt the hair growth cycle, pushing more hairs into the shedding phase.
I incorporated daily meditation and weekly yoga, noticing improved brow density after about three months. For those experiencing menopause-related thinning, some dermatologists recommend topical minoxidil as an off-label treatment. I haven’t tried this approach personally, but several friends report success. Always consult with a healthcare provider before trying hormone-related treatments.
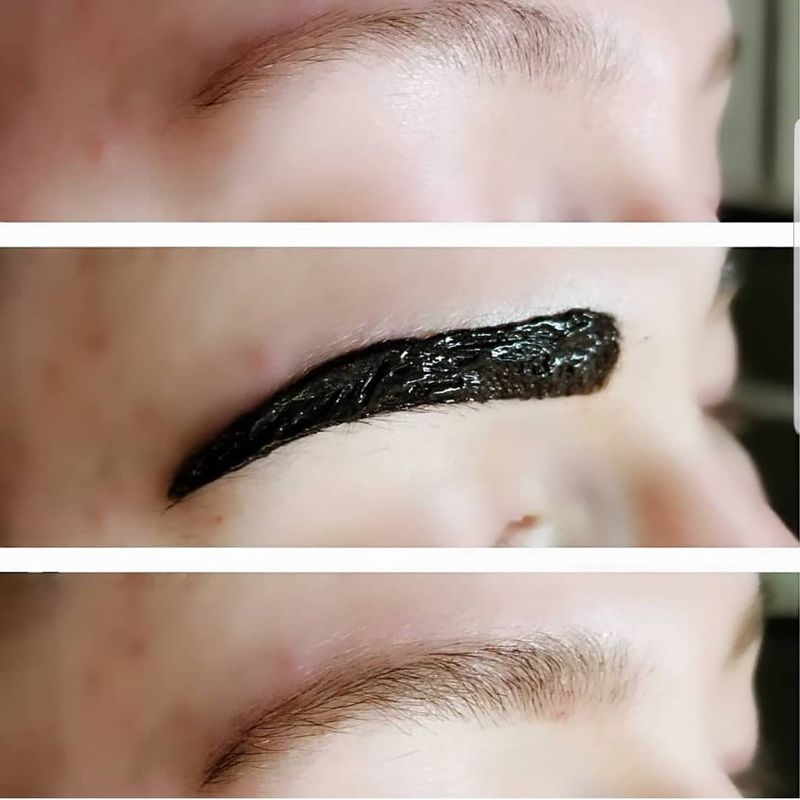
12. Henna Brows for Long-Lasting Color
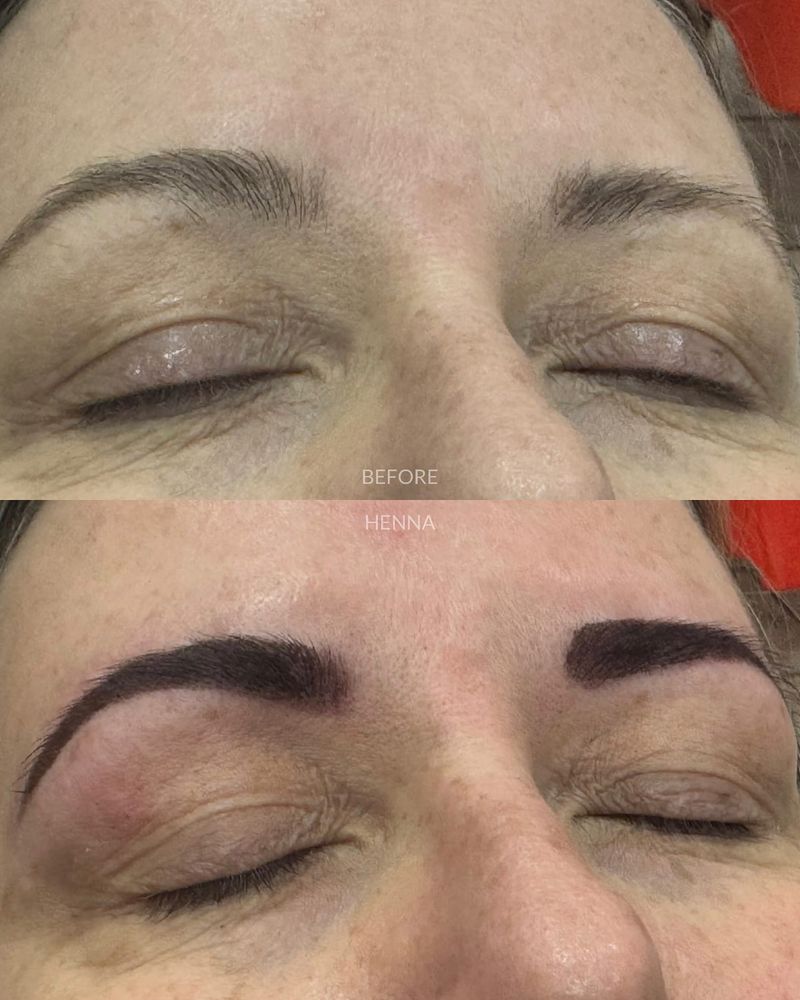
Traditional makeup washes away, but henna brows gave me 2-3 weeks of continuous color that gradually faded rather than disappearing overnight. This plant-based dye stains both the skin and hair, creating a shadow effect that makes brows appear naturally fuller. My first professional henna treatment cost about $45, but I later purchased a home kit for regular maintenance.
The process takes about 30 minutes – the dye is applied precisely, left to develop, and then removed to reveal richer, more defined brows. Unlike regular tints that only color the hair, henna’s skin-staining properties create the illusion of density in sparse patches. The color appears quite dark initially but softens within 24 hours to a more natural shade. For those with sensitive skin, always do a patch test first, as natural doesn’t automatically mean non-irritating.
13. Protect Brows from Sun Damage
Most people diligently apply sunscreen to their face but completely skip their eyebrows. I learned this mistake was contributing to my brow fading after a dermatologist pointed out the sun damage in that area. UV rays break down hair proteins and fade the natural color of brow hairs. Now I apply a clear SPF lip balm directly to my brows when heading outdoors.
This offers protection without the white cast or greasiness that regular sunscreens can leave. For extended sun exposure, I wear sunglasses with a thicker top frame that shades my brow area. This protective approach not only prevents further lightening but also creates a healthier environment for new growth. As a bonus, I’ve noticed fewer fine lines in my brow area since adopting this habit – apparently, those expression lines were actually sun damage forming.