
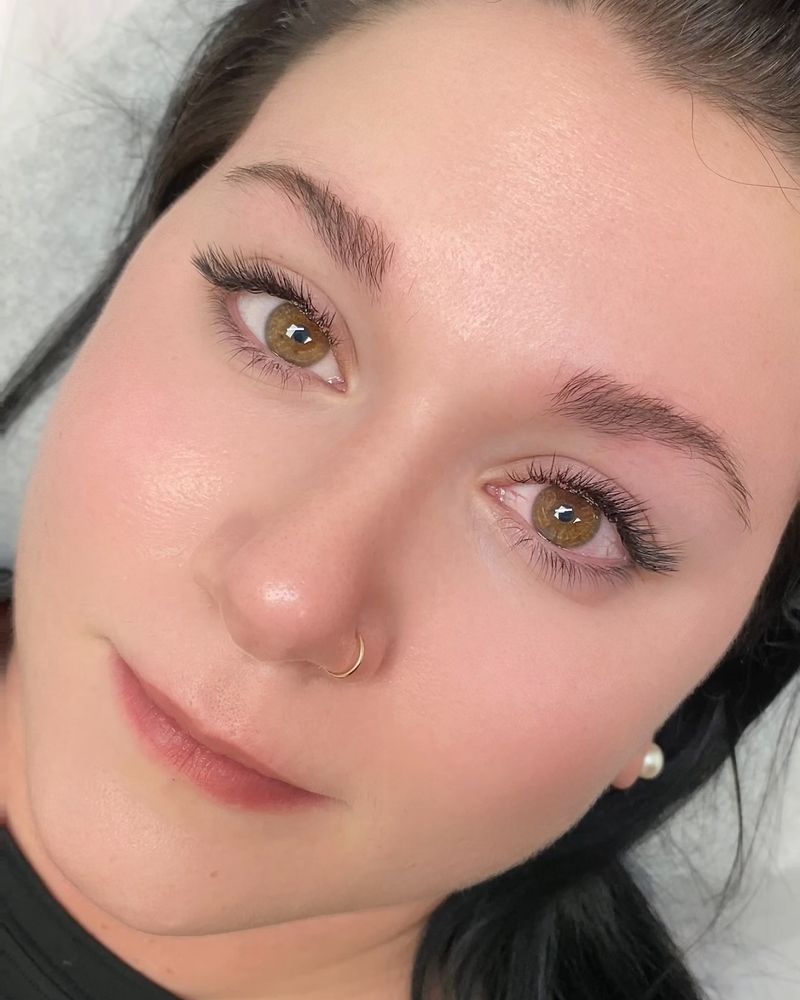
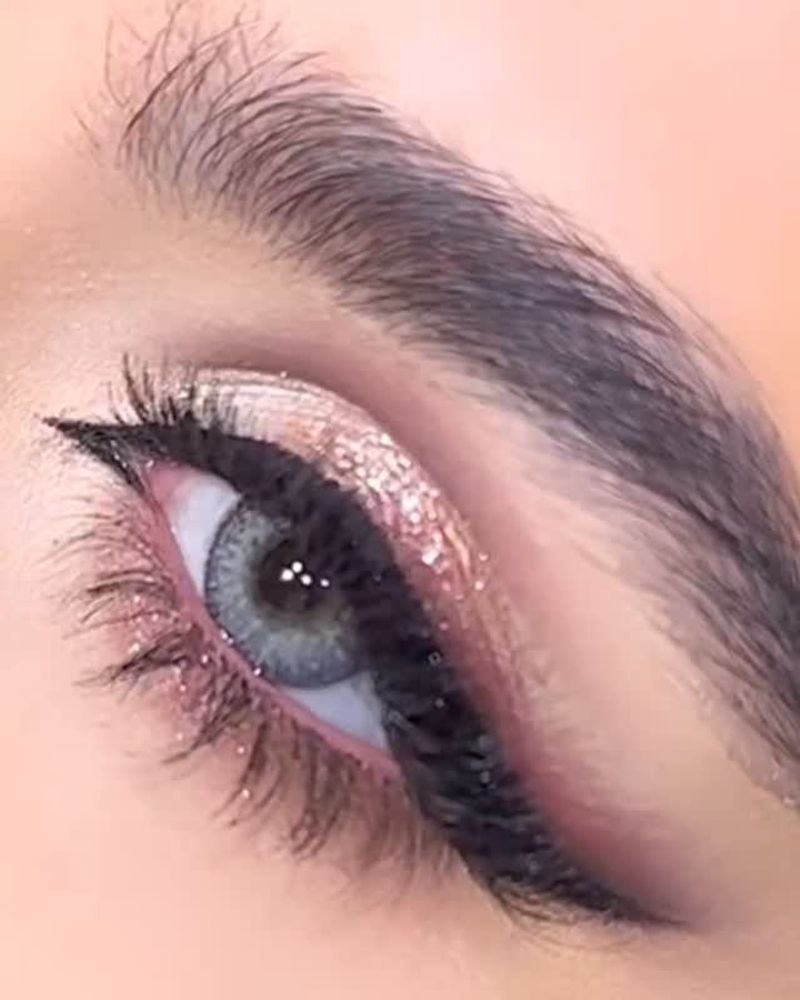
17 Makeup Tips Every Woman With Hooded Eyes Should Know
Hooded eyes are beautiful but can present unique makeup challenges.
When your upper lid seems to disappear beneath extra skin when your eyes are open, traditional makeup techniques often need tweaking.
I’ve spent years figuring out how to make my hooded eyes pop, and I’m excited to share these game-changing tips that actually work.
Say goodbye to smudged eyeliner and hello to eye-opening looks that last all day!
1. Prime Your Canvas First
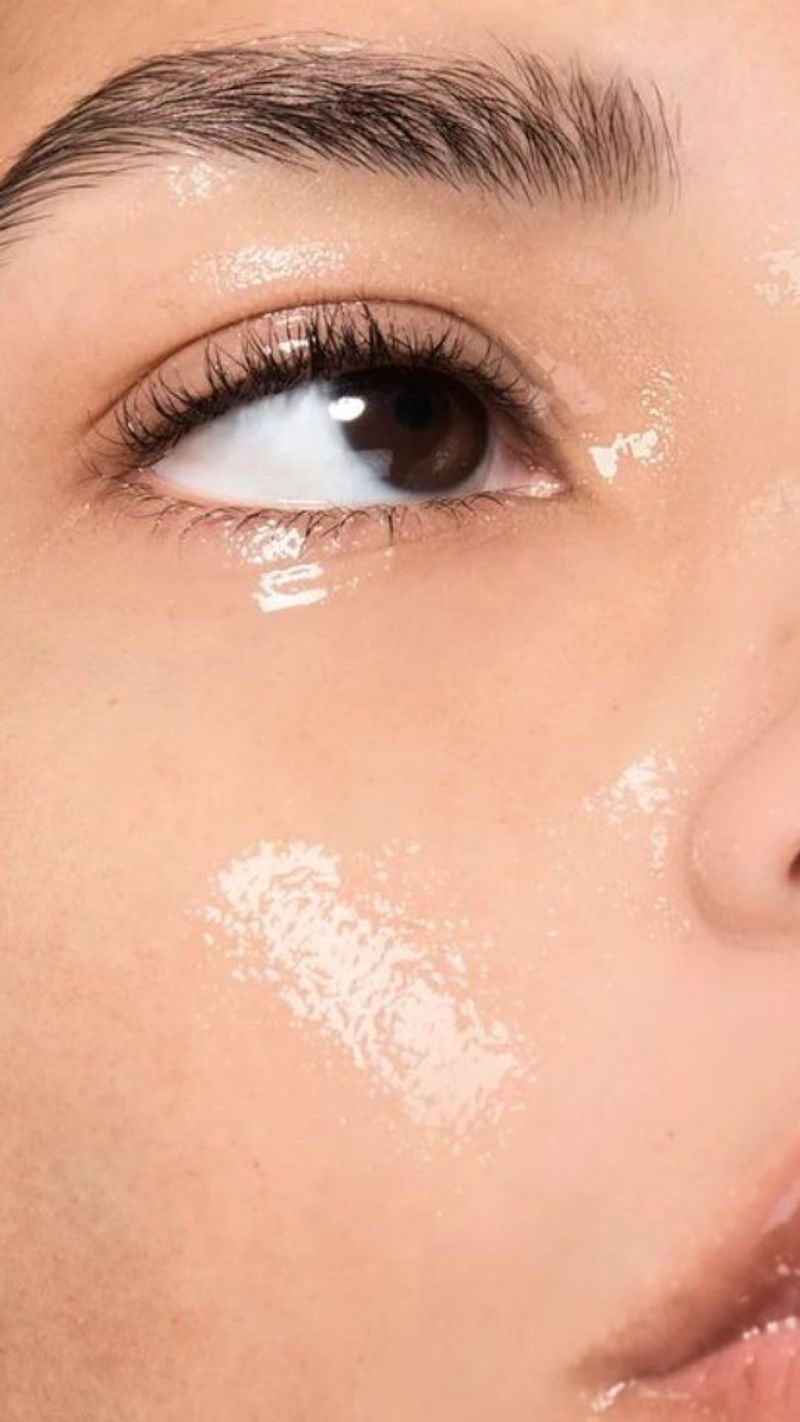
Eyeshadow primer isn’t optional for us hooded-eye folks—it’s absolutely essential. The skin fold in hooded eyes creates natural friction that makes eyeshadow crease and transfer faster than you can say “raccoon eyes.”
I always apply a thin layer from lash line to brow bone, then let it set for about 30 seconds before applying any shadow. This simple step extends wear time by hours and keeps colors true all day.
For extra insurance against creasing, dust a thin layer of translucent powder over your primer. This creates the perfect base for shadow application and prevents that annoying midday shadow migration that hooded eyes are infamous for.
2. Create Your Own Crease

The game-changer that revolutionized my eye makeup was learning to place my crease color slightly above my natural crease. Since hooded eyes hide the natural crease when open, applying shadow directly in the crease makes your hard work disappear. Look straight into a mirror with eyes open and use a matte transition shade to create a soft line where you want your new crease to appear.
This faux crease should be visible even when your eyes are fully open. Blend upward toward your brow bone using windshield-wiper motions with a fluffy brush. Remember, this technique isn’t about changing your eye shape—it’s about enhancing what you have by making your artistry visible.
3. Master the Art of Tightlining
Tightlining changed my makeup game forever! This technique involves applying eyeliner directly to your upper waterline instead of above your lashes. For hooded eyes, this trick is pure magic because it defines your eyes without taking up precious lid space.
Gently lift your upper lid and use a waterproof pencil or gel liner to fill in between the lash roots from underneath. The result is instantly more defined eyes that appear larger, not smaller.
Black works beautifully for dramatic looks, but try a dark brown for daytime—it gives definition without harshness. Bonus tip: setting your tightline with a matching eyeshadow using a tiny angled brush extends wear time dramatically.
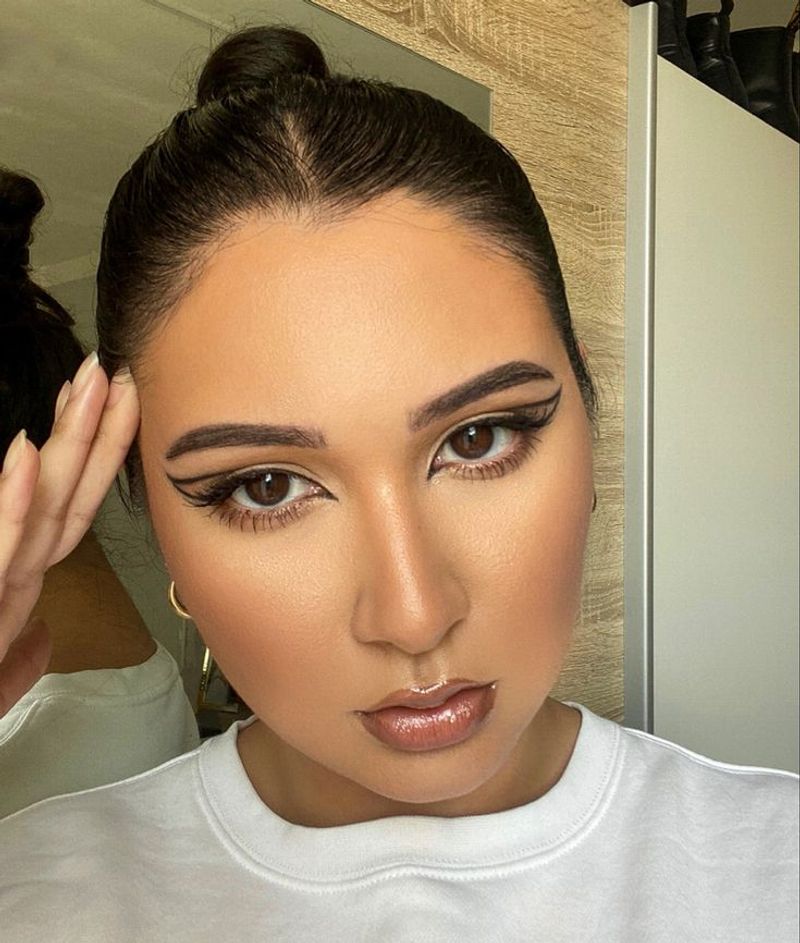
4. Rethink Your Wing Game
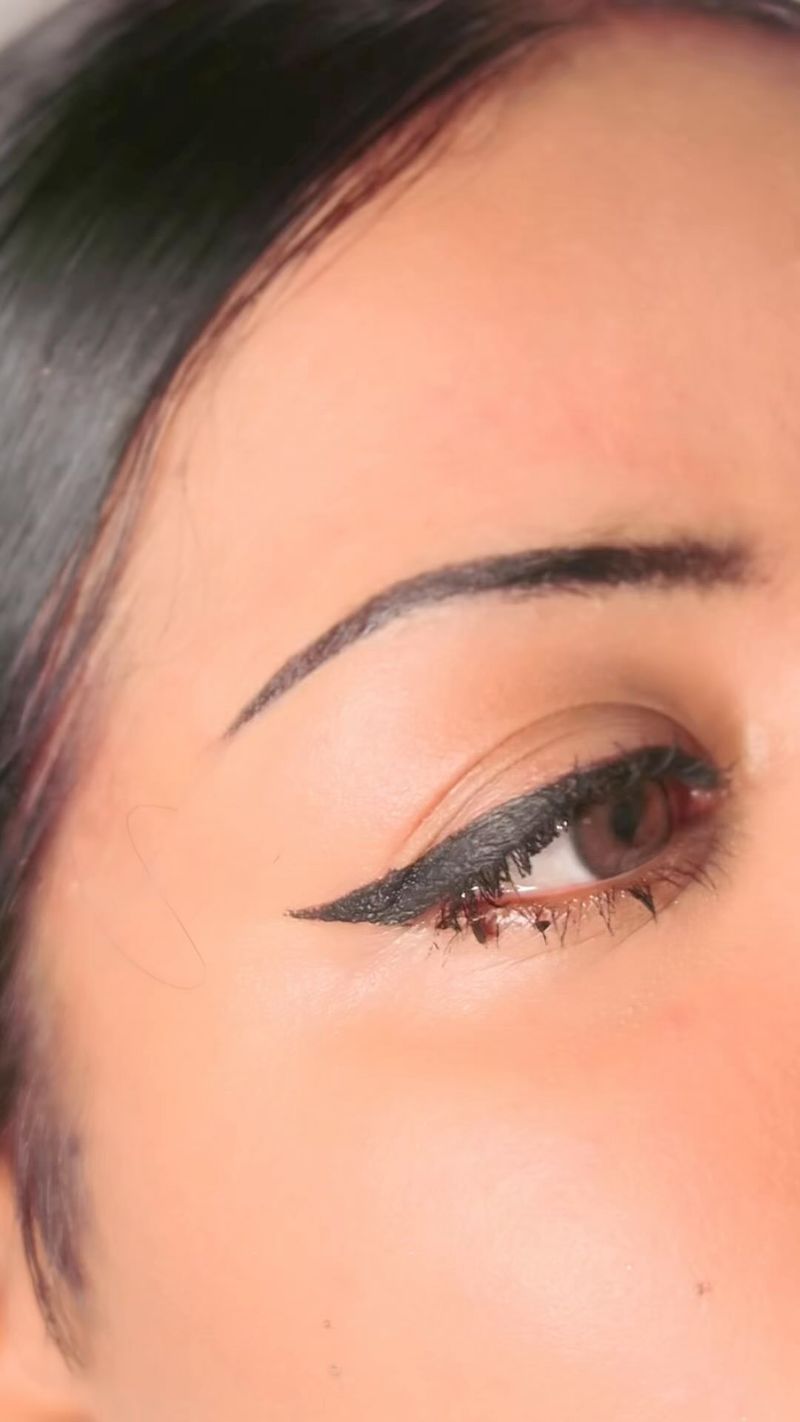
Traditional winged liner often gets lost in the hood or creates a weird disconnected look when eyes are open. My solution? The batwing technique! Draw your wing with eyes open, looking straight ahead.
Start your line thin at the outer corner, then create your wing shape where it will actually be visible above the hood. When you close your eye to connect the line, it might look odd—almost like a lightning bolt—but trust the process.
Once your eyes are open again, you’ll have a perfect wing that’s fully visible. Remember to keep the line ultra-thin along the lash line to maximize lid space. This approach takes practice but delivers wings that actually show up on hooded eyes!
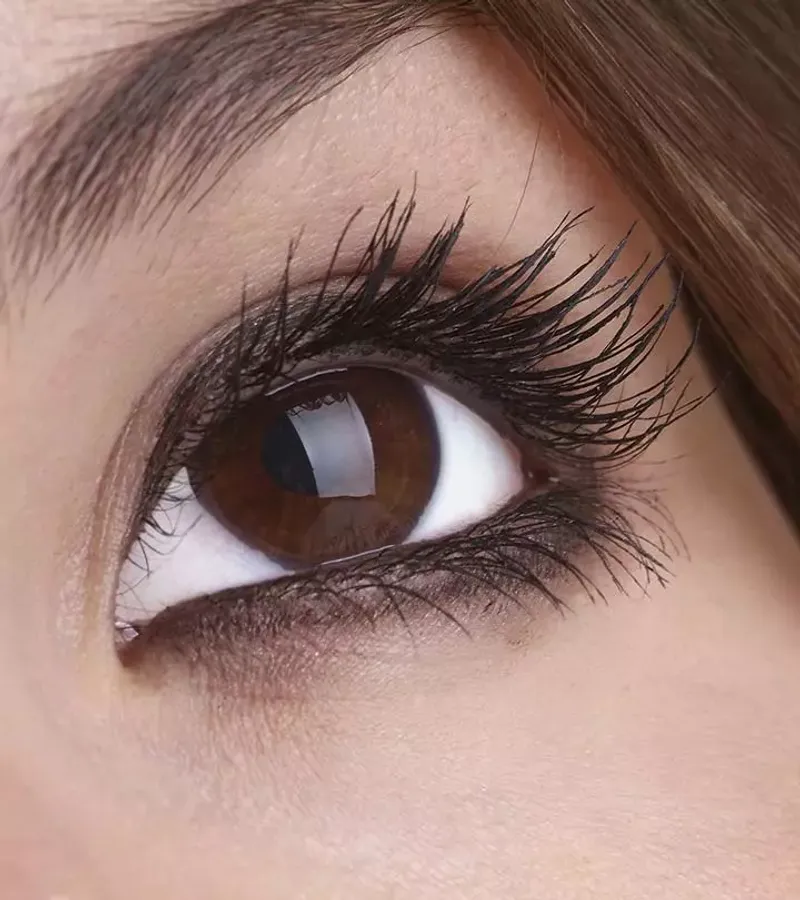
5. Curl Those Lashes—Seriously
Never underestimate the power of an eyelash curler for hooded eyes! Since our lids tend to push lashes downward, curling creates instant eye-opening magic that no shadow technique can match.
Position the curler as close to the lash line as possible without pinching. Pump gently three times—at the base, middle, and tips—for a natural curve rather than a sharp angle. This graduated approach creates a beautiful curl that opens the eye.
Follow immediately with mascara while lashes are still warm from curling. For stubborn straight lashes, try heating your curler for a few seconds with a hair dryer (test on your hand first to avoid burns!) before curling for longer-lasting results.
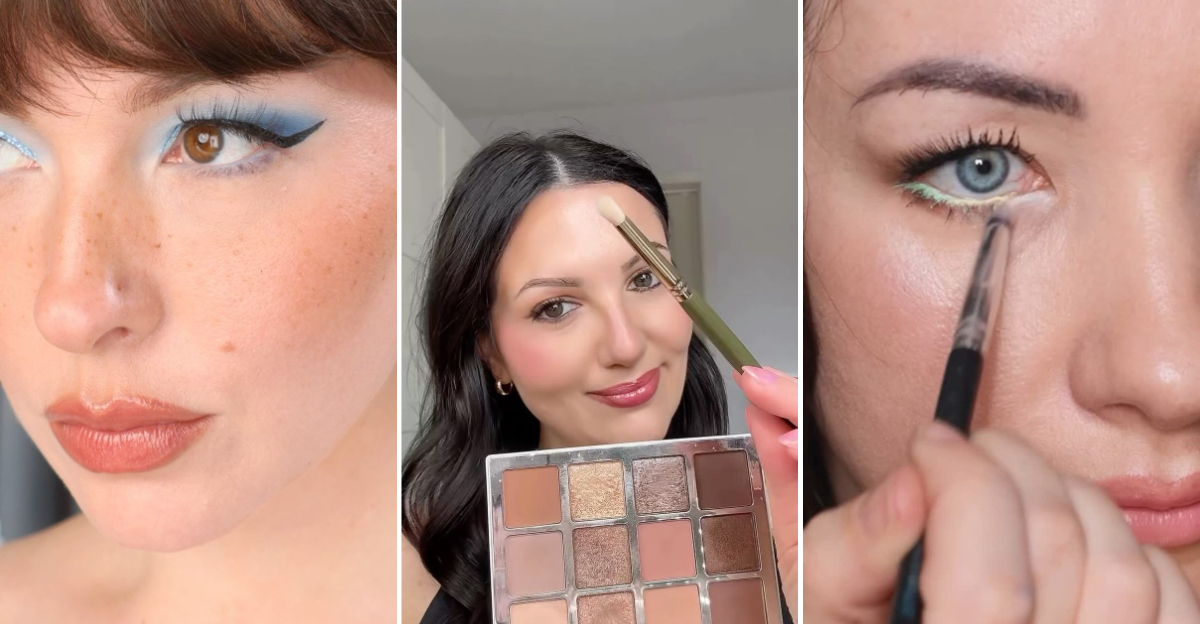
6. Lighten Up Your Inner Corners

Brightening the inner corners of your eyes creates an instant eye-opening effect that works wonders for hooded lids. This simple trick makes eyes appear wider and more awake, even on minimal makeup days.
Apply a light shimmer or metallic shade (nothing too glittery) to the inner third of your eyelid and into the tear duct area. I use my pinky finger for precise application, then blend the edges with a small brush so there’s no harsh line.
For maximum brightening power, choose shades with a slight contrast to your skin tone—champagne works beautifully on medium to deep skin, while pale pink flatters fair complexions. This technique pairs perfectly with darker outer corners for a dimensional look.
7. Deepen the Outer V
Creating depth at the outer corner of hooded eyes adds definition without overwhelming your limited lid space. The classic “outer V” technique works brilliantly when adjusted slightly for our eye shape.
Using a dense, small brush, apply a matte shade darker than your crease color in a sideways V-shape at the outer corner. The key adjustment for hooded eyes: extend the V slightly higher than you think necessary so it remains visible when your eyes are open.
Blend thoroughly but keep the deepest color concentrated at the outer corner. This creates the illusion of lifted, more defined eyes. For daytime, stick with medium browns; for evening drama, deep plums and blacks create stunning dimension without closing the eye.
8. Embrace Matte Shadows

Shimmery shadows can emphasize hood prominence and make eyes appear smaller. Matte shadows, however, create the illusion of depth and recede into the skin, making them perfect for hooded eye sculpting.
Reserve your mattes for crease work and outer corners where you want to create dimension. A medium matte tone blended into the crease (slightly above your natural crease) creates a shadow that gives the impression of more lid space.
Don’t banish all shimmer though! Use it strategically on the center of the lid or inner corner. The contrast between matte dimension and targeted shimmer creates eye-opening magic that photographs beautifully and doesn’t emphasize texture on mature hooded eyes.
9. Try the Halo Eye Technique
The halo eye technique creates the illusion of fuller, rounder eyes by placing lighter shadow in the center of the lid surrounded by deeper tones. For hooded eyes, this center brightness catches light beautifully even when the lid is partially hidden.
Apply darker matte shadow on the inner and outer thirds of your lid, leaving the center bare. Then pat a lighter shimmer or metallic shade directly on the center of your lid. The contrast creates a spotlight effect that makes eyes appear larger and more dimensional.
Keep the center shade concentrated where it will remain visible when your eyes are open. This technique works with any color combination—try bronze and gold for everyday elegance or plum and pink for a romantic twist.
10. Waterproof Everything
Hooded eyes create the perfect environment for makeup transfer and smudging. The friction between your lid and brow bone acts like a built-in makeup remover, breaking down even the most tenacious products throughout the day.
My solution? Waterproof formulas for everything: liner, mascara, and even cream shadows. These formulations resist the oils and moisture that cause transfer and create raccoon eyes by afternoon.
For products that don’t come in waterproof versions, try setting sprays specifically designed for eyes. A light misting after application creates a flexible seal that prevents transfer without making your makeup look cakey or feeling uncomfortable on your delicate eye area.
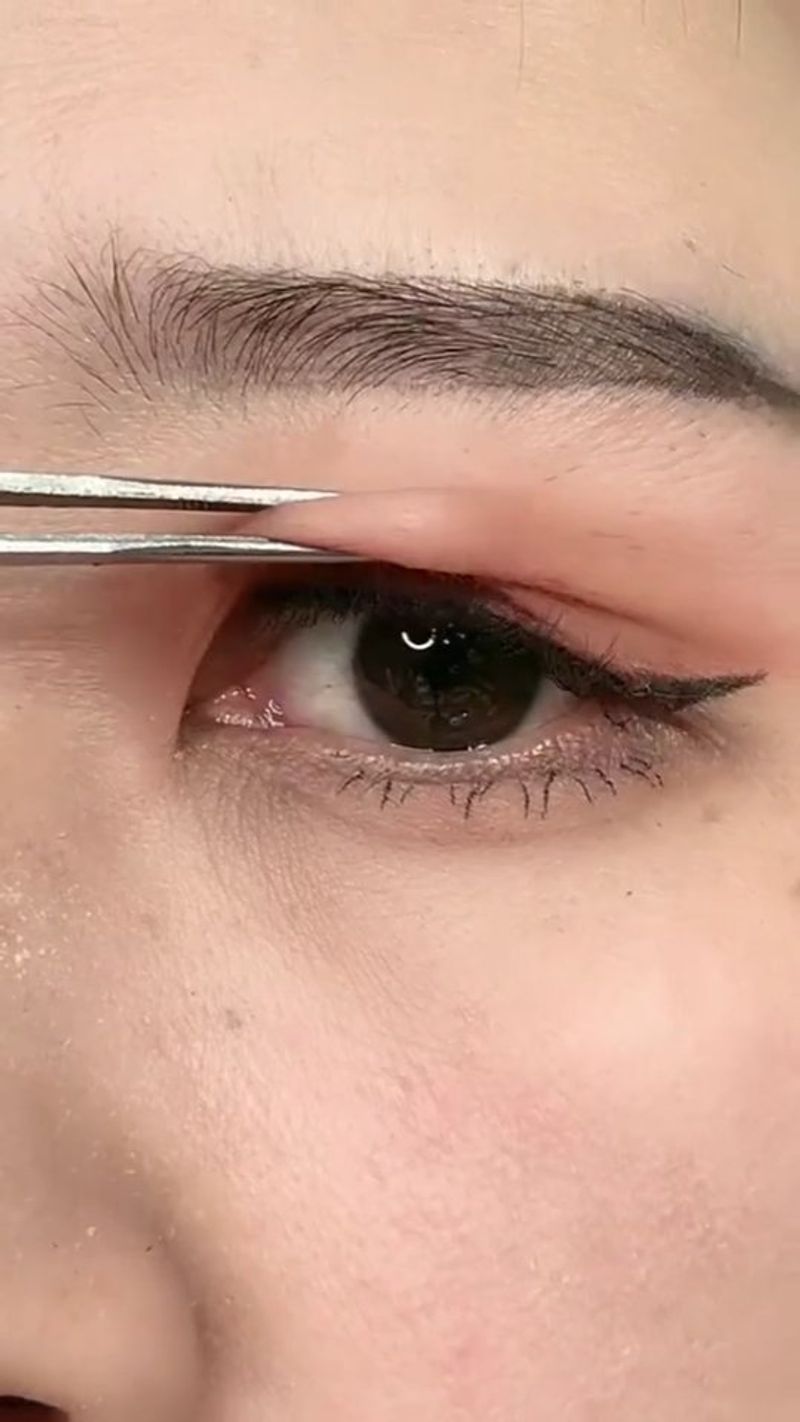
11. Perfect Your Cut Crease
The cut crease technique is practically made for hooded eyes! By creating a sharp contrast between the crease and lid, you establish definition that remains visible even when your eyes are open.
Start with a matte transition shade blended above your natural crease. Then use a precise brush to apply a deeper shade right where you want your new crease line, but don’t blend upward—keep the line relatively sharp.
The magic happens when you apply a lighter shade below this line, creating contrast. For added drama, carve out the lid with concealer before applying a shimmer shade. This technique might look extreme when your eyes are closed, but opens up beautifully when your eyes are open.
12. Frame With Perfect Brows
Well-groomed, slightly lifted brows create the illusion of more lid space and draw attention upward away from hooding. The key is creating a soft arch that peaks just past the outer corner of your iris.
Fill sparse areas with hair-like strokes using a fine pencil or powder. Focus on creating definition at the tail end, which helps visually lift the entire eye area.
Avoid overly rounded shapes that can emphasize hooding. Instead, aim for a soft angle with the highest point of your arch positioned to open up the eye area. Finish with clear brow gel brushed slightly upward at the front and outward toward the tail for a subtle lifting effect that complements your eye makeup.
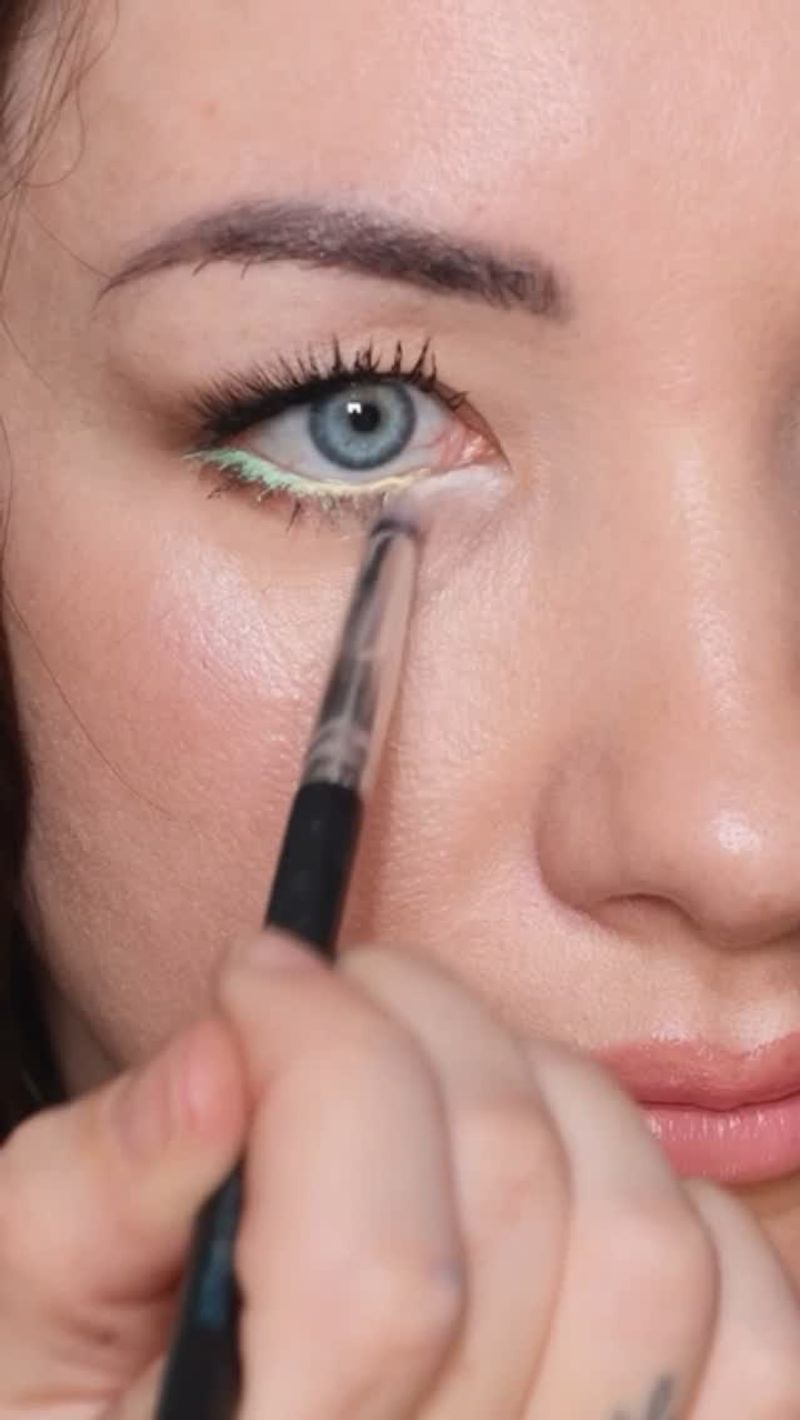
13. Keep Lower Lash Line Light
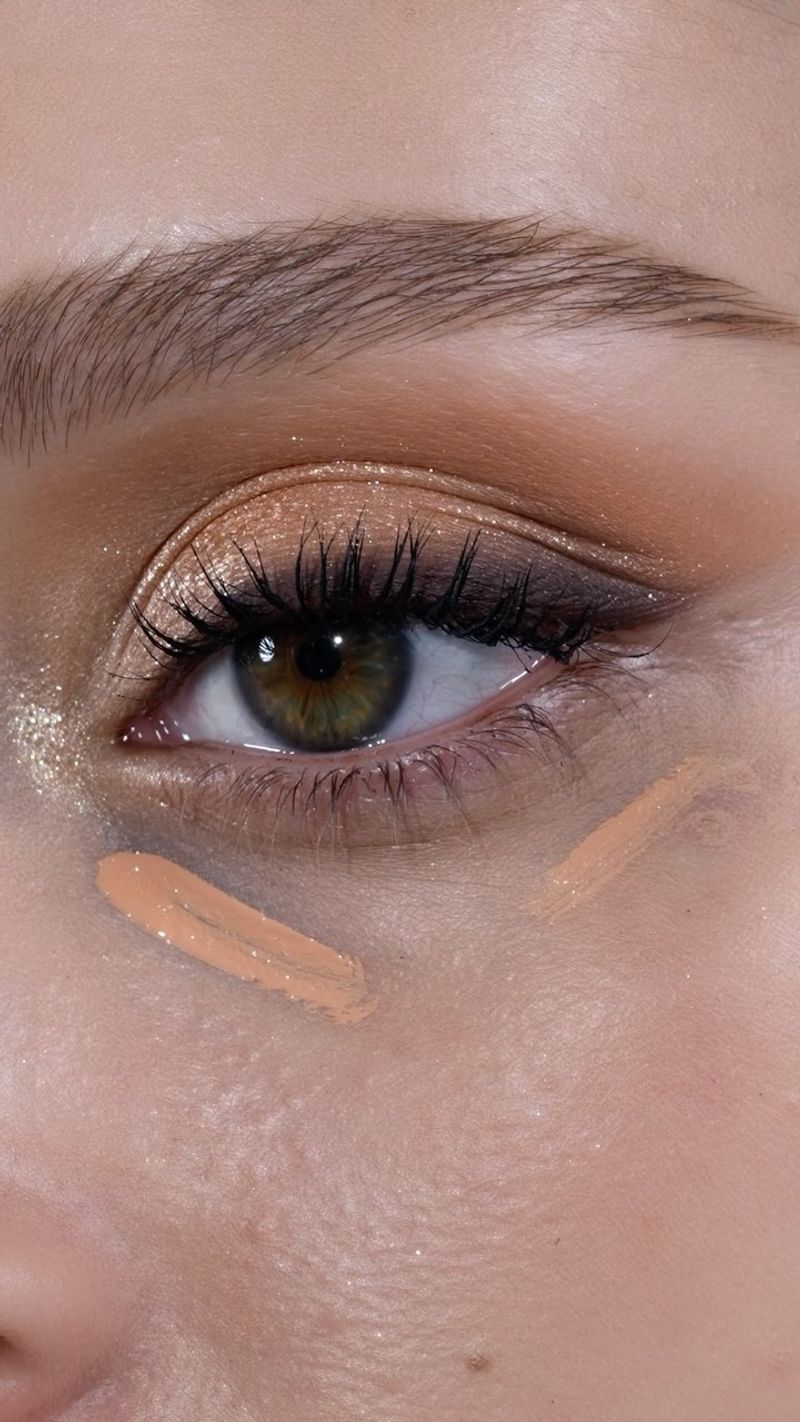
Heavy makeup on the lower lash line drags hooded eyes downward, creating a tired look. My rule? Whatever intensity you use on your upper lid, cut it by half for your lower lash line.
Use a small smudge brush to apply eyeshadow (not liner) along the lower lash line, keeping color concentrated close to the lashes. Blend thoroughly for a soft, smoky effect rather than a harsh line. For the waterline, skip black entirely—opt for nude or white to brighten, or a soft brown for subtle definition.
Leave the inner third of your lower lash line completely bare for an eye-opening effect. This prevents that closed-in look that happens when dark colors encircle the entire eye, especially important for smaller hooded eyes.
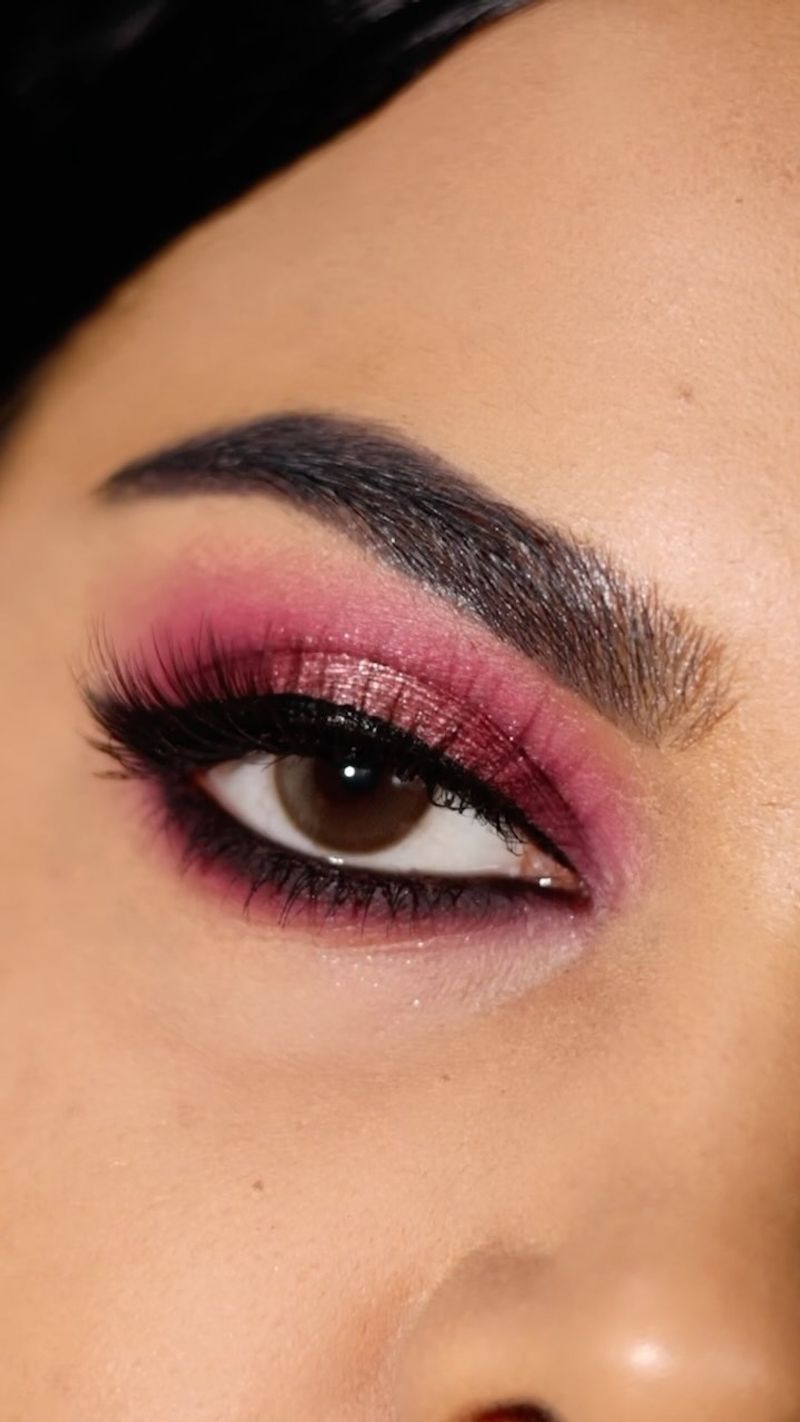
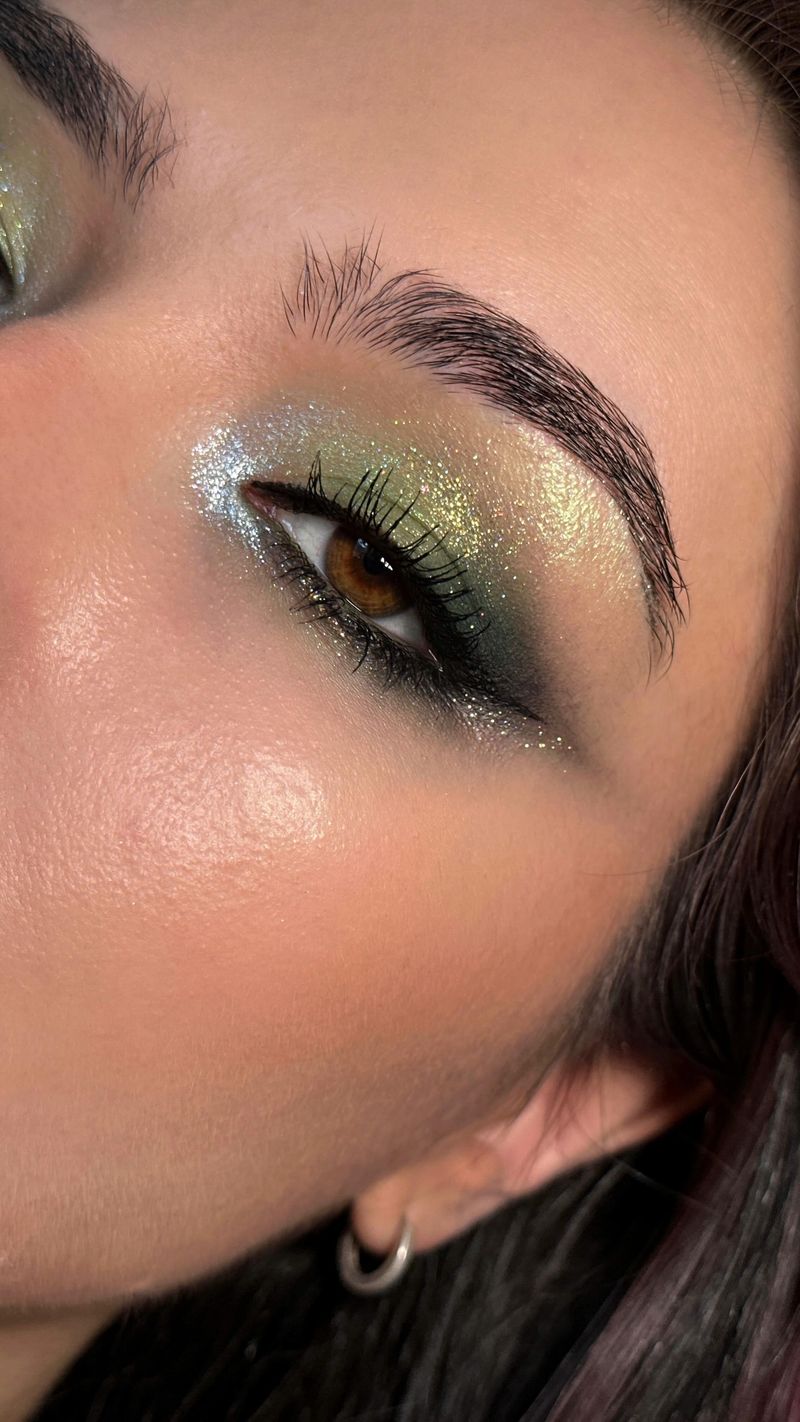
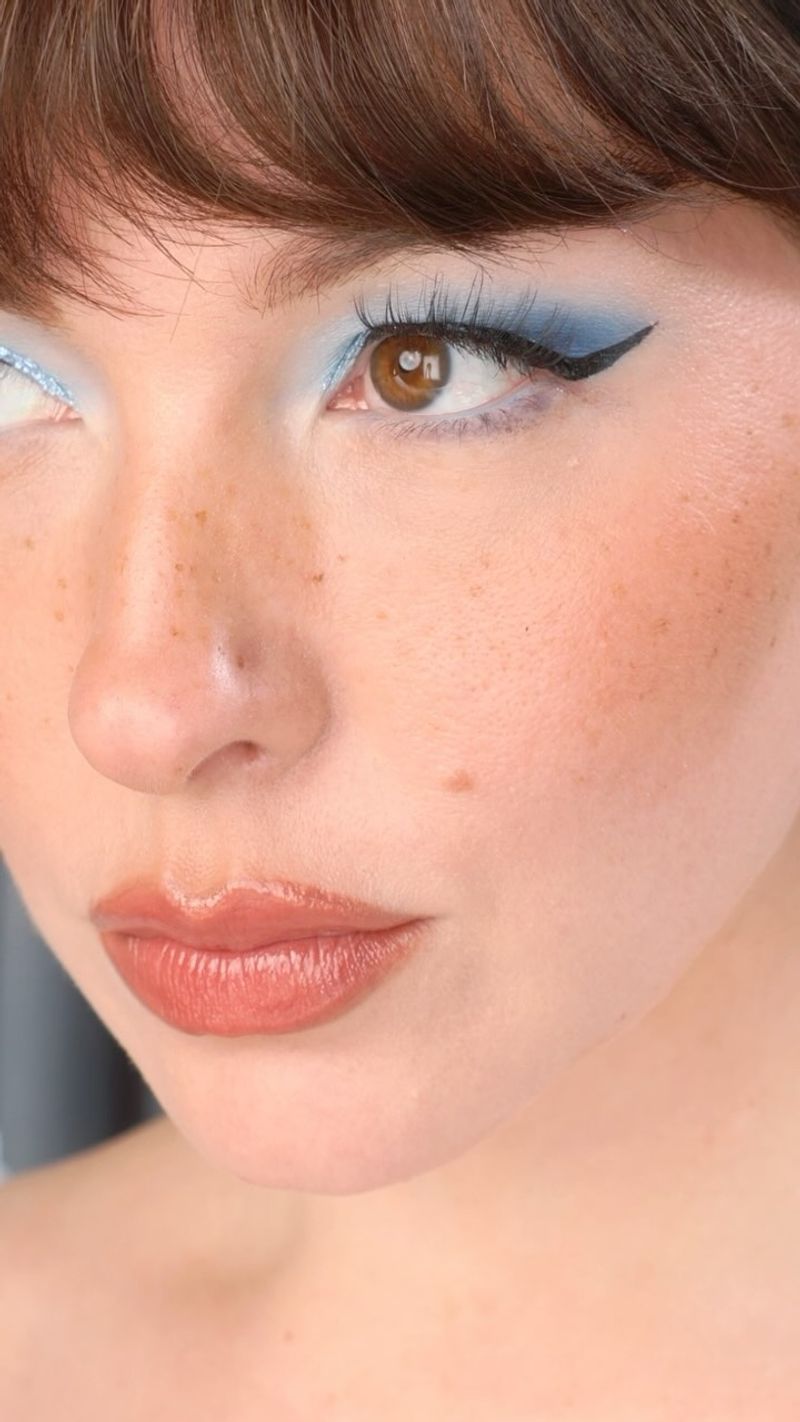
14. Strategically Place Shimmer
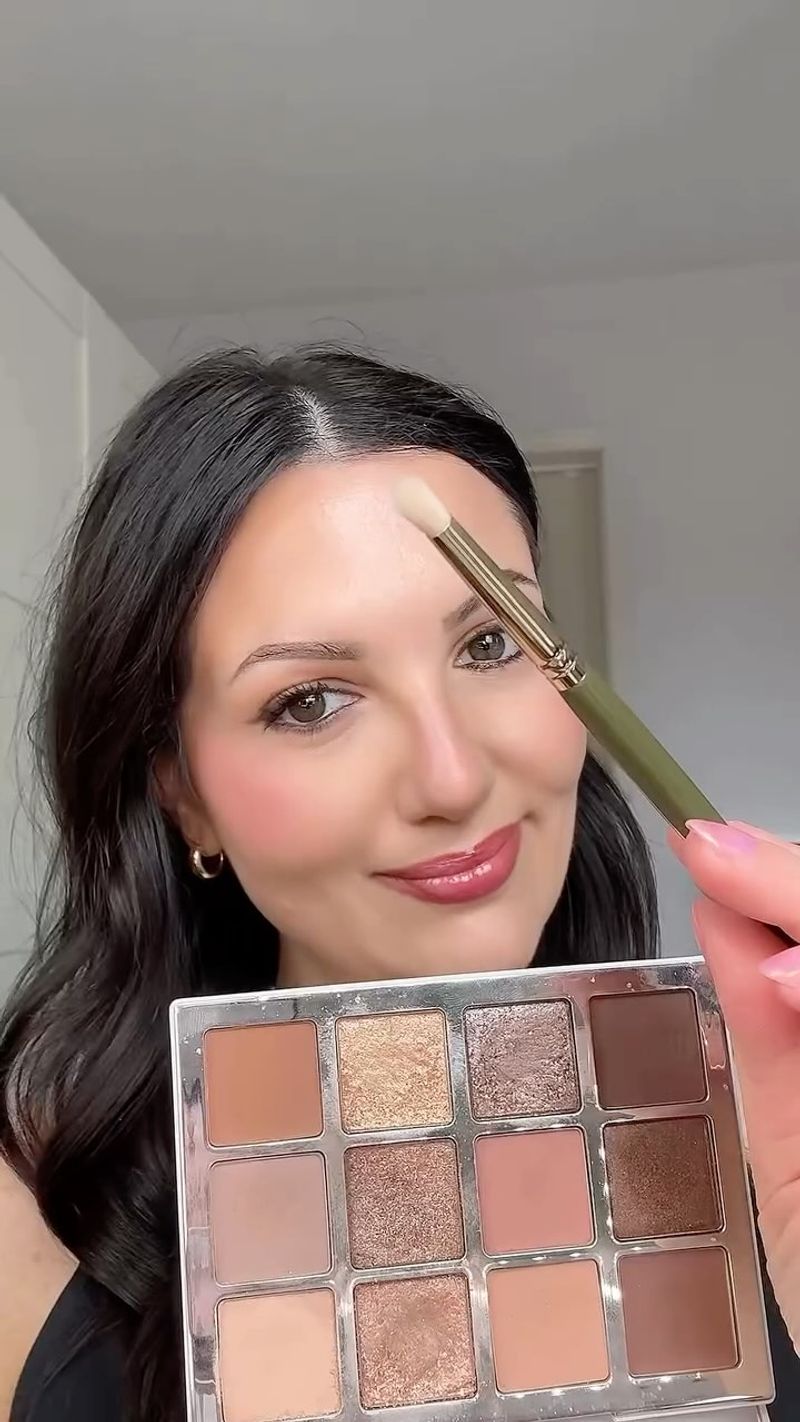
Contrary to popular belief, hooded eyes can absolutely rock shimmer—it’s all about strategic placement! The trick is avoiding shimmer directly in the crease area where it can emphasize hooding.
Apply shimmers on the center of the mobile lid where they catch light when you blink or look down. The inner corner and the very center of the lid are perfect spots for brighter shimmers that create dimension without emphasizing texture.
For a multidimensional look that flatters hooded eyes, try the gradient approach: use mattes in the crease, satins on the lid, and a pop of true shimmer or metallic only at the center of the lid and inner corner. This creates beautiful light play that enhances rather than fights your natural eye shape.
15. Try Floating Liner
Floating liner is a game-changer for hooded eyes! Instead of fighting to create a perfect line along the lash line (which disappears when your eyes are open), floating liner is applied where it will actually be seen.
Look straight ahead into a mirror and draw your liner shape slightly above your crease, following the natural curve of your eye. When open, this creates the illusion of a perfect line; when closed, there’s a gap between your lashes and the liner.
Start with a thin line and build gradually—it’s easier to add than remove. This technique works beautifully with colored liners for a fun pop or classic black for drama. The best part? No more transfer issues since the liner never touches your hood!
16. Master Single-Shadow Looks
On busy mornings, complex eye looks aren’t practical. Good news: hooded eyes can look amazing with just one shadow! The key is choosing versatile midtone matte shades that add definition without needing precise blending.
Taupe, soft brown, or muted mauve work beautifully. Apply with a fluffy brush slightly above your natural crease, then use what’s left on the brush to softly define the lower lash line. The result is polished definition that takes literally seconds.
For dimension, use your finger to press the same shadow more intensely at the outer corner and lash line. This creates natural-looking depth without additional products. These one-and-done looks are perfect for everyday wear and create the illusion of more lid space with minimal effort.
17. Balance Your Lash Game
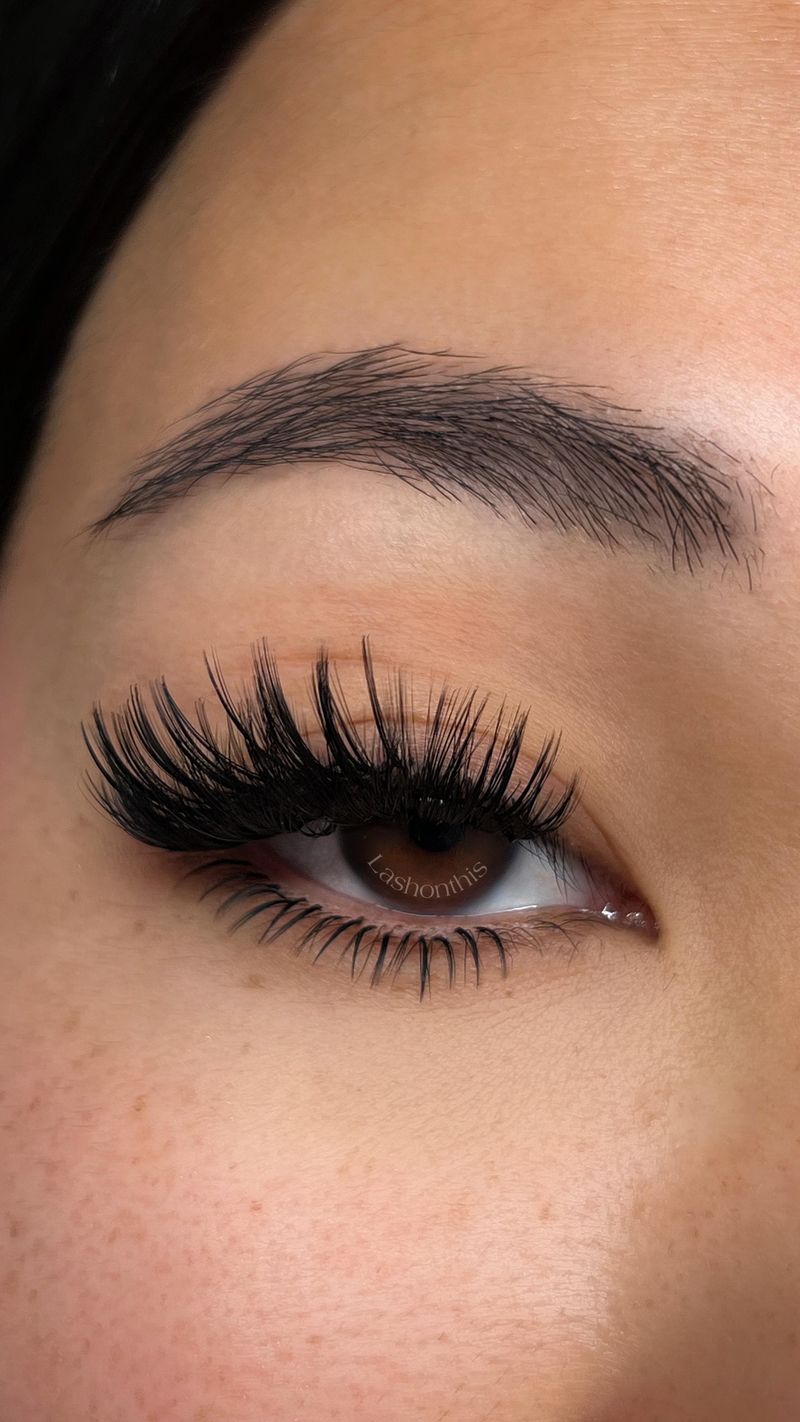
False lashes can be tricky with hooded eyes—too long and they hit your brows, too full and they overwhelm your lid space. The secret is choosing the right shape and placement for your specific hood.
Look for lashes with a shorter inner corner and more length at the outer edge. This opens the eye without emphasizing hooding. Individual lashes or clusters give you control to customize your look, especially when placed primarily on the outer two-thirds of the eye.
For everyday wear, try half-lashes placed at the outer corners only. They add beautiful lift and definition without the heavy feeling of a full strip. Magnetic lashes work wonderfully for hooded eyes too, since they don’t require messy glue that can transfer to your hood.