
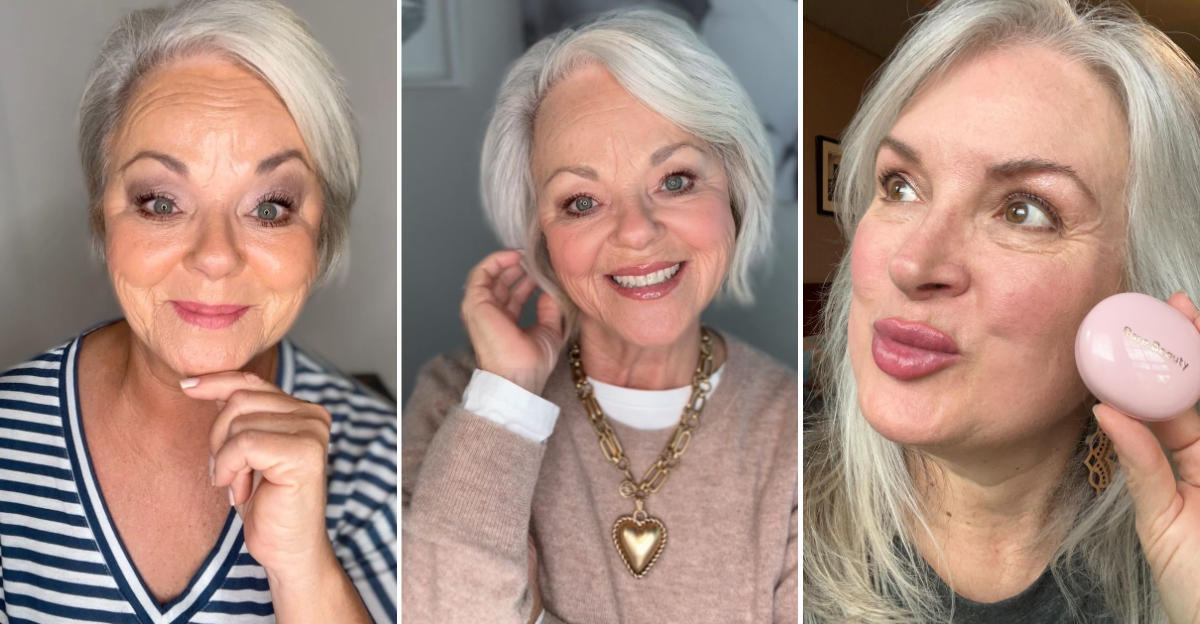
18 Makeup Ideas That Flatter Women Over 60 Beautifully
Makeup doesn’t have age limits, but our beauty needs change over time.
As we cross the 60 threshold, skin texture shifts, facial contours evolve, and what once worked might need a refresh.
I’ve gathered 18 makeup approaches that celebrate mature beauty without trying to erase the years.
These techniques enhance your natural radiance while addressing common concerns like dryness and texture changes.
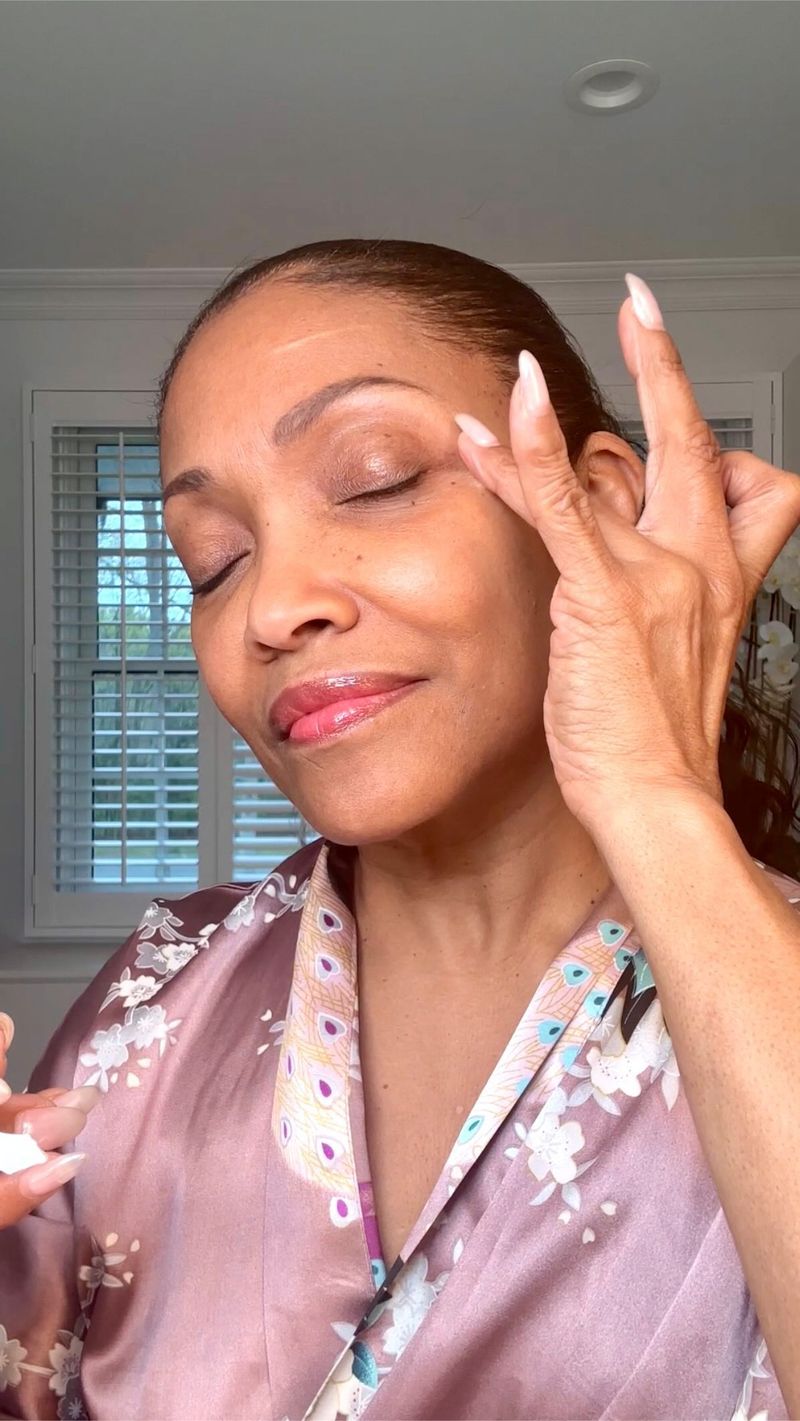
1. Hydrating Primer As Foundation’s Best Friend
My skin practically drinks up hydrating primer before foundation these days. This game-changer creates a smooth canvas that prevents makeup from settling into fine lines while adding a subtle glow underneath. I’ve tossed those silicone-heavy primers that just sit on top of skin.
Instead, hyaluronic acid primers give my makeup serious staying power without that dreaded cakey look by afternoon. They’re basically moisture magnets. Pro tip: Press primer gently into skin rather than rubbing. This preserves skin’s natural texture and helps foundation glide on more seamlessly. Your makeup will look fresher longer, even if your skin tends toward dryness.
2. Creamy Foundation Formulas That Move With Your Skin
I switched to liquid or cream foundations with dewy finishes, and my complexion has never looked better. These formulations adapt to skin movement rather than cracking or settling into lines throughout the day. The key is choosing foundations labeled as radiant, luminous, or hydrating.
They contain light-reflecting particles that create a subtle glow without obvious shimmer or glitter – nobody needs that disco-ball effect at our age! Apply with a damp makeup sponge using gentle bouncing motions. This technique deposits just enough product while ensuring it melds with skin rather than sitting on top. Remember, the goal isn’t to mask every spot but to create an even canvas.
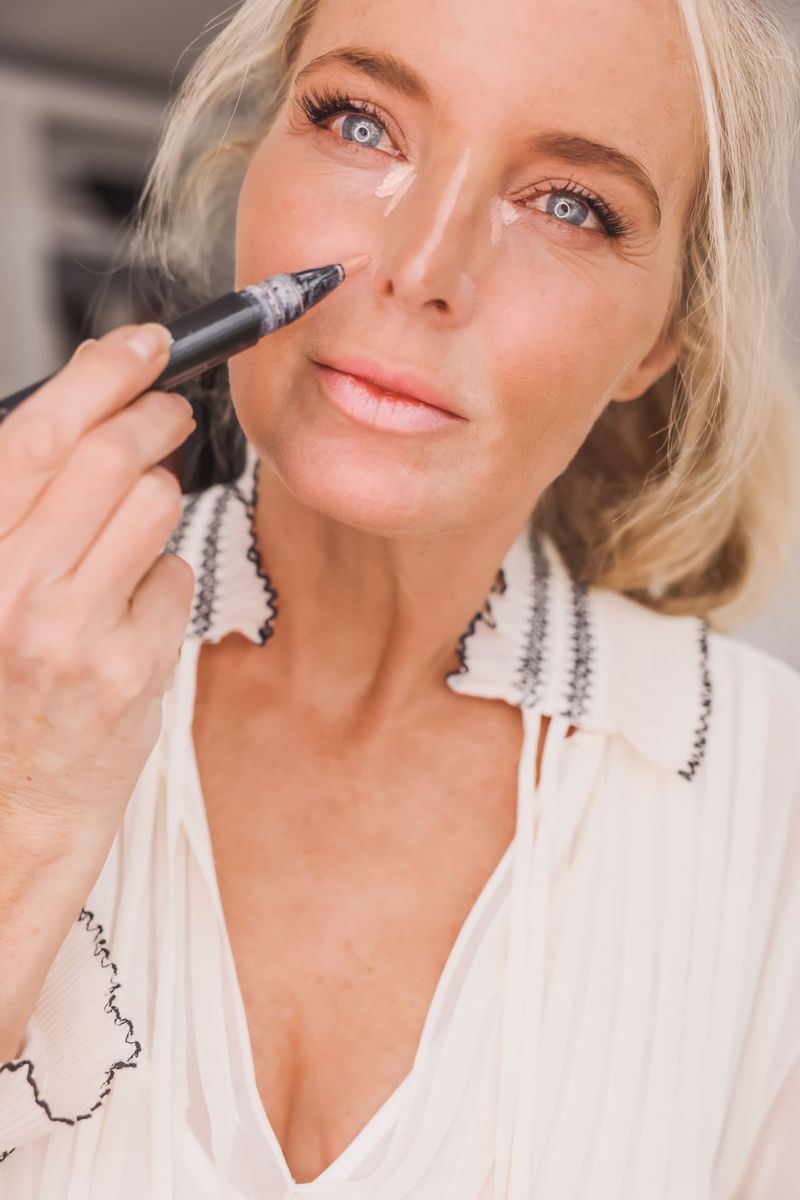
3. Strategic Concealer Placement
Gone are the days of painting concealer across half my face. Now I use it only where truly needed – mainly the inner corners of eyes and around the nose where redness often appears. Choosing a lightweight formula prevents that dreaded creasing effect. I’ve found ones with satin finishes work wonderfully, offering coverage without exaggerating texture.
Avoid matte concealers which can look flat and aging. The application technique matters enormously. I tap product gently with my ring finger to warm and melt it into skin. This creates a natural finish that brightens without drawing attention to fine lines. Remember that less is definitely more when it comes to concealer after 60.
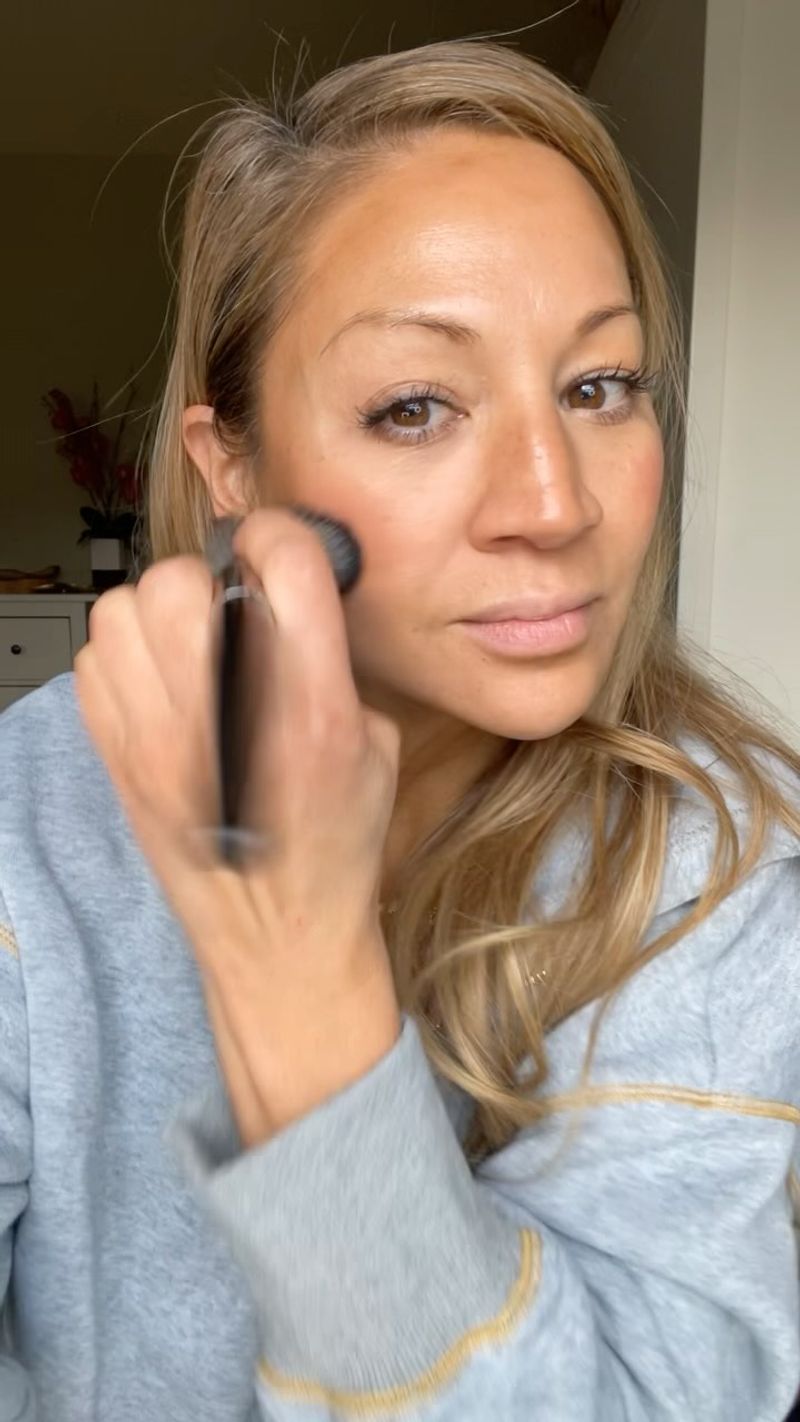
4. Cream Blush For A Natural Flush
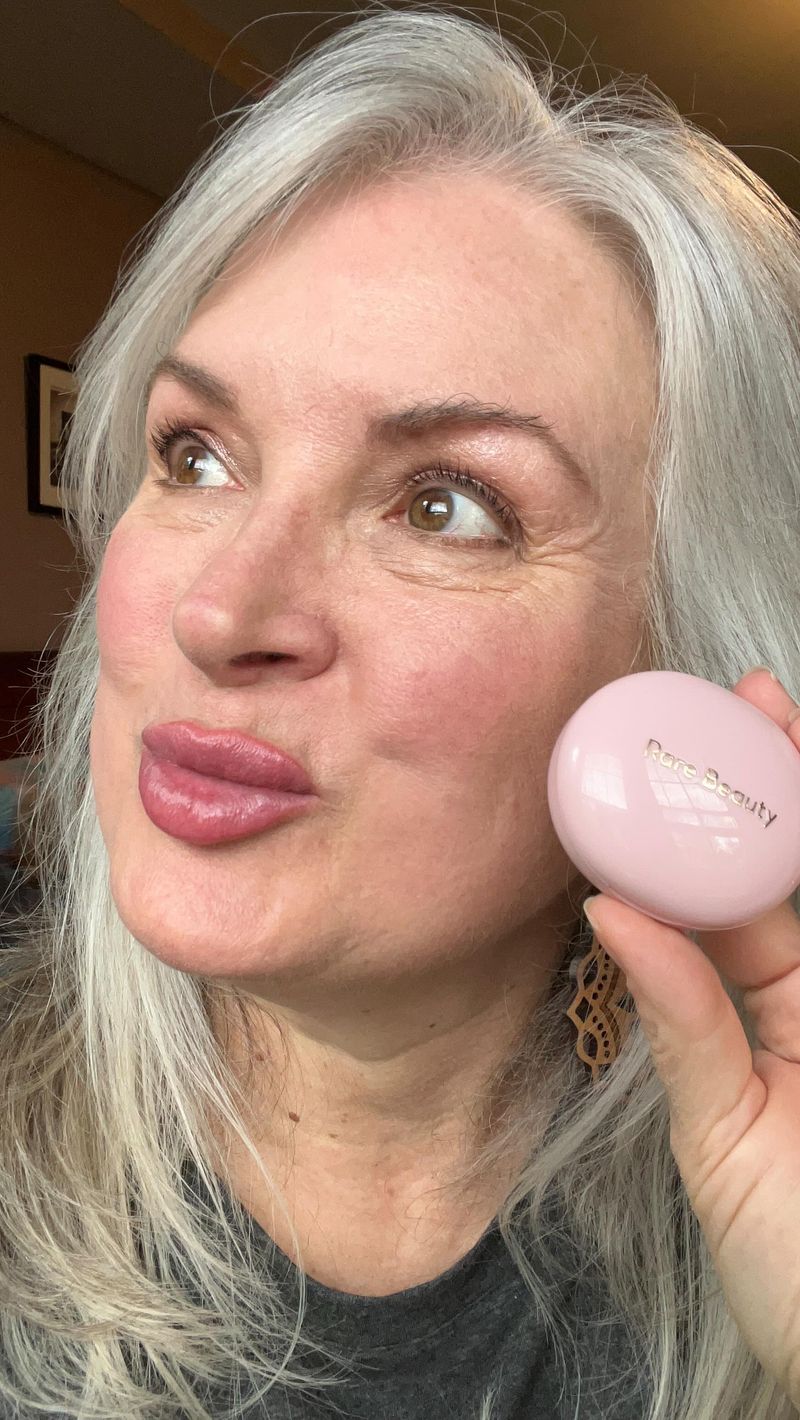
Cream blush has become my secret weapon for instant youthfulness. Unlike powder formulas that can look flat on mature skin, cream versions melt into skin creating a natural-looking flush from within. Application placement matters tremendously. I’ve found applying slightly higher on the apples of cheeks and blending upward toward temples lifts the face visually.
The subtle sheen from cream formulas catches light beautifully without emphasizing texture. Peach and soft rose tones work magic on most skin tones after 60. These warm hues bring life back to the face without looking artificial or overdone. For easiest application, I warm the product between fingertips first, then pat gently onto skin for that “I just took a brisk walk” healthy glow.
5. Softly Defined Brows Without Harsh Lines
Brows frame our faces, but harsh, drawn-on arches scream “makeup” rather than natural beauty. I’ve embraced a softer approach using tinted brow gels or soft pencils in ashy tones that match my natural color. The technique involves short, feathery strokes that mimic actual hair. This creates dimension without that obvious “filled-in” look.
Remember that brows naturally thin as we age, so trying to recreate the bold brows of our youth often looks jarring. Focus on defining the arch and extending slightly at the tail if needed. This subtle lift opens the eye area visually without appearing overdone. For sparse areas, a touch of powder applied with an angled brush works wonders to create soft density without harsh edges.
6. Cream Eyeshadow In Neutral Tones
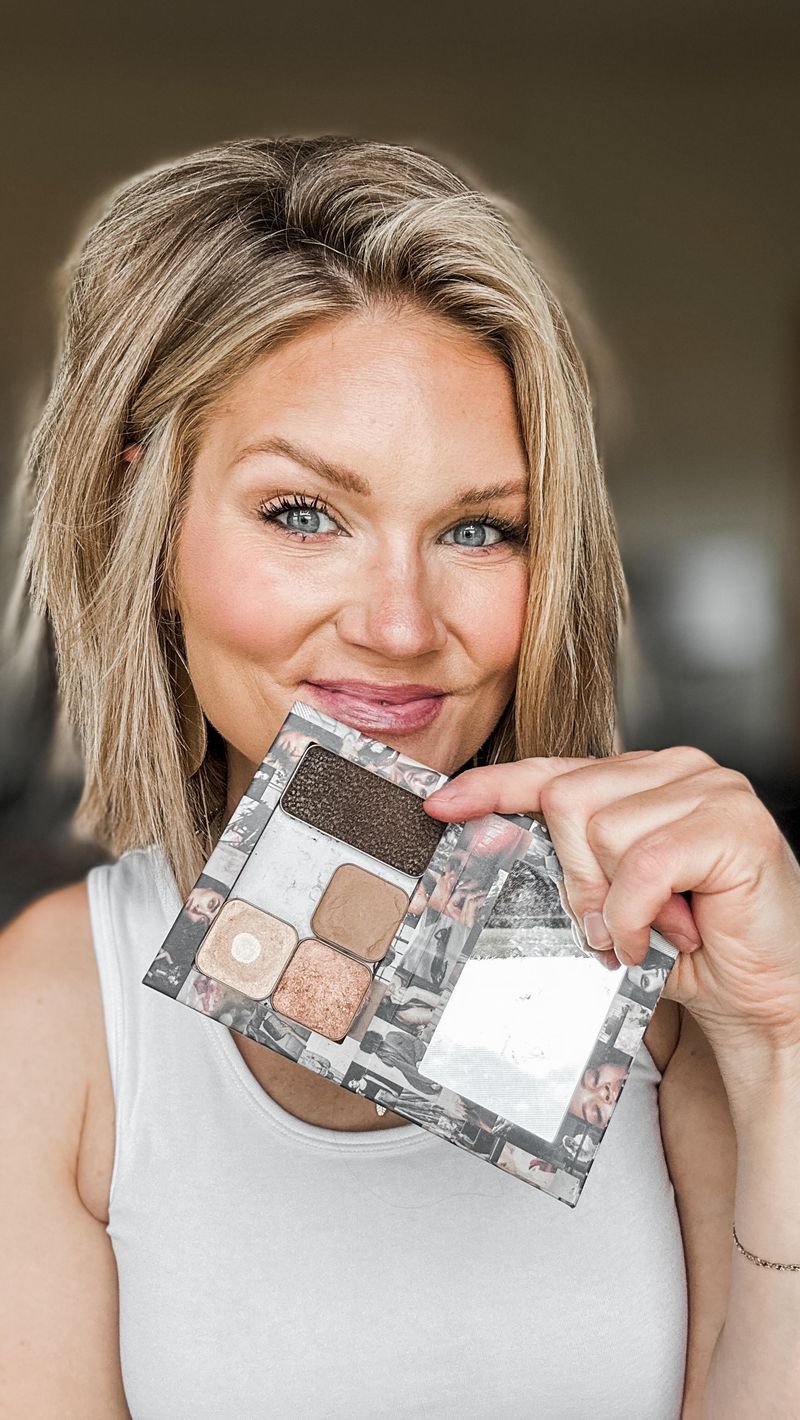
Powder eyeshadows often accentuate crepey lids, which is why I’ve switched to cream formulas. They glide over texture instead of emphasizing it, while providing subtle definition that lasts all day. Neutral taupe, soft bronze, and muted mauve tones have become my go-to colors. These shades enhance eyes without competing with other features or looking too “done.”
The goal is definition, not drama. Application is wonderfully simple. I use my ring finger to tap product onto the lid, focusing color at the lash line and blending upward. This creates dimension without harsh lines. For special occasions, I might add a touch of satin-finish shadow (never glitter) at the center of the lid to catch light beautifully.
7. Tightlining Instead Of Heavy Eyeliner
Heavy eyeliner can look harsh and dated on mature eyes. I’ve switched to tightlining – applying liner between the lashes rather than above them – for subtle definition without the severity. This technique makes lashes appear thicker while defining eyes in the most natural way possible. I use a waterproof gel or cake liner with a thin brush, pressing color into the upper lash line with tiny dotting motions.
For those with hooded eyes like mine, tightlining prevents that annoying transfer of liner to the upper lid. The result is polished but not obvious – exactly what makeup should be after 60. Skip lining the entire lower lash line, which can drag eyes downward; instead, a tiny bit at the outer third adds balance.
8. Lash-Defining Mascara Application
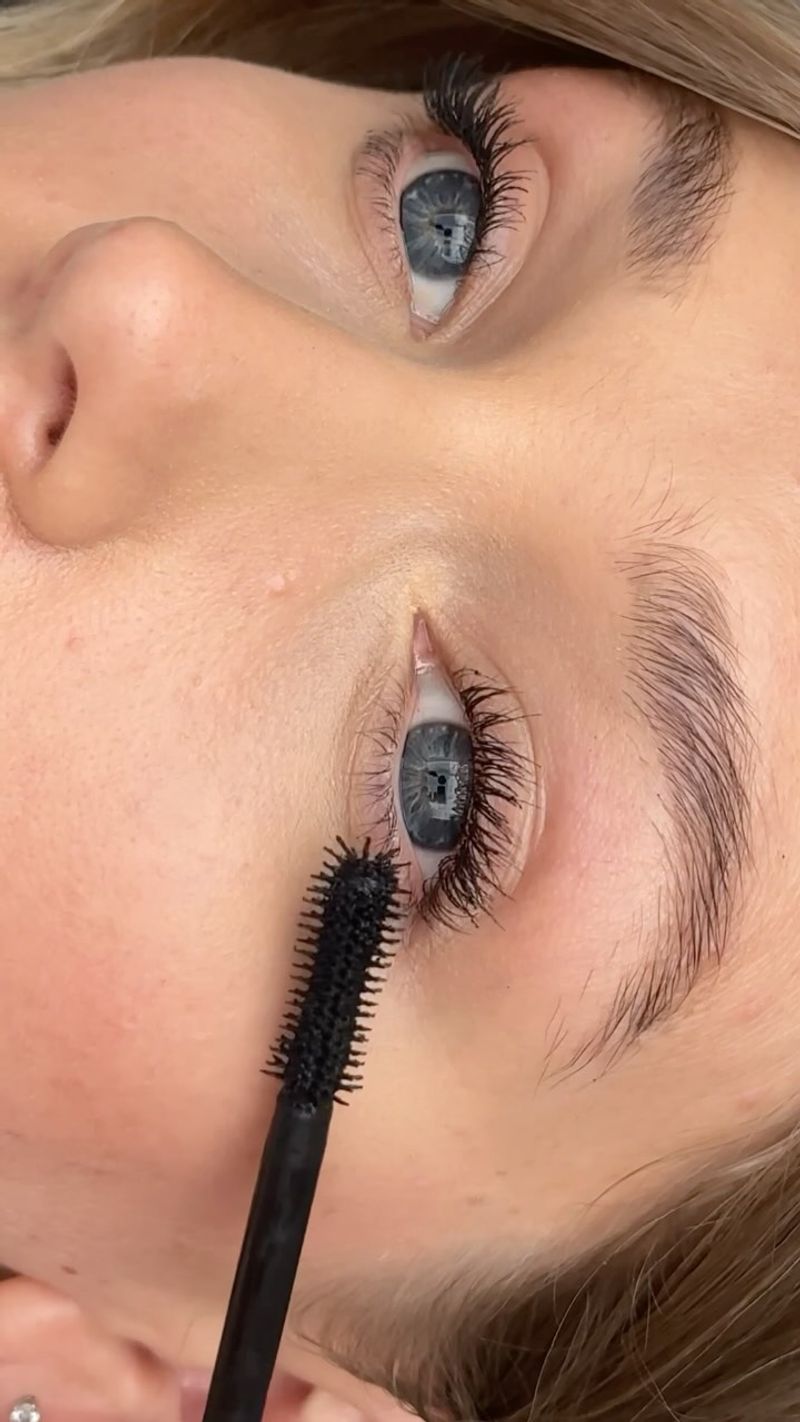
Mascara remains my desert-island makeup product, but my application has evolved. Rather than gunking on multiple coats, I now focus on defining each lash with a lightweight, lengthening formula. The wand matters enormously. Smaller, more precise brushes allow me to reach every lash without smudging.
I wiggle the wand at the base of lashes then pull upward, which creates natural-looking definition without clumping. Brown-black mascara has replaced harsh black in my routine. This softer tone defines eyes beautifully without the stark contrast that can look aging. For stubborn straight lashes, I’ve found that curling before application makes a world of difference in opening up the eye area – just be gentle to avoid breakage.
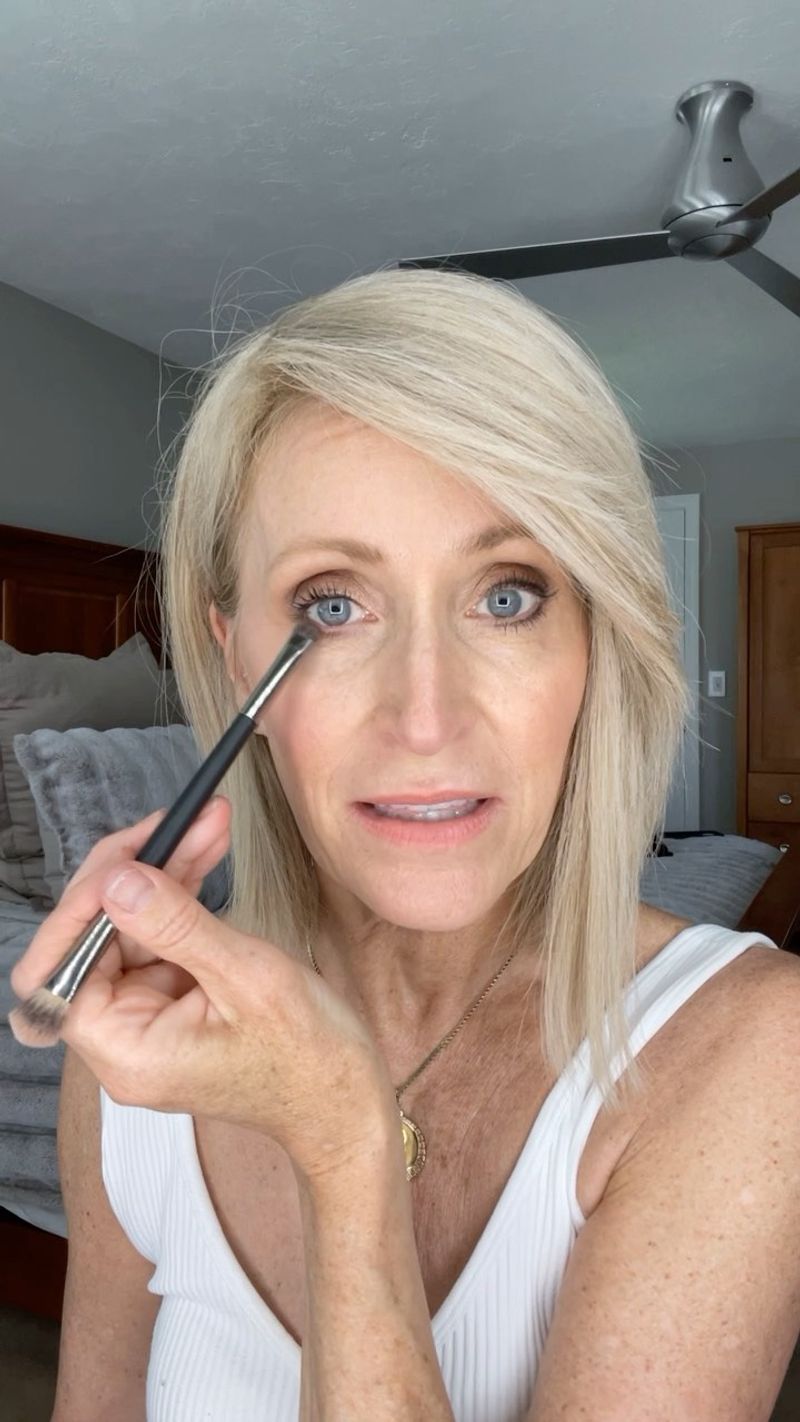
9. Inner Corner Brightening
A tiny dab of light-reflecting shadow at the inner corners of eyes instantly refreshes my entire face. This simple trick creates the illusion of wider, more awake eyes without obvious makeup. I avoid frosty or glittery products which can emphasize texture. Instead, satin-finish champagne or soft pearl tones work beautifully. The key is applying just a touch with a small brush or fingertip, then gently blending edges.
This technique pairs wonderfully with minimal eye makeup for daytime.
When eyes look brighter, the entire face appears more rested and youthful. For maximum effect, I make sure to apply concealer to the inner corner area first to neutralize any darkness, then top with the brightening shadow.
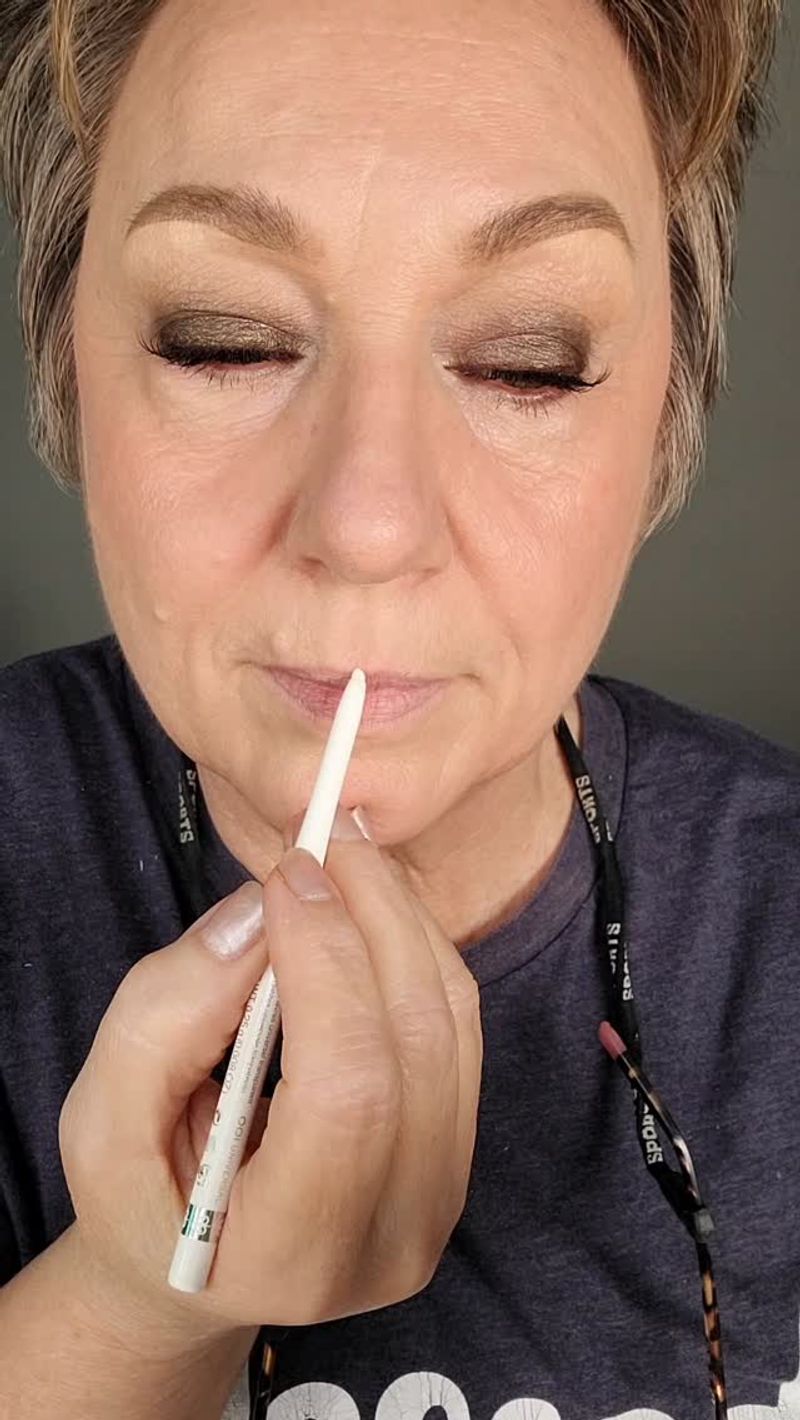
10. Lip Liner As Your Secret Weapon
As we age, lips often lose definition and fullness. A neutral lip liner slightly darker than my natural lip color has become my secret weapon against feathering lipstick and disappearing lip borders. I trace just slightly outside my natural lip line – not dramatically overdrawn, but enough to restore lost definition. The formula matters tremendously; I choose creamy pencils that won’t tug at delicate lip skin or look harsh.
After lining, I blend the edges inward with my fingertip for a seamless transition. This prevents that dated “ring around the lips” look we all remember from the 90s. The best part? Even as lipstick fades throughout the day, this technique maintains a polished look without constant touchups.
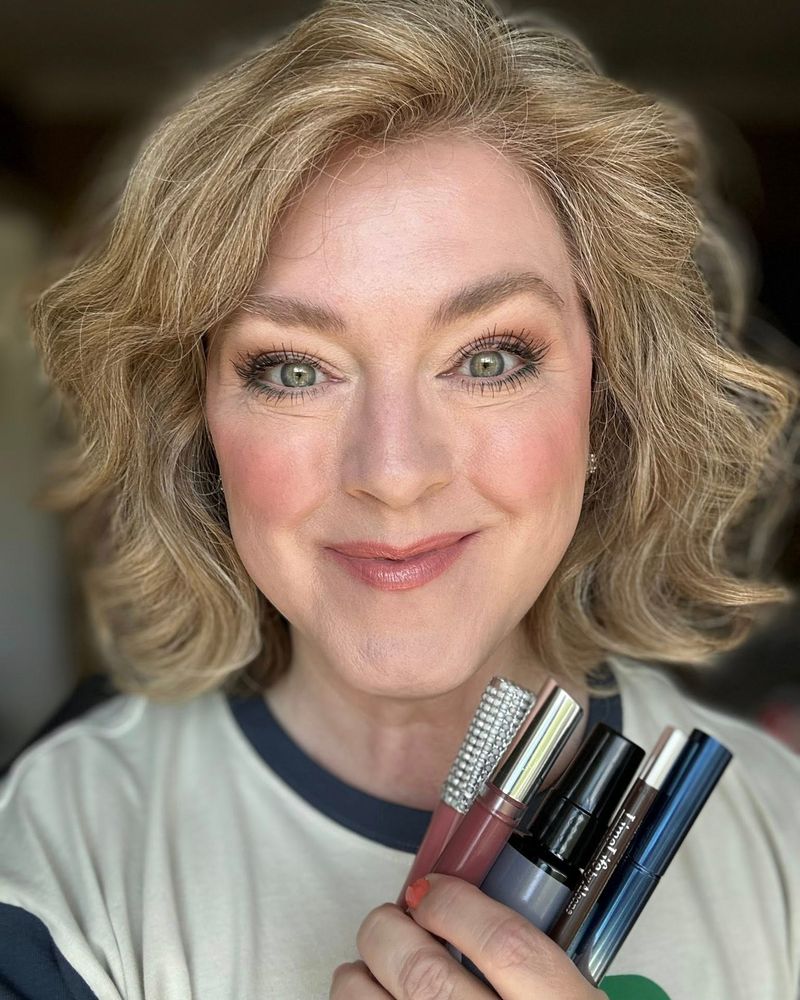
11. Cream Lipstick In Satin Finishes
Matte lipsticks may be trendy, but they’re rarely flattering on mature lips that tend toward dryness. I’ve embraced cream lipsticks with satin finishes that add moisture while delivering beautiful color. Medium-toned roses, soft corals, and muted berries have become my signature shades. These colors brighten the face without the harshness of very dark or very light tones.
The right lipstick truly wakes up my entire complexion. Application technique matters: I press color onto lips with my fingertip rather than swiping directly from the tube. This creates a soft, diffused effect that looks modern and fresh. For special occasions, I might add a tiny dab of clear gloss just at the center of my bottom lip – this catches light beautifully without looking overly shiny.
12. Subtle Highlighting For Dimensional Glow
Heavy highlighting can emphasize texture, but subtle illumination brings beautiful dimension to mature skin. I’ve found cream highlighters with minimal shimmer create that coveted “lit from within” effect without obvious sparkle. Placement is everything. I apply a touch along the tops of cheekbones, blending well with fingertips.
This catches light naturally when I move, creating subtle dimension rather than an obvious stripe of shimmer. For daytime, I sometimes mix a drop of liquid highlighter with my foundation for all-over radiance. This technique eliminates any possibility of harsh lines or obvious placement. Remember that highlighter should create a gentle glow visible only when light hits it – never a visible stripe of product that’s noticeable from all angles.
13. Setting Spray Instead Of Heavy Powder
Heavy powders can flatten skin and emphasize fine lines, which is why I’ve switched to setting sprays. These magical mists lock makeup in place while maintaining that coveted natural finish. After applying makeup, I hold the bottle about 8 inches away and mist in an X and T formation. This ensures even coverage without disturbing carefully applied products underneath.
The result is makeup that lasts for hours without that dreaded cakey look. For especially hot days or special events, I might use a tiny amount of finely-milled setting powder just in the T-zone. The key is using a small, fluffy brush with minimal product – never baking or heavy application. Setting spray over top brings back dimension and ensures everything melds together beautifully.
14. Gentle Contouring With Cream Products
Harsh contouring looks artificial at any age, but especially after 60. I’ve discovered that subtle sculpting with cream products creates natural-looking dimension that’s incredibly flattering. The key is choosing products only 1-2 shades deeper than skin tone with neutral undertones – never orangey bronzers or gray contour powders. I apply sparingly under cheekbones, along the jawline, and at the temples using a small stippling brush.
Blending is absolutely crucial. I use upward motions to diffuse edges completely, ensuring no visible lines or stripes remain. This technique creates subtle shadows that define facial structure without looking “made up.” Remember that natural shadows are soft, not sharp – the goal is gentle definition that people notice without identifying as makeup.
15. Makeup Primer For Smoother Texture
Primer has become my secret weapon against the textural changes that come with mature skin. Rather than trying to fill every line (impossible!), I focus on creating an even canvas for everything that follows. Silicone-free, hydrating primers work best on my skin. They add moisture while helping subsequent products apply more smoothly and last longer.
I take time to massage primer into skin rather than quickly slapping it on – this extra minute makes all the difference. For areas with visible pores or more pronounced texture, I gently press (never rub) a bit more product. This creates a smoother surface without that artificial, plastic-looking finish some primers can give. The right primer means using less foundation overall – a major benefit for achieving that coveted natural look.
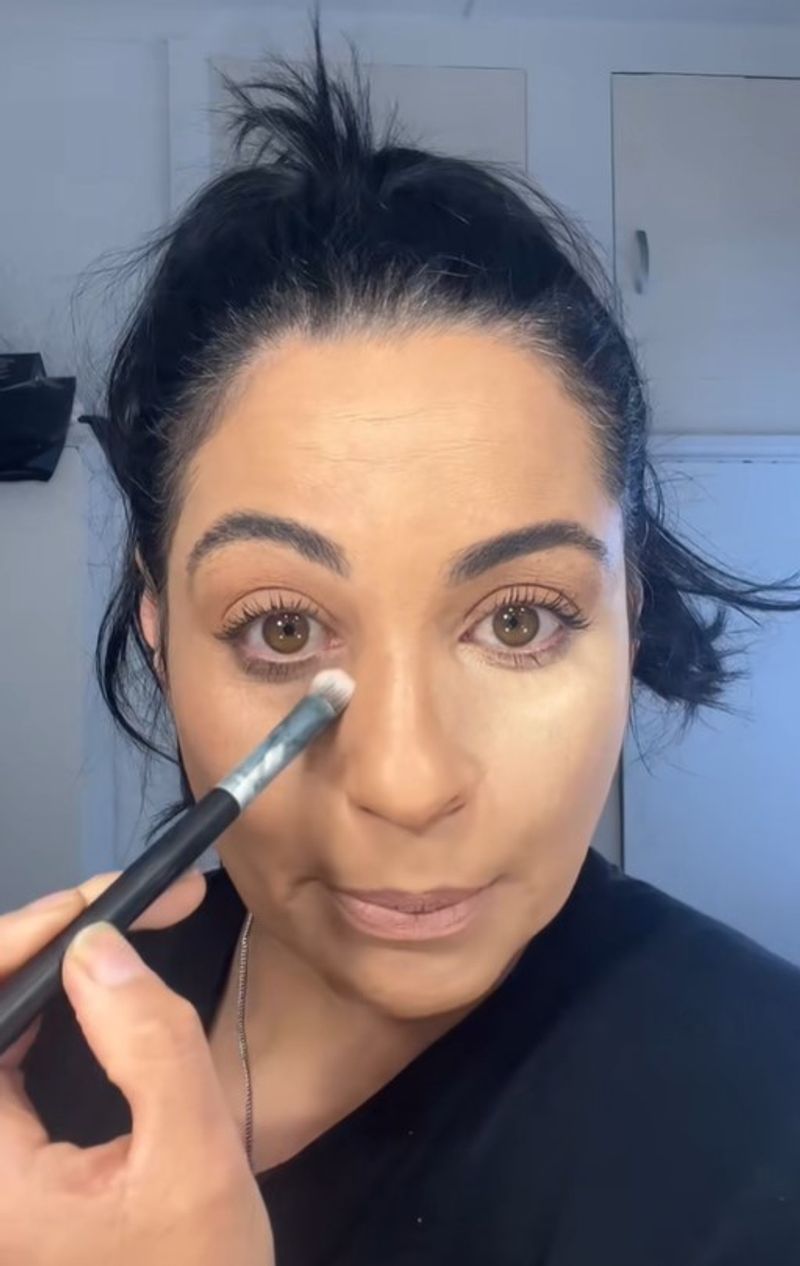
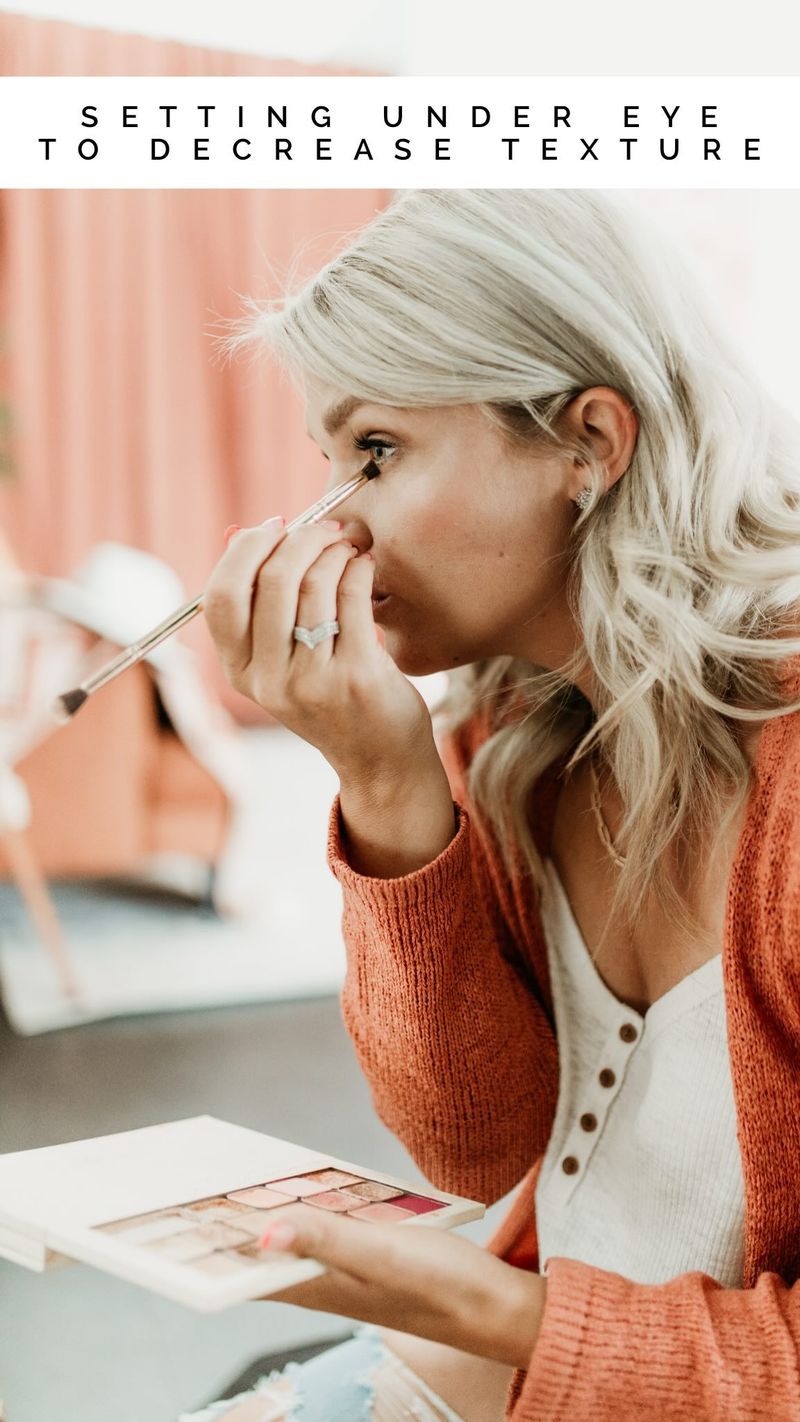
16. Brightening Under-Eye Techniques
The under-eye area often betrays our age first, but heavy concealer makes matters worse. I’ve found that color-correcting followed by minimal concealer creates a natural-looking brightness. For blue-toned circles, I tap on a tiny amount of peach corrector first. This neutralizes darkness without layers of product.
Then I apply a lightweight concealer one shade lighter than my foundation, but never more than that – too light creates an obvious “mask” effect. The application tool matters enormously. I use a small, fluffy eyeshadow brush to apply product, then gently pat with my ring finger to warm and meld it with skin. This prevents settling into fine lines while maintaining coverage. Setting with the barest dusting of translucent powder (or none at all) keeps things looking fresh.
17. Eyelid Primer For Crease-Free Shadow
Hooded or crepey eyelids can make eyeshadow application challenging. Eyelid primer has become my essential first step for crease-free, long-lasting eye makeup that doesn’t migrate throughout the day. Unlike concealer (which many people mistakenly use), dedicated eye primers contain ingredients that actually grip shadow pigments.
I apply a small amount from lash line to brow bone, waiting about 30 seconds for it to set before applying shadow. For extremely hooded eyes, I’ve found that waterproof formulas work best. They prevent that annoying transfer of color to the upper lid area when eyes are open. The difference in shadow longevity with primer versus without is truly remarkable – what once creased within an hour now stays put all day.
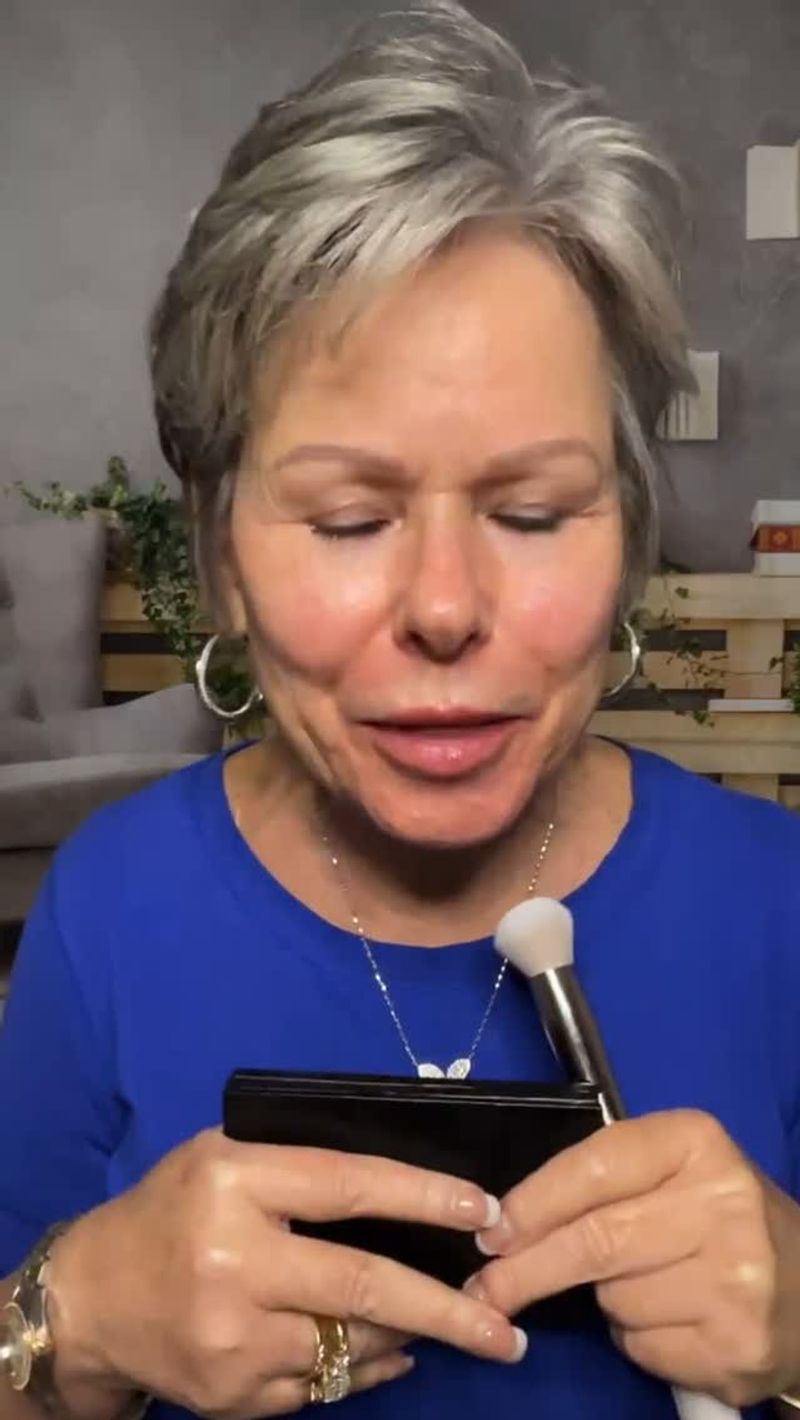
18. Precision Powder Application For Longevity
While heavy powdering ages the face, strategic setting extends makeup wear time beautifully. I‘ve learned to apply translucent powder only where absolutely needed – typically the T-zone and around the nose. The application tool makes all the difference. I use a small, fluffy brush that deposits minimal product rather than a heavy powder puff.
Pressing gently rather than sweeping ensures powder sets makeup without disturbing cream products underneath. For special occasions requiring longer wear, I use the “press and roll” technique. After applying powder with a brush, I gently press (never rub) a velour puff over areas prone to shine or foundation breakdown. This melds powder with cream products underneath for remarkable longevity without heaviness.