
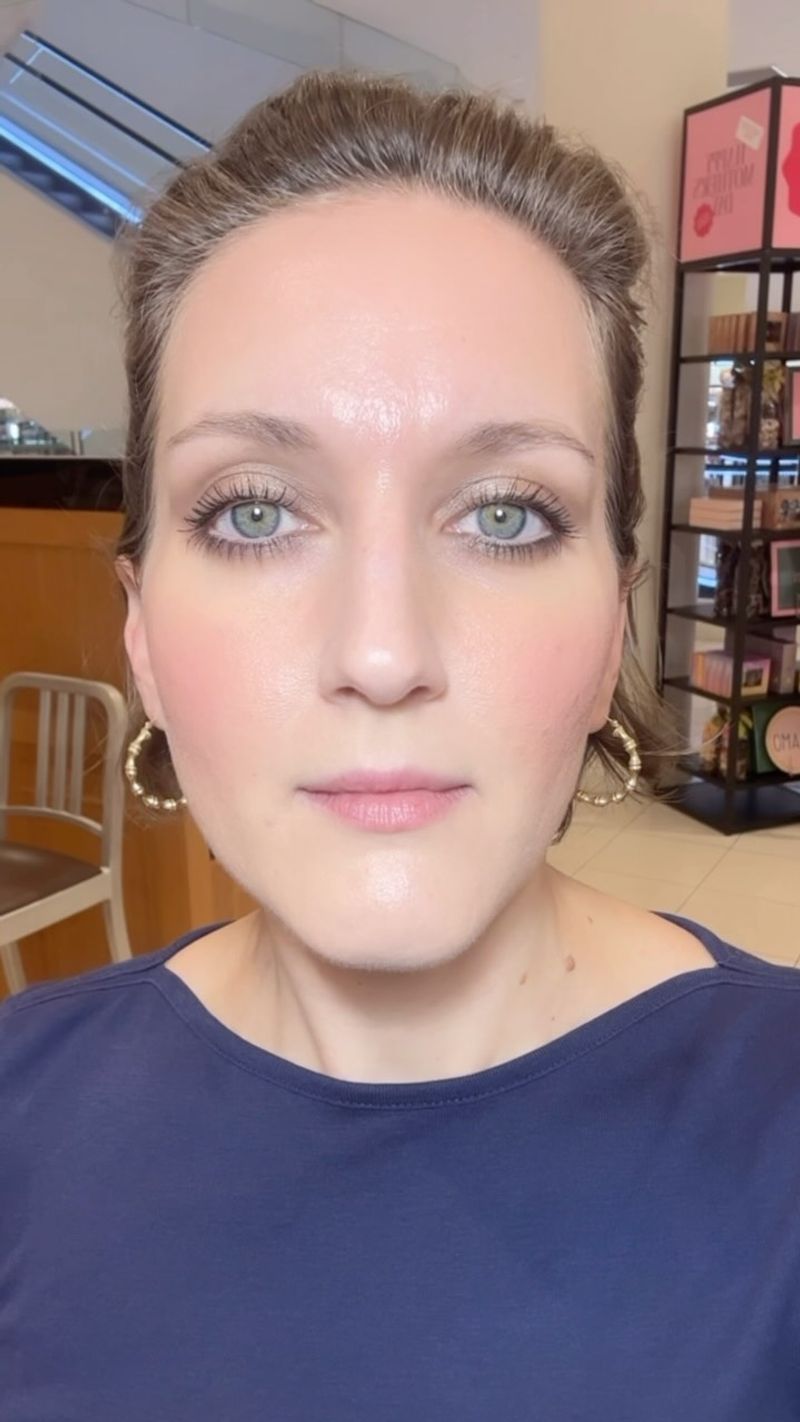
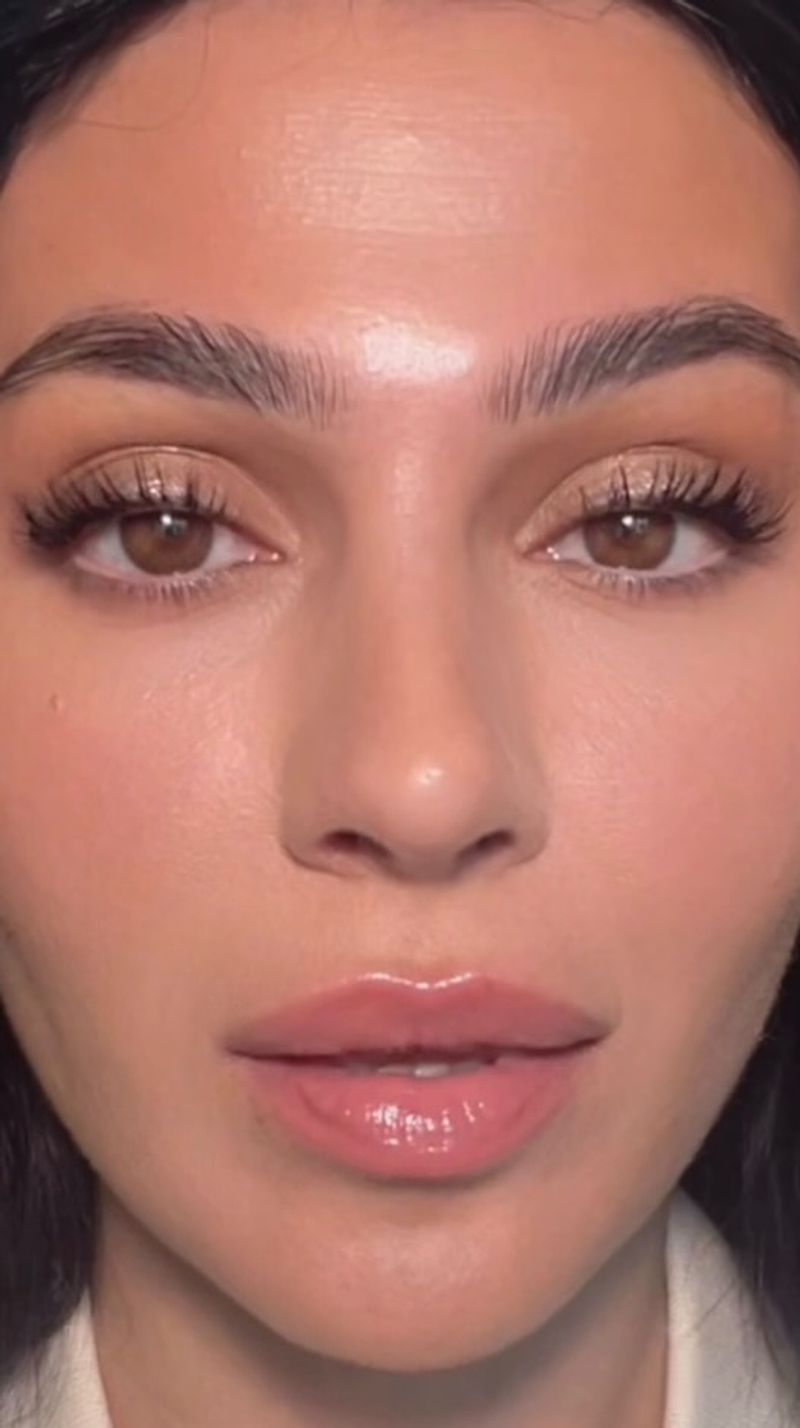
21 Gorgeous Makeup Ideas To Accentuate Small Eyes
Small eyes can be incredibly expressive and beautiful, but sometimes they need a little extra help to really stand out.
I’ve spent years experimenting with different makeup techniques for my own small eyes and discovered so many tricks that really work.
These makeup ideas won’t just make your eyes look bigger—they’ll enhance your natural beauty and bring attention to your unique gaze.
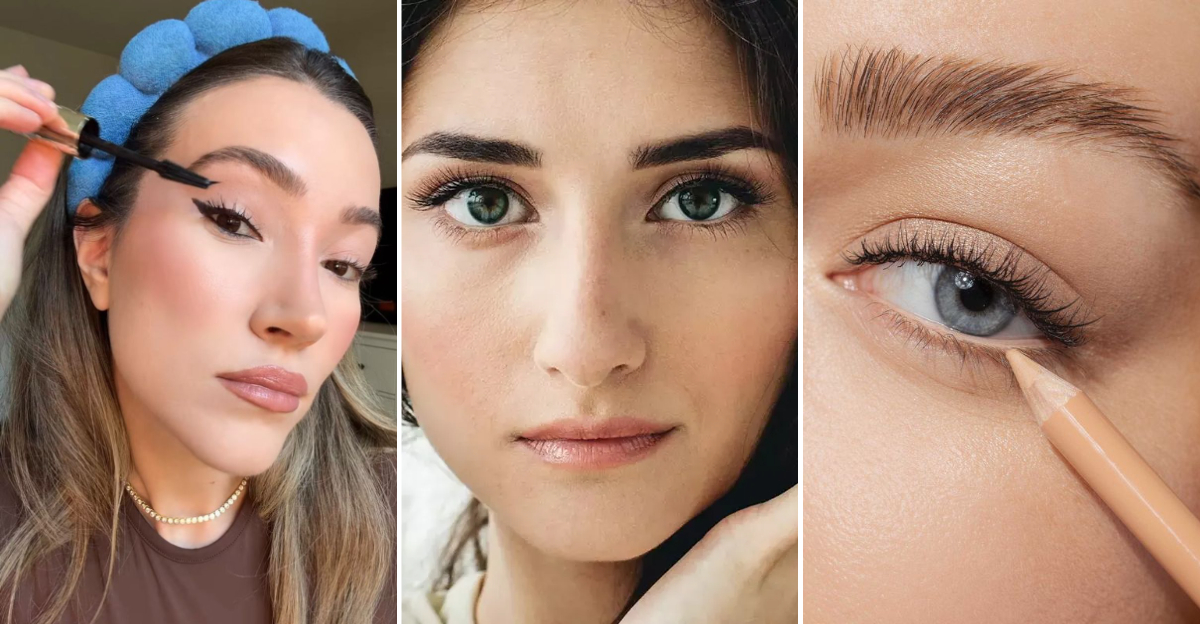
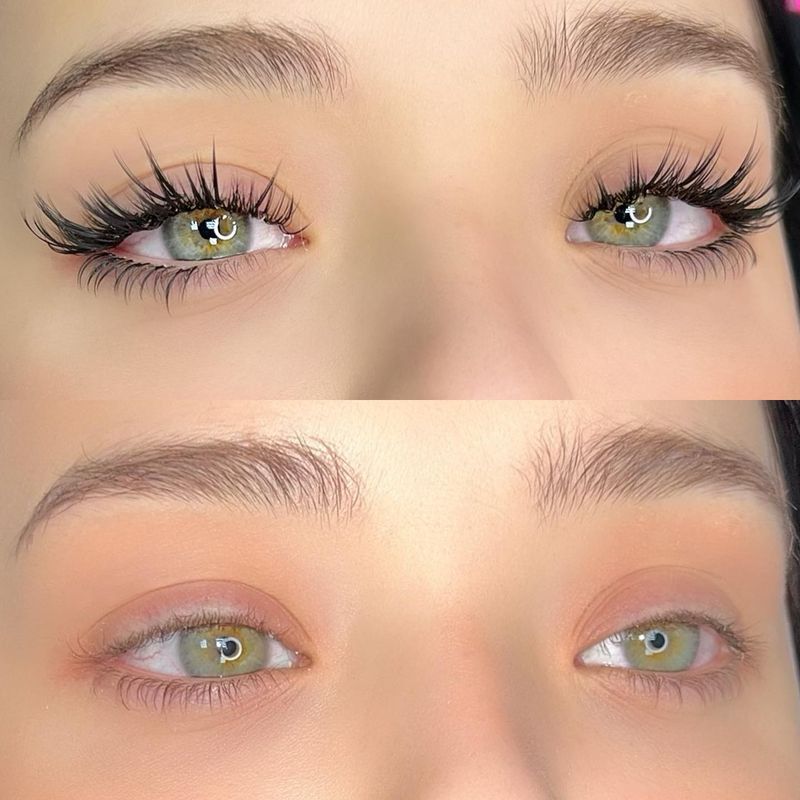
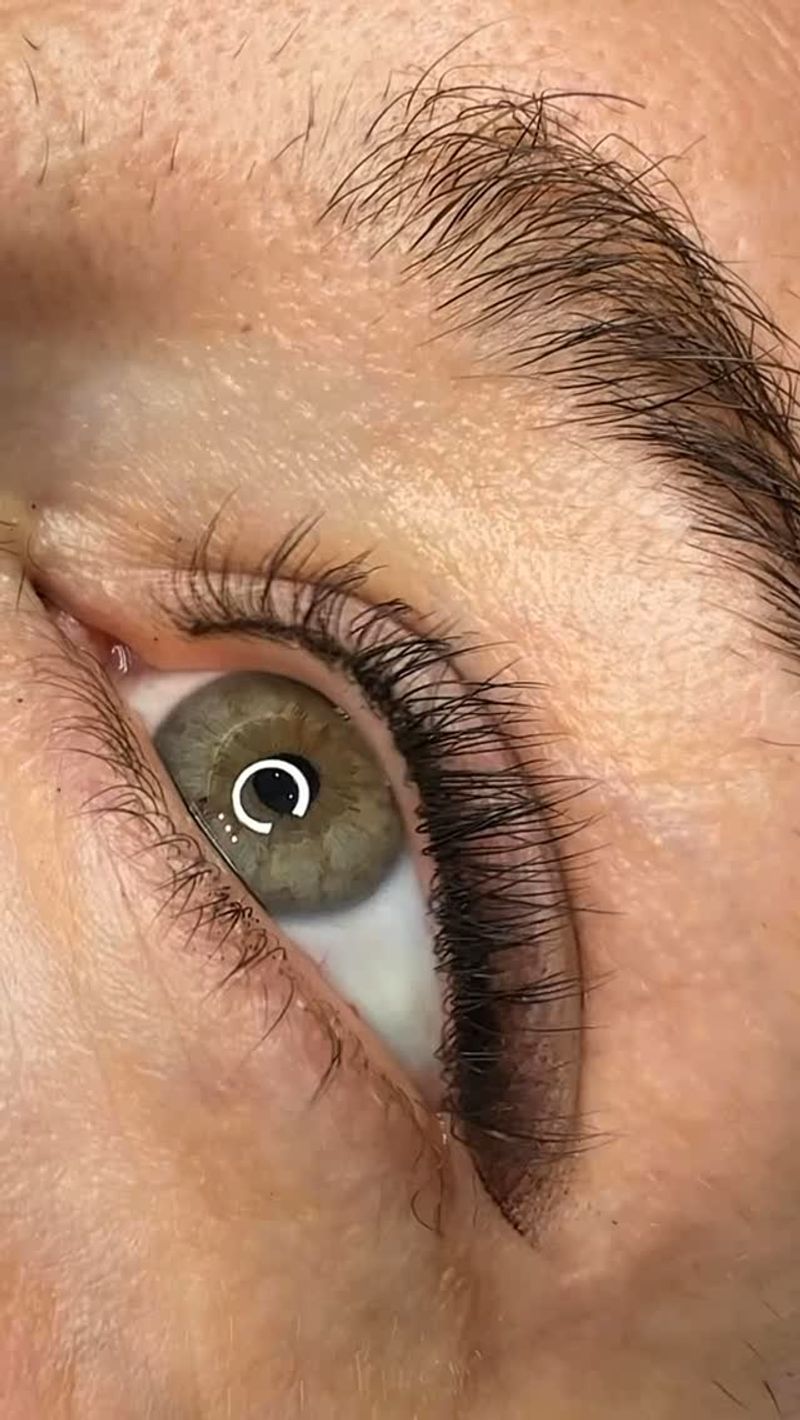
1. Tightline Your Upper Lash Line
Tightlining changed my makeup game forever! By applying dark liner directly to your upper waterline, you create the illusion of thicker lashes without using up precious lid space. The technique defines your eyes from within, making them appear larger instantly.
I find a waterproof gel pencil works best since it stays put all day. Just gently lift your lash line and apply with short strokes. No need for perfect precision—the goal is filling in those tiny gaps between lashes.
When I started tightlining, I noticed my eyes looked more defined even without any other eyeshadow. It’s my go-to technique when I’m running late but still want my eyes to pop!
2. beige Eyeliner On The Waterline
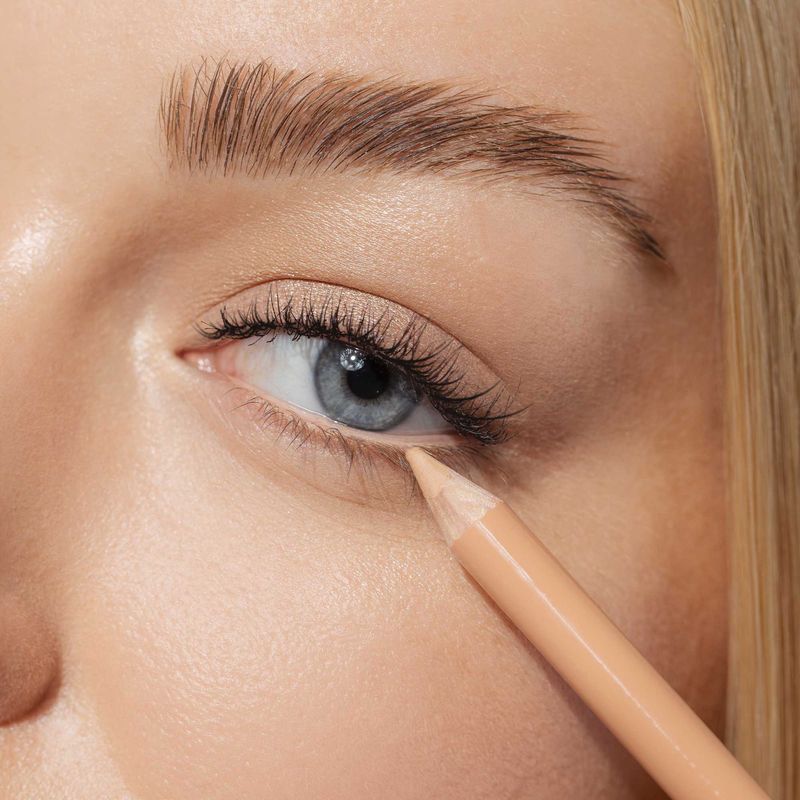
The first time I tried beige eyeliner on my waterline, I couldn’t believe the difference! Unlike harsh white liners that look obviously fake, a soft beige shade creates that wide-awake effect while still looking natural. My eyes instantly appeared brighter and more open.
Look for a creamy, long-lasting formula that won’t irritate your eyes. Apply it with a gentle hand along your lower waterline, and watch how it creates the optical illusion of bigger eyes by erasing that natural redness that can make eyes look smaller.
I keep a beige liner in my purse for touch-ups throughout the day. It’s perfect for when my eyes feel tired but I must look alert and refreshed.
3. Inner Corner Highlight
That little spot in the inner corner of your eye? Total game-changer when highlighted! I swipe a touch of shimmery eyeshadow or highlighter there, and suddenly my eyes look wider set and more awake. This trick works wonders when I’ve had late nights but don’t want anyone to know.
Champagne and pearl tones work for most skin tones, but don’t be afraid to play with soft pinks or even light lavenders for a fun twist. Just tap a small brush into your highlight shade and apply it precisely to that inner corner.
For maximum impact, I make sure this highlight is slightly brighter than any other shimmer on my lid. The contrast draws attention to this area, creating the illusion that your eyes are more open than they actually are.
4. Curl Those Lashes Before Mascara
Honestly, I used to skip this step until I realized what a massive difference it makes! Curling your lashes before applying mascara literally opens up your entire eye area. My small eyes suddenly look twice as awake when I take those 10 seconds with my lash curler.
The trick is getting as close to the base as possible without pinching your skin. Gently squeeze and hold for about 10 seconds, then move slightly outward and give another gentle pulse. Your lashes should curve upward, not bend at a sharp angle.
For extra staying power, warm your curler with your blow dryer for a few seconds (test it on your hand first!). The gentle heat helps set the curl, similar to using a curling iron on your hair. Just make sure it’s not too hot!
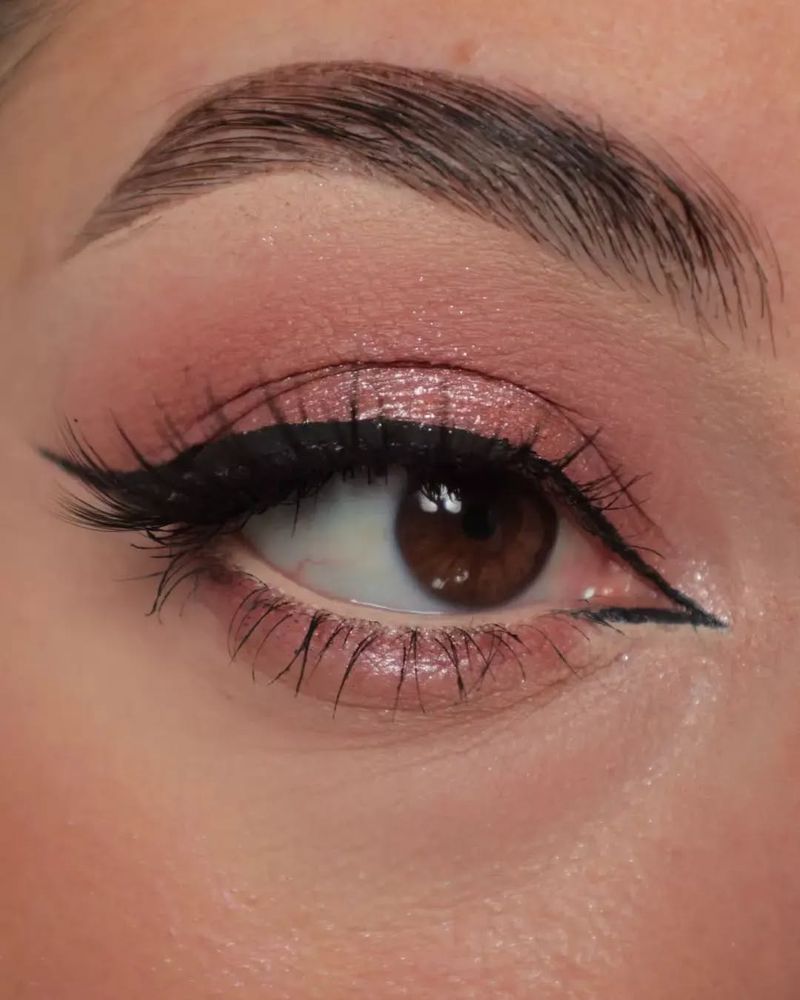
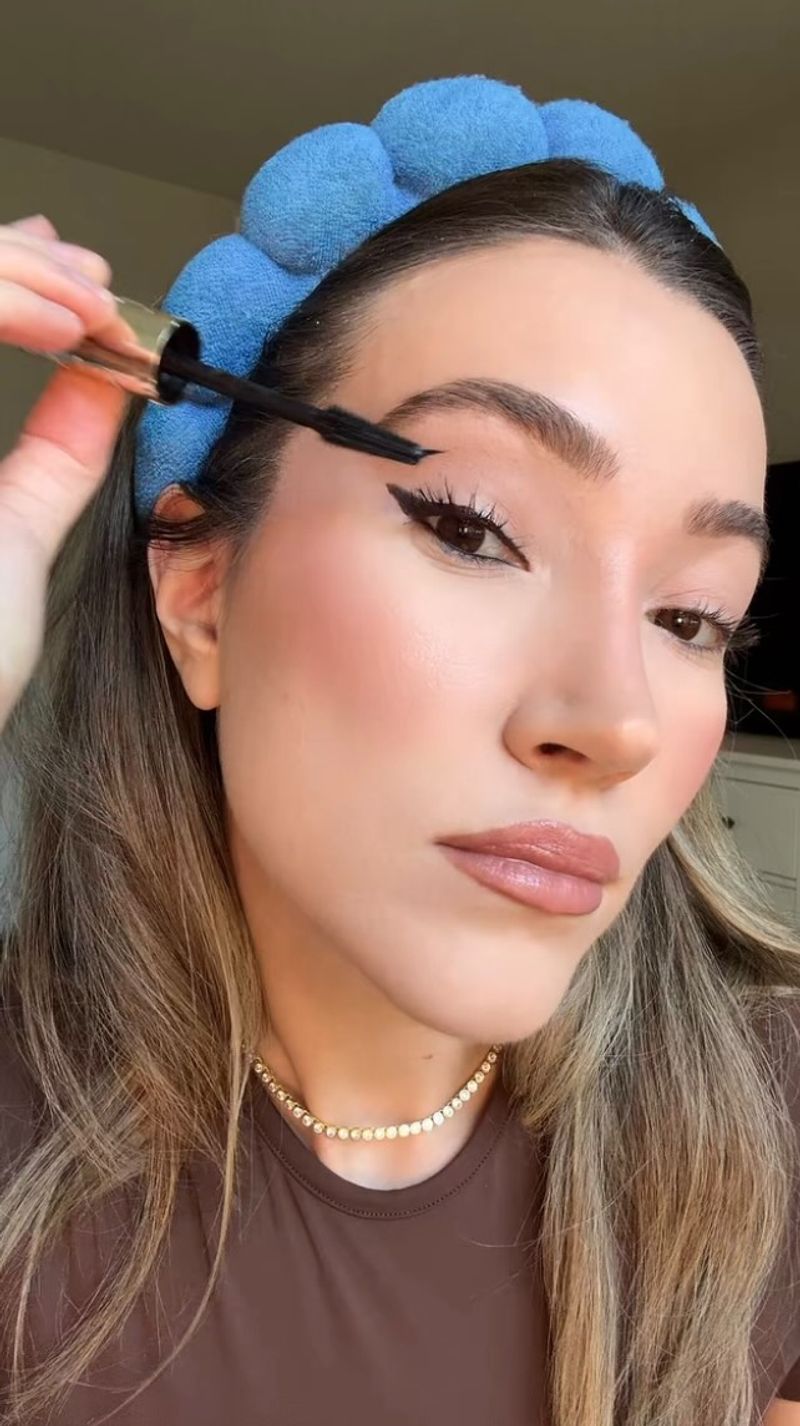
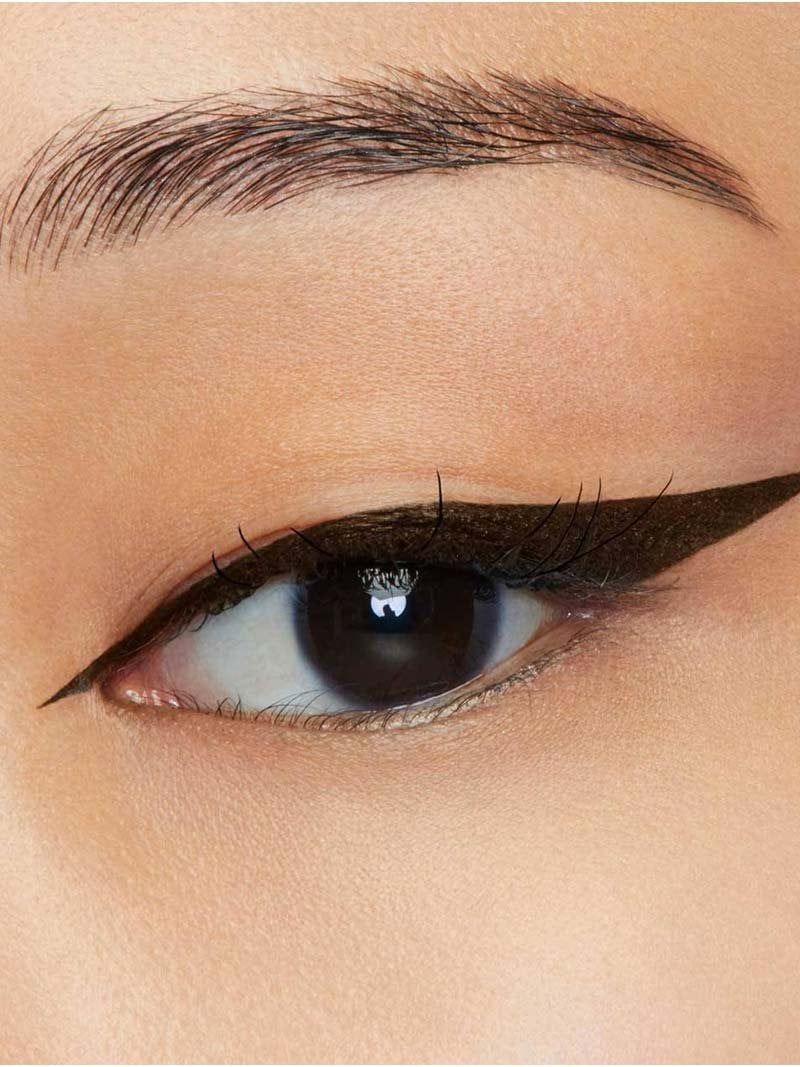
5. Upward-Flicked Eyeliner
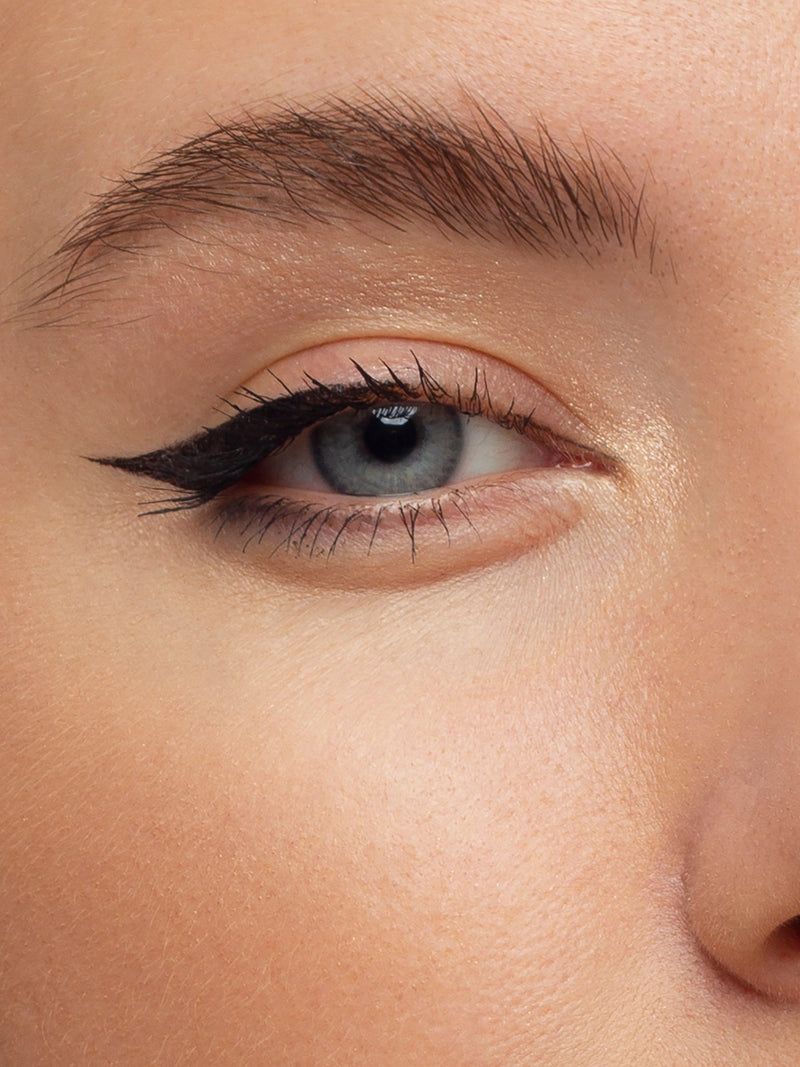
The classic cat-eye gets a special twist for small eyes! Instead of extending straight out, I angle my liner upward toward the end of my eyebrow. This little adjustment lifts the entire eye area and creates the illusion of a more almond-shaped eye.
Start thin at the inner corner and gradually thicken as you move outward. Keep the line as close to your lashes as possible to avoid taking up valuable lid space. The flick doesn’t need to be dramatic—even a subtle lift makes a noticeable difference.
I find that gel liner with a fine brush gives me the most control, but felt-tip liquid liners work great too. If you’re shaky, place small dots along your lash line first, then connect them for a smoother line.
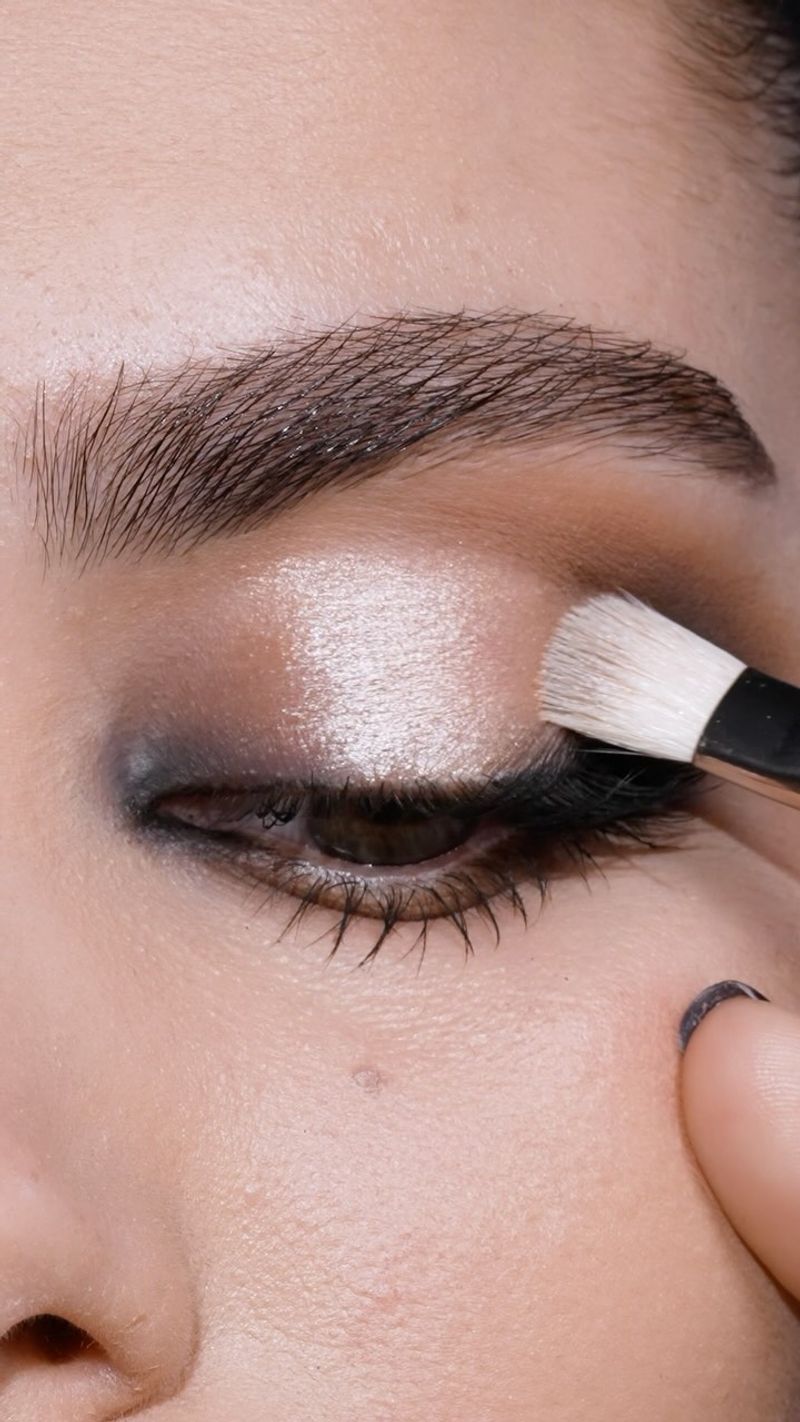
6. Soft Cut Crease For Depth
My small eyes gained so much dimension when I discovered the soft cut crease! Unlike the sharp Instagram-style cut crease, this subtle version creates depth without overwhelming small lids. The technique essentially carves out your crease with a shadow slightly darker than your skin tone.
Using a fluffy blending brush, I apply the shadow with my eyes open to see exactly where the crease should be defined. The key is blending thoroughly—no harsh lines here! Then I apply a lighter shade on the lid to create contrast.
What I love most is how this technique actually creates the illusion of more lid space. For extra oomph, I sometimes add a touch of shimmer to the center of the lid, which catches the light beautifully when I blink.
7. Minimal Lower Lash Makeup
Going lighter on lower lash makeup was a revelation for my small eyes! Heavy shadow or liner on the lower lash line can close up your eyes and make them appear even smaller. Instead, I keep things light and bright down there.
If I use any shadow below my eyes, I stick to soft, matte formulas applied with a small brush just at the outer third of my lower lash line. For liner, I either skip it entirely or use a lighter shade than what’s on my upper lid. With mascara, I apply just a light coat to the outer lashes rather than coating every single one.
The difference is striking—my eyes look lifted and more open rather than boxed in and smaller. This approach also helps prevent that raccoon-eye effect that can happen with heavier lower lash makeup as the day wears on.
8. Blend Eyeshadow Above Your Crease
Taking eyeshadow slightly above my natural crease was a total eye-opener (pun intended)! This technique creates the illusion of a higher crease, which in turn makes small eyes look larger and more lifted.
I start with a transition shade that’s just a touch darker than my skin tone and blend it slightly above where my actual crease sits. The key is using windshield-wiper motions with a fluffy brush to keep the application soft and diffused. No harsh lines!
For everyday looks, I stop there, but for more drama, I’ll layer a slightly deeper shade right at my crease, still blending upward. Just remember that the goal isn’t to extend shadow all the way to your brow—just slightly higher than where your eye naturally folds when open.
9. Strategic Brow Bone Highlighting
The space beneath your brows can make or break your eye makeup! I’ve found that a subtle highlight on the brow bone actually lifts my entire eye area, creating more visual space between my eye and brow.
Skip the frosty, metallic highlights that scream “I’m wearing makeup!” Instead, go for a satin or subtle shimmer in a shade just lighter than your skin tone. I apply it precisely under the arch of my brow using a small brush, then blend softly.
What really works for my small eyes is concentrating the highlight under the highest point of my arch rather than applying it all along the brow bone. This targeted application draws the eye upward at that specific point, creating a lifted effect that makes my eyes appear larger without looking overdone.
10. Focus Mascara On Center Lashes
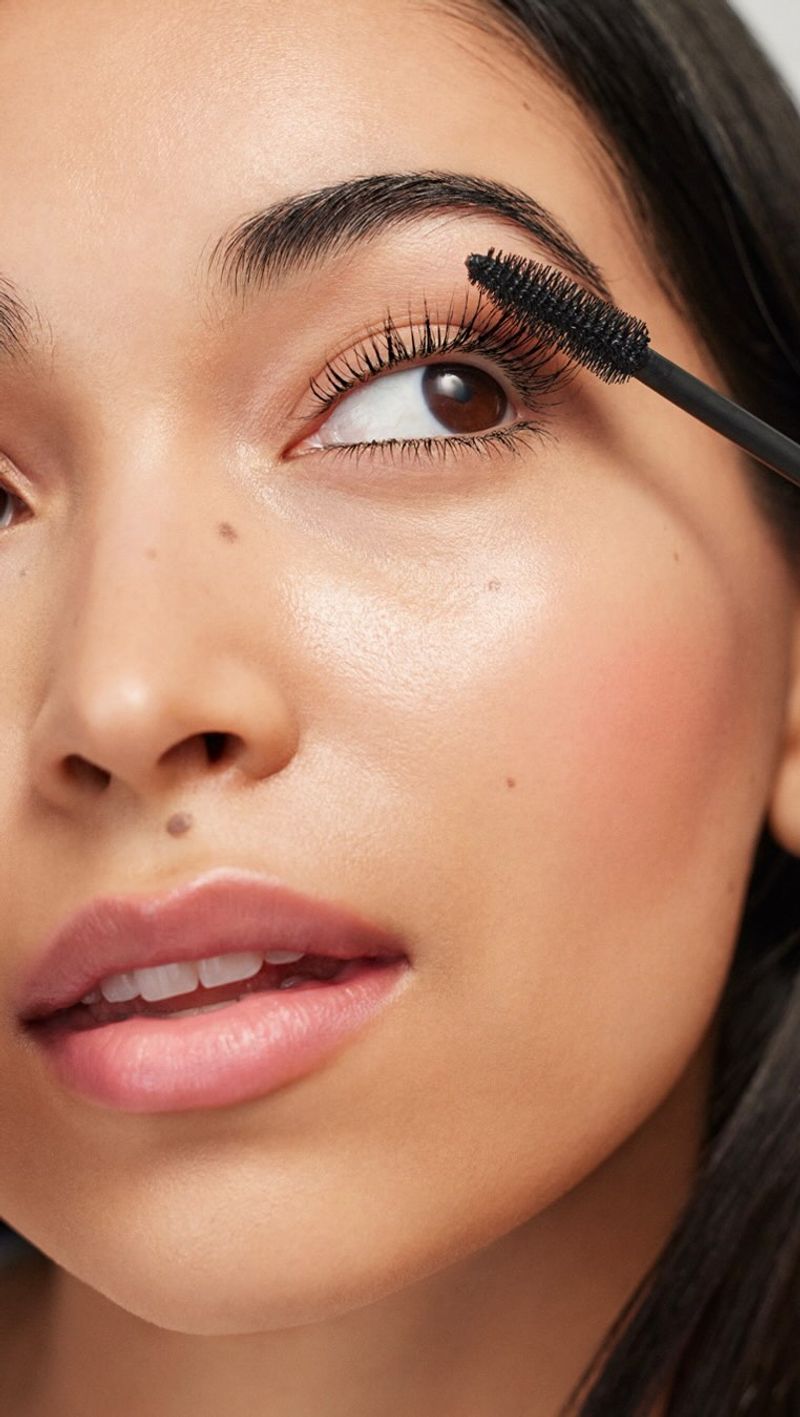
Here’s a mascara trick that changed my small-eye makeup routine forever! Instead of coating all lashes equally, I concentrate mascara on the center lashes of both my upper and lower lash lines. This creates a doll-like, open-eyed effect that makes small eyes appear rounder and more awake.
After applying one coat evenly across all lashes, I go back and add a second coat just to those center lashes. Sometimes I’ll even use my finger to gently push these center lashes upward while the mascara is still slightly wet to enhance the effect.
For maximum impact, I wiggle the wand at the base of these center lashes before pulling through to the tips. This deposits more product at the roots, creating the illusion of fuller, more prominent lashes exactly where you want to draw attention.
11. Skip Thick Liner On The Lid
One of my biggest makeup revelations was learning that thick eyeliner actually makes my small eyes look even smaller! Thick lines eat up precious lid space, which is already limited when you have small eyes.
Instead, I keep my liner ultra-thin along the lash line or skip it entirely in favor of dark shadow applied with a small angled brush. This defines my eyes without overwhelming them. For special occasions when I want more definition, I’ll create a thin line that gradually thickens toward the outer corner.
Another trick I love is using dark shadow as liner and applying it with a damp brush for precision. This creates a softer effect than liquid or gel liner while still defining the eye shape. The softness actually makes my eyes appear larger than a harsh, thick line would.
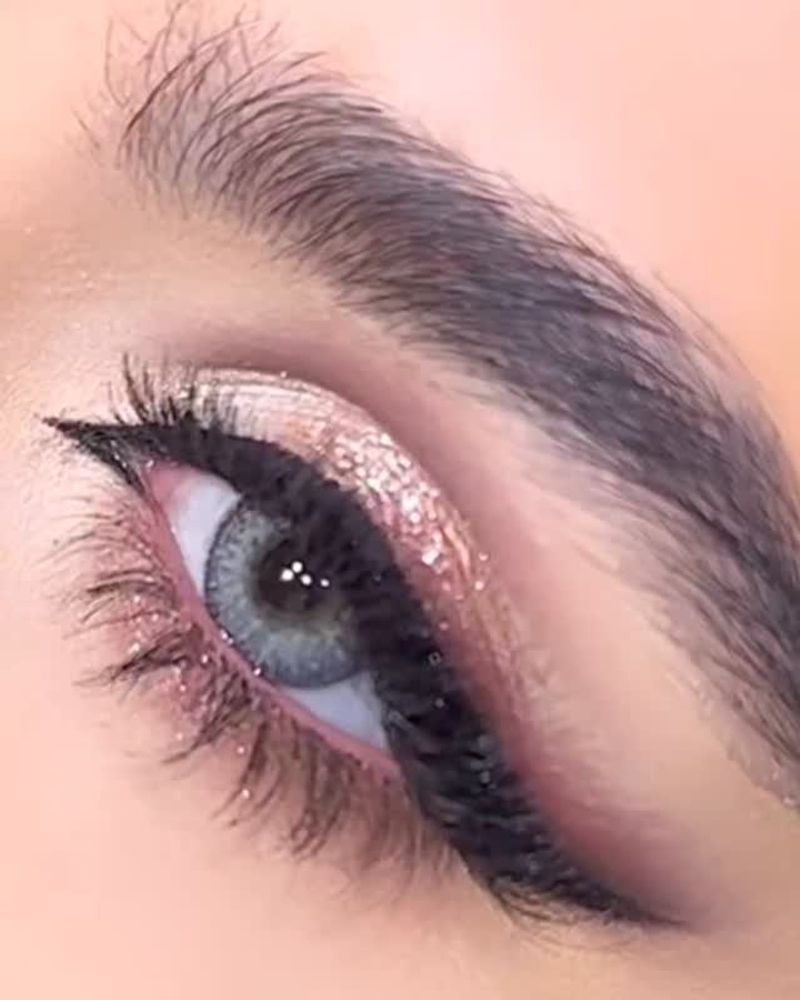
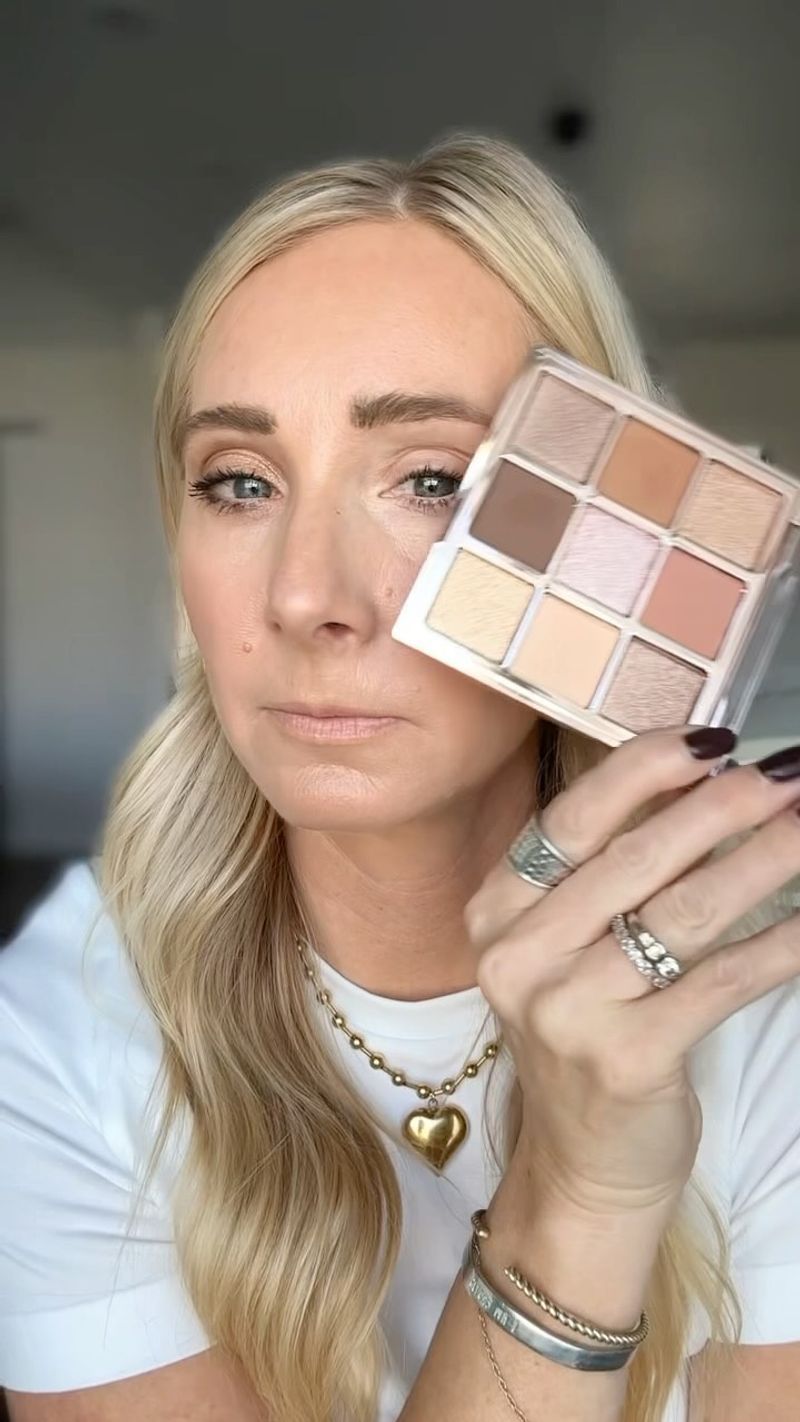
12. Light-Reflecting Shadows On The Lid
Discovering the power of light-reflecting shadows was a game-changer for my small eyes! Matte shadows can look beautiful but don’t do much for creating the illusion of space. Shimmery, metallic, or satin finishes, however, reflect light and instantly make my eyes appear larger.
I particularly love champagne, rose gold, and light bronze shades for my lid space. The trick is keeping these light-reflective shades on the mobile lid only, then using mattes in the crease for definition. This contrast between textures creates dimension that small eyes often lack.
For maximum eye-opening effect, I place the most reflective part of the shadow right at the center of my lid. When light hits this spot as I blink or move, it creates a beautiful catching effect that draws attention to my eyes in the most flattering way.
13. Define The Outer V Strategically
The outer V of your eye holds so much potential for creating the illusion of larger eyes! I’ve learned that placing a deeper shadow just in this specific area adds definition without closing my small eyes down.
Using a small, precise brush, I apply a shadow 2-3 shades deeper than my skin tone in a V-shape at the outer corner. The key is keeping the application precise and then blending the edges—but not so much that you lose the definition. This creates depth exactly where you want it.
What works best for my small eyes is extending this V slightly outward and upward rather than bringing it too far into the crease. This lifts the eye instead of making it appear rounder, which can sometimes make small eyes look even smaller. The result is a subtle but effective enlarging of the eye’s appearance.
14. Avoid Dark Shadow All Over
One makeup mistake I made for years was applying dark shadow all over my lid. Talk about making small eyes disappear! I’ve since learned that strategic placement of darker shades makes all the difference.
Now I reserve deeper colors for specific areas—the outer corner, the crease, or as a soft liner. The majority of my lid space gets medium to light tones that reflect light rather than absorb it. This approach creates depth and definition without shrinking my eye appearance.
For everyday looks, I love using a medium shade in the crease, a lighter shade on the lid, and just a touch of the darkest shade at the outer corner. This gradient effect creates dimension while keeping the overall look bright and eye-opening. Even for smoky eyes, I keep the darkest shades to the outer third of my eye.
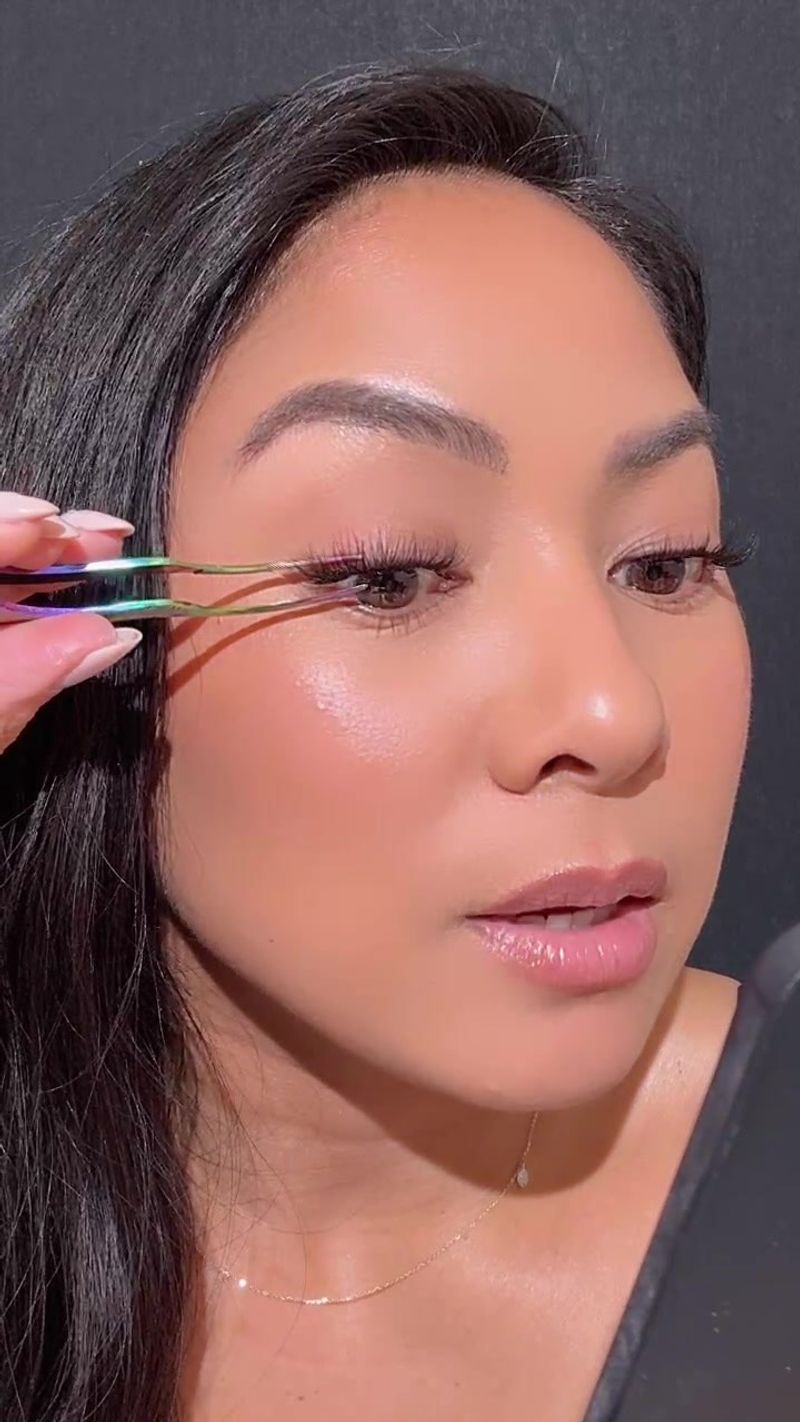
15. Wispy Lashes With Lift
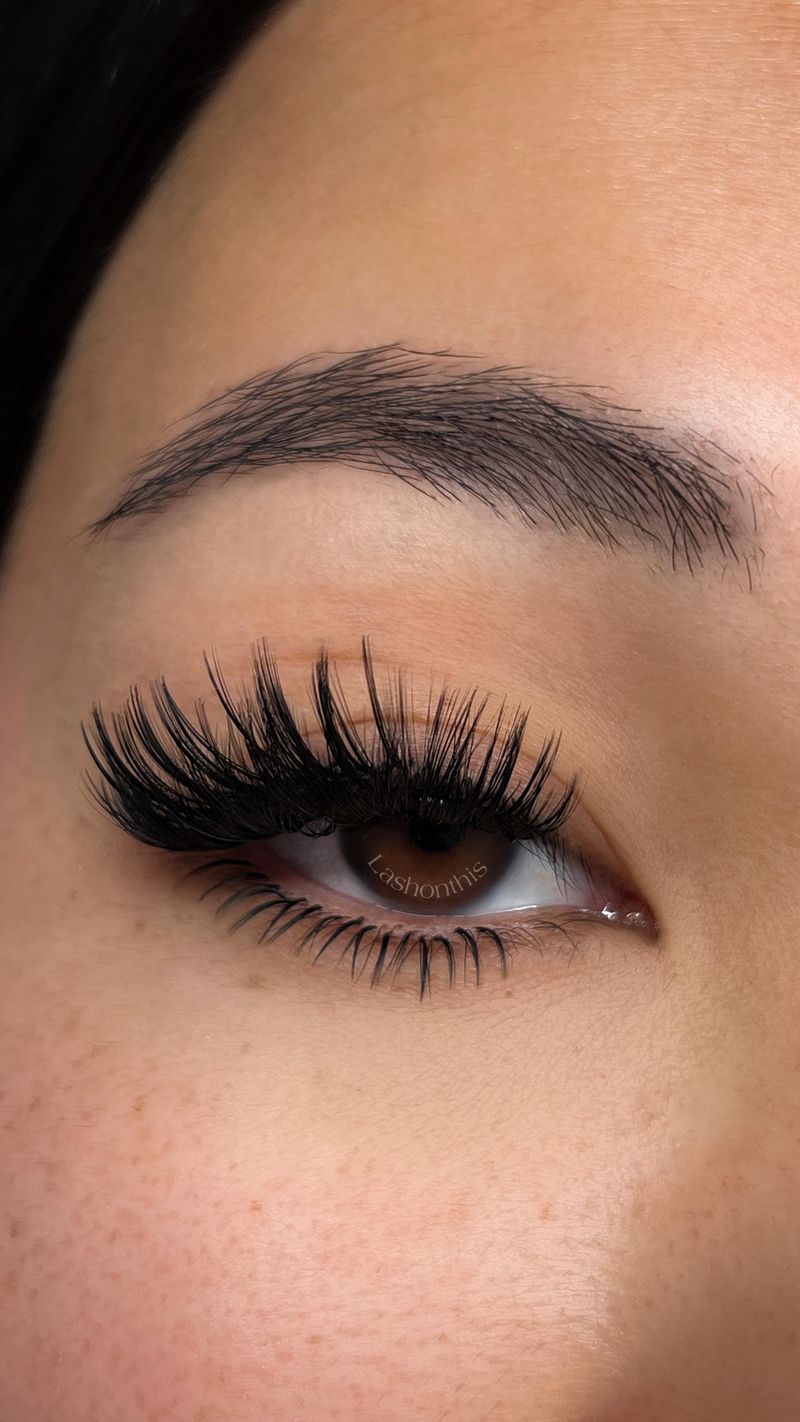
False lashes completely transformed how my small eyes look, but not just any lashes will do! Thick, dense lash bands with uniform length lashes actually make small eyes look overwhelmed. The game-changer was discovering wispy lashes with a lifted effect at the outer corners.
I look for lashes that are shorter at the inner corner and gradually get longer toward the outer edge. This creates a lifting, elongating effect rather than just adding fullness all around. The wispy, separated look of these lashes also keeps things light and prevents that heavy, droopy feeling that can happen with denser styles.
For everyday wear, I often opt for individual lash clusters just at the outer corners rather than a full strip. This subtle enhancement opens up my eyes without looking obviously “false” and feels much more comfortable for all-day wear.
16. Smudged Upper Lash Line
Hard lines can sometimes make small eyes look even smaller, which is why I fell in love with the smudged liner technique! Instead of a crisp, precise line, I apply a dark shadow or kohl liner very close to my upper lash line, then gently smudge it with a small brush.
The soft definition creates the appearance of thicker lashes and defined eyes without the harshness of a solid line. I find this especially flattering for daytime looks or when I want a more lived-in, effortless vibe. The key is keeping the smudging controlled—just enough to soften the line but not so much that it looks messy.
For extra staying power, I’ll layer powder shadow over a pencil liner. This not only helps set the liner but also creates that perfectly diffused edge that makes my small eyes look subtly enhanced rather than overwhelmed by makeup.
17. Gradient Eyeshadow Effect

The gradient eyeshadow technique completely changed how I approach eye makeup for my small eyes! Instead of blocks of color, I create a seamless transition from lightest at the inner corner to darkest at the outer edge. This creates depth and dimension without closing off the eye.
I start with the lightest shade at the inner third, a medium tone in the center, and the darkest shade at the outer corner. The magic happens in the blending—I use small, circular motions where the colors meet to create that perfect gradient effect with no visible lines of demarcation.
What makes this technique so effective for small eyes is how it draws the eye outward and creates the illusion of width. The lighter inner corner opens up the eye while the darker outer edge adds definition and lift. It’s like contouring, but for your eyes!
18. Inner Corner Eyeliner Flick
Everyone knows about the classic cat-eye flick, but adding a tiny flick at the inner corner of the eye? Total game-changer for my small eyes! This technique creates the illusion of wider-set, more elongated eyes.
Using a fine-tipped liquid or gel liner, I create a tiny wing pointing toward my nose from the inner corner of my eye. The key is keeping it small and precise—just a few millimeters long. I make sure it follows the natural curve of my eye rather than pointing straight down.
This trick works especially well when paired with a traditional outer corner wing, creating a beautiful elongated effect. For everyday wear, I sometimes skip the outer wing entirely and just do the inner flick for a subtle eye-opening effect that’s unique and eye-catching without being too dramatic.
19. Brightening Under-Eye Concealer
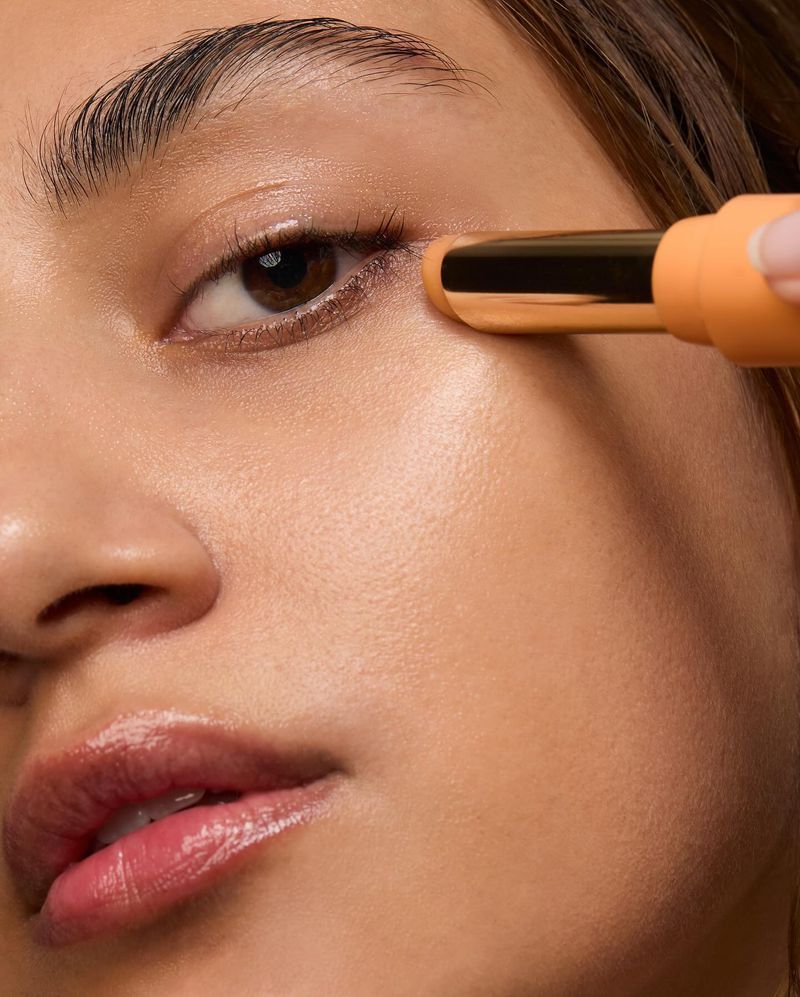
The area under our eyes has such a huge impact on how open and awake our eyes appear! I discovered that using a concealer one shade lighter than my foundation under my eyes instantly makes my small eyes look bigger and more awake.
The trick is applying it in an inverted triangle shape rather than just covering the dark circles. This creates a light-reflecting panel beneath the eye that visually pulls the eye forward and upward. I blend the edges thoroughly so there’s no obvious line of demarcation between the concealer and my foundation.
For an extra eye-opening effect, I apply the lightest concealer at the inner corner and just beneath the center of my eye, then use a slightly darker shade toward the outer corner. This subtle gradient brightens exactly where needed without looking flat or mask-like.
20. Strategic Brow Shaping
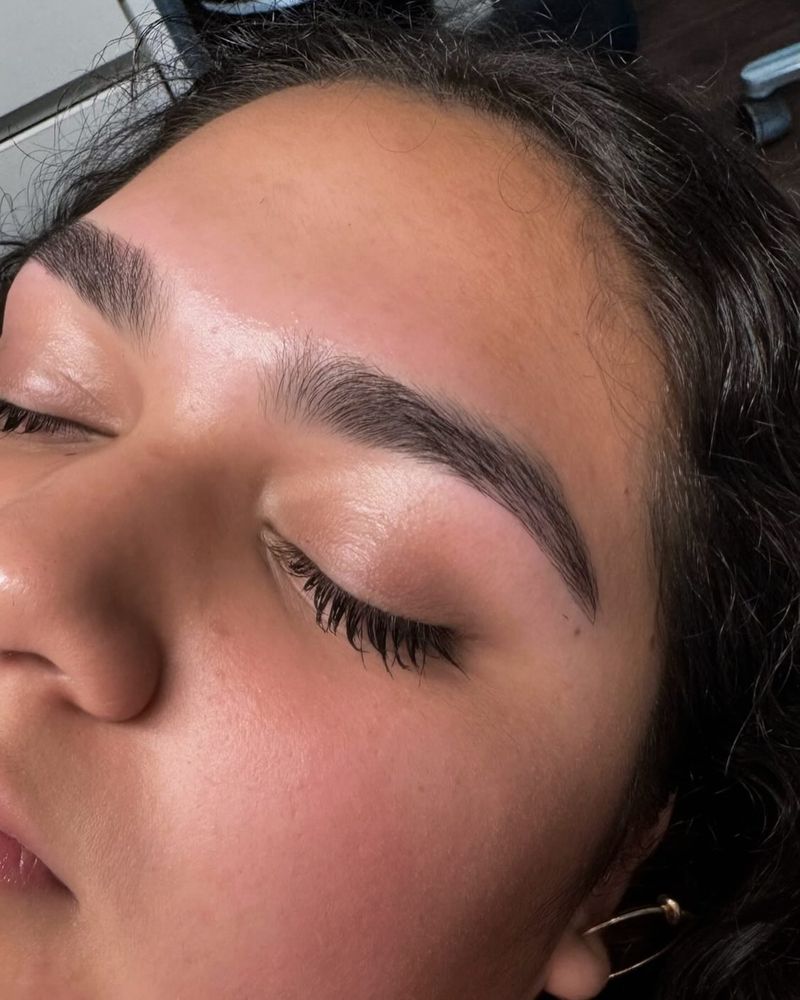
Never underestimate the power of well-shaped brows for making small eyes pop! I learned that the arch of my brows actually frames my eyes and can make them appear larger or smaller depending on the shape.
For my small eyes, a slightly higher arch with well-defined tails creates more space between my brows and eyes. This lifted shape draws attention upward and creates the illusion of a more open eye area. I avoid brows that are too thick or straight across, as these can overshadow small eyes.
The space between the brows matters too! I keep mine neither too close together nor too far apart—the ideal starting point aligns with the inner corner of each eye. This balanced spacing helps create proportion that complements small eyes rather than overwhelming them.
21. Cream Eyeshadows For Natural Lift
Switching from powder to cream eyeshadows was a total revelation for my small eyes! Cream formulas have a natural luminosity that catches light beautifully, instantly making eyes appear more open and awake.
I apply a neutral cream shadow all over my lid with my finger, focusing on building it up slightly higher toward the outer corner. The warmth of my finger helps the product melt into my skin for the most natural finish. Unlike some powders that can look flat, creams create dimension even without multiple shades.
What I love most about cream shadows for my small eyes is how they don’t settle into fine lines or look cakey as the day goes on. This means my eyes continue to look fresh and lifted even after hours of wear. For extra staying power, I set very lightly with translucent powder, being careful not to dull the natural sheen.