
11 Expert Tips On How To Clean Your Makeup Brushes Properly
Dirty makeup brushes are a breeding ground for bacteria that can cause breakouts and skin irritation.
I’ve learned from experience that clean brushes not only protect your skin but also help makeup apply more smoothly.
After years of trial and error, I’ve gathered some game-changing tips from professional makeup artists that have transformed my beauty routine and extended the life of my brushes.
1. Choose the right cleanser for your brush type

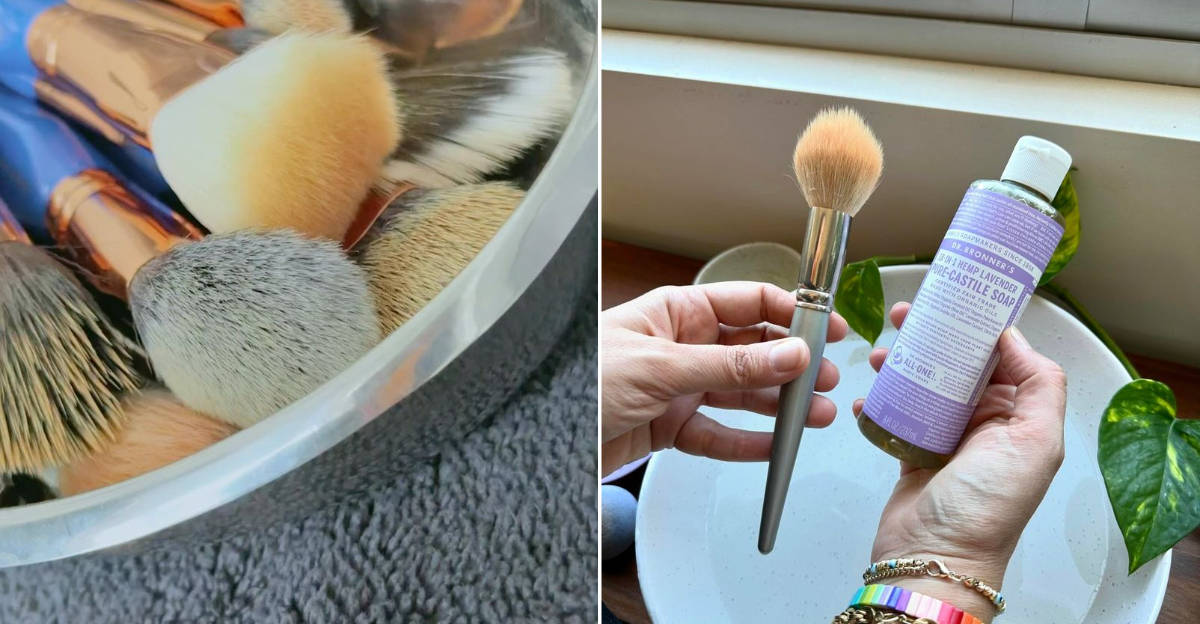
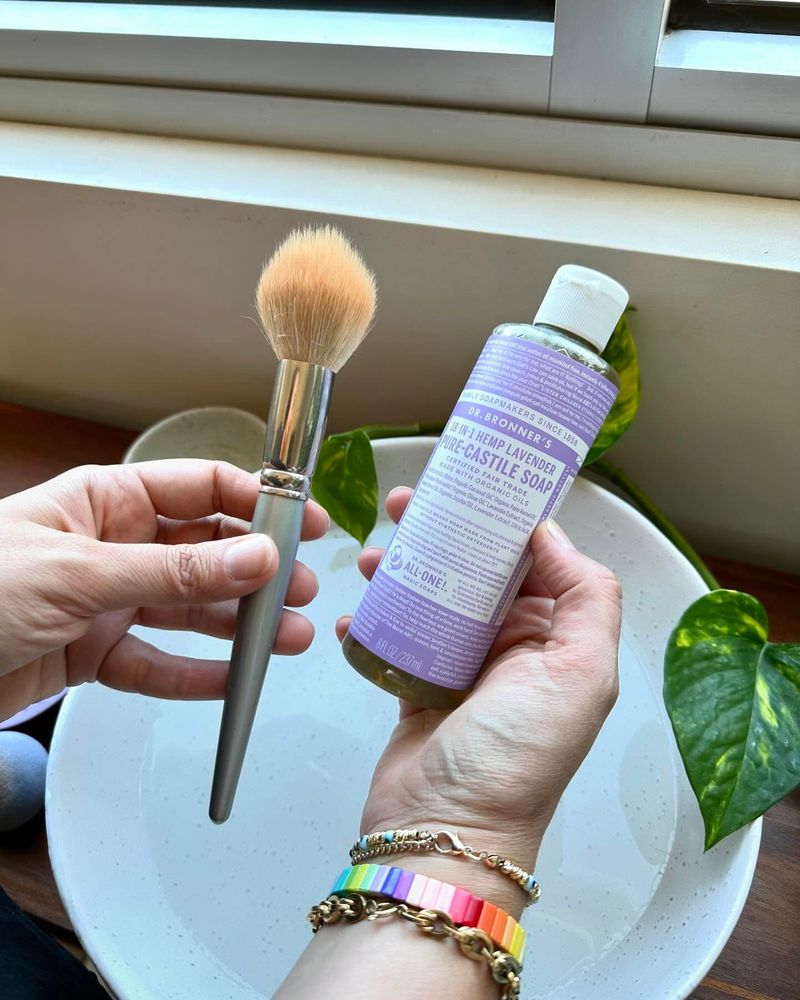
Not all cleansers work for every brush. I discovered this after ruining an expensive foundation brush with harsh soap. Natural bristles need gentle cleansers like baby shampoo or specialized brush cleaners that won’t strip their delicate fibers.
Synthetic brushes can handle slightly stronger formulas but still benefit from mild options. My go-to solution is unscented castile soap mixed with a drop of olive oil for conditioning.
Avoid dish soap for high-end brushes—it’s too drying. Whatever you choose, make sure it’s fragrance-free to prevent irritation when the brushes touch your skin again.
2. Wet bristles only, never the ferrule
The metal part where bristles meet handle—that’s the ferrule. Soaking this area loosens the glue holding everything together. I learned this lesson the hard way when my favorite blush brush fell apart after just one cleaning session where I submerged the entire brush.
Always hold brushes bristle-down under lukewarm water. The water should never reach above the metal part. This preserves the adhesive and prevents wooden handles from swelling or warping.
For extra protection, I wrap a small piece of aluminum foil around the ferrule before cleaning. This simple hack has saved countless brushes in my collection.
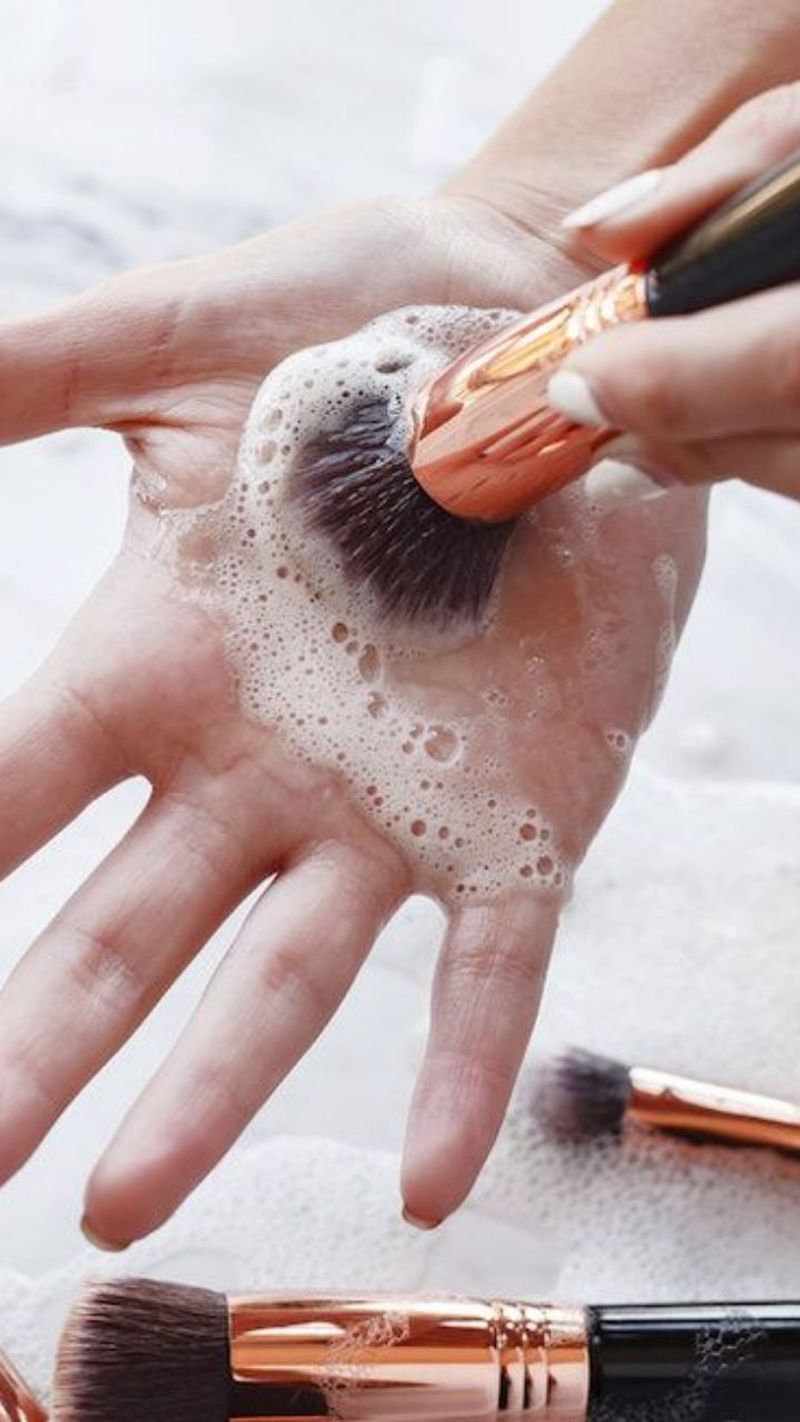
3. Master the palm-swirling technique
Pour a small amount of cleanser into your clean, wet palm. Gently swirl the brush in circular motions, pressing just enough to work the cleanser through the bristles. The friction against your skin helps break down makeup residue more effectively than just rinsing.
You’ll see the color lifting from the brush and spreading across your palm—oddly satisfying! Keep swirling until the runoff appears clear. For stubborn foundation brushes, I sometimes need to repeat this process twice.
This technique reaches deep into the brush core where bacteria love to hide. No fancy cleaning tools required—just your hand and some patience.
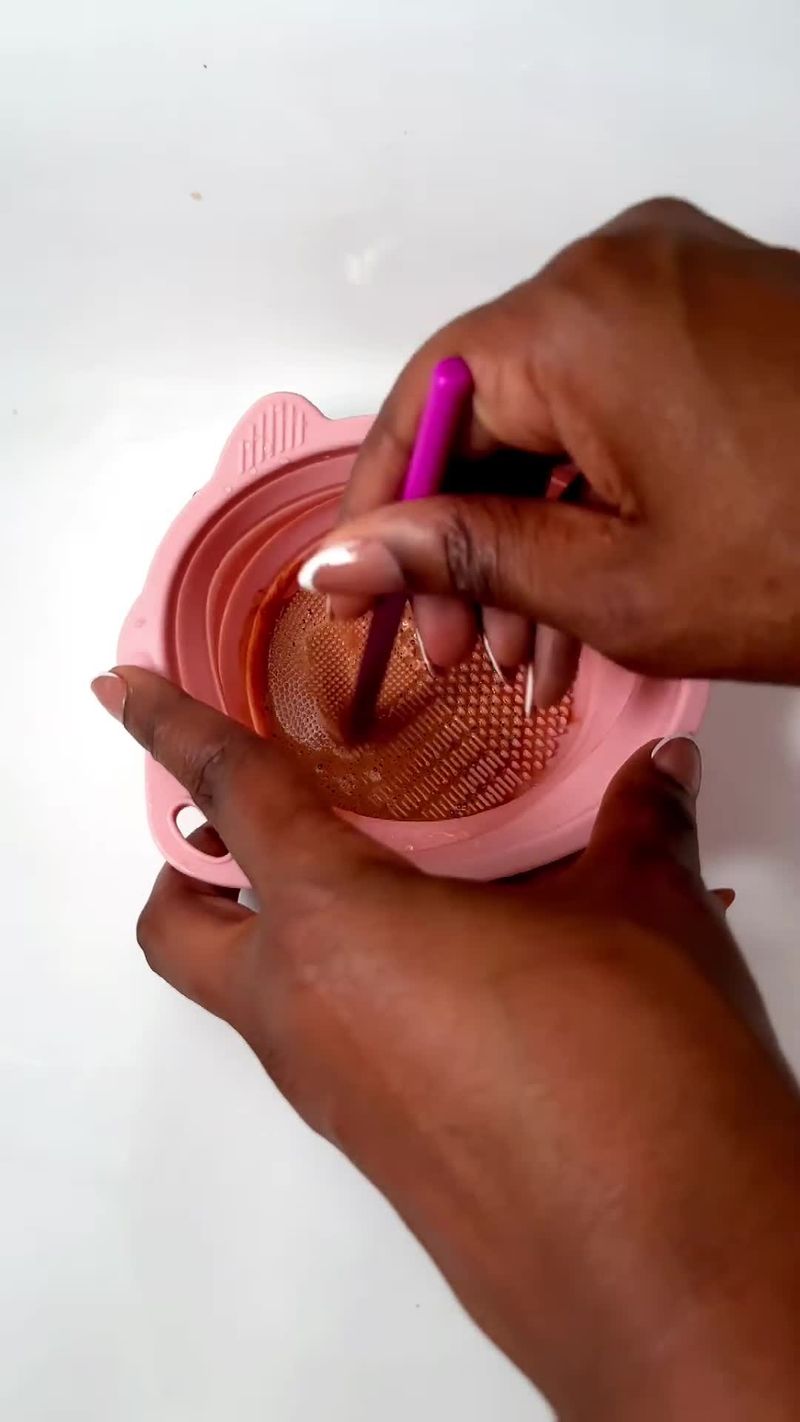
4. Invest in a textured cleaning mat
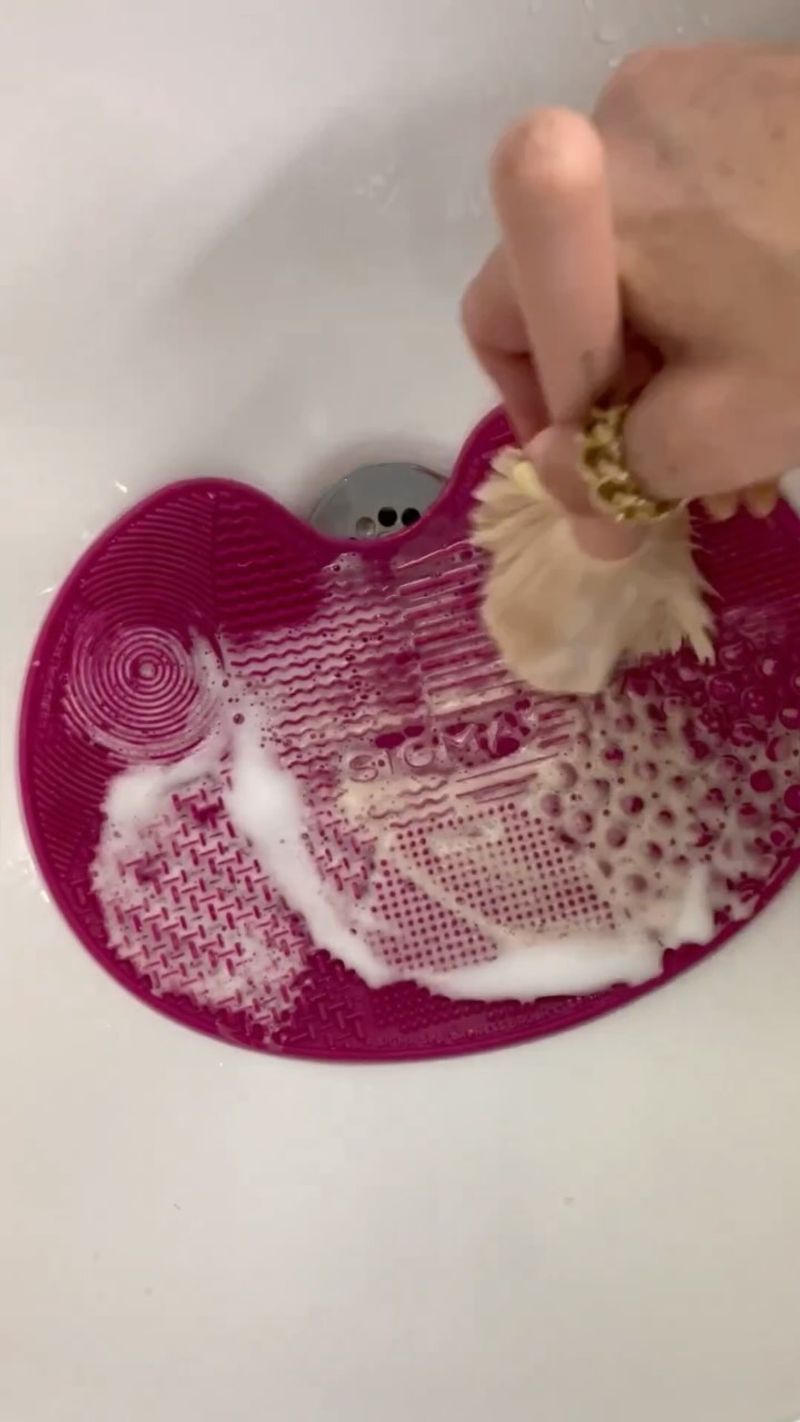
My cleaning routine changed forever when I bought a silicone brush cleaning mat. These mats have various textured patterns designed for different brush sizes and types. The tiny ridges and grooves reach deeper into the bristles than your palm ever could.
Pressing brushes against these textures removes product buildup from places you didn’t even know existed. I was shocked at how much foundation remained in my “clean” brushes before using a mat.
Small portable versions attach to your sink, while larger options provide more cleaning surface. Either way, they cut cleaning time in half and extend the life of pricey brushes—well worth the $10-15 investment.
5. Condition natural bristles
Natural hair brushes—typically made from squirrel, goat, or sable—need extra TLC. After cleaning, I apply a drop of hair conditioner to these bristles. This prevents them from becoming brittle and breaking.
Mix a small amount of conditioner with water in your palm, then swirl the brush through it. Rinse thoroughly afterward—any residue will affect makeup application. This simple step maintains the softness that makes natural brushes so luxurious.
Skip this step for synthetic brushes, as conditioner can make them too slippery for proper makeup pickup. I mark my natural brushes with a small dot on the handle to remember which ones need conditioning.
6. Reshape while wet

Misshapen brushes apply makeup unevenly. After cleaning, gently squeeze excess water from the bristles with a clean microfiber towel. Then, use your fingers to reshape the brush head to its original form.
For flat brushes, press between your fingers to flatten. For round brushes, gently roll between your palms to restore their shape. Fluffy brushes benefit from a gentle fluffing motion with your fingertips.
I once skipped this step with my expensive eye brushes, and they dried pointing in odd directions. Now I take the extra 30 seconds to reshape while damp, which preserves their performance and extends their lifespan.
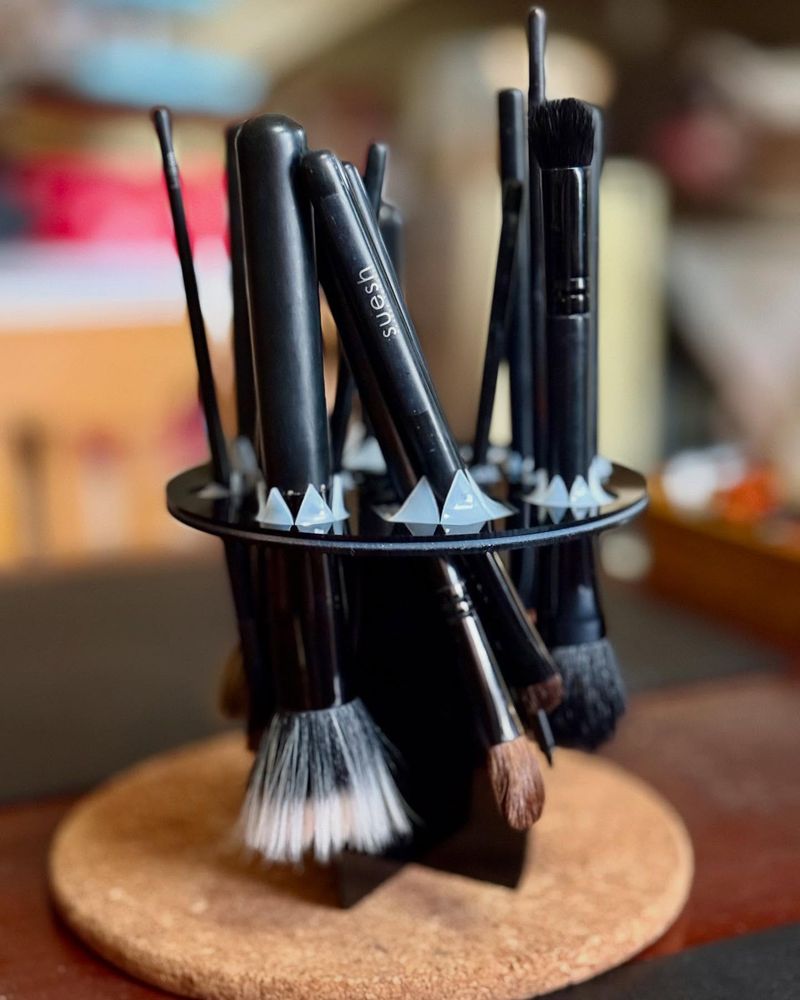
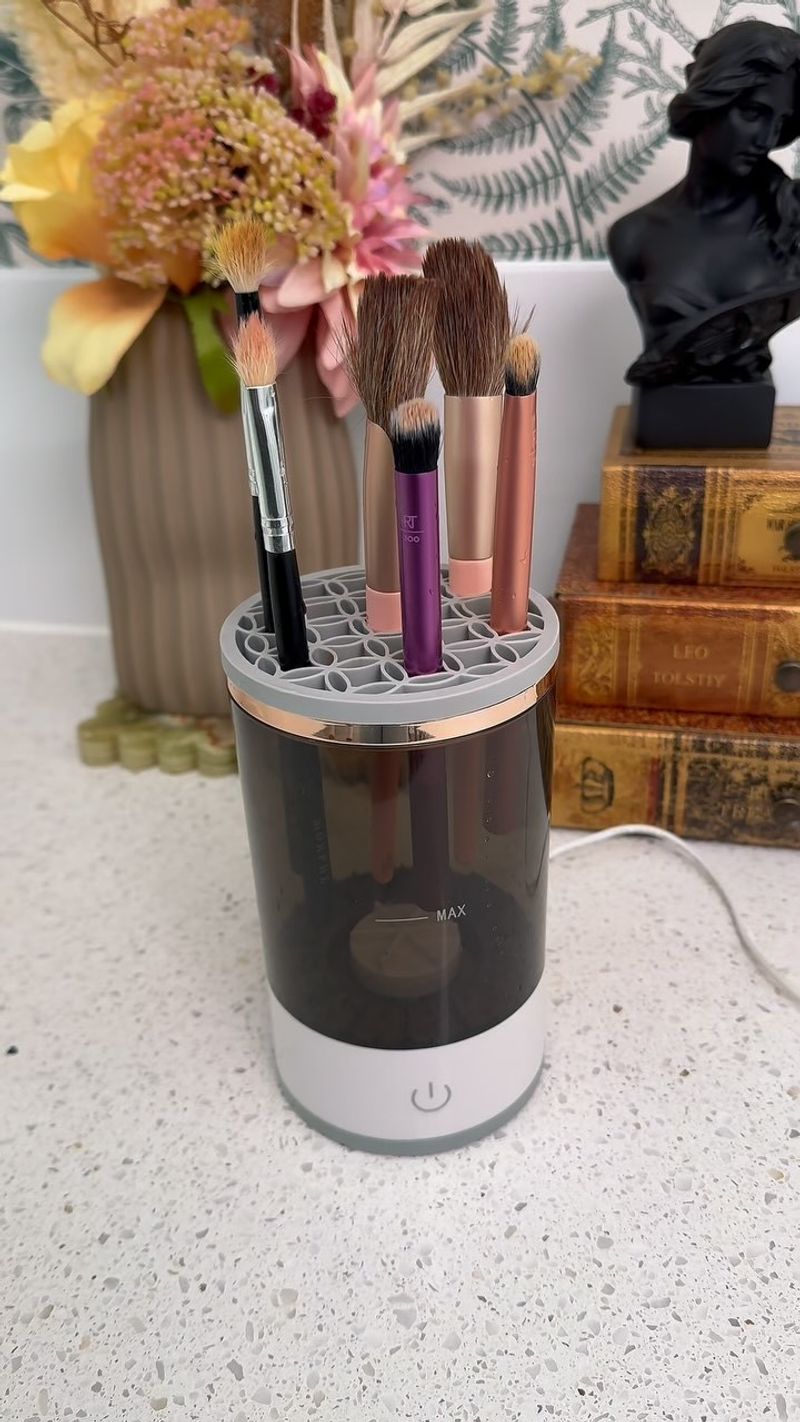
7. Dry brushes horizontally or upside down

Never stand wet brushes upright in a cup! Water seeps into the ferrule, loosening glue and causing shedding. I hang my brushes upside down using a brush tree or lay them flat on a clean towel with the bristles hanging over the edge.
Air circulation is crucial for preventing mildew. Rotate brushes occasionally during drying to ensure even air exposure. I fold a hand towel into an accordion shape to prop brushes at a slight downward angle when I don’t have a proper drying rack.
Patience matters here—rushing the drying process with a hair dryer can damage bristles. Most brushes need 8-24 hours to dry completely depending on their size.
8. Set a regular cleaning schedule
Foundation and concealer brushes harbor bacteria from direct skin contact and creamy products. These need weekly cleaning, minimum. I clean mine every Sunday night so they’re fresh for the week ahead.
Eye brushes and powder brushes can go longer between washes—every two weeks works for me. Creating a calendar reminder eliminated my “I’ll do it tomorrow” excuses that led to months of neglect.
For busy weeks, I keep brush cleaning wipes on my vanity for quick spot cleaning between deep cleans. This simple routine prevents product buildup and protects my skin from breakouts caused by dirty brushes.
9. Spot clean between deep washes
Between thorough cleanings, I use a spray brush cleanser on a paper towel. Swirl your brush on the damp towel until color stops transferring. This quick method removes surface makeup without fully wetting the brush.
For eye brushes switching between dark and light shadows, spot cleaning prevents color contamination. I keep a small spray bottle of isopropyl alcohol (70%) mixed with a drop of leave-in conditioner by my makeup station for immediate cleaning.
This habit extends the time between deep cleans and ensures my brushes are always ready for different colors. Just 30 seconds of spot cleaning after each makeup application makes a remarkable difference in brush performance.
10. Disinfect handles and storage containers
The brush bristles aren’t the only part collecting bacteria. Handles get touched with makeup-covered fingers, transferring oils and product residue. Once monthly, I wipe down all handles with alcohol wipes.
Don’t forget to clean brush storage containers too! My makeup cup was secretly collecting fallen bristles and dust. Now I wash brush holders with soap and water weekly, letting them dry completely before returning brushes.
For travel cases and roll-up brush holders, machine washing on gentle cycle works wonders. These overlooked cleaning steps prevent recontaminating freshly washed brushes with old bacteria and extend the cleanliness of your entire makeup routine.
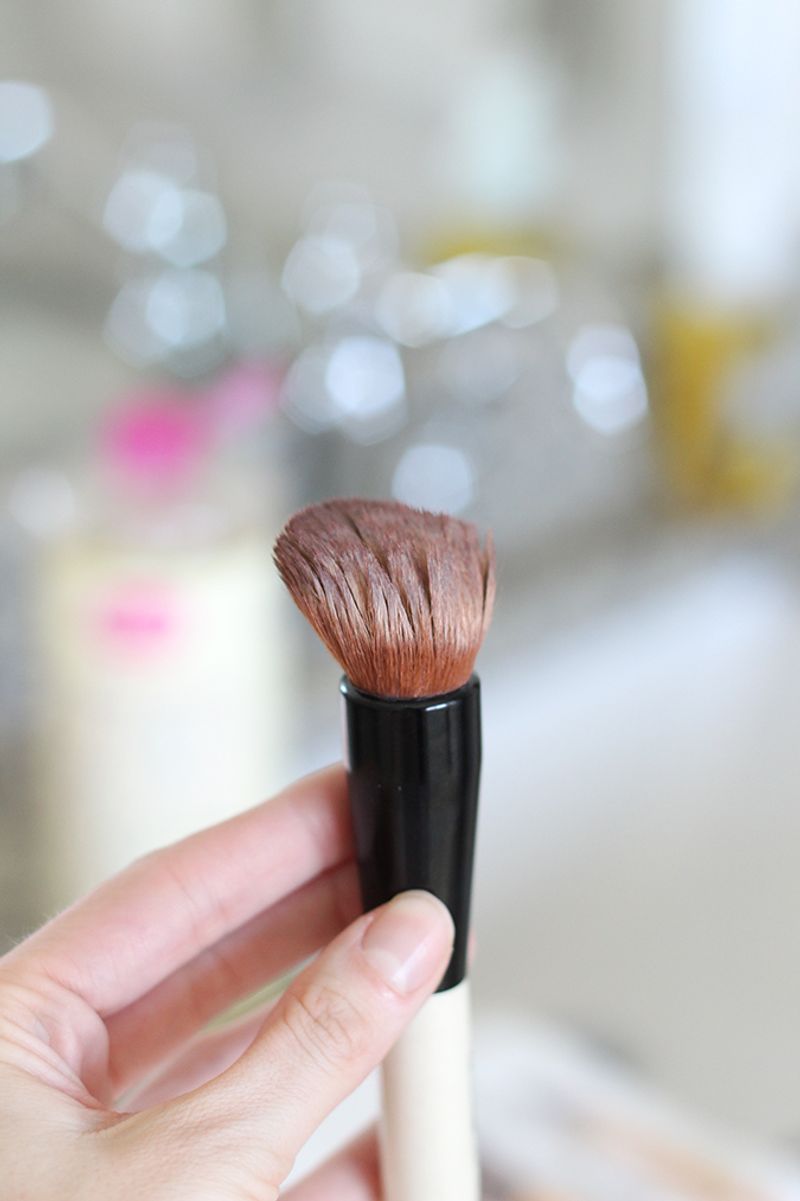
11. Know when it’s time to replace
Even with perfect cleaning, brushes eventually wear out. Shedding bristles, persistent odor, or bristles that won’t hold their shape after cleaning are signs it’s replacement time. I struggled to part with an old foundation brush until I realized how much better my makeup looked with a new one.
Quality brushes should last 5-10 years with proper care. Cheaper brushes typically need replacing every 1-2 years. I write purchase dates on handles with permanent marker to track brush age.
When bristles start splaying outward despite reshaping efforts, it’s time to say goodbye. Holding onto old brushes isn’t worth risking skin irritation or poor makeup application.