
11 Easy Ways To Get Wavy Hair At Home
Who doesn’t love those beautiful, bouncy waves that add volume and life to otherwise flat hair?
I’ve spent years trying different techniques to achieve perfect waves without spending hours at the salon. Through trial and error (and yes, some truly bad hair days), I’ve discovered several methods that work.
Here are my favorite ways to create gorgeous waves right in your bathroom – no fancy tools or professional skills needed!
1. Braid Damp Hair Overnight
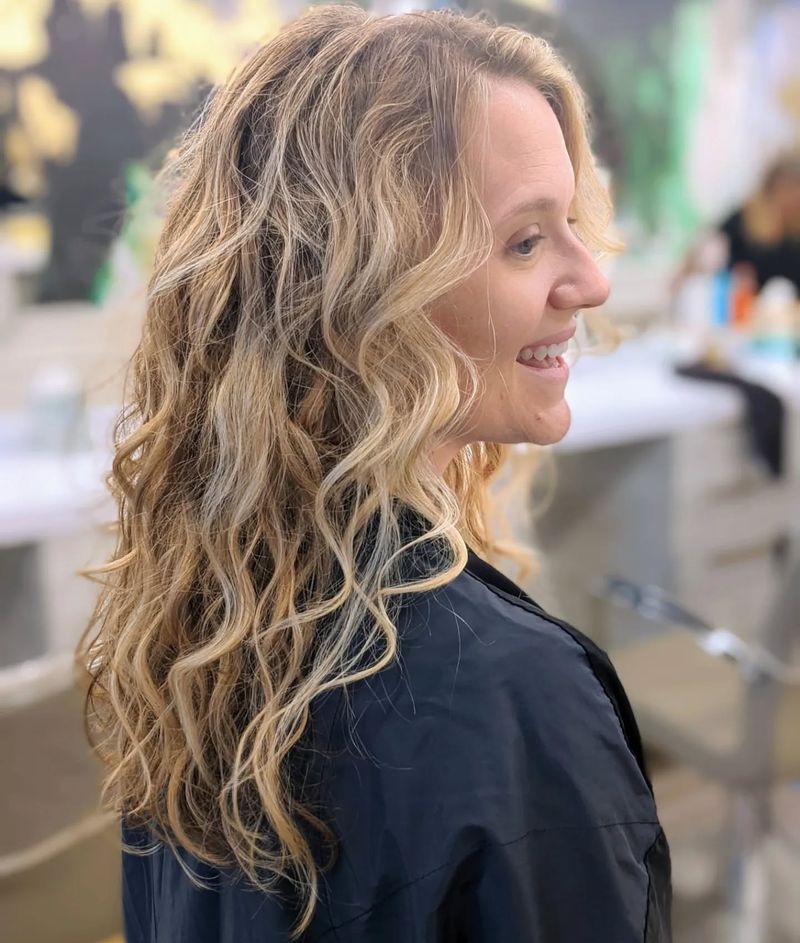
My go-to method when I need effortless waves by morning! Simply wash your hair in the evening, towel-dry until it’s just damp, and divide it into sections. The smaller the braids, the tighter your waves will be – I usually stick with 2-4 braids for natural-looking results.
Make sure to secure the ends with soft hair ties that won’t leave marks. Sleep on a silk pillowcase to reduce frizz (learned this the hard way after waking up with a tangled mess). When you wake up, gently unravel each braid and run your fingers through to separate the waves.
A light mist of hairspray will help your waves last all day. This method works great for all hair types and lengths above the shoulders.
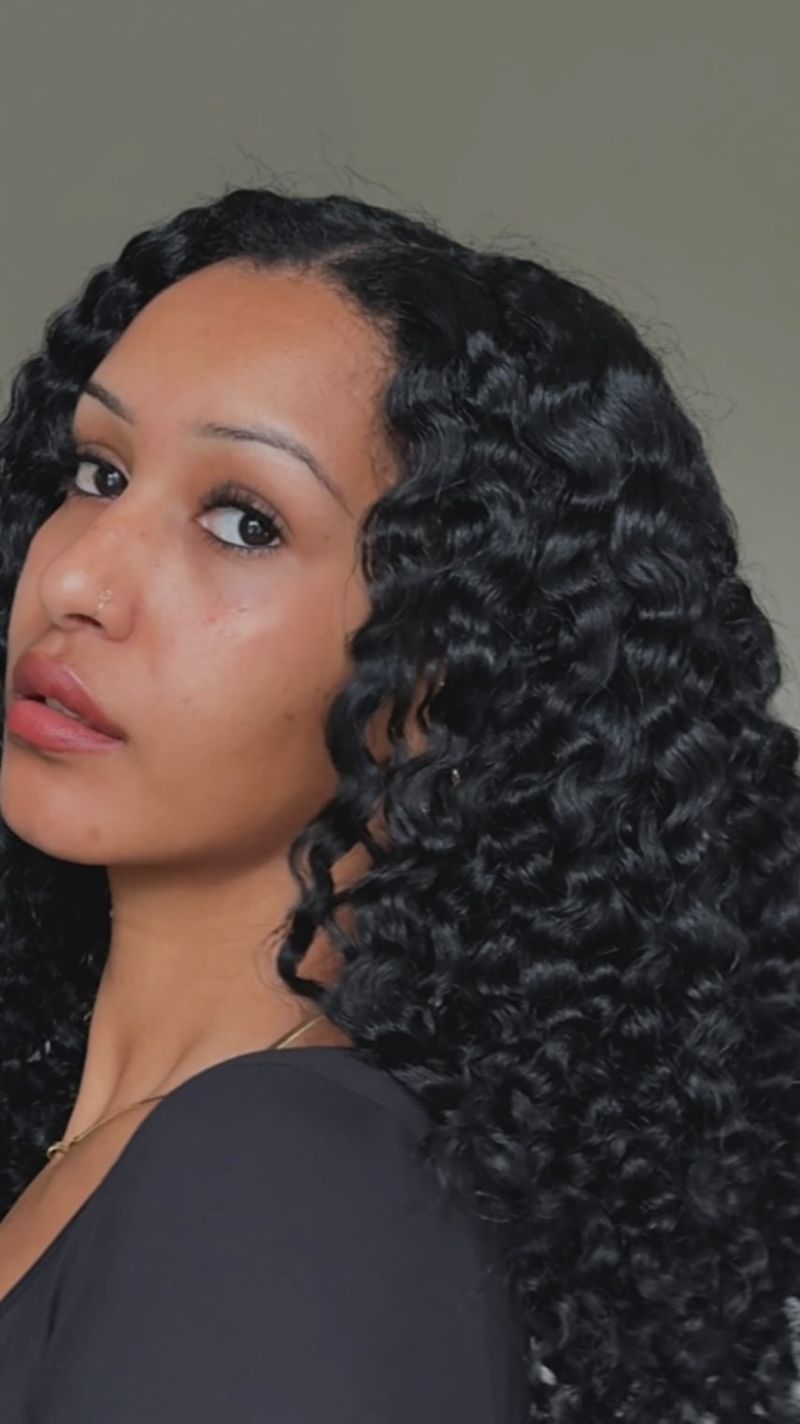
2. Sea Salt Spray Scrunching Technique
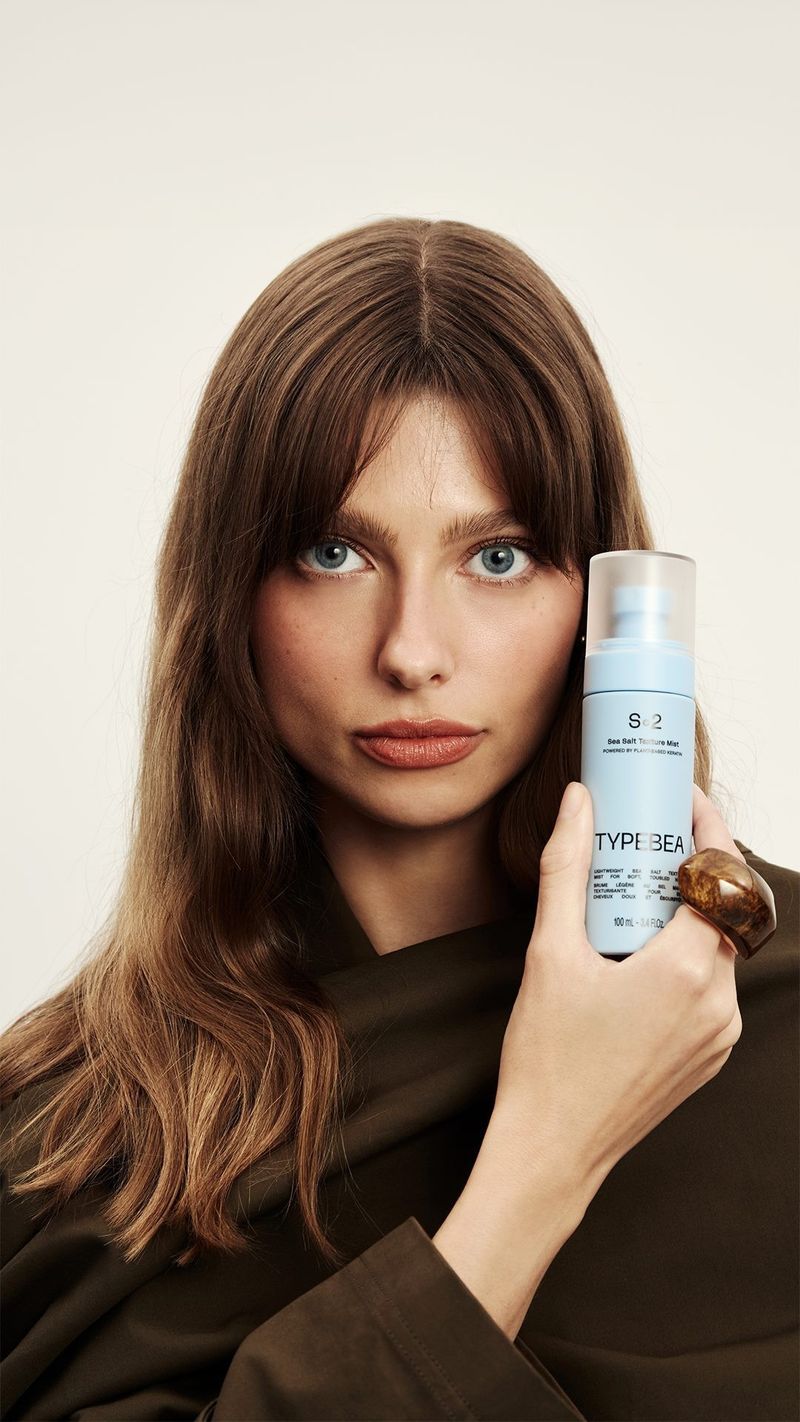
Remember those perfect beach waves you got last summer? You can recreate them anytime with sea salt spray! I make my own by mixing a tablespoon of sea salt with water and a drop of conditioner in a spray bottle, but store-bought works just fine too.
Spray generously on damp hair from mid-length to ends. Now comes the fun part – scrunch upward with your hands, squeezing sections toward your scalp. The key is being patient and continuing to scrunch as your hair dries naturally.
For extra volume, flip your head upside down while scrunching. This technique gives that perfectly imperfect, tousled look that appears effortless yet stylish. Works especially well on naturally straight hair that needs texture.
3. Sock Bun Magic
This trick saved me during a power outage when I couldn’t use my styling tools! Start with slightly damp hair and a clean sock with the toe cut off, rolled into a donut shape. Pull your hair into a high ponytail, then thread the ends through the sock donut.
Roll the sock downward, wrapping your hair around it as you go until you reach your scalp. Secure with bobby pins if needed. Leave it overnight or for at least 4-6 hours if you’re in a rush.
When you take it out, you’ll have gorgeous, bouncy waves with amazing volume at the roots. I’ve found this works best on medium to long hair, and the longer you leave it in, the more defined your waves will be.
4. Twist and Pin Method
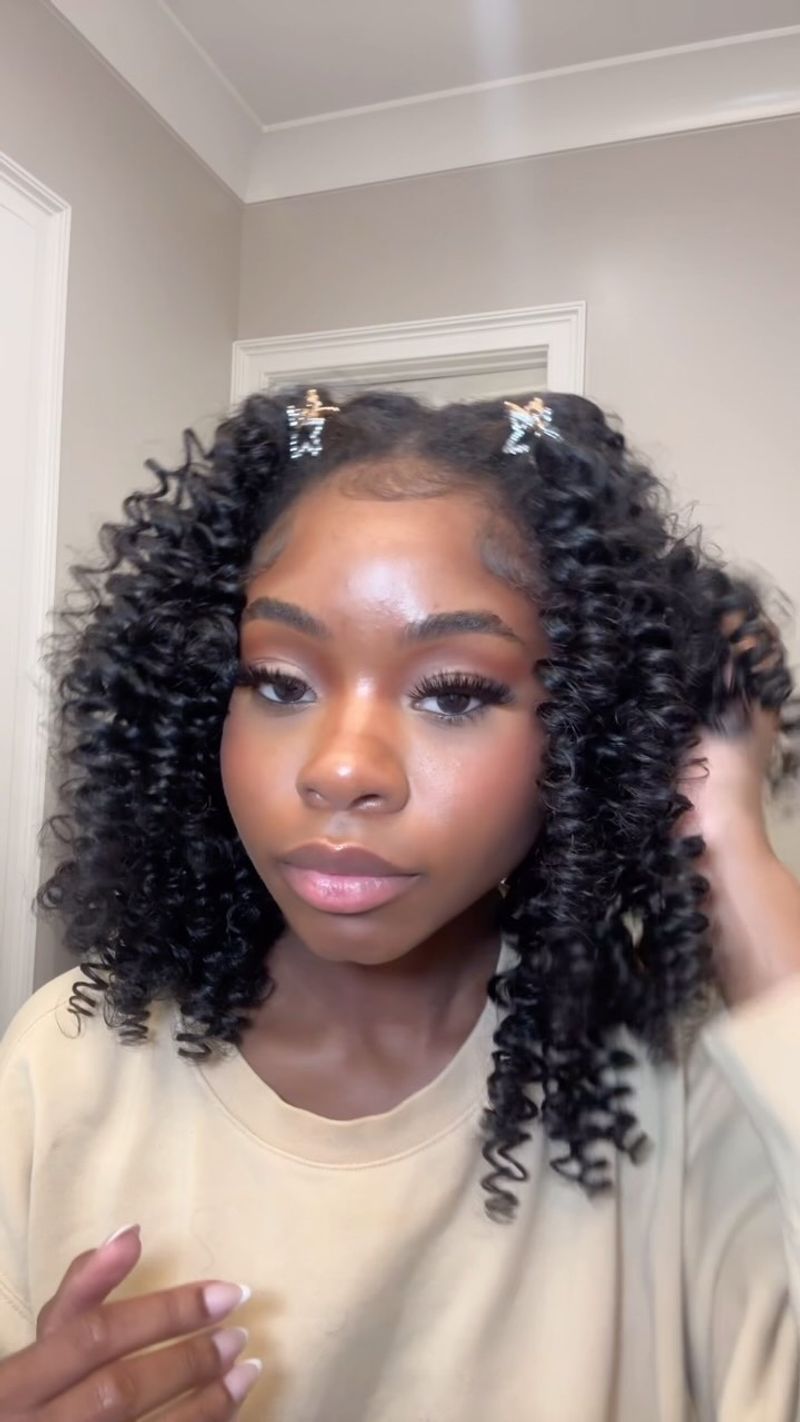
This technique reminds me of how my grandmother used to set her hair! Start with damp hair and divide it into 6-8 sections. Twist each section tightly away from your face until it coils upon itself, then pin it flat against your head with bobby pins.
You can either let your hair air dry completely or speed things up with a diffuser attachment on low heat. The key is making sure your hair is 100% dry before taking out the pins.
When you unravel each twist, you’ll discover soft, natural-looking waves. I love how this method creates waves that look like you were born with them rather than styled them. It’s perfect for those days when you want waves that don’t scream “I tried really hard!”
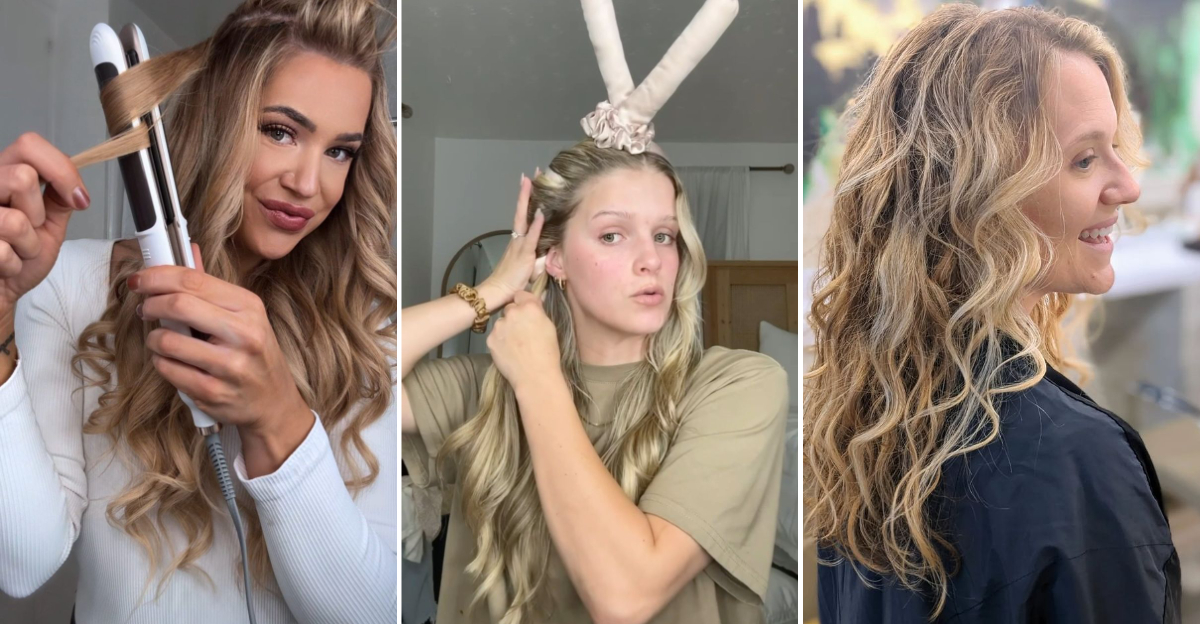
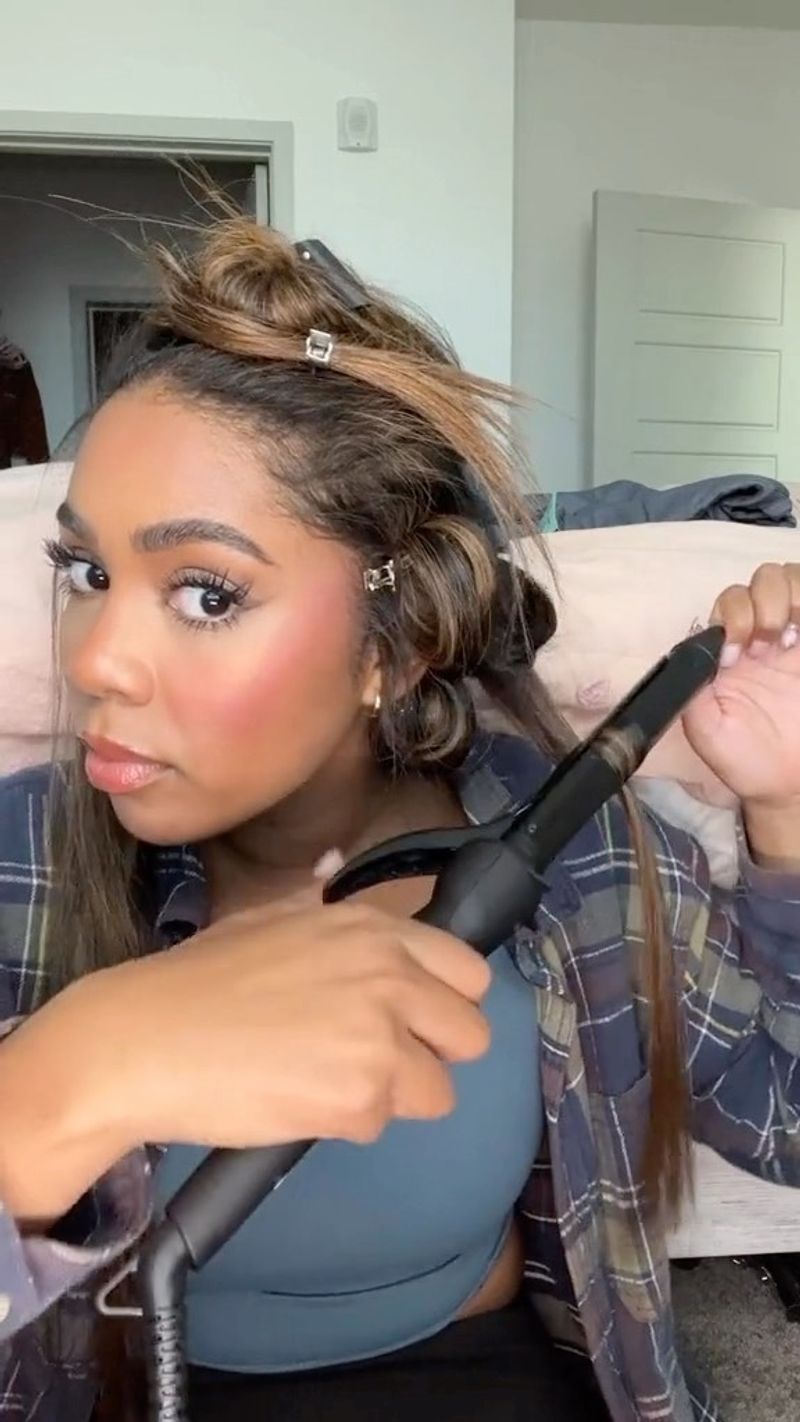
5. Flat Iron Waves
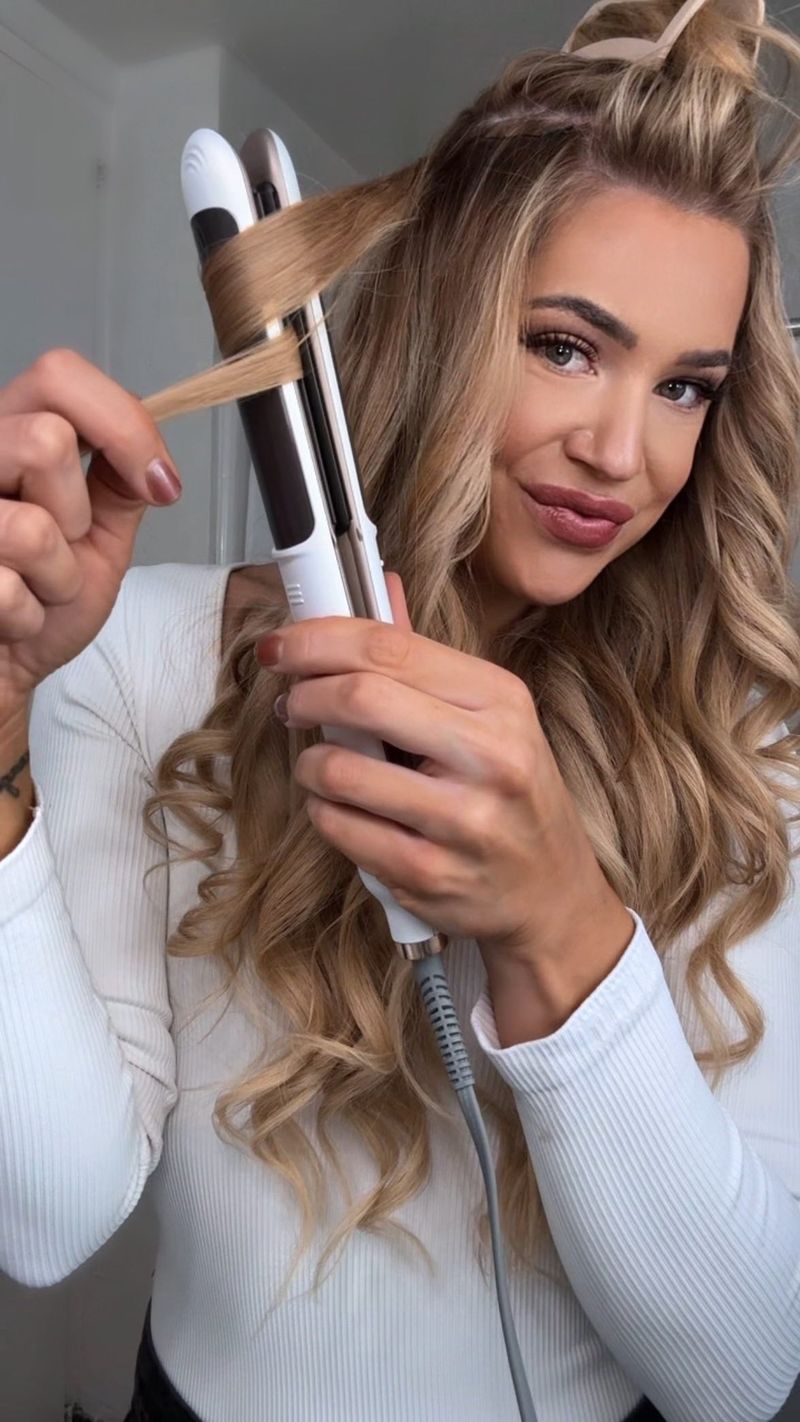
Contrary to what you might think, your straightener can create amazing waves! The trick is in the wrist motion. Section your dry hair and run the flat iron down while simultaneously turning your wrist back and forth in an S-pattern.
Keep the iron moving constantly to avoid heat damage. I’ve found that starting the wave at different heights creates a more natural look – some waves starting near the root, others at mid-length. This prevents that “prom hair” uniform curl pattern we all fear.
Practice makes perfect with this technique. My first attempts looked like weird crimped hair from the ’90s! Now I can do my whole head in under 15 minutes. Works best on shoulder-length or longer hair that’s already straight or slightly wavy.
6. Headband Wrap Method
This heatless method has saved my hair from damage! Place an elastic headband around the crown of your head. Starting at the front, take small sections of damp hair and wrap them around the headband, tucking the ends underneath.
Continue all the way around your head until all hair is wrapped. What’s great is you can sleep comfortably with this style, unlike some other overnight methods that feel like torture devices! If your hair is thick, use two headbands to distribute the hair more evenly.
In the morning, carefully remove the headband and gently separate the waves with your fingers. I’ve found that a light oil on the ends prevents frizz without weighing down the waves. This method gives gorgeous vintage-inspired waves that last all day.
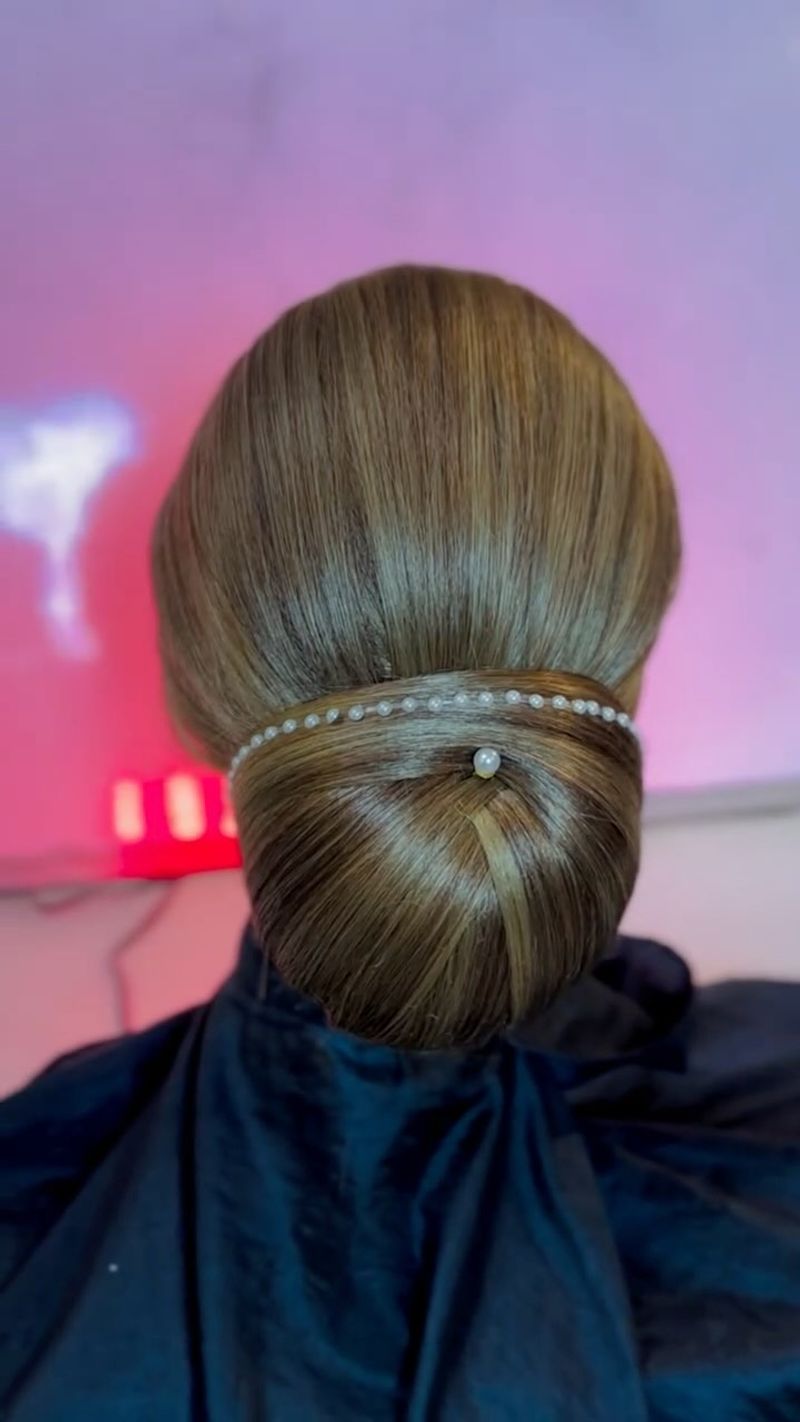
7. Twisted Bun Technique
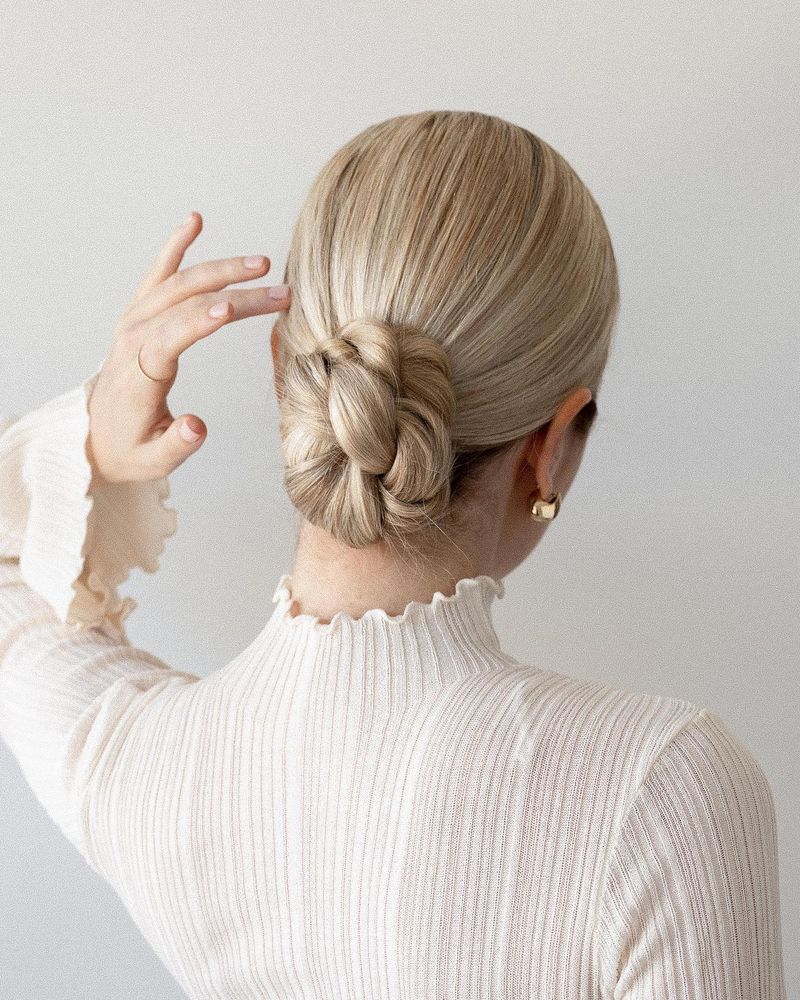
This is my Monday morning savior when I’m running late! After showering, towel-dry your hair until it’s just damp. Divide it into two sections and twist each section tightly until it starts coiling on itself, then form each twist into a bun.
Secure with pins or scrunchies (avoiding elastic bands that leave creases). You can either let them air dry completely or hit them with a blow dryer for 5-10 minutes to speed things up. The key is making sure your hair is fully dry before taking them down.
When you release the buns, you’ll have loose, natural-looking waves. I like to flip my head upside down and shake the waves out for extra volume. Works amazingly on all hair lengths, even shorter styles!
8. Diffuser Scrunching for Natural Waves
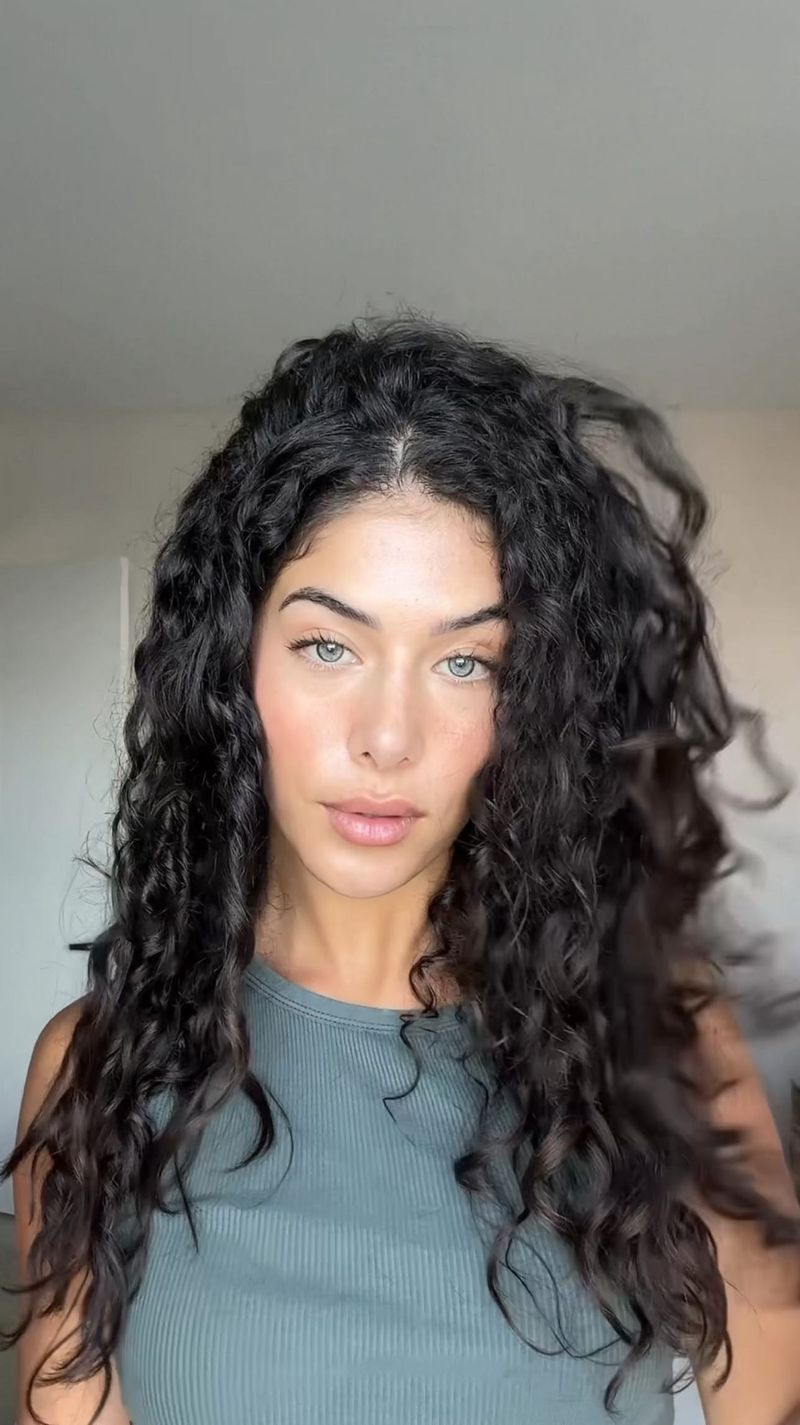
Got a diffuser attachment gathering dust? Time to put it to work! Apply a curl-enhancing mousse to damp hair – I use about a golf-ball sized amount for my shoulder-length hair. Flip your head upside down and place sections of hair in the diffuser bowl, pushing upward toward your scalp.
The key is keeping the dryer still for 10-15 seconds before moving to another section. Set your dryer to medium heat and low speed to avoid frizz. I made the mistake of using high heat once and ended up looking like I’d stuck my finger in an electrical socket!
Once your hair is about 80% dry, let it air dry the rest of the way while continuing to scrunch occasionally with your hands. This method enhances whatever natural wave pattern you already have.
9. Paper Towel Curls
This old-school method saved me during a vacation when I forgot all my styling tools! Tear paper towels into strips about 1-2 inches wide. Dampen your hair slightly, then wrap 1-inch sections around each paper strip, rolling from ends to roots.
Tie the ends of the paper to secure, or use small clips. The beauty of paper towels is they absorb excess moisture while you sleep, reducing frizz. Plus, they’re much more comfortable to sleep on than traditional rollers!
In the morning, carefully unroll each section. The result is bouncy, voluminous waves with amazing definition. A light mist of hairspray helps them last all day. This method works on all hair types and is completely heat-free – your damaged ends will thank you!
10. Mousse and Scrunch Air-Dry Method
Sometimes the simplest methods work best! I reach for this technique when I’m feeling lazy but still want textured hair. Apply a palm-sized amount of volumizing mousse to damp (not soaking wet) hair, distributing evenly from roots to ends.
Flip your head upside down and scrunch handfuls of hair upward toward your scalp. The key is being gentle – aggressive scrunching causes frizz! Once you’ve scrunched thoroughly, flip your head back up and arrange your waves how you want them to dry.
Avoid touching your hair until it’s completely dry. This is the hardest part for me – I’m always tempted to check on my waves! Once dry, you can scrunch again to break up any crunchiness from the mousse. This method enhances whatever natural texture you have.
11. T-Shirt Curls
I discovered this method accidentally when packing for a trip! Cut an old t-shirt into strips about 1-inch wide and 6-8 inches long. Dampen your hair slightly, then wrap 1-inch sections around each t-shirt strip, rolling from ends to roots.
Tie the ends of the fabric to secure each curl. What’s amazing about t-shirt material is that it’s gentler than traditional rollers and doesn’t leave creases. You can sleep comfortably with these in place!
When you wake up, untie each strip and gently unroll. Shake your head to loosen the curls into waves. The cotton material helps reduce frizz compared to other overnight methods. I’ve found this works on all hair types and creates soft, natural-looking waves rather than tight curls.
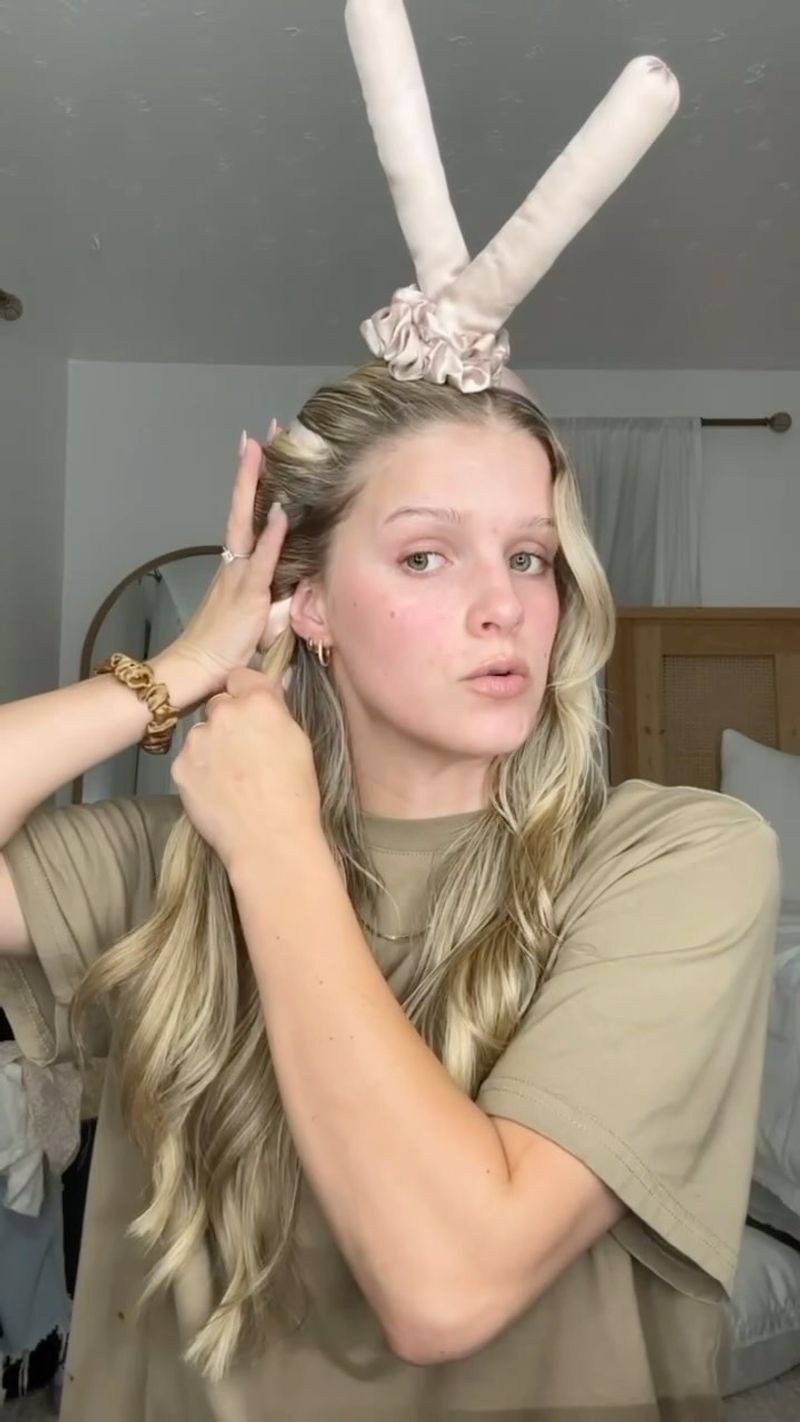
12. Bathrobe Belt Waves
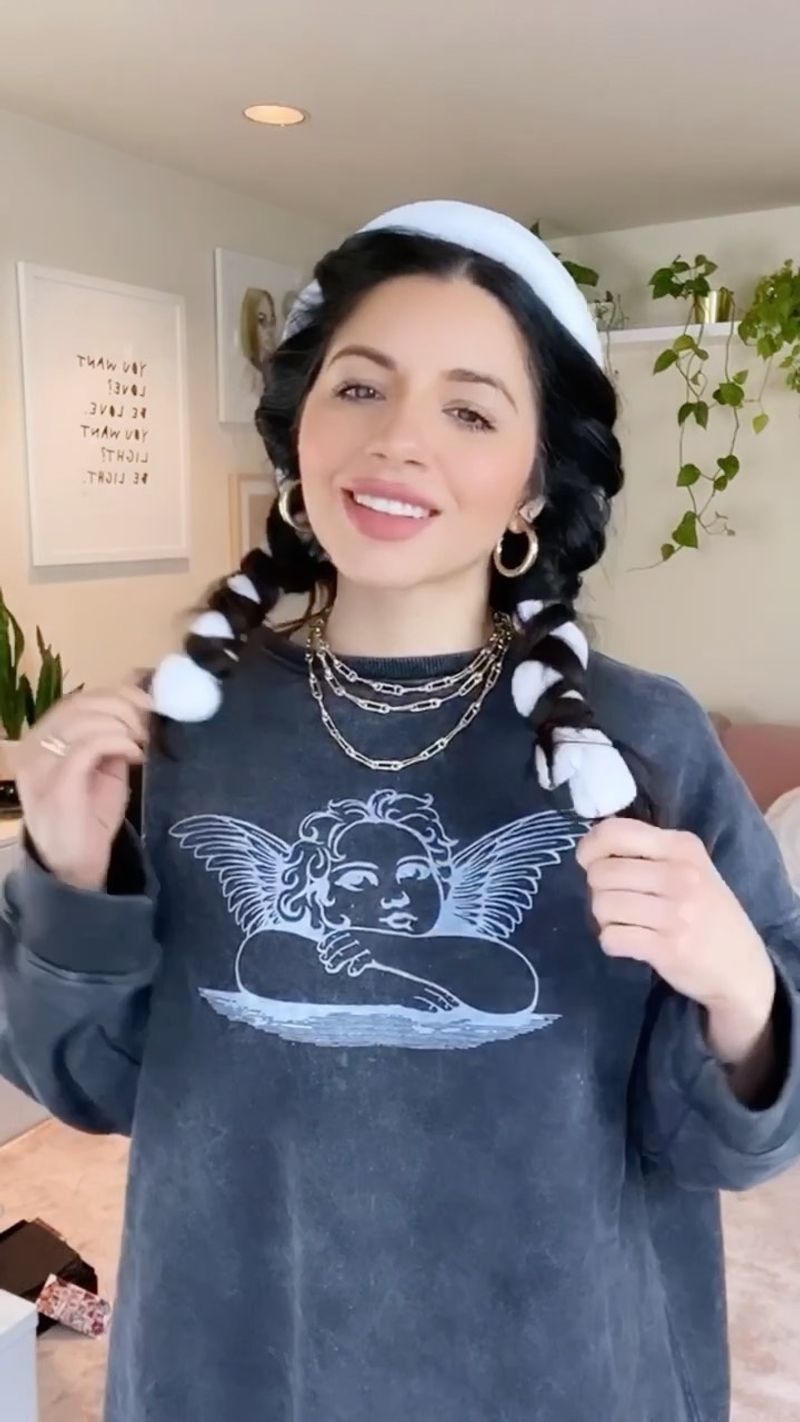
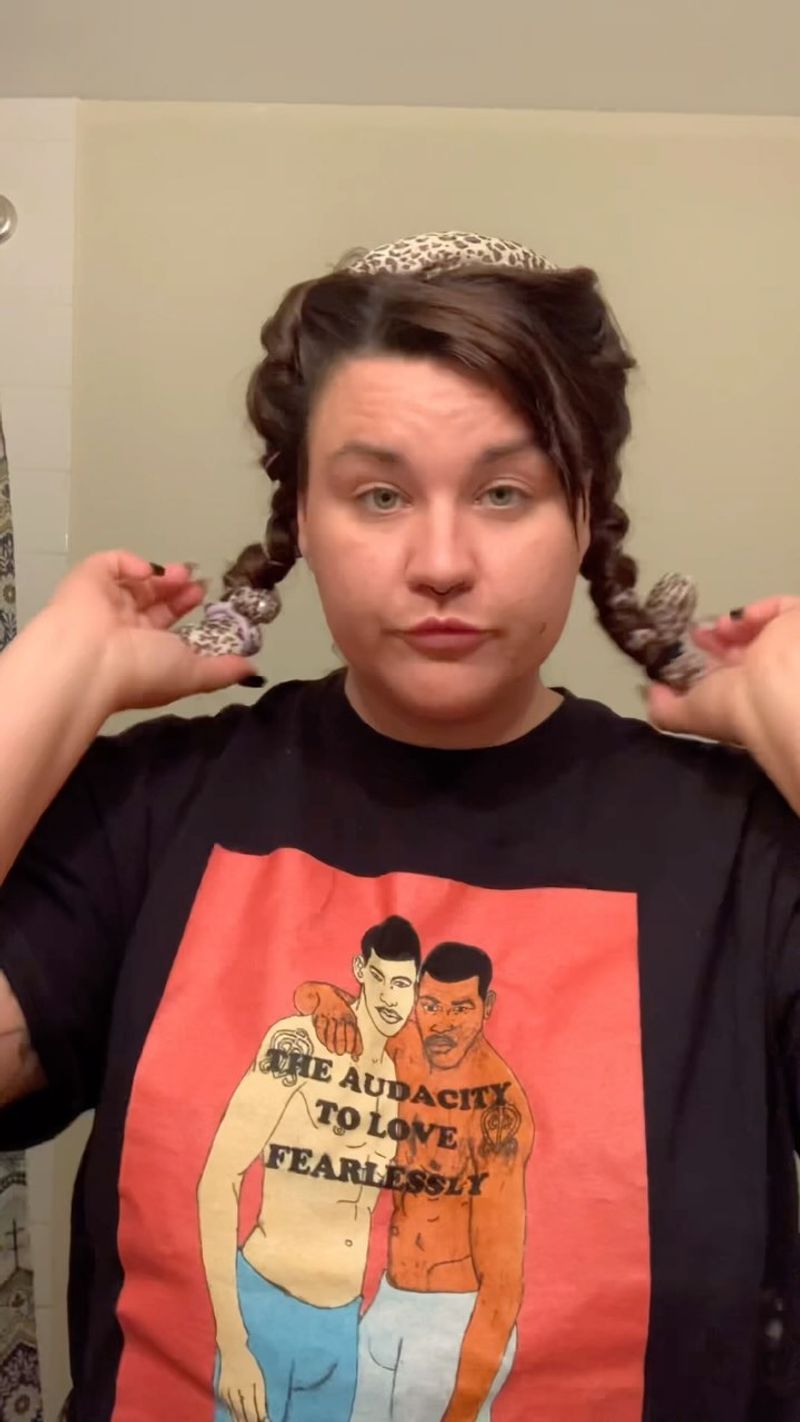
This TikTok hack actually works! Take the belt from a plush bathrobe and place it on top of your head like a headband. Divide damp hair into two sections and wrap each section around the belt, adding more hair as you go – similar to a French braid but much easier.
Secure the ends with scrunchies and leave it overnight. The soft material prevents uncomfortable sleep and doesn’t leave harsh creases in your hair. In the morning, unwrap your hair and gently separate the waves with your fingers.
What I love about this method is how it creates waves that start higher up on the head than most other techniques. The result is gorgeous, voluminous waves that look like you spent hours with a curling iron! Works best on medium to long hair with any texture.