
21 Common Makeup Issues And How To Fix Them
Makeup is an art form, but even the best artists encounter challenges.
Whether you’re dealing with smudged eyeliner or patchy foundation, these common issues can be frustrating. Fear not, because with the right tips and tricks, you can tackle each problem with confidence.
So, grab your makeup brushes, and let’s turn those beauty blunders into triumphs!
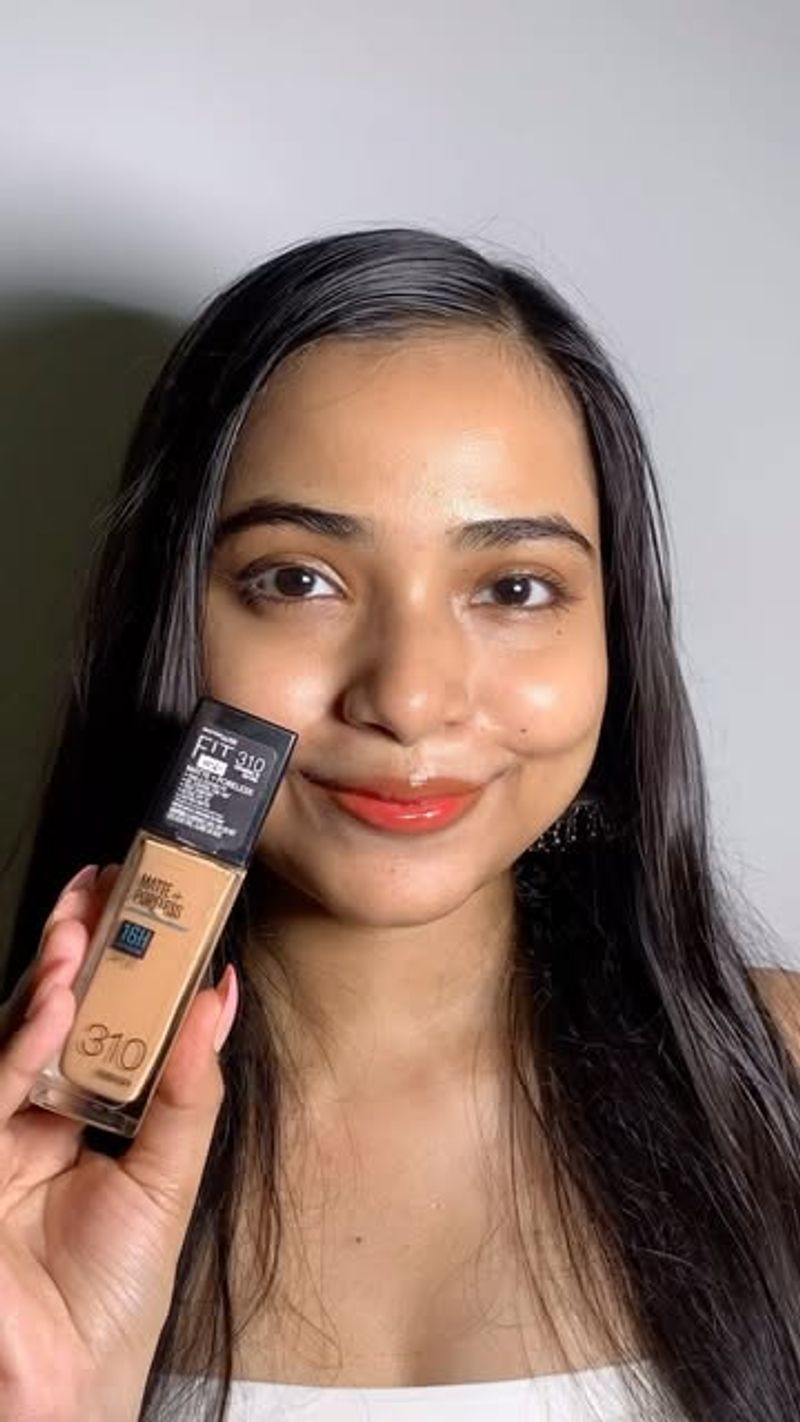
1. Foundation That Cakes
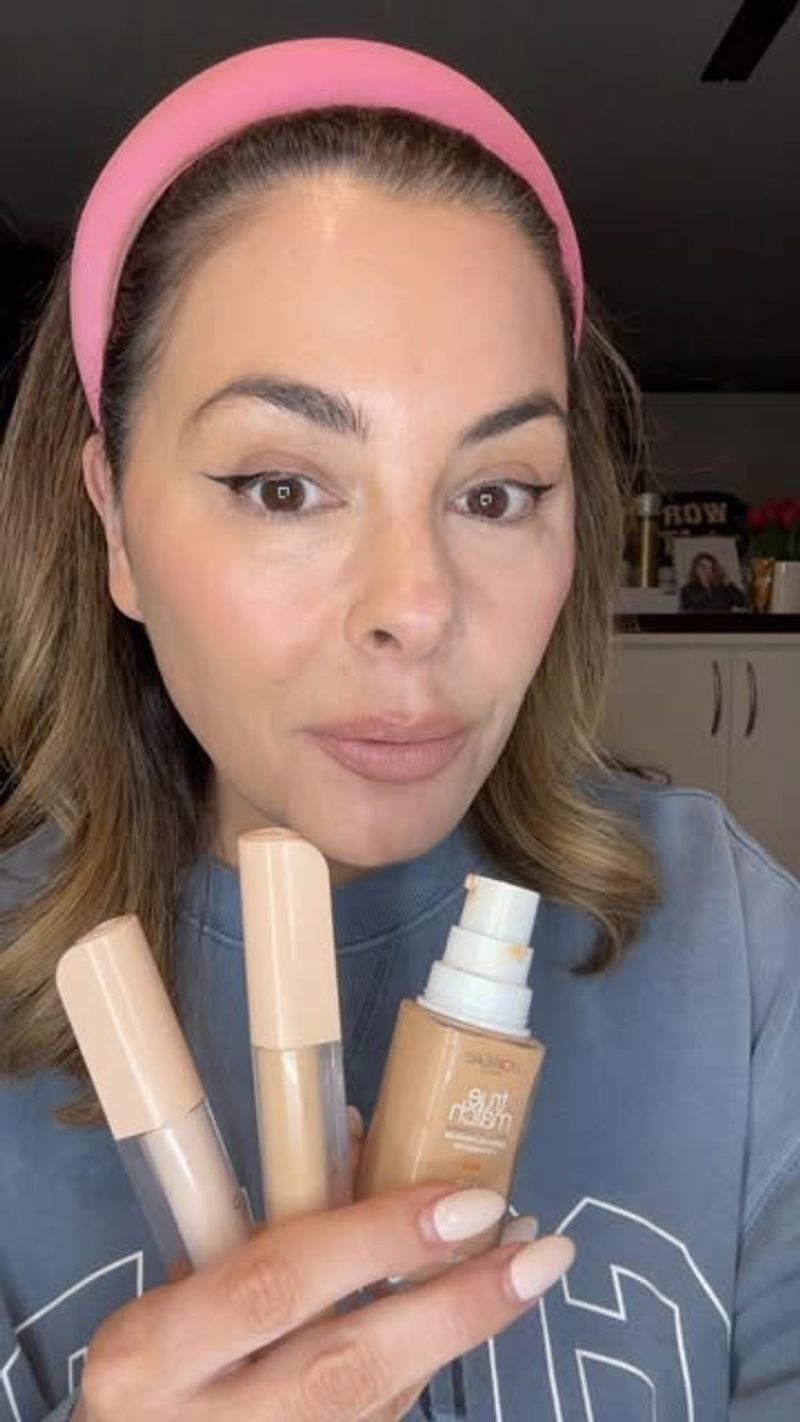
The foundation should be your skin’s best friend, not its enemy.
Unfortunately, the dreaded cakey look can occur when the product is too thick or not properly blended. To combat this, begin with a hydrating primer to create a smooth canvas. Use a damp beauty sponge to apply foundation in thin layers, building up coverage gradually.
Remember, less is more! Finish with a setting spray to lock in moisture and create a skin-like finish. This approach ensures your foundation looks natural and feels comfortable all day long.
2. Eyeliner That Smudges

Eyeliner smudging is like the villain in a superhero movie—always causing trouble!
To prevent this mishap, start by using an eye primer to give your liner something to hold onto.
Opt for waterproof formulas that promise long-lasting wear. Set the liner with a matching eyeshadow to add extra staying power.
If smudging occurs, a cotton swab can save the day by gently wiping away the excess. These steps ensure your eyeliner remains sharp and defined without the unexpected raccoon effect.
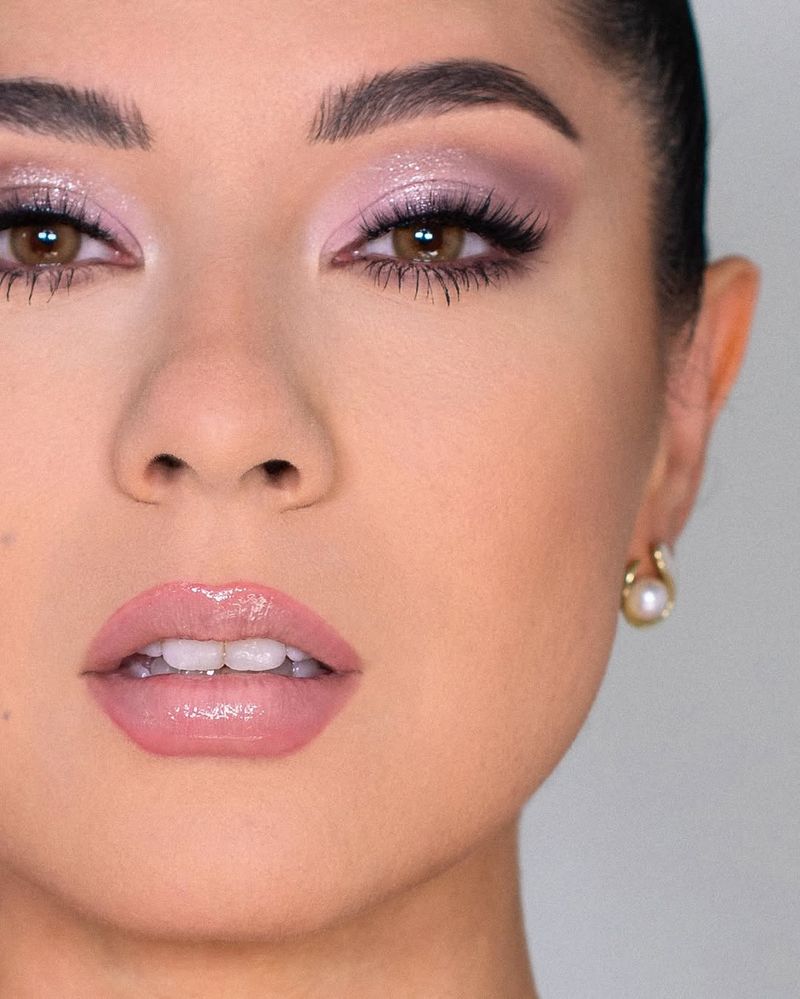
3. Lipstick That Feathers

Lipstick feathering can turn a polished look into a bit of a mess.
To avoid this, begin by lining your lips with a lip pencil that matches your lipstick. This acts as a barrier to keep your lipstick in place.
Next, apply the lipstick using a brush for precision. A quick blot with a tissue can help remove excess product. For added security, dust a bit of translucent powder over your lips.
These steps keep your lipstick looking fresh and fabulous without feathering.
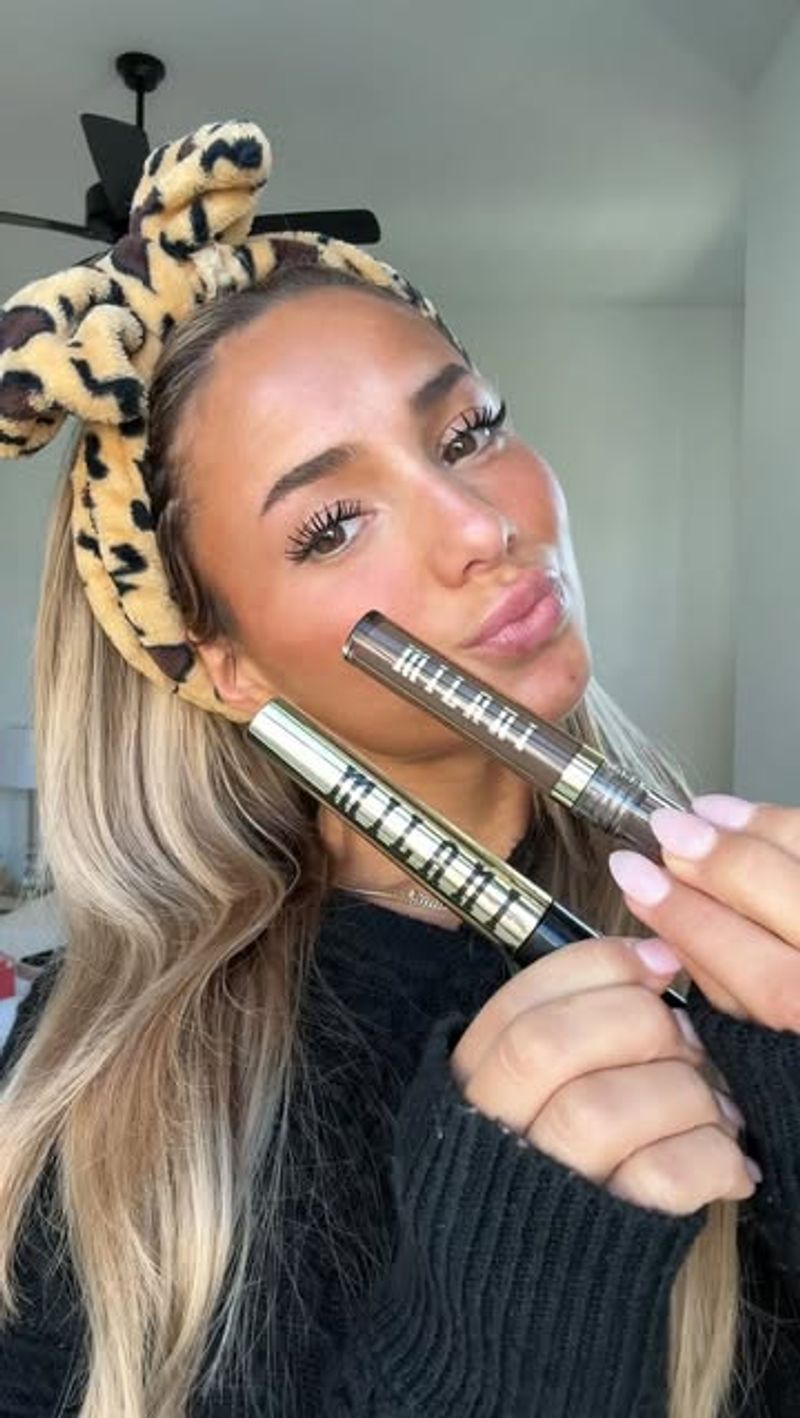
4. Mascara That Clumps
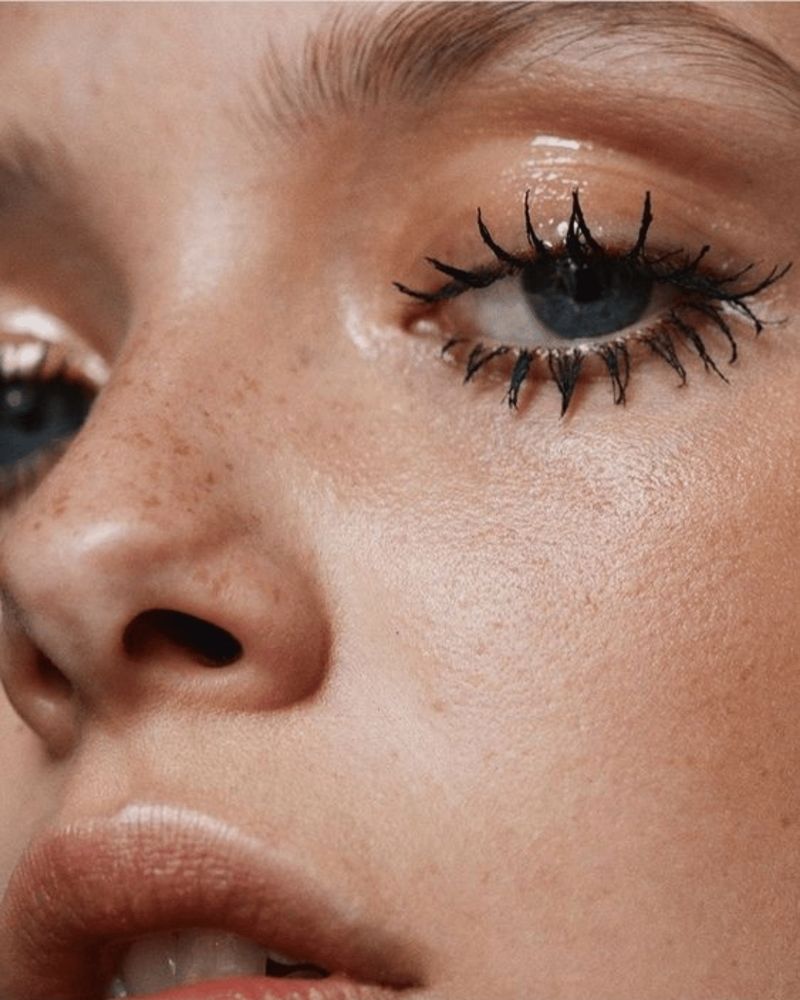
Clumpy mascara can turn your lashes into a sticky situation.
Start by wiping off excess mascara from the wand before application. Begin at the base of your lashes and wiggle the wand upwards to ensure even distribution of product.
If clumps still form, a clean spoolie brush can work wonders in separating those lashes. Avoid pumping the mascara wand into the tube, as this introduces air and dries out the product.
With these tips, your lashes will look long and clump-free!
5. Contour That Looks Muddy
Muddy contour is like a foggy day—obscuring what should be clear.
Choose a contour shade that is cool-toned and only slightly darker than your natural complexion.
Apply with a light hand and blend with a fluffy brush in circular motions. Remember, the goal is to create shadows, not lines! If your contour gets too heavy, a bit of translucent powder can soften the effect.
With these techniques, your contour will enhance your features without looking unnatural.
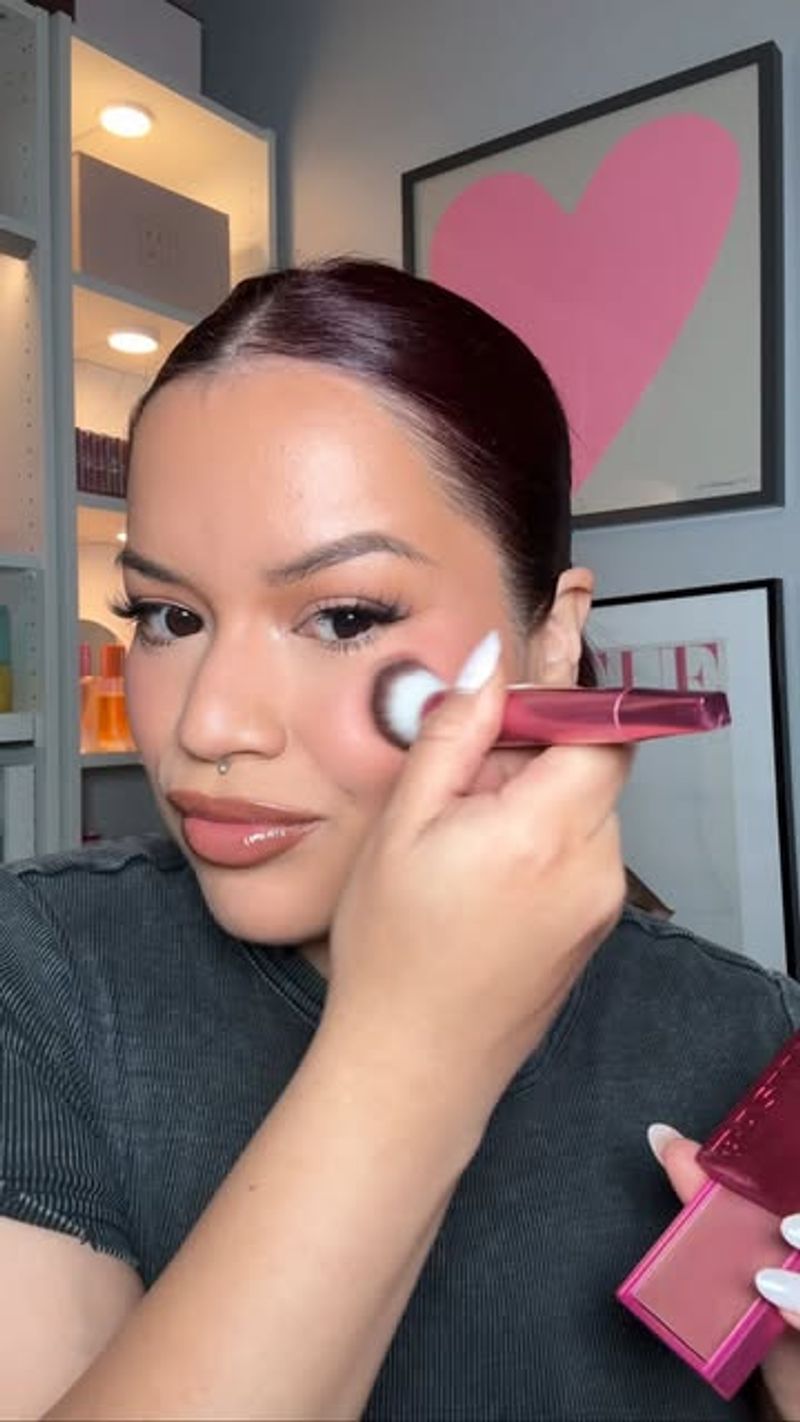
6. Blush That Looks Overdone

A pop of color on your cheeks should add life, not alarm.
To achieve the perfect blush, tap off excess product from your brush before application. Smile and apply to the apples of your cheeks, blending upwards towards your temples.
If you’ve gone too heavy on the blush, fear not—a bit of foundation or powder can tone it down.
Choose shades that complement your skin tone to avoid the clown-like effect. These tips ensure your blush looks natural.
7. Eyeshadow That Creases
Creased eyeshadow is the nemesis of a flawless eye look.
To combat this, start with an eyeshadow primer to create a smooth base.
Apply eyeshadow in thin layers, blending well with a clean brush. Choose long-wear formulas that resist creasing throughout the day. If creasing does occur, gently pat the area with your fingertip to smooth it out.
These techniques ensure your eyeshadow remains crease-free, leaving you with a stunning eye look that lasts.
8. Brows That Are Uneven
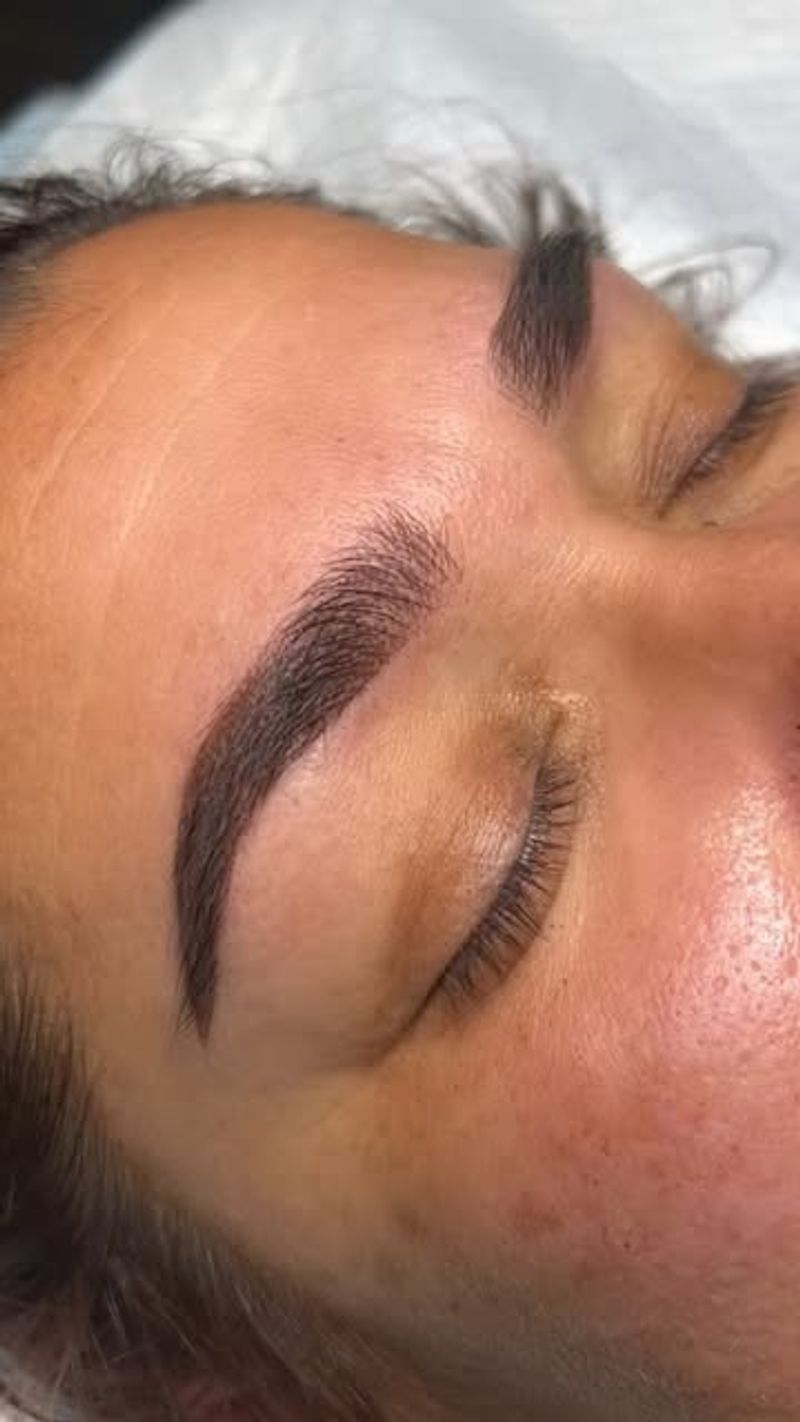
Uneven brows can feel like they’re having a bad hair day.
To achieve symmetry, begin by brushing your brows upwards with a spoolie. Use an eyebrow pencil or powder to fill in sparse areas, following the natural shape of your brows.
Check your work as you go along in a mirror, ensuring both sides match. If mistakes happen, a bit of concealer can redefine the lines.
With practice, your brows will look full and perfectly framed.
9. Concealer That Creases
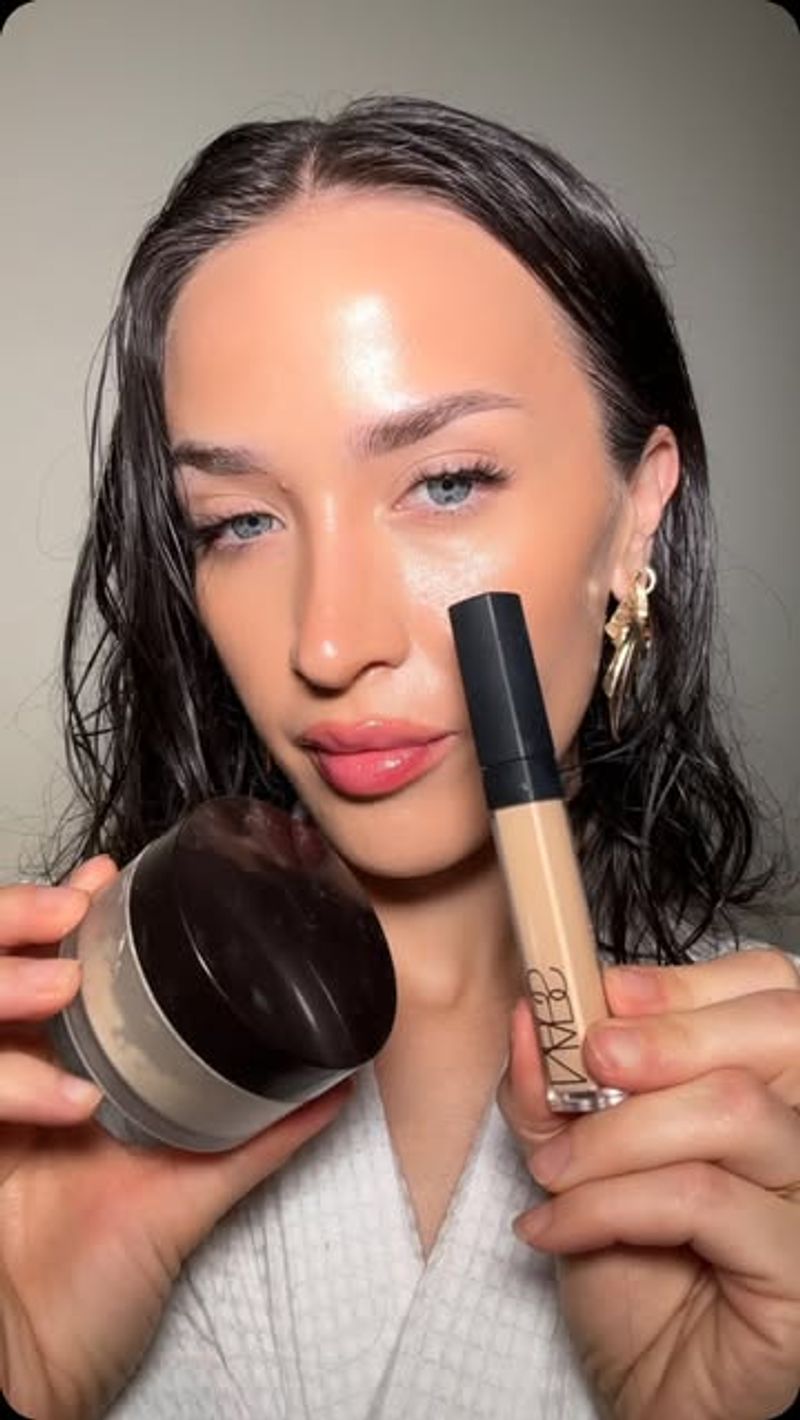
Concealers that settle into fine lines can betray your secrets.
To avoid creasing, start with an eye cream to hydrate the under-eye area. Apply concealer in thin layers, focusing only on the areas that need coverage.
Blend with a damp makeup sponge for a seamless finish. Set with a light dusting of powder to lock everything in place.
These steps ensure your concealer stays put, hiding imperfections without revealing themselves.
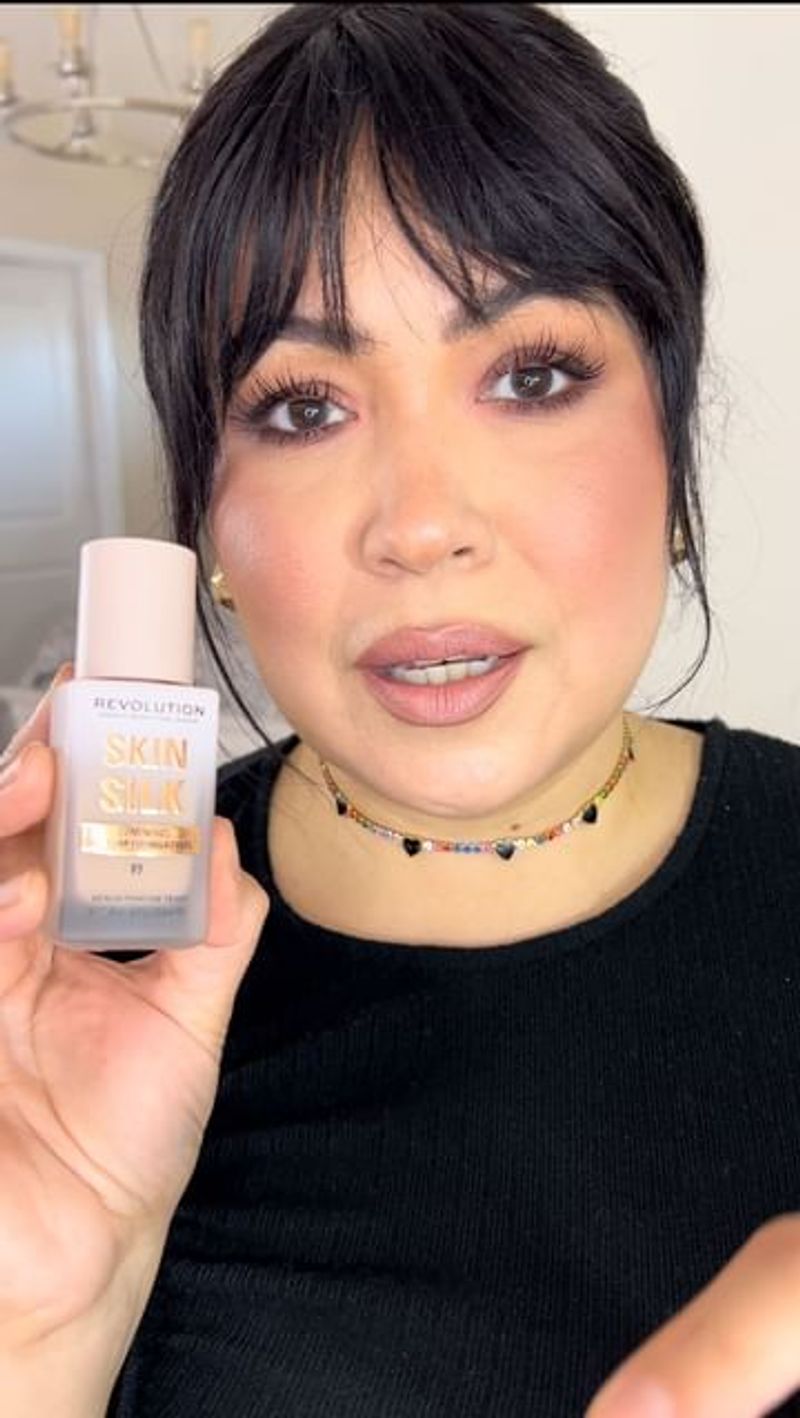
10. Foundation That Oxidizes
Foundation oxidation can leave you feeling like a chameleon.
To prevent this, start with a primer that controls oil, as excess oil can speed up oxidation.
Choose a foundation formula that’s low in oils and is labeled as non-comedogenic. Test foundation shades on your jawline and wait a few minutes to see if the color changes.
By following these steps, your foundation will stay true to color, keeping your complexion looking fresh.
11. Lip Gloss That Feels Sticky
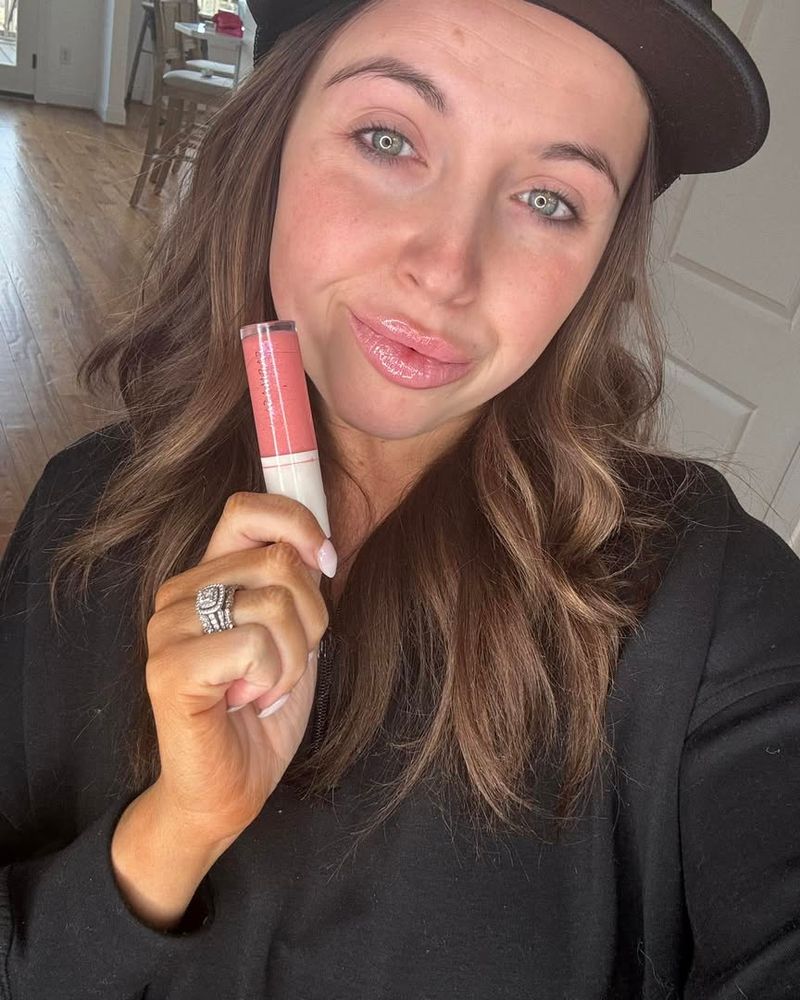
Sticky lip gloss can feel more like a glue trap than a beauty product.
To avoid the sticky situation, choose glosses with lightweight, non-tacky formulas.
Apply a thin layer to avoid excess product, and consider using a lip balm underneath for added comfort.
Blot with a tissue to remove any extra gloss and prevent stickiness. These tips ensure your lip gloss adds shine without the unwanted sticky residue.
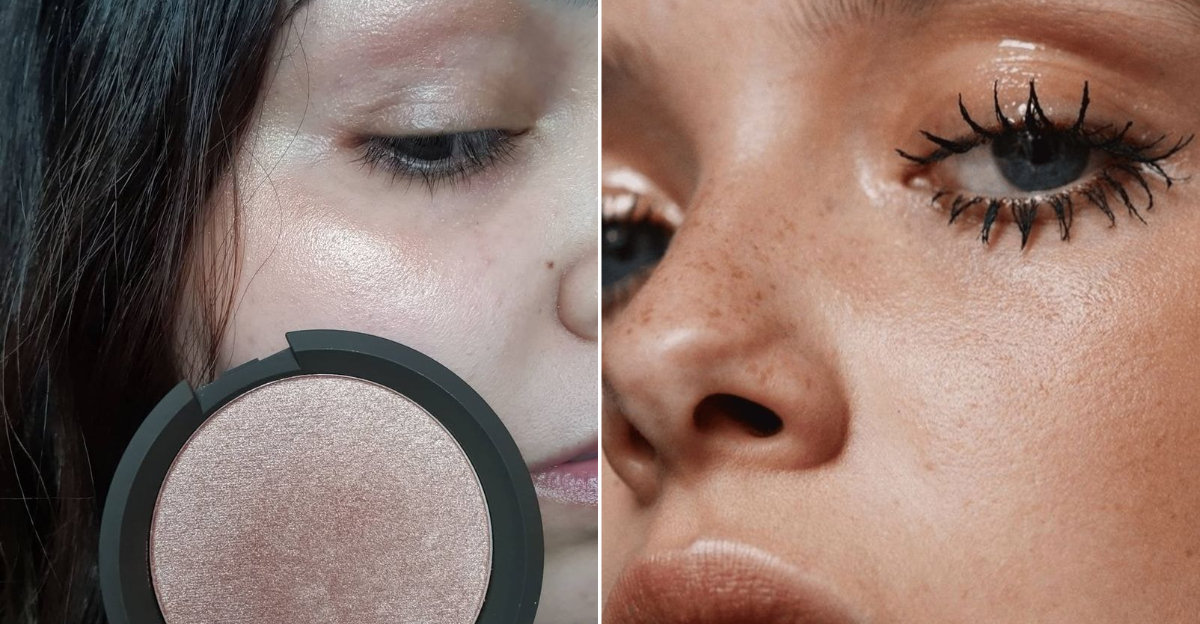
12. Highlighter That Looks Too Shimmery
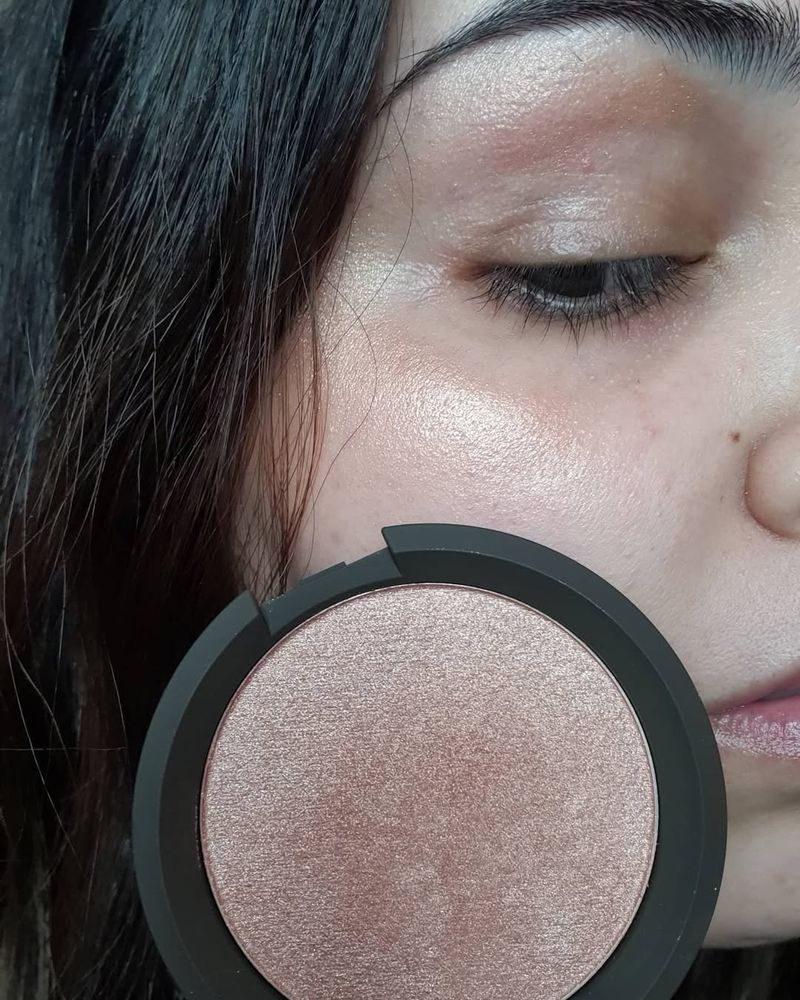
A highlighter should give you a glow, not turn you into a disco ball.
To achieve a subtle sheen, choose a highlighter that complements your skin tone and has finely milled shimmer.
Apply sparingly to the high points of your face, such as the cheekbones, bridge of the nose, and cupid’s bow. Blend well with a fan brush to diffuse the shimmer. If it gets too intense, a touch of foundation can tone down the shine.
With these tips, you’ll achieve a lit-from-within glow.
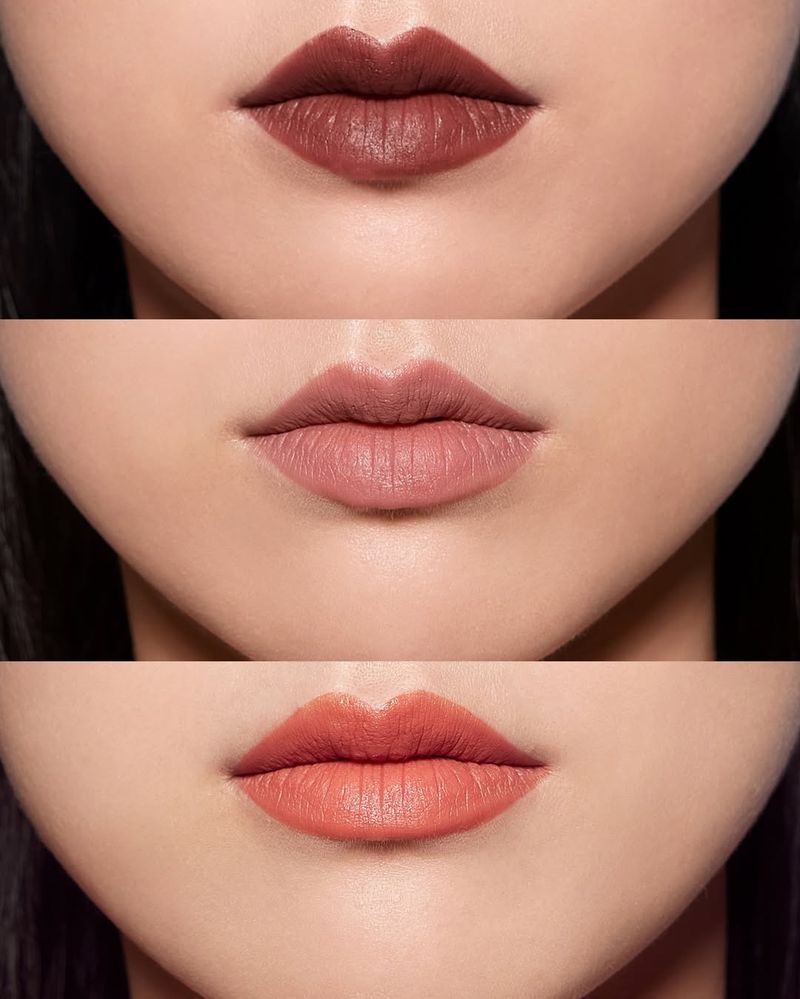
13. Lip Liner That Doesn’t Match
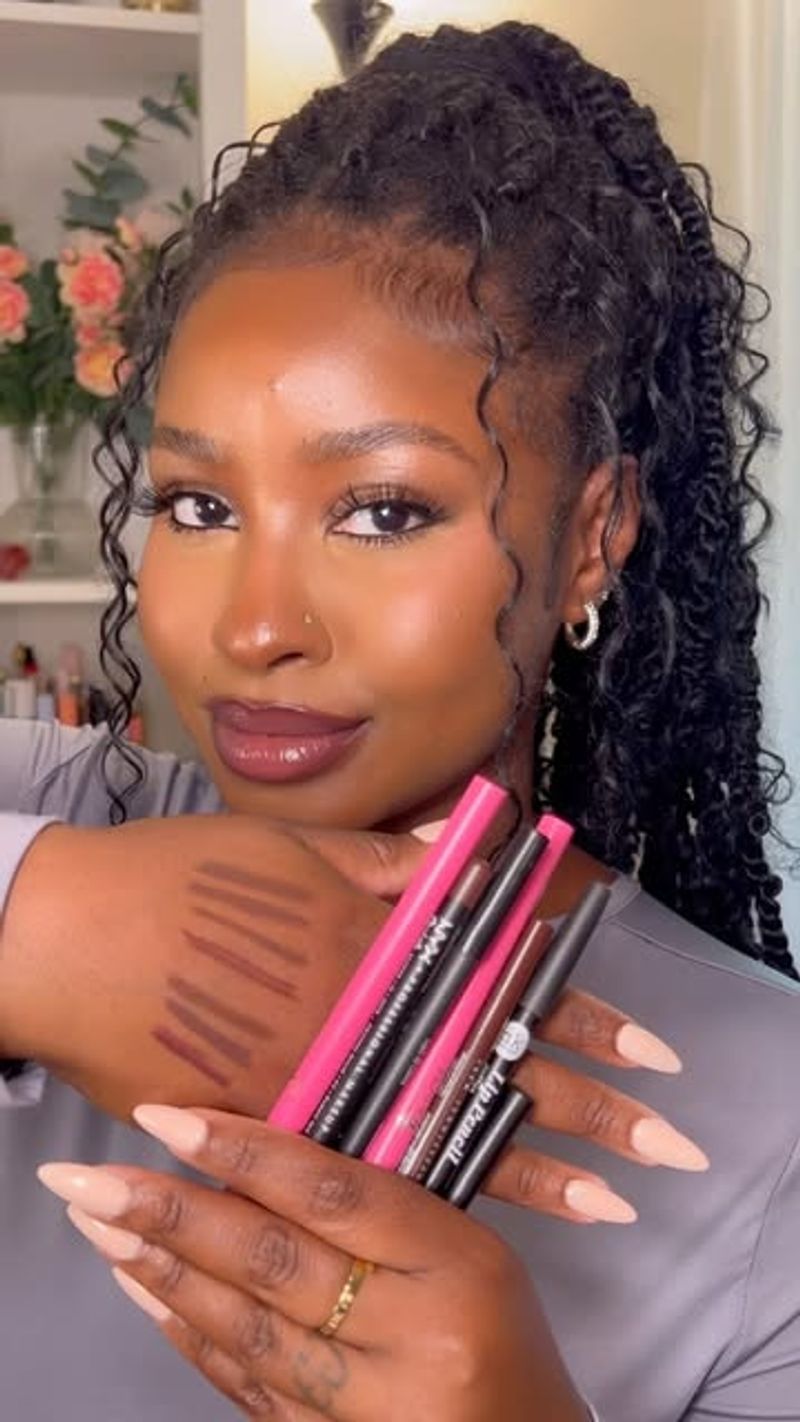
Mismatched lip liner can make your lips look like they’re in a different time zone.
To avoid this, select a lip liner that is either the same shade or slightly darker than your lipstick. This will define your lips without creating a noticeable contrast.
Apply the liner before lipstick to create a neat and polished look. If you find the edges too harsh, use a brush to blend the liner with your lipstick.
These steps ensure your lip look is stylish.
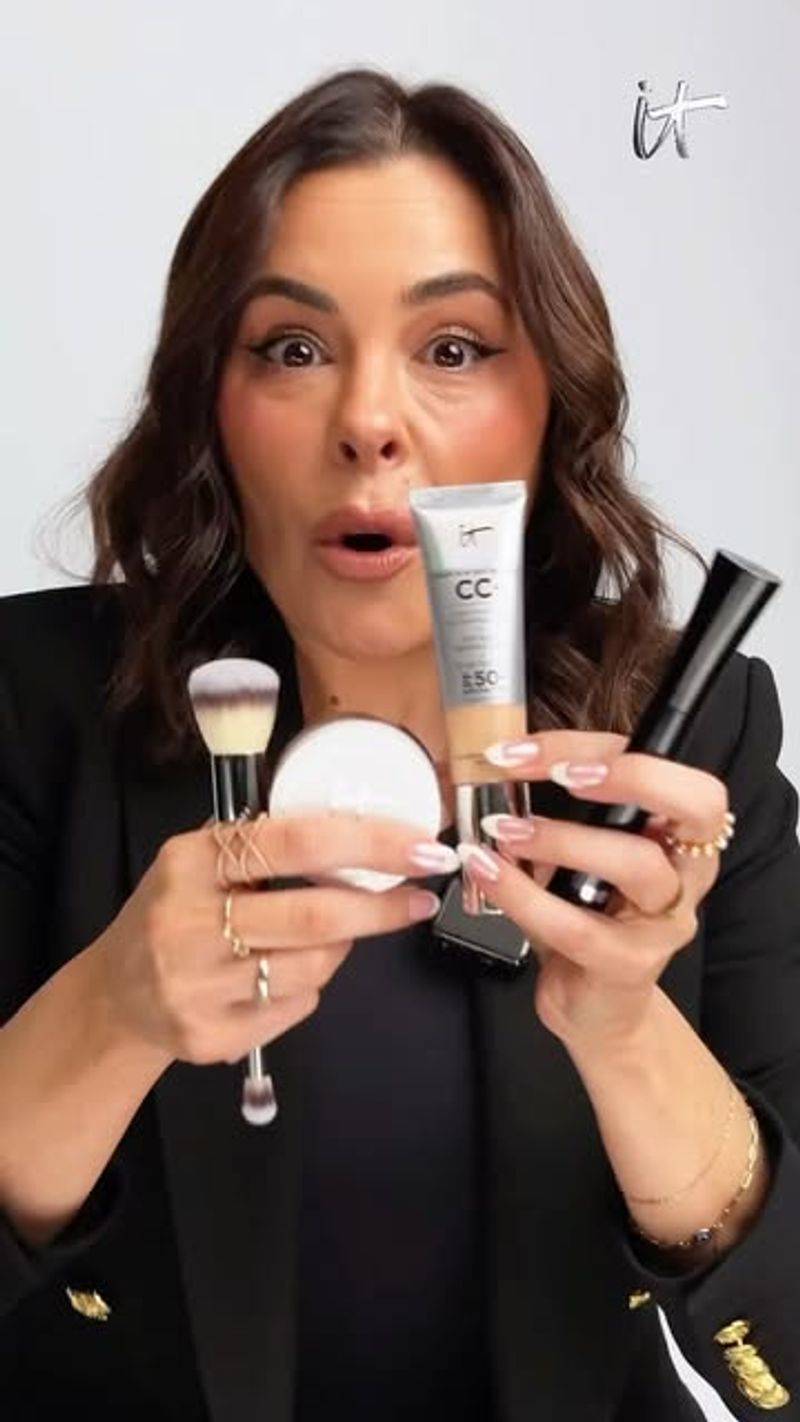
14. Powder That Looks Cakey
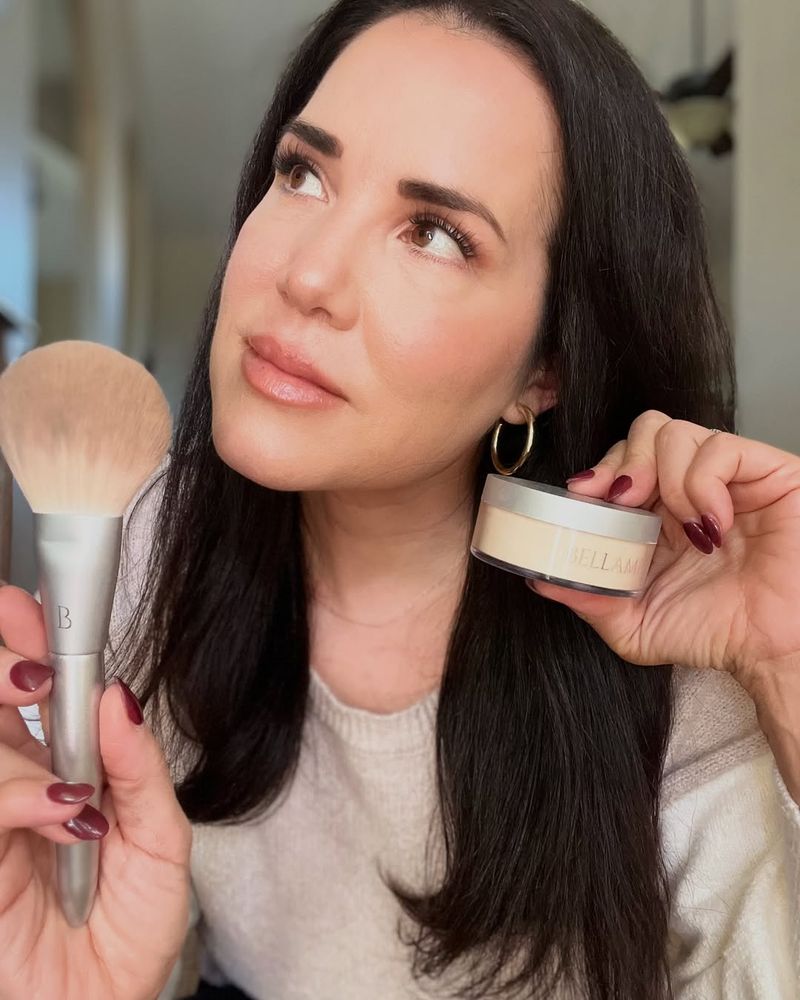
Cakey powder can make your skin look like it’s been through a sandstorm.
To avoid this, use a fluffy brush to apply a light layer of powder, focusing on areas prone to oiliness. Avoid using too much product, as this can lead to a cakey appearance.
If you need extra coverage, apply in thin layers, allowing each layer to set before adding more.
A setting spray can help meld the powder with your skin creating a natural finish. These tips ensure your powder looks smooth.
15. Eyeliner That Doesn’t Stay Put

Eyeliner that disappears into the ether can be frustrating.
To keep it in place, begin with an eye primer to create a base. Opt for gel or waterproof liners for longer wear. Set with a matching eyeshadow to lock it in.
If you find your liner fading throughout the day, a quick touch-up can revive the look. A setting spray over your entire makeup can also add an extra layer of longevity.
These steps ensure your eyeliner remains visible.
16. Lipstick That Transfers

Lipstick that transfers can leave traces everywhere you go.
To prevent this, start with a lip primer to create a smooth base. Apply a long-wearing lipstick formula and blot with a tissue to remove excess.
Layer with a bit of translucent powder to set the color. If transfer still occurs, try a matte liquid lipstick, as these tend to stay put better.
These techniques ensure your lipstick stays where it belongs—on your lips.
17. Foundation That Settles Into Pores
Foundation settling into pores can leave you feeling more polka dot than polished.
To avoid this, start with a pore-filling primer to create a smooth base. Apply foundation with a damp makeup sponge, pressing it into the skin rather than rubbing.
Choose a lightweight, buildable formula that blends seamlessly. Set with a light dusting of powder to help blur the appearance of pores.
These steps ensure your skin looks pore-free.
18. Lip Color That Fades Quickly
Fast-fading lip color can be as disappointing as a flat soufflé.
To keep your color vibrant, start with a lip primer to create a base. Opt for long-wear or matte formulas that promise all-day wear.
After applying, blot with a tissue and layer for intensity. A bit of translucent powder can also set the color and extend its life.
19. Mascara That Smudges
Mascara smudging can transform your look from glam to raccoon eyes in no time.
To combat this, choose waterproof formulas that resist smudging. Apply a light layer of powder under your eyes to absorb excess oils.
Avoid touching your eyes throughout the day to minimize the risk. If smudging does occur, a cotton swab can quickly clean up the mess.
This way, your mascara stays put, keeping your lashes looking fabulous all day.
20. Blush That Fades Too Quickly
Fading blush can leave your cheeks looking less than rosy.
To keep your blush in place, start with a cream formula as a base, followed by a powder blush in a matching shade. This layering technique enhances longevity.
Apply with a blush brush, focusing on the high points of your cheeks. A setting spray can help lock in the color, ensuring it lasts.
These steps ensure your blush stays giving your complexion lasting glow.
21. Eyeshadow That Falls Out
Eyeshadow fallout can be as unwelcome as rain on your picnic.
To prevent this, tap off excess product from your brush before application.
Use a setting spray on your brush to pick up pigments, reducing fallout. If you experience fallout, a fan brush can easily sweep it away. Apply eyeshadow before foundation to catch any fallout without ruining your base.
Perfect eyes are guaranteed with these techniques.