
9 Blush Do’s And 9 Don’ts You Should Know
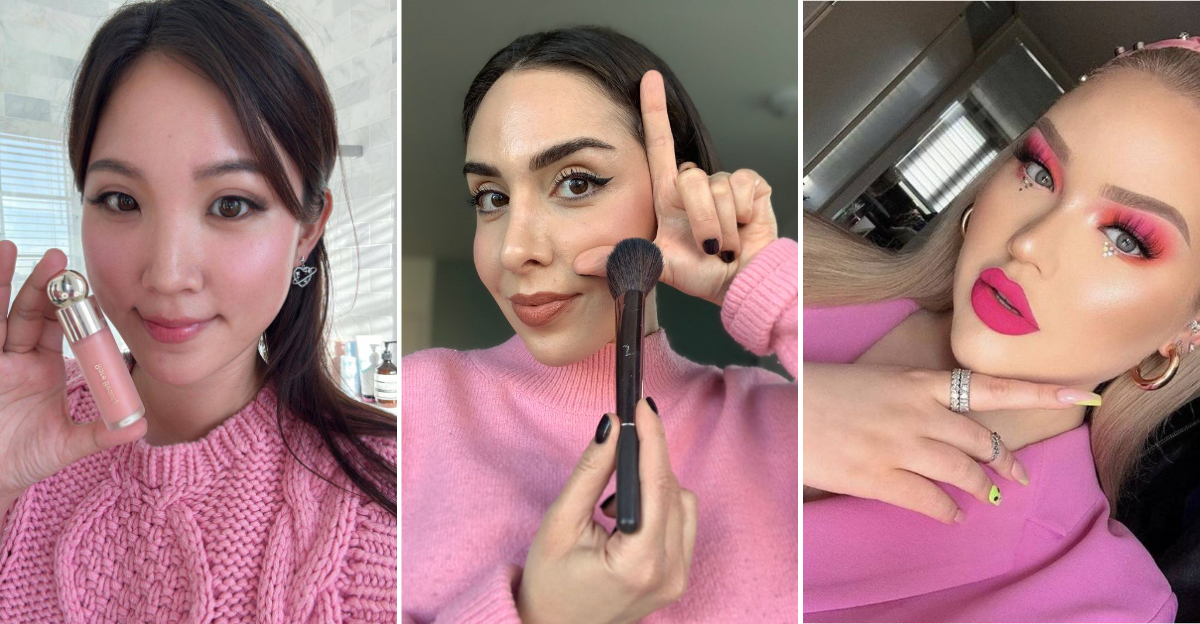
Blush is that magical makeup product that instantly breathes life into your face, giving you that healthy flush we all crave.
I’ve spent years perfecting my blush game, and trust me, the right technique can make all the difference between looking naturally radiant or like you’ve just run a marathon.
Today I’m sharing my top blush wisdom – 9 essential do’s and 9 critical don’ts that will transform your makeup routine forever.
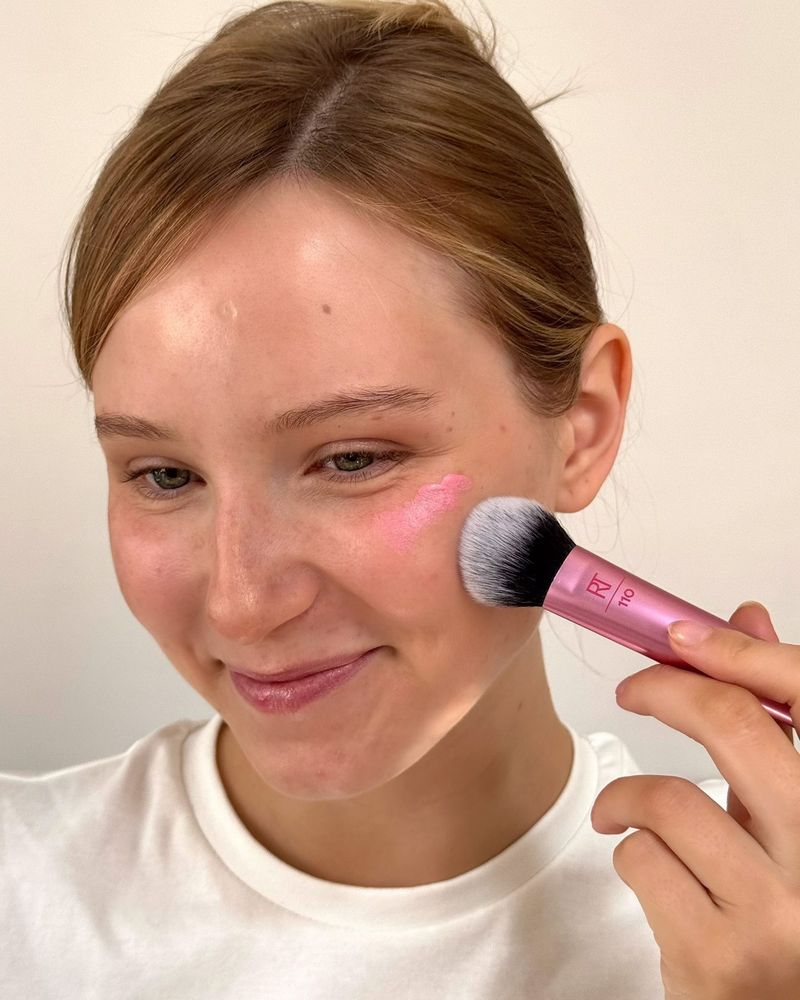
1. DO: Smile While Applying
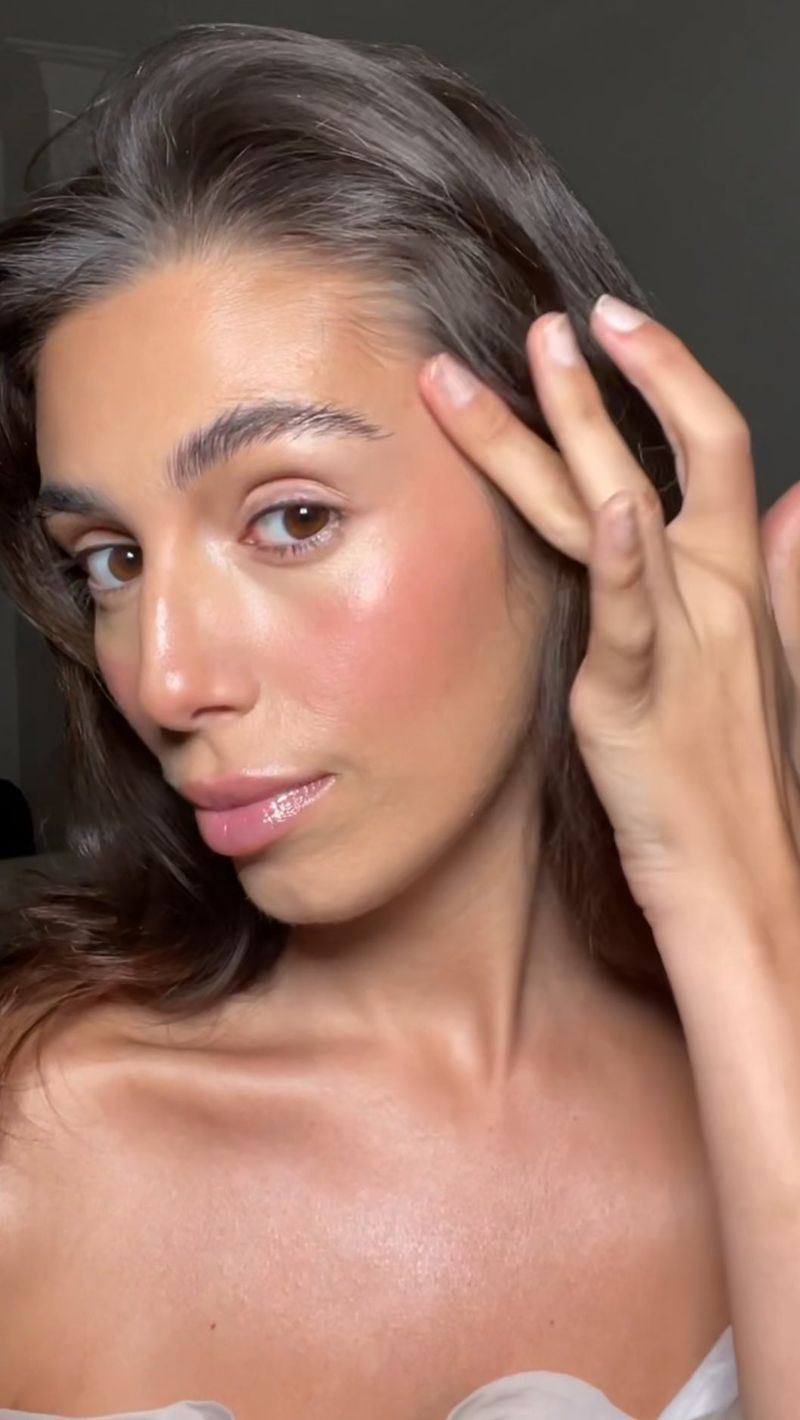
Catching myself in the mirror mid-application changed my blush game forever. When you smile, those apples of your cheeks pop up, creating the perfect landing spot for your blush. This simple trick ensures you’re hitting exactly the right area that naturally flushes when you’re happy or excited.
I always tell my friends to smile big, tap blush onto those rounded cheeks, then blend upward toward the temples. The result mimics a natural flush rather than that awkward stripe effect we’ve all accidentally sported at some point.
Remember to relax your face after applying to check the placement. What looks perfect on smiling cheeks might appear too low when your face is relaxed.
2. DON’T: Apply Too Close to Your Nose
My biggest makeup awakening happened when a friend gently pointed out my blush was creeping too close to my nose. That redness near your nostrils? It doesn’t look like a natural flush – it makes you appear flushed from allergies or a cold.
Keep at least two finger-widths of space between your nose and where your blush begins. This simple rule prevents that center-face redness that can make your face appear congested rather than glowing.
I’ve found starting your blush application slightly outside that imaginary line drawn down from the center of your eye creates the most flattering effect. This placement lifts and enhances rather than dragging your features downward.
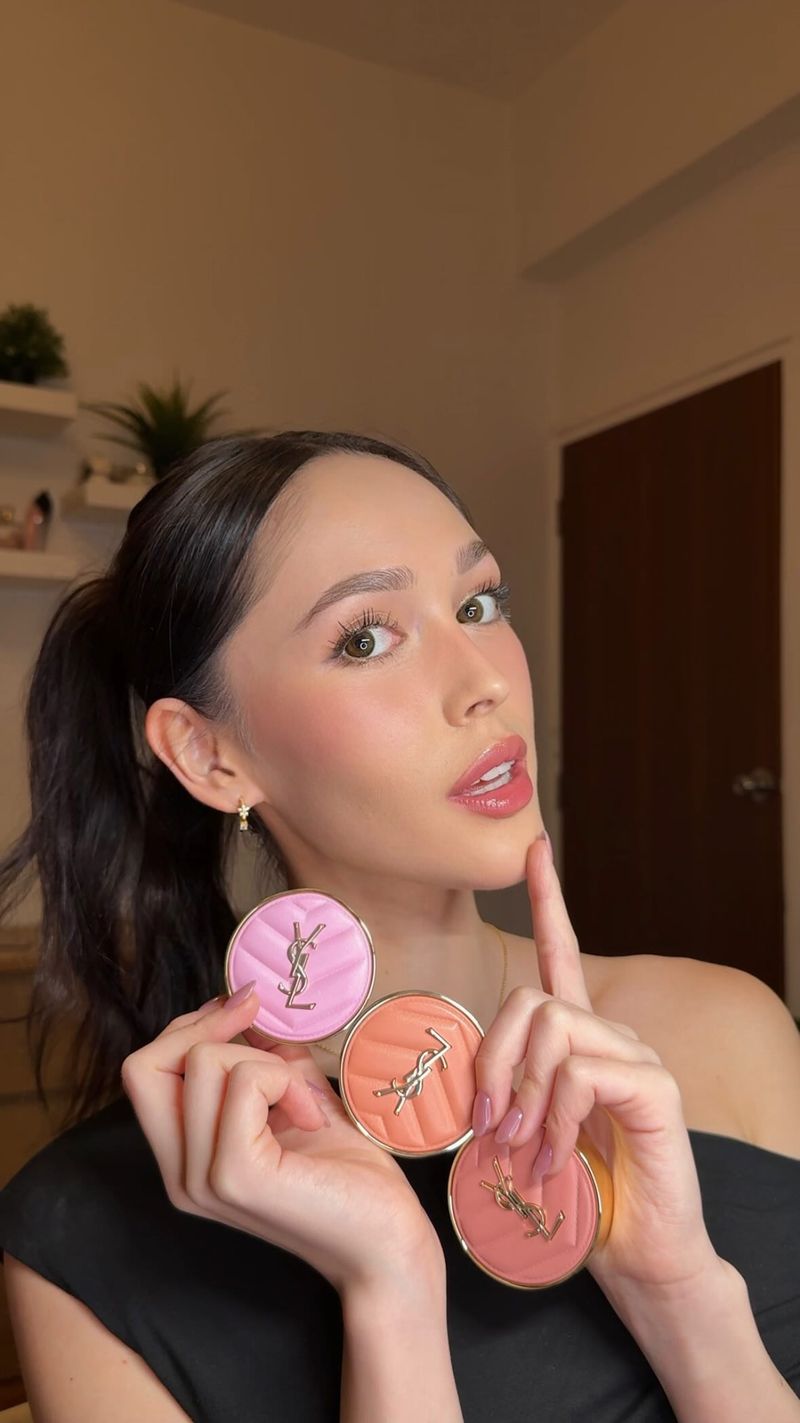
3. DO: Choose the Right Undertone
Finding my perfect blush undertone was like discovering the missing puzzle piece in my makeup routine. For my warm olive skin, peachy-coral blushes create that natural flush, while my cool-toned friend rocks pink and berry shades beautifully.
Your blush should complement your natural coloring. Warm skin tones (yellow, golden, or olive undertones) pair wonderfully with coral, peach, or bronze blushes. Cool skin tones (pink or bluish undertones) shine with pink, berry, or plum shades.
Not sure about your undertone? Check your wrists – green-tinted veins suggest warm undertones, while blue or purple veins indicate cool undertones. Neutral skin? You lucky thing – most blush colors will work for you!
4. DON’T: Skip Blending
My sister’s harsh blush lines at her college graduation still haunt our family photos. Nothing screams ‘amateur makeup’ faster than unblended blush stripes on your cheeks. Those harsh lines create an artificial look that instantly ruins an otherwise flawless face.
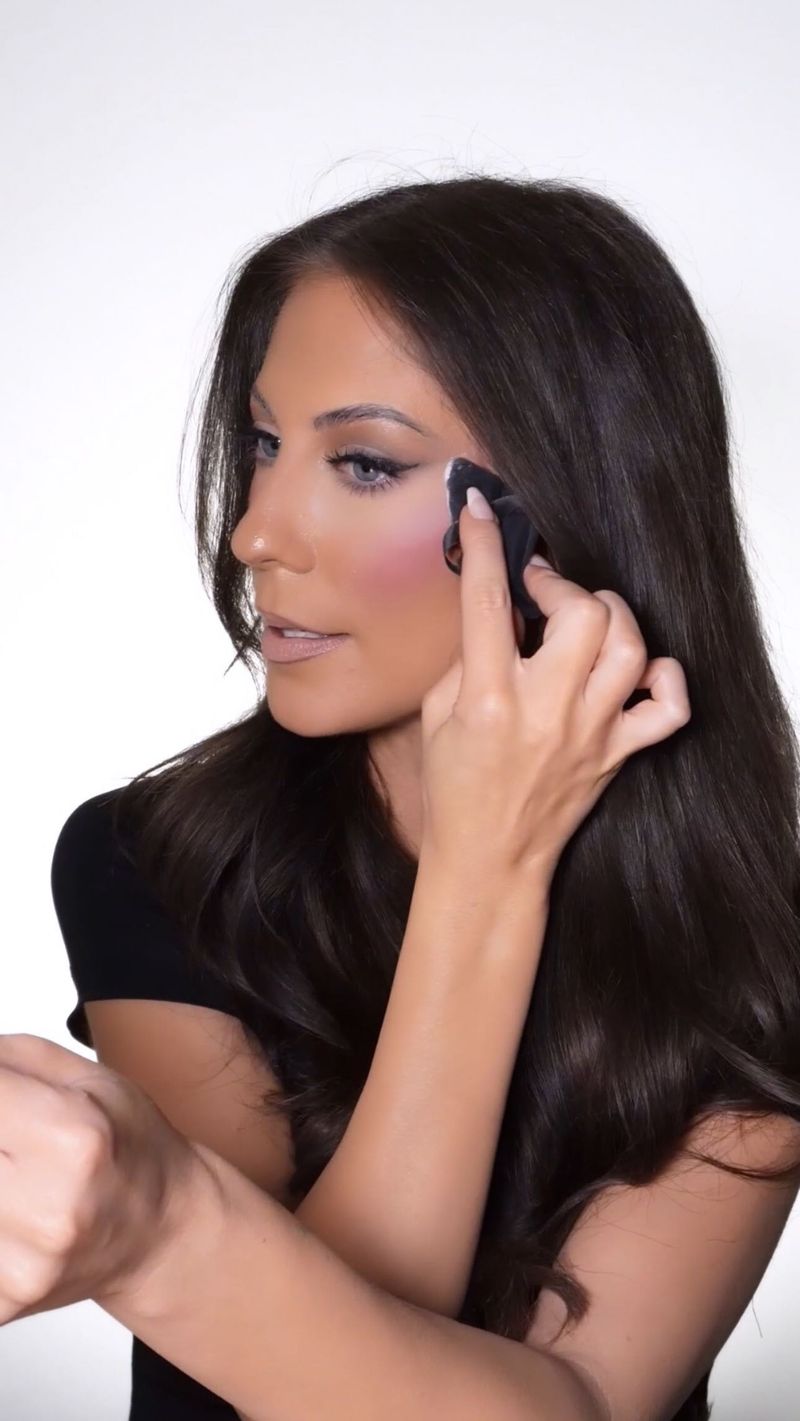
After applying blush, take a clean fluffy brush and use gentle circular motions to soften any harsh edges. The goal is a seamless transition between your blush and the rest of your makeup. Sometimes I’ll even use my foundation brush with its leftover product to gently buff the edges.
For cream or liquid blushes, I tap the edges with my fingertips while the product is still fresh. The warmth of your fingers helps melt the product into your skin for that ‘I’m naturally flushed’ look.
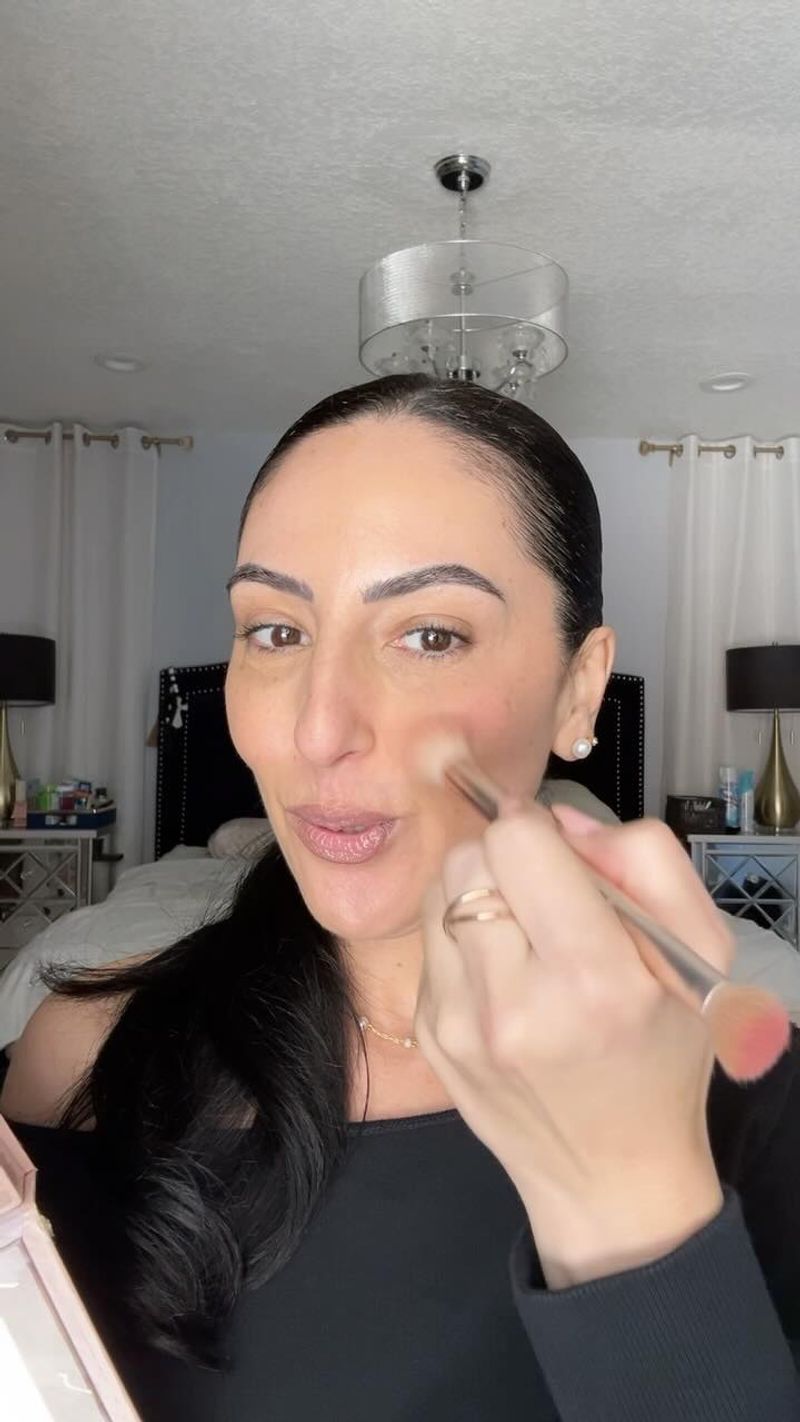
5. DO: Use a Light Hand
My heavy-handed blush disaster before my first date with my now-husband taught me the importance of starting subtle. I looked like I’d been slapped on both cheeks and had to start my makeup all over! Now I always tap excess product off my brush before touching my face.
Starting with less product gives you control to build up gradually. It’s much easier to add more blush than to remove excess without disturbing the rest of your makeup. I like to step back from the mirror after each layer to assess how it looks from a normal viewing distance.
For super pigmented blushes, I sometimes even brush the product on the back of my hand first to deposit some of the color before applying to my cheeks. This trick has saved me countless makeup do-overs.
6. DON’T: Use Dirty Brushes
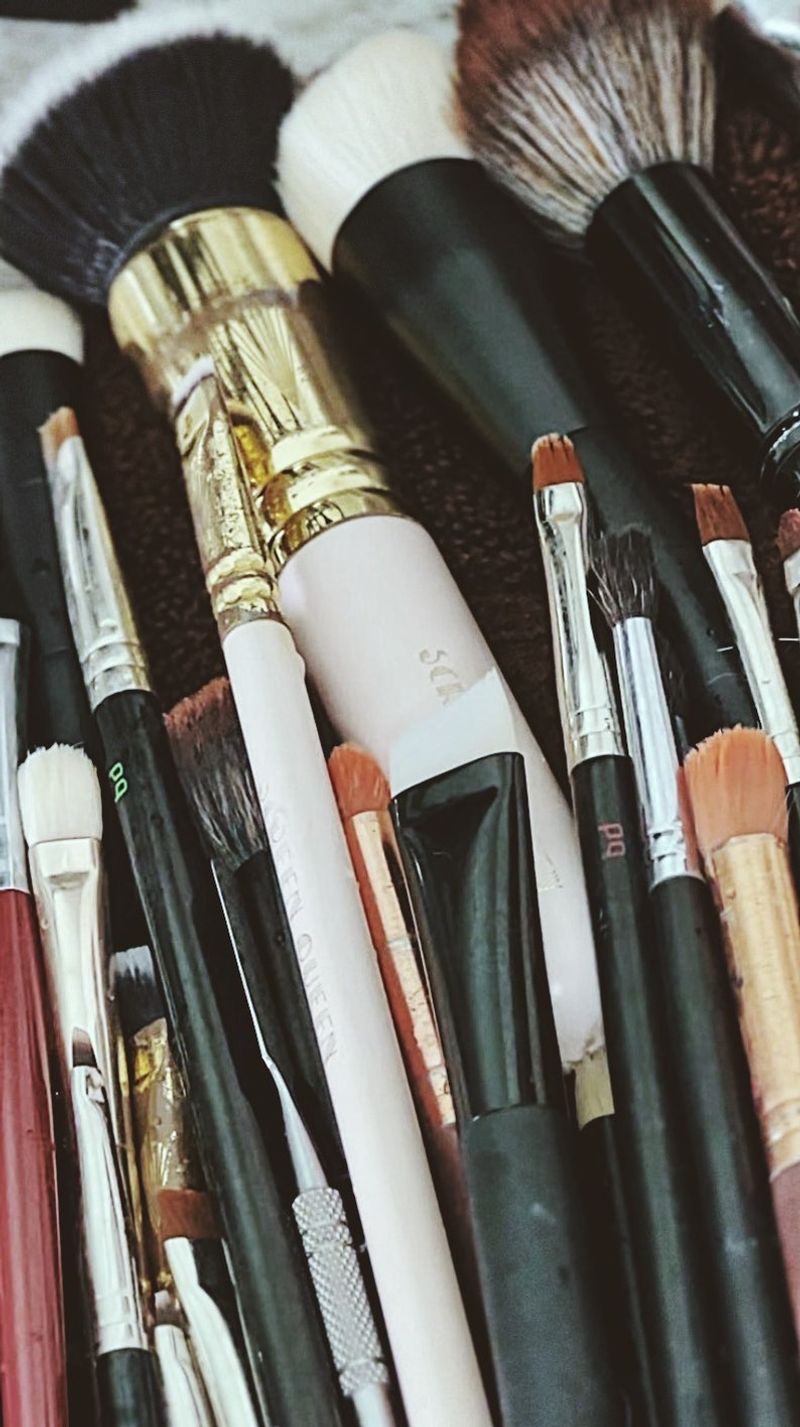
My unexplained breakouts finally made sense when I realized my blush brush hadn’t been cleaned in months! Dirty brushes not only harbor bacteria that can cause breakouts but also mix colors from previous applications, creating muddy results on your cheeks.
I now clean my blush brushes at least weekly using gentle shampoo. For daily maintenance, I wipe them on a microfiber cloth after each use to remove residual product. This keeps the bristles clean and prevents color contamination between uses.
Another benefit of clean brushes? They apply product more evenly and last longer. Since implementing my cleaning routine, my expensive brushes have maintained their softness and shape, making my makeup application smoother and more precise.
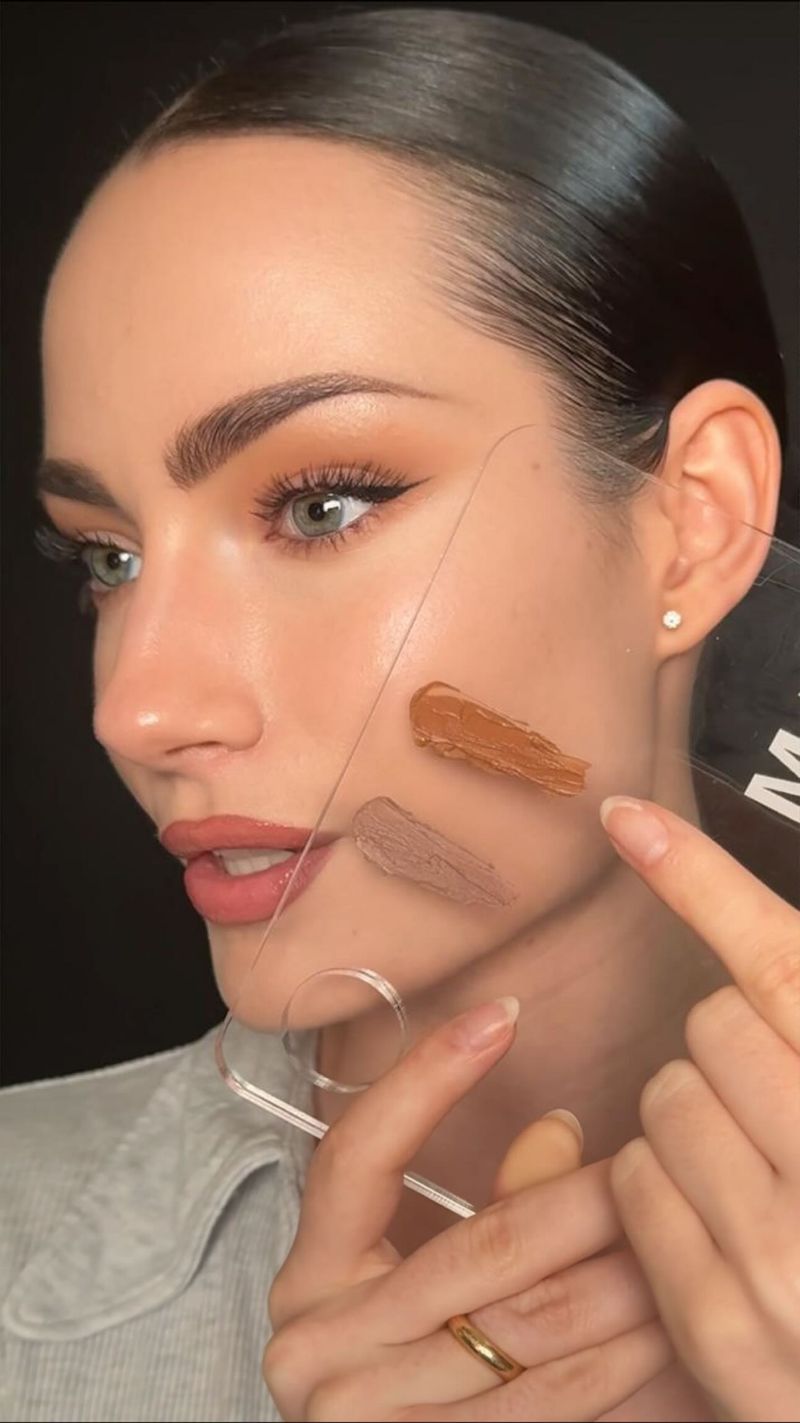
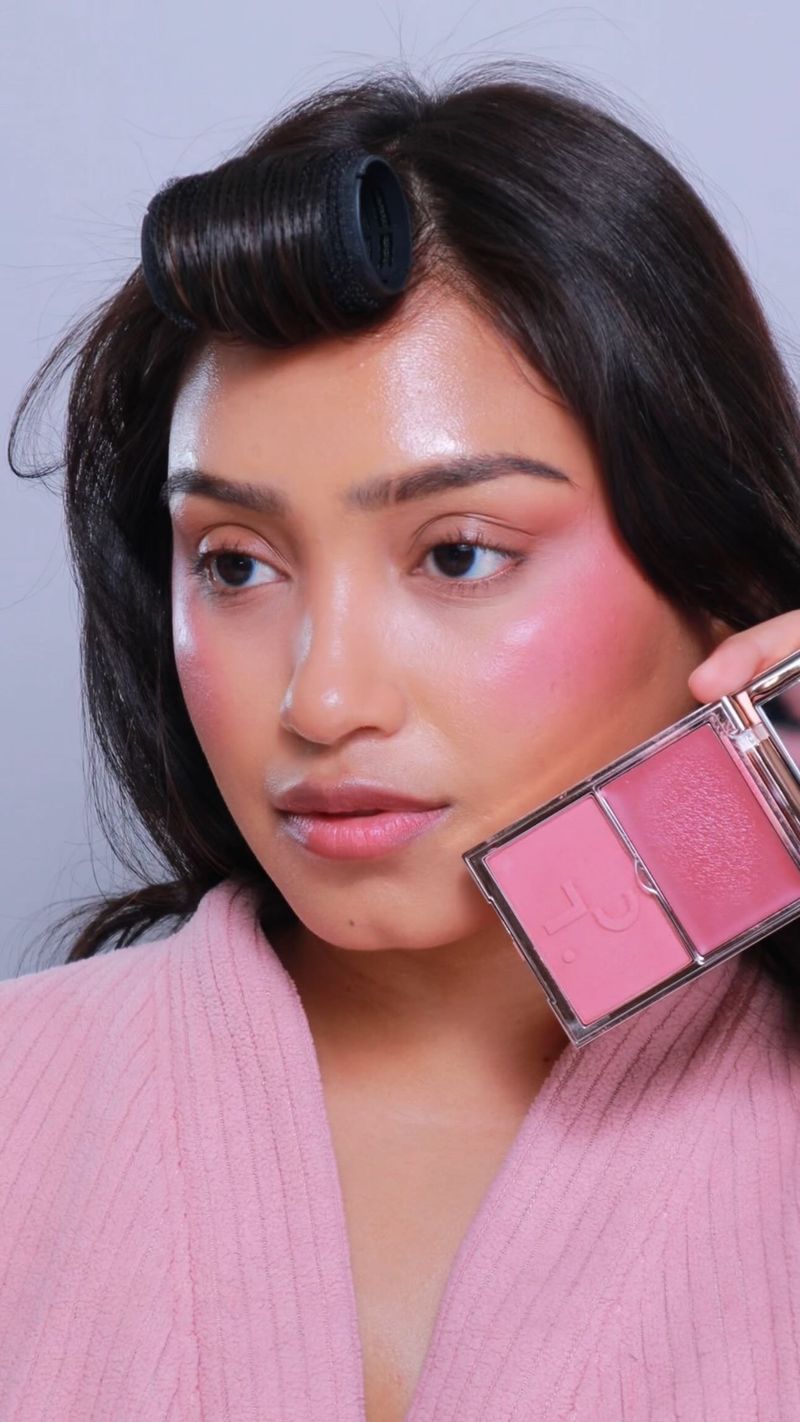
7. DO: Match Texture to Skin Type
My oily skin turned powder blush invisible by lunchtime until I discovered the staying power of liquid stains. The right blush texture for your skin type makes all the difference in longevity and appearance throughout the day.
For dry skin, cream and liquid blushes add a dewy glow while providing much-needed moisture. They melt beautifully into dry skin without emphasizing texture. My dry-skinned friends swear by these formulations, especially in winter months.
Oily skin types generally fare better with powder formulas or long-wearing stains that resist breaking down in oil. Combination skin? Try powder blush on oilier areas and cream formulas on drier portions of your cheeks. Experimenting with different textures revolutionized my makeup’s staying power.
8. DON’T: Apply in Poor Lighting

That mortifying moment when I caught my reflection in natural light after applying blush in my dimly lit bathroom still makes me cringe. Bad lighting is the sneaky culprit behind many makeup mishaps, especially with color products like blush.
Natural daylight reveals the true intensity and color of your blush. I’ve installed a daylight-mimicking mirror in my makeup area after one too many overapplication incidents. If that’s not possible, try to apply makeup near a window during daylight hours.
Always check your blush application in different lighting before heading out. What looks subtle in soft bathroom lighting might appear clown-like in harsh office fluorescents. A quick lighting check has saved me countless times from walking around with bright pink circles on my cheeks!
9. DO: Layer Gradually
My foolproof blush technique changed when I started treating it like an art project – building in layers creates dimension impossible to achieve with a single heavy application. This approach gives me control over the intensity and creates a more natural-looking flush.
I start with a whisper of color, blend completely, then assess if I need more. Sometimes I’ll layer a cream product underneath a powder for incredible staying power and depth. The cream creates a base that helps the powder adhere better throughout the day.
For special occasions requiring more dramatic makeup, I’ll layer different but complementary blush shades. A deeper shade in the hollow of my cheeks with a brighter tone on the apples creates a sculpted yet flushed effect that photographs beautifully without looking flat.
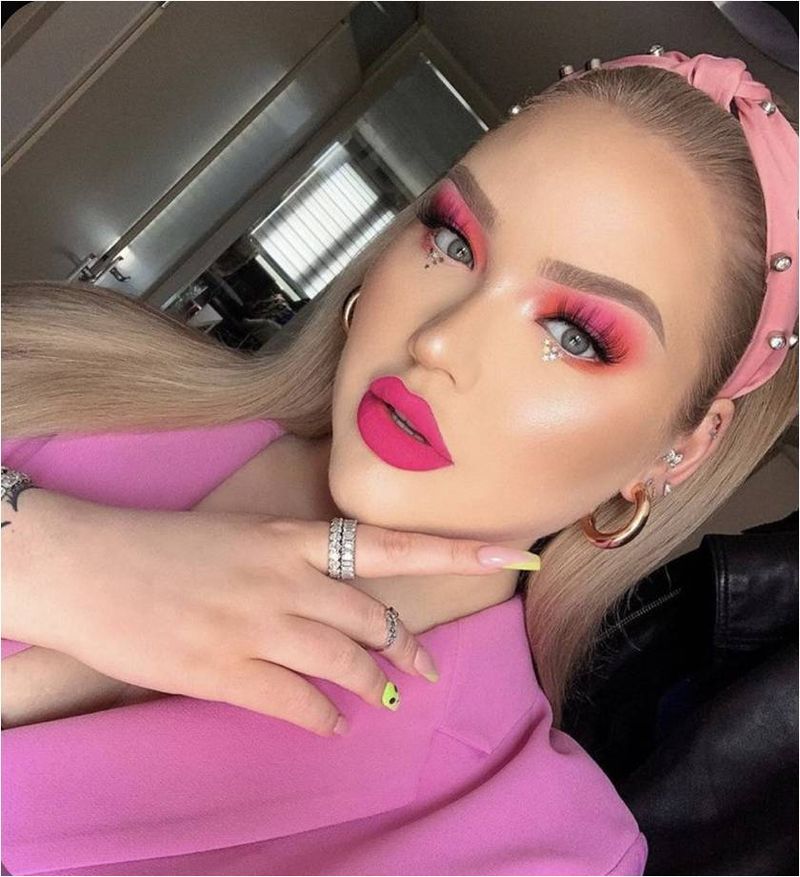
10. DON’T: Overdo It
My grandmother’s beauty advice rings true decades later: “Your blush should whisper, not shout.” Heavy-handed blush application instantly ages your look and creates that dated, artificial appearance nobody wants. I’ve learned that restraint is key to modern makeup.
Blush should enhance your features without becoming the focus of your face. When people notice your blush before they notice you, it’s too much. I follow the rule that after application, I should still see my skin texture through the product.
If you accidentally go overboard, don’t panic and don’t reach for makeup remover! Tap a clean sponge or foundation brush over the area to pick up excess product. Then gently blend the edges with a clean fluffy brush to soften the effect without starting over.
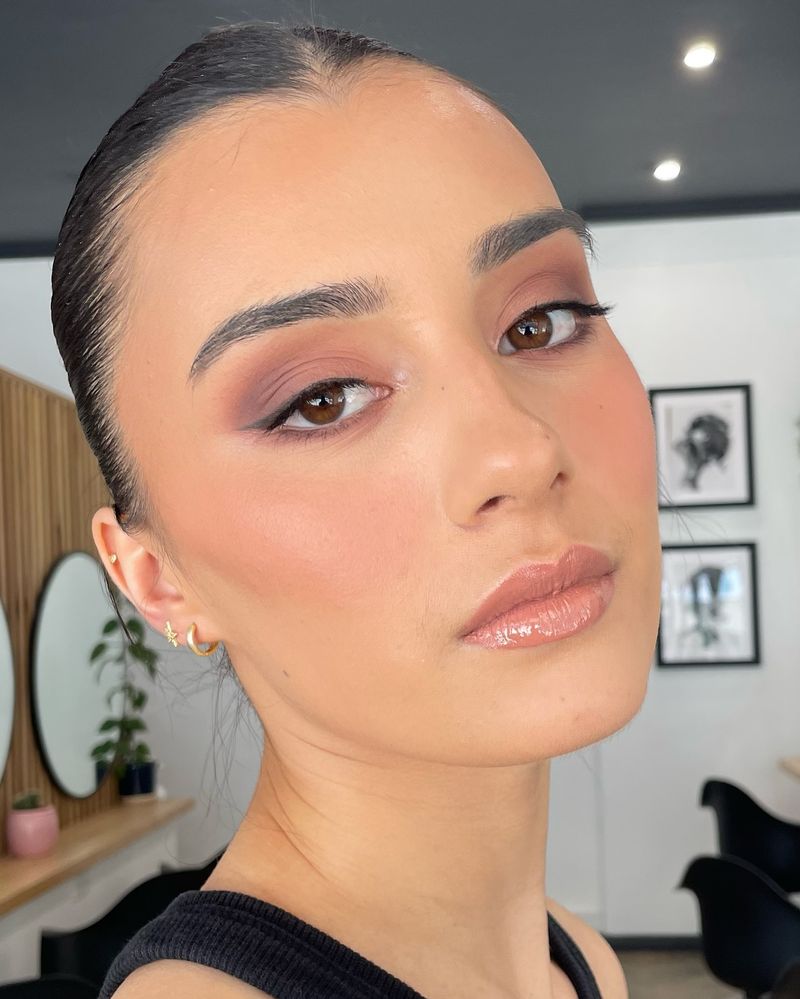
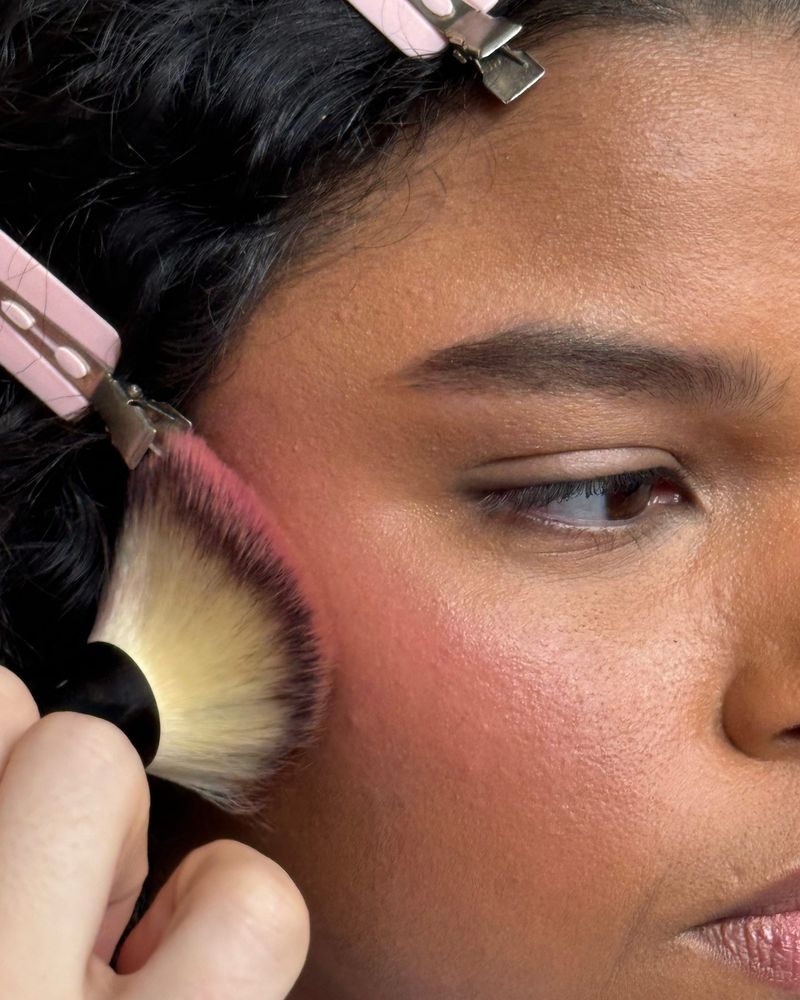
11. DO: Apply on the Apples of Your Cheeks
Finding the sweet spot for blush placement revolutionized my makeup game. The apples of your cheeks – those rounded parts that pop up when you smile – create the most natural-looking canvas for blush. This placement mimics where we naturally flush when excited or active.
For a youthful, lifted appearance, I start at the apples then sweep slightly upward toward my temples. This technique prevents that droopy look that can happen when blush sits too low. The upward motion creates a subtle lifting effect that’s more flattering than horizontal application.
Your face shape can slightly modify this rule. My round-faced friends place blush slightly higher and more angled to create the illusion of cheekbones, while my angular-faced friends focus more directly on the apples to soften their features.
12. DON’T: Use the Wrong Undertone
My disastrous experiment with a cool pink blush against my warm olive skin taught me the hard way about undertone mismatches. The wrong blush undertone can make your skin appear sallow, ashy, or even sickly instead of healthy and glowing.
Cool-toned blushes (with blue or purple undertones) often clash with warm skin, creating a disconnected look. Similarly, warm blushes (oranges and terracottas) can appear muddy or harsh against cool skin tones. I now always test blushes in natural light before purchasing.
Neutral blushes with balanced undertones are my safe bet when I’m unsure. Soft peaches and muted roses tend to work across multiple skin tones. When my skin tone changes with the seasons, I adjust my blush accordingly – warmer in summer, cooler in winter.
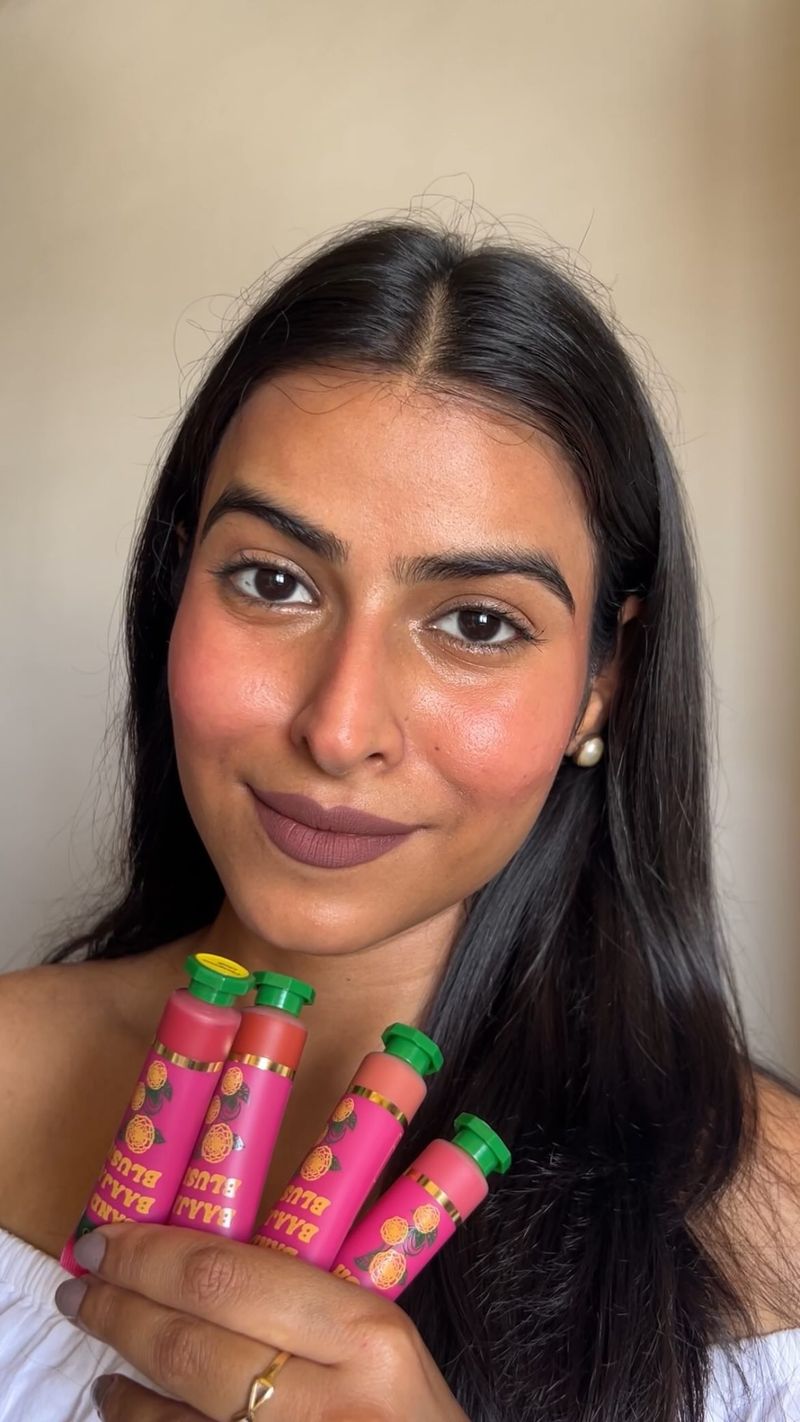
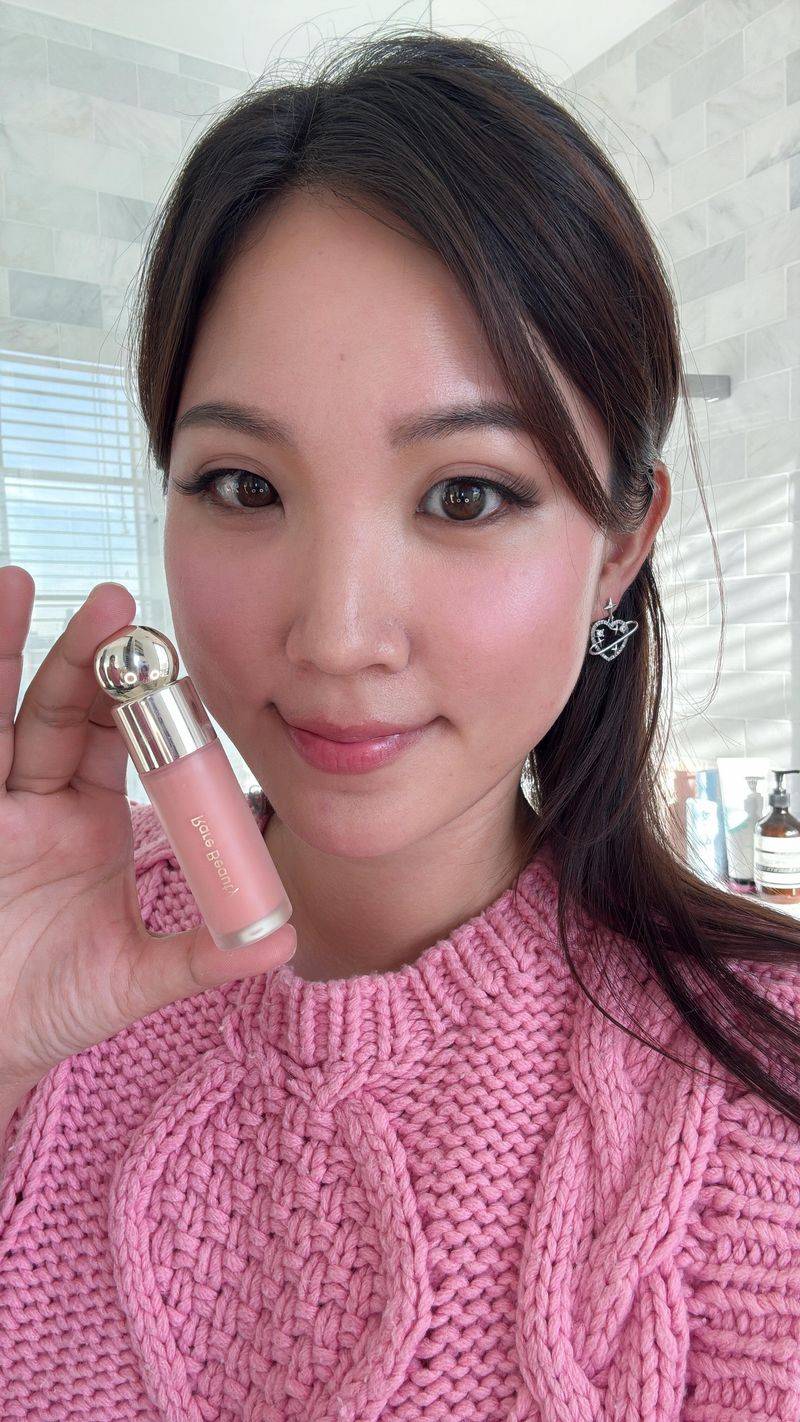
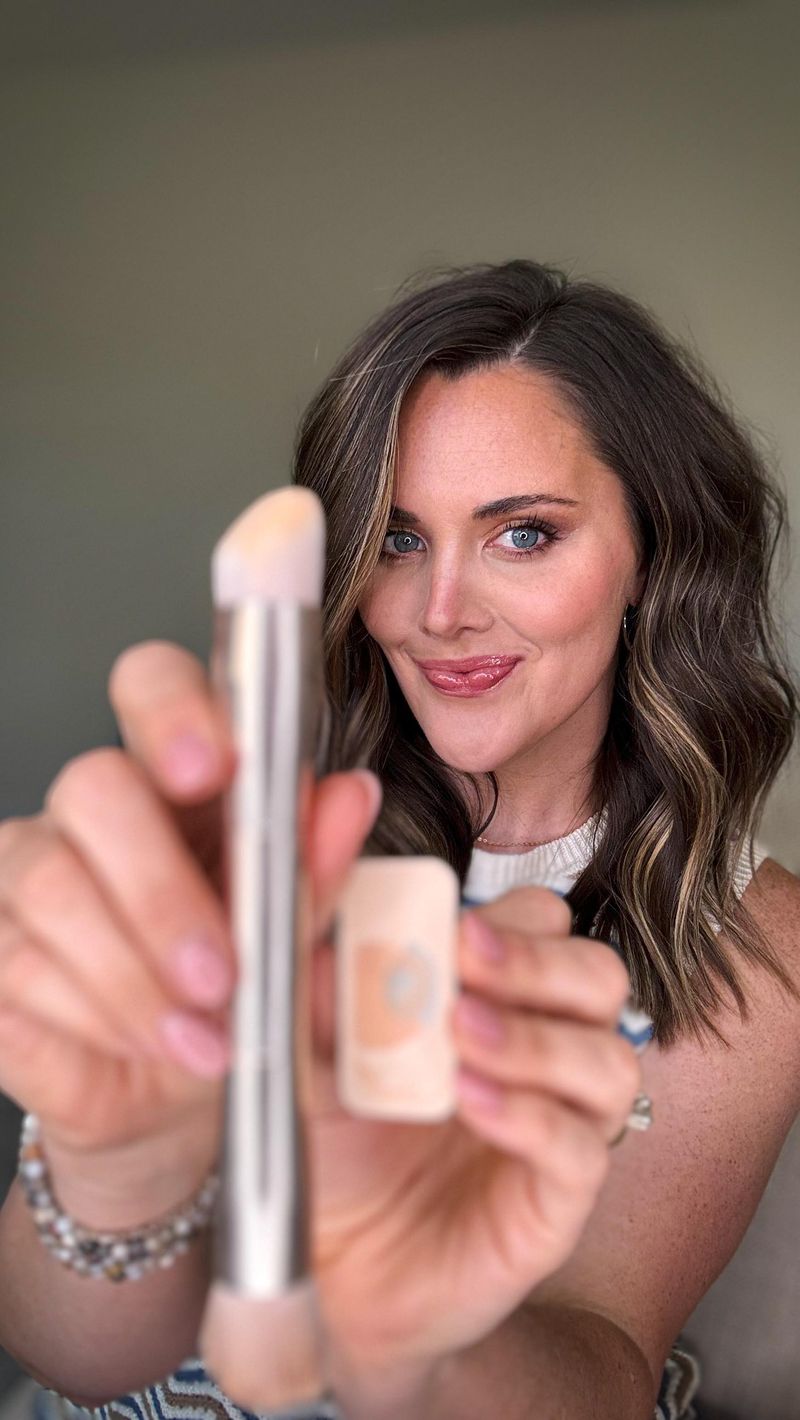
13. DO: Use Cream Blush for a Dewy Finish
My makeup transformation began when I switched to cream blush during winter months. The natural, skin-like finish instantly made me look younger and more refreshed compared to the sometimes flat appearance of powder formulas.
Cream blushes melt into the skin rather than sitting on top, creating that coveted ‘glow from within’ effect. I apply them with fingertips, gently tapping and pressing the product into my skin. The warmth of my fingers helps the formula blend seamlessly.
For longevity, especially on my combination skin, I’ll sometimes set cream blush with a whisper of translucent powder. Another trick is layering – applying cream blush first, then topping with a similar-toned powder blush just on the apples of my cheeks. This technique creates dimension while ensuring my flush lasts all day.
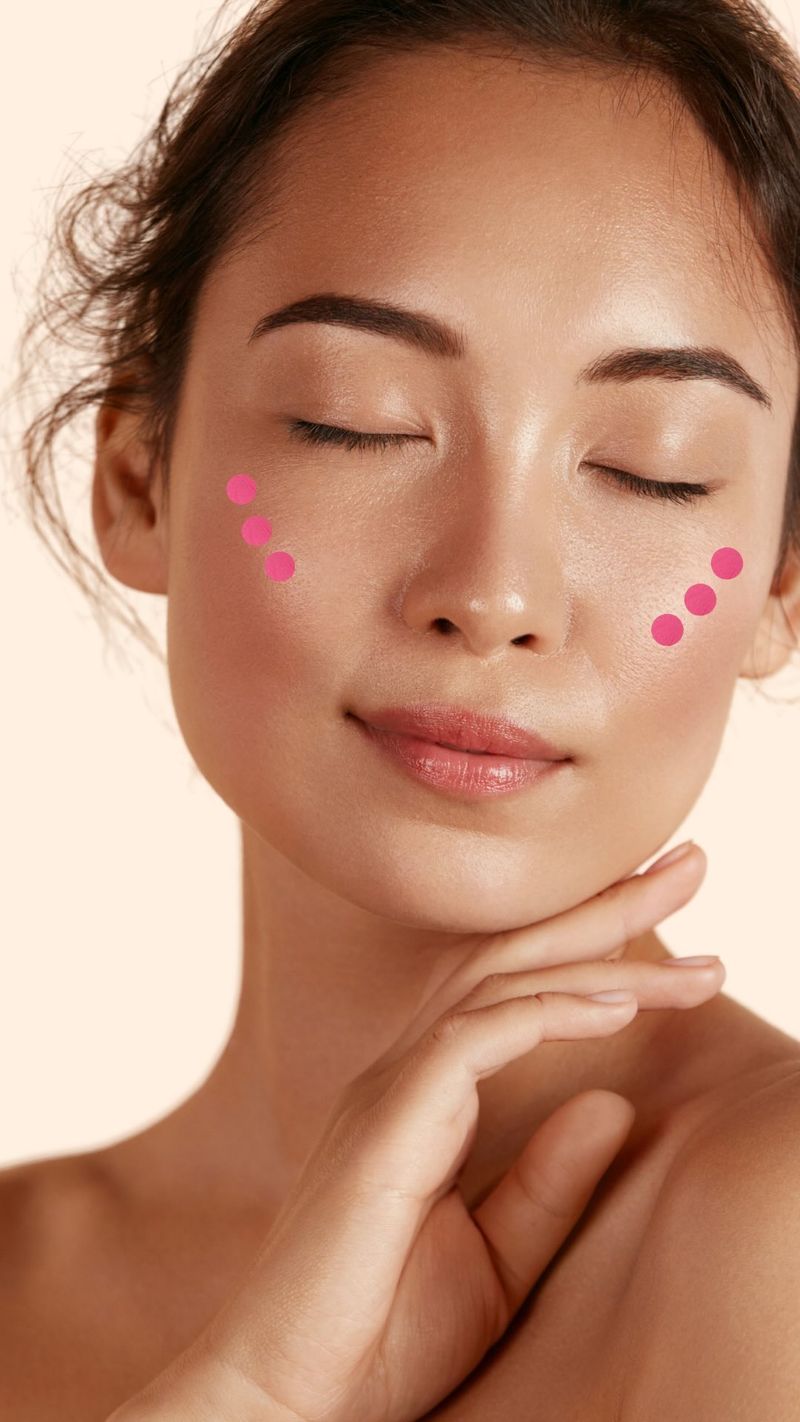
14. DON’T: Apply Too Low on the Face

My photo from cousin Sarah’s wedding still makes me cringe – my too-low blush placement dragged my whole face down! Blush applied below the cheekbone level creates a droopy, aged appearance that’s instantly unflattering.
The sweet spot for blush is at or slightly above the level of your nostrils. Anything lower creates that dreaded downward drag. I always check my application by relaxing my face and ensuring the majority of my blush sits above an imaginary horizontal line from the tip of my nose.
For an instant face-lifting effect, focus your blush slightly higher on the cheekbones, angling upward toward the temples. This technique creates the illusion of higher cheekbones and a more sculpted face shape. My friends always ask what I’ve done differently when I use this placement trick!
15. DO: Set with Translucent Powder
My blush would disappear by lunchtime until I discovered the setting power of translucent powder. A light dusting of translucent powder over your blush acts like a magical sealing agent, locking the color in place without altering the shade.
I use a fluffy brush to apply the thinnest layer possible – just enough to set, not enough to look powdery. This technique works especially well with cream and liquid blushes that might otherwise fade quickly. The key is using truly translucent powder, not tinted face powder that could muddy your blush color.
For special occasions or long days, I’ll sometimes use the sandwich method: cream blush, light setting powder, then a touch more powder blush on top. This triple-layer approach creates a flush that genuinely lasts from morning meetings through evening dinner plans.
16. DON’T: Match Blush to Lipstick Blindly
My makeup artist friend corrected my longtime habit of perfectly matching my blush to my lipstick. While it seems logical, this one-to-one matching often creates a dated, overly coordinated look that lacks dimension and can appear costume-like rather than naturally beautiful.
Instead of exact matches, aim for complementary colors within the same family. If I’m wearing a bold red lip, I’ll choose a softer peachy-pink blush that harmonizes without competing. This creates balance and prevents any single feature from overwhelming my face.
The exception? When wearing very neutral lips, a slightly bolder blush adds necessary color to prevent washing out your complexion. My foolproof approach is choosing blush that mimics my natural flush (the color my cheeks turn after exercise) regardless of my lipstick choice.
17. DO: Blend Well
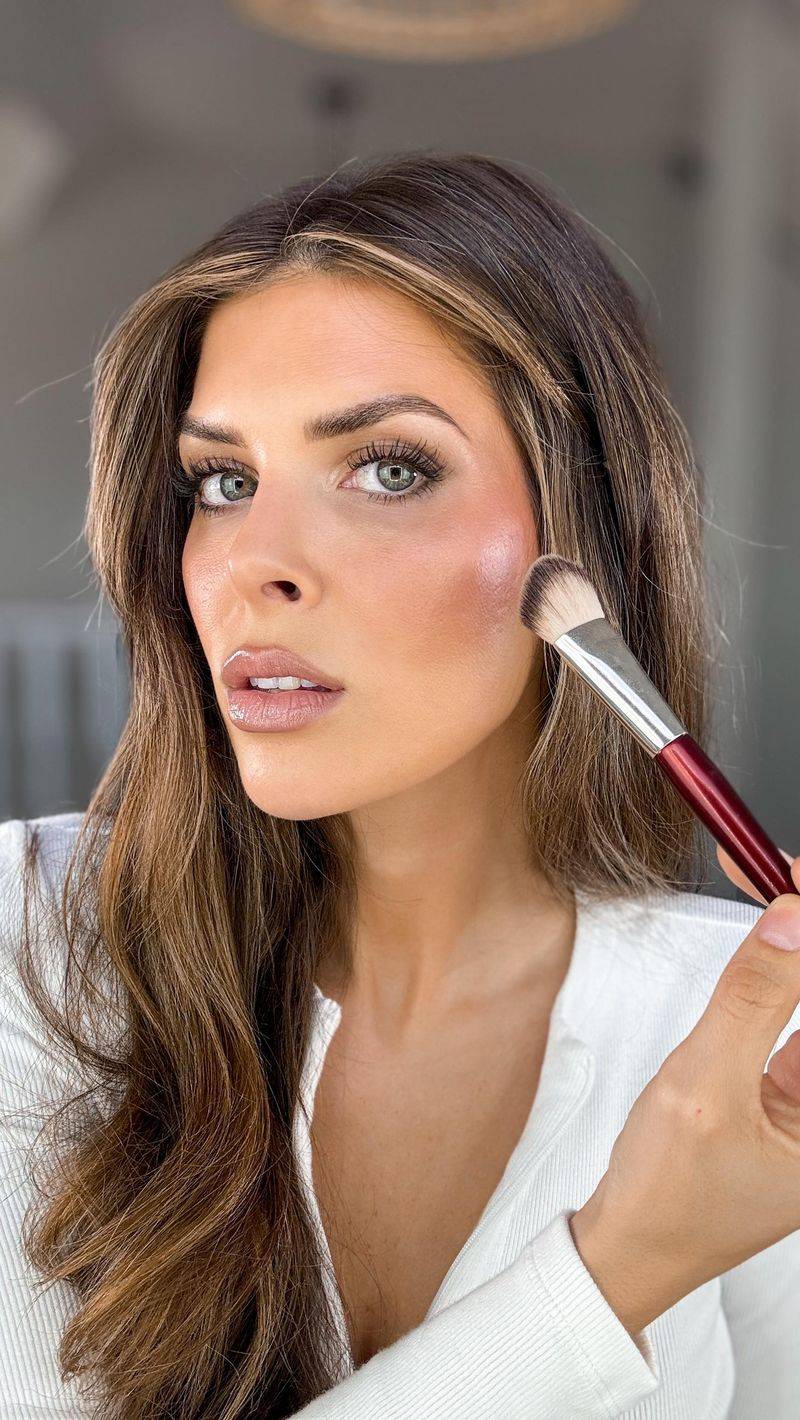
The single most transformative makeup tip I’ve learned is that blending isn’t just important – it’s everything! The difference between amateur and professional-looking makeup often comes down to how well products are blended, especially color products like blush.
After applying blush, I spend at least 30 seconds (count them!) gently buffing the edges with a clean fluffy brush. This creates that seamless, airbrushed effect where you can’t tell where the blush begins and ends. The goal is a natural-looking flush that appears to come from within.
My secret weapon is a dual-fiber stippling brush that picks up less product and creates a diffused application from the start. For cream formulas, I’ll use a damp makeup sponge to tap and press the edges for that skin-like finish.
18. DON’T: Ignore Your Face Shape
My square-faced friend and I (with my round face) made the same blush mistake for years – applying it identically despite our different face shapes. Blush placement should enhance your unique bone structure, not follow a one-size-fits-all approach.
Round faces benefit from blush applied slightly higher on the cheekbones and angled toward the temples, creating the illusion of more definition. Heart-shaped faces look balanced with blush focused on the apples and blended outward. My square-faced friends soften their angles by concentrating blush on the apples of their cheeks.
Long or oval faces appear more balanced with horizontally applied blush that doesn’t extend too far toward the temples. Experiment with placement while considering what features you want to enhance or minimize. The right blush placement can literally reshape how your face appears!
19. DON’T: Apply in Poor Lighting
Walking into natural daylight only to discover my blush looked like war paint taught me the critical importance of lighting when applying makeup. Dim bathroom lighting or yellow-tinted bulbs can completely distort how much product you’re actually applying.
Natural daylight is the gold standard for makeup application. I’ve rearranged my vanity near a window for morning routine perfection. When that’s not possible, I’ve invested in daylight-mimicking bulbs that show true colors without the warm or cool tints that can deceive.
Before heading out, I always check my makeup in different lighting conditions – near a window, under bathroom lights, and even using my phone’s camera flash as a quick test. This multi-lighting check prevents those embarrassing moments of catching your reflection and realizing your blush is far more intense than intended!