
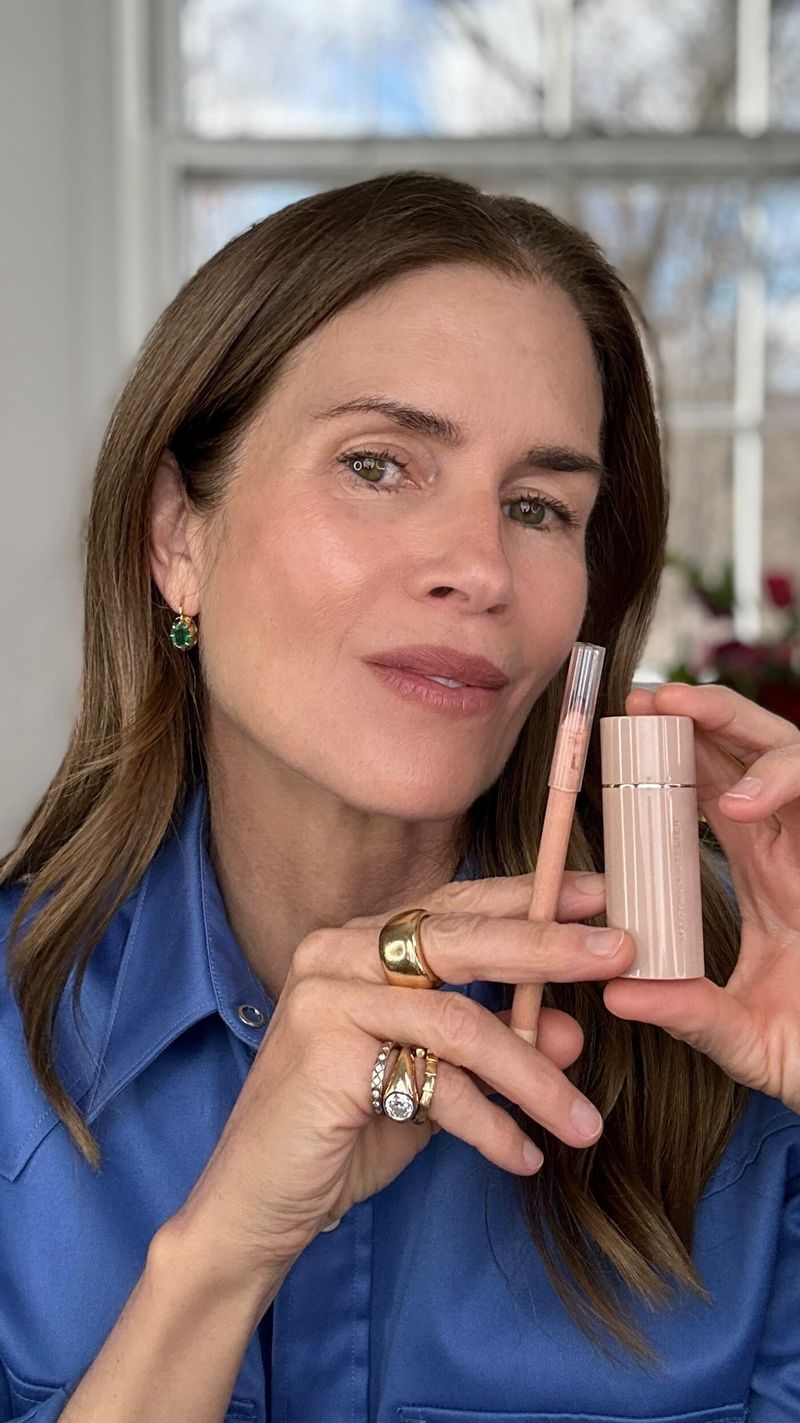
19 Attractive Makeup Tips For Different Lip Shapes
Ever looked in the mirror and thought your lipstick just doesn’t seem right?
The secret might be in your lip shape. I’ve spent years exploring what works best for various lip shapes, and I’m excited to share these tricks with you.
These simple tips will help you enhance your natural beauty and make the most of your unique lips.
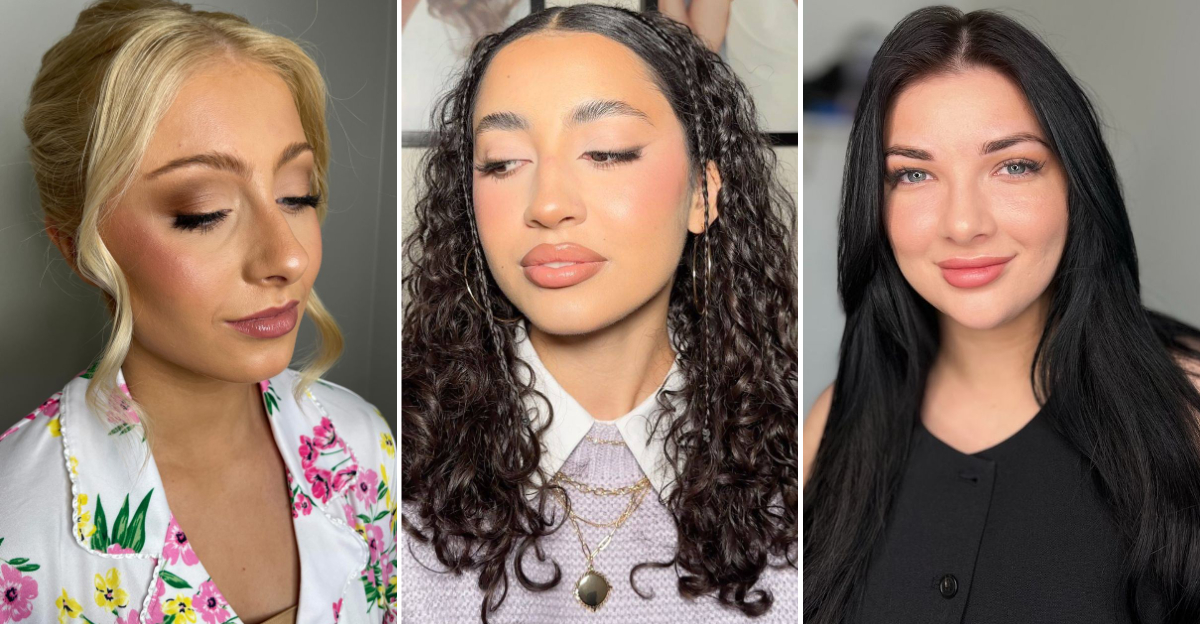
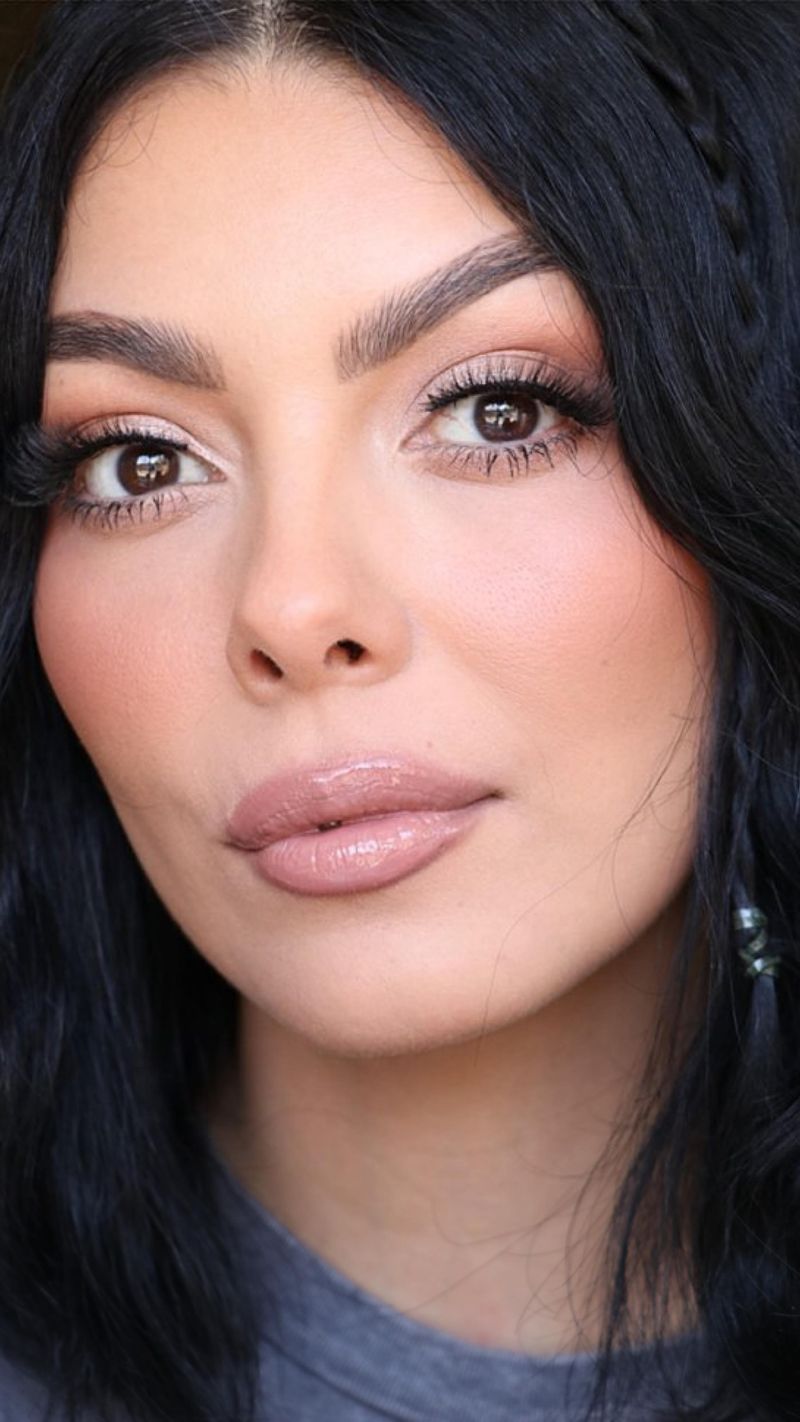
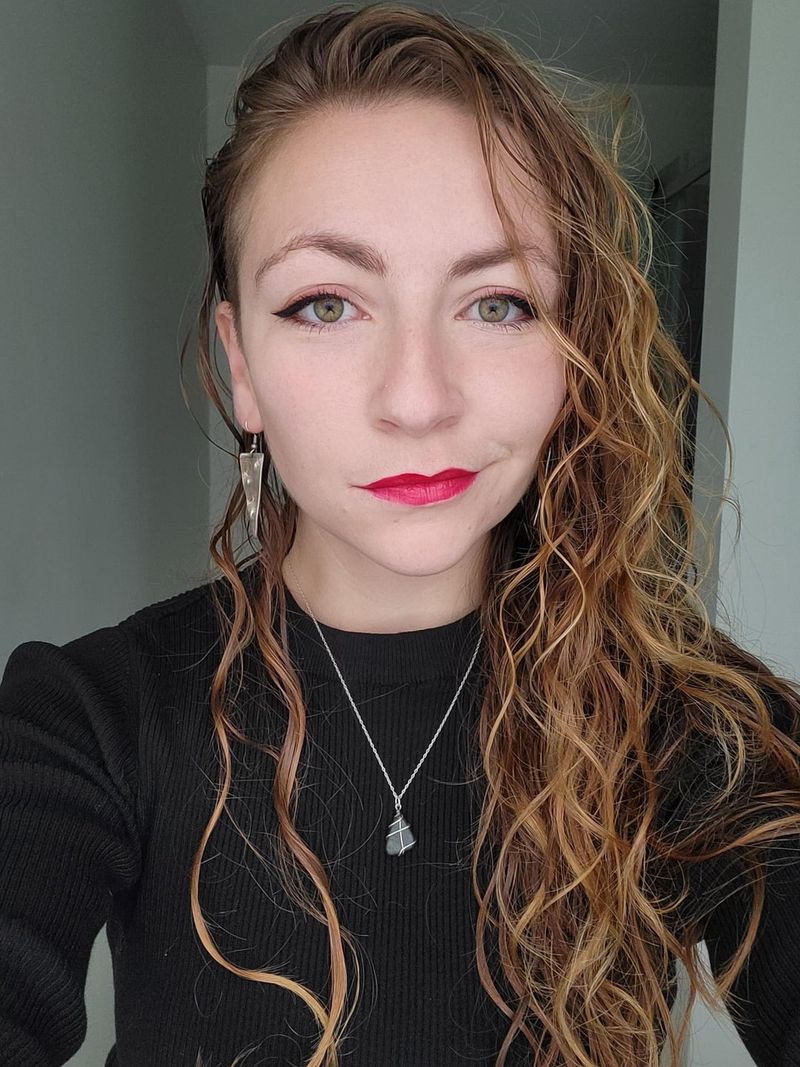
1. Balancing Full Lips with Neutral Tones
Blessed with full lips? Lucky you! The key is not overdoing it. I reach for neutral shades that complement my skin tone rather than bold colors that can make my lips appear too dominant. A light application technique works wonders here. I dab the lipstick on my finger first, then press it into my lips for a subtle stain effect. This gives me control over the intensity.
For special occasions, I might add a tiny dot of clear gloss just in the center of my bottom lip. This creates dimension without adding too much volume or drawing unwanted attention.
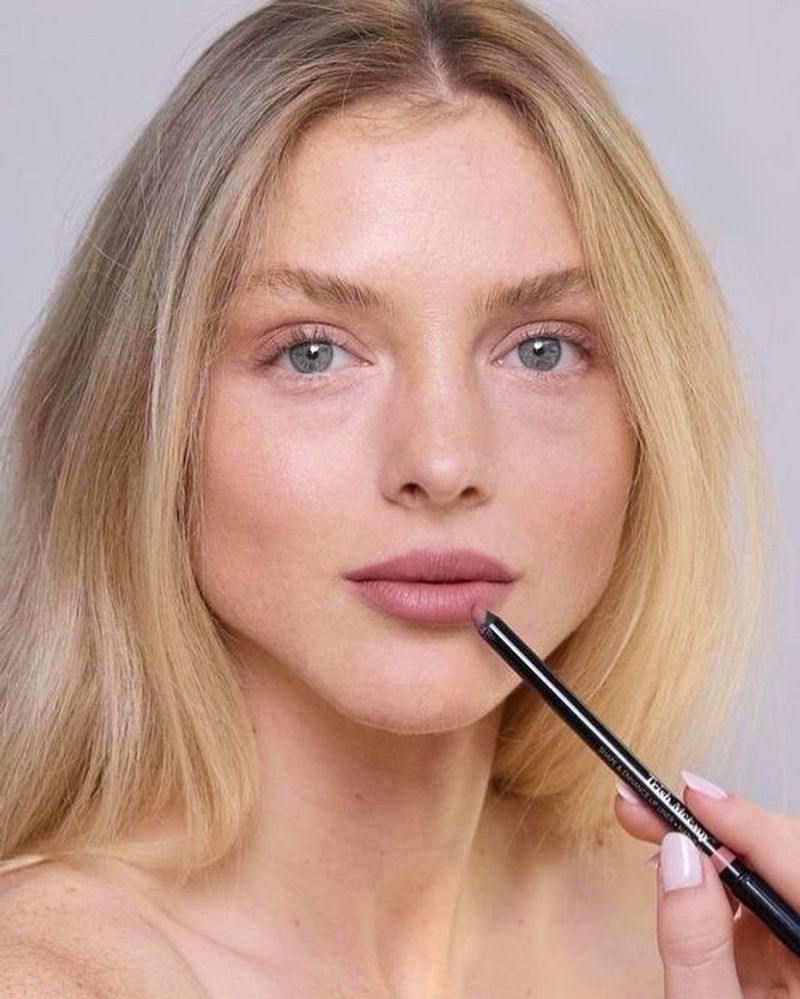
2. Defining Thin Lips with Precision Liner
Thin lips need a bit of help from a good lip liner. I’ve found that choosing a liner one shade darker than my natural lip color creates the most realistic enhancement. Drawing slightly outside my natural lip line—just a millimeter or so—makes a huge difference without looking fake.
After lining, I fill in with a creamy lipstick in a similar shade. The creamier formula adds dimension that matte formulas can’t achieve on thinner lips. I finish by adding a touch of highlighter to my cupid’s bow. This simple trick catches the light and makes my upper lip appear more pronounced and defined without any obvious makeup trickery.
3. Correcting Asymmetrical Lips with Smart Shading
Many of us have slightly uneven lips—it’s totally normal! I’ve mastered a trick using two liner shades. On the smaller side, I line just outside my natural lip line. On the fuller side, I stay right on the edge or slightly inside.
Blending is crucial for this technique. After applying lipstick, I use a small concealer brush with a tiny amount of foundation to clean up and perfect the shape. This creates the illusion of symmetry without looking overdone.
I avoid dark or very bright colors when my lips are feeling particularly uneven. Softer shades are more forgiving and don’t highlight the asymmetry as much as bold colors might.
4. Plumping Techniques for Flat Lips
Flat lips lack that natural curve that gives dimension. My go-to fix is a technique I call “spotlight plumping.” I apply a base color across my entire lip, then dab a slightly lighter shade just in the center of both lips.
Gloss is your friend here! But not all over. I apply a dot of clear or slightly sparkly gloss right in the center of my bottom lip. Light reflects off this spot, creating the illusion of fullness without looking overdone.
Exfoliation makes a huge difference for flat lips. I gently scrub with a sugar scrub twice weekly, which removes dead skin and stimulates blood flow. This natural plumping effect makes any lipstick look better on less dimensional lips.
5. Enhancing a Prominent Cupid’s Bow
A defined Cupid’s bow is something many people try to create, but if you naturally have one, make it your signature feature! I love using a small, precise lip brush to trace the exact shape of my Cupid’s bow with liner, keeping the lines sharp and defined.
For everyday looks, I sometimes highlight this area by applying a tiny amount of shimmer right above the bow. Not on the lip itself, but on the skin above it. This draws the eye upward and makes this beautiful feature stand out. When choosing lipstick finishes, I find that satin formulas work best. They’re not as flat as mattes but don’t have the high shine of glosses, allowing the natural architecture of the Cupid’s bow to be the star.
6. Softening Wide Lips with Ombre Effect
Wide lips can be gorgeous, but if you want to create the illusion of a more balanced shape, the ombre technique works like magic. I apply a deeper shade around the edges of my lips and a lighter, complementary shade in the center.
Blending is key here. I use my finger or a lip brush to softly merge the two colors where they meet. The goal isn’t a harsh line but a gradual fade that tricks the eye into seeing a different lip width. For wide lips, I also avoid extending color all the way to the corners of my mouth. Stopping the color just short of the corners visually shortens the width without looking unnatural or messy.
7. Lifting Downturned Lips with Strategic Highlighting

Downturned corners can make you look sad even when you’re happy! My favorite fix is what I call “corner lifting.” I apply concealer precisely at the corners of my mouth, then blend outward.
The lip liner trick makes a huge difference too. I draw the liner slightly upward at the corners—not exaggerated, just a subtle adjustment that counteracts the natural downturn. Then I follow with lipstick, being careful to maintain that lifted line.
Adding a touch of highlighter or shimmer to the center of my upper lip draws attention away from the corners and toward the middle of my mouth. This simple redirect helps create a more lifted appearance overall.
8. Balancing Uneven Top and Bottom Lips
When one lip is noticeably fuller than the other, balance becomes the goal. For my smaller lip (usually the top one), I line slightly outside the natural border. For my fuller lip, I stay right on the natural line or even slightly inside.
Color choice matters here too. I opt for medium-toned shades rather than very light or very dark colors. Extremes tend to highlight the difference between lips, while middle tones create harmony.
A trick I love is using two different finishes. If my bottom lip is fuller, I use a matte lipstick there and add a touch of gloss to my upper lip. The light-catching gloss creates the illusion of more volume where I need it.
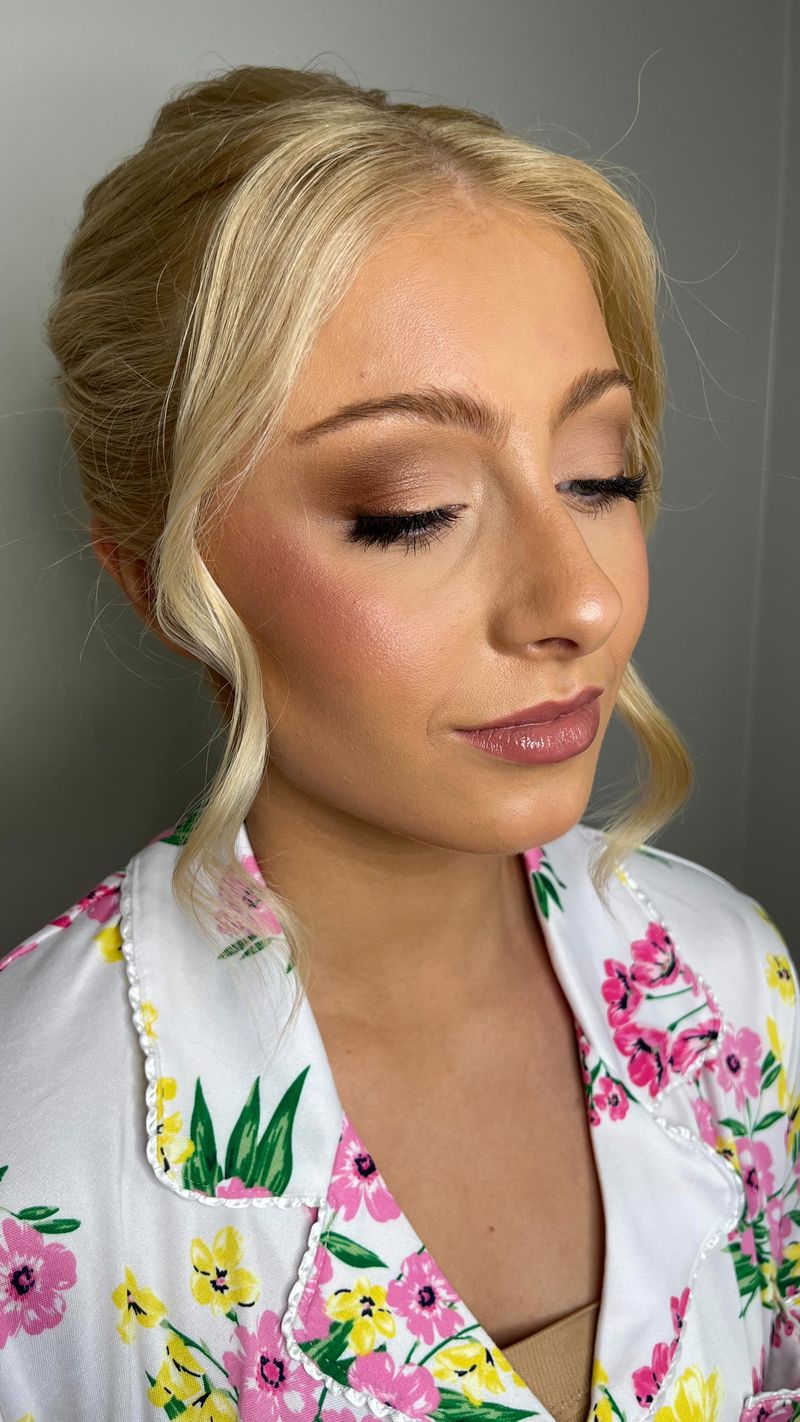
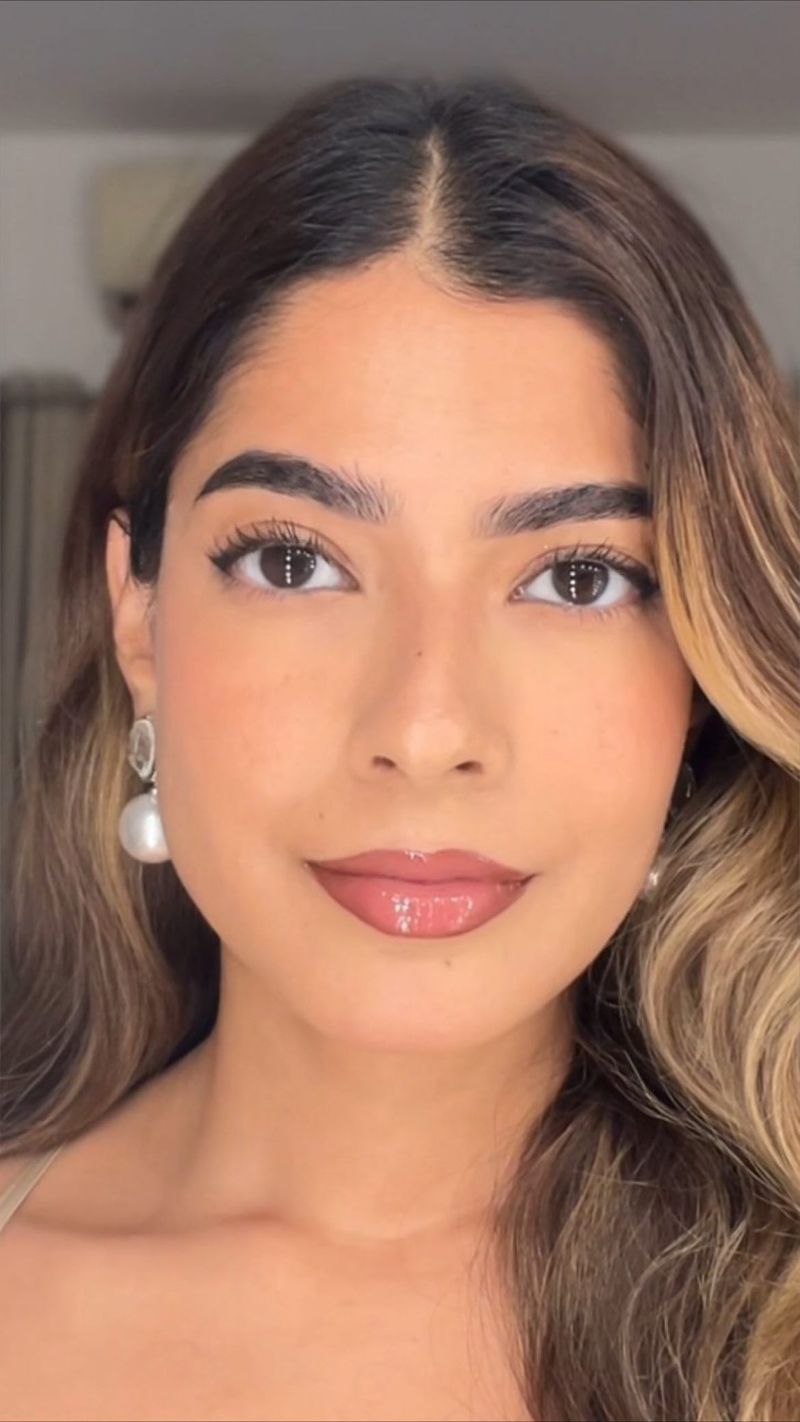
9. Defining Heart-Shaped Lips with Precision
Heart-shaped lips (fuller on top, thinner on bottom) already have a romantic look, but the right technique enhances their natural beauty. I focus on creating balance by slightly overlining just the center of my bottom lip while keeping the upper lip line precise and clean.
Color placement makes a difference too. I apply a slightly deeper shade on my upper lip and a lighter shade on my bottom lip. This subtle contrast helps create the illusion of more balanced fullness. When applying gloss, I concentrate it on the center of my bottom lip only. This draws attention to the area I want to appear fuller, while keeping my naturally prominent upper lip from becoming overwhelming.
10. Creating Fullness for Narrow Lips
Narrow lips need width, not just plumpness. My technique focuses on extending the color slightly at the corners of the mouth. Not dramatically—just enough to give the illusion of a wider smile.
Light-reflecting products are my secret weapon here. I apply lipstick as usual, then dab a small amount of pearlescent gloss right in the center of both lips. The light bounce creates dimension that makes narrow lips appear wider.
I’ve found that lip colors with warm undertones (peachy pinks, warm reds) visually expand narrow lips better than cool tones. Something about the warmth seems to push the visual boundaries outward, creating the appearance of more lip real estate.
11. Smoothing Lined or Textured Lips
Fine lines on lips can make lipstick application tricky. My prep routine makes all the difference. I start with a gentle lip scrub, then apply a thick layer of lip balm while doing the rest of my makeup. By the time I get to my lips, they’re properly hydrated.
Product choice is crucial for textured lips. I skip matte formulas entirely, as they emphasize lines. Instead, I opt for creamy, hydrating lipsticks or tinted balms that glide over imperfections rather than settling into them.
My application technique involves pressing the color into my lips with my fingertip rather than swiping directly from the tube. This method deposits color without pushing it into fine lines, creating a smoother, more youthful finish.
12. Minimizing Overly Prominent Lips
Very full lips are beautiful, but sometimes I want to tone them down for balance with my other features. I’ve found that matte formulas visually reduce volume better than glossy ones. The flat finish doesn’t catch light in a way that emphasizes fullness.
Color choice plays a huge role too. I opt for neutral or slightly natural shades that are close to my natural lip color. Bold or dark colors draw attention and can make prominent lips appear even more so.
A game-changing trick is applying a tiny bit of translucent powder around the edges of my lips after applying color. This subtle blurring effect softens the border between my lips and skin, making them appear less pronounced without looking unfinished.
13. Perfecting Bow-Shaped Lips
Bow-shaped lips have that classic curved upper lip that many try to create. The key to enhancing this shape is precision in the cupid’s bow area. I use a lip liner with a very sharp point and create an ‘X’ shape at the top of my cupid’s bow first, then connect the lines.
For everyday wear, I like to keep the upper lip definition crisp but soften the lower lip line slightly. This contrast emphasizes the bow shape without making my lips look overly drawn or artificial.
I find that rose and berry tones complement bow-shaped lips particularly well. Something about these colors seems to enhance the natural contours and elegant shape that bow lips already have.
14. Reshaping Round Lips with Contour
Round lips lack those defined angles that can make a lipstick look polished. My reshape technique uses two liner shades. I use a natural shade to define the cupid’s bow with slightly sharper angles than my natural shape, creating definition where there wasn’t much before.
After applying lipstick, I use a small amount of concealer on a precision brush to sharpen the corners and cupid’s bow even more. This creates the illusion of a more defined shape without looking obviously overlined or fake.
I’ve learned that lip color placement matters for round lips. Concentrating the deepest color in the center and fading it slightly toward the edges helps create the illusion of a more defined shape with natural-looking dimension.
15. Brightening Dark or Pigmented Lips
Highly pigmented lips can make it hard for lipstick colors to show up true-to-tube. My solution starts with neutralizing the natural color. I apply a small amount of foundation or concealer to my lips, blot well, then set with a tiny bit of powder.
For everyday wear when I want my natural lip color but brighter, I use a clear lip liner to prevent bleeding, then apply a tinted lip oil or balm. These sheer formulas let my natural color show through but add a fresh brightness.
When I want bold color on my pigmented lips, I look for lipsticks labeled as high-opacity or one-stroke coverage. These formulas are specifically designed to cover natural lip color completely, allowing the true shade to shine.
16. Defining Naturally Blurred Lip Lines
Some of us have lips without a clearly defined border, making precise lipstick application challenging. My solution is using a clear lip liner first. This creates an invisible barrier that prevents color from feathering while allowing me to define my preferred shape.
For more definition, I sometimes use a concealer on a small brush around the outside of my lips after applying color. This creates contrast between my lips and skin, making the shape appear more defined without looking obviously lined.
When choosing colors for blurred lip lines, I find that semi-matte formulas work best. They’re not so creamy that they migrate, but not so matte that they emphasize any unevenness in my natural lip line.
17. Volumizing Techniques for Aging Lips
As we age, lips naturally lose volume. My favorite rejuvenating trick is layering products. I start with a plumping lip primer that contains peptides or hyaluronic acid to temporarily fill fine lines and add moisture.
Lip liner becomes essential, but placement is key. I line right at my natural lip line—not outside, which can look obvious on mature lips. I use short, feathery strokes rather than one continuous line, which creates a more natural border.
For color, I choose creamy, hydrating formulas in rose or peach tones. These shades add warmth and dimension that counteracts the natural volume loss. I avoid dark colors and mattes, which can make thin lips appear even smaller.
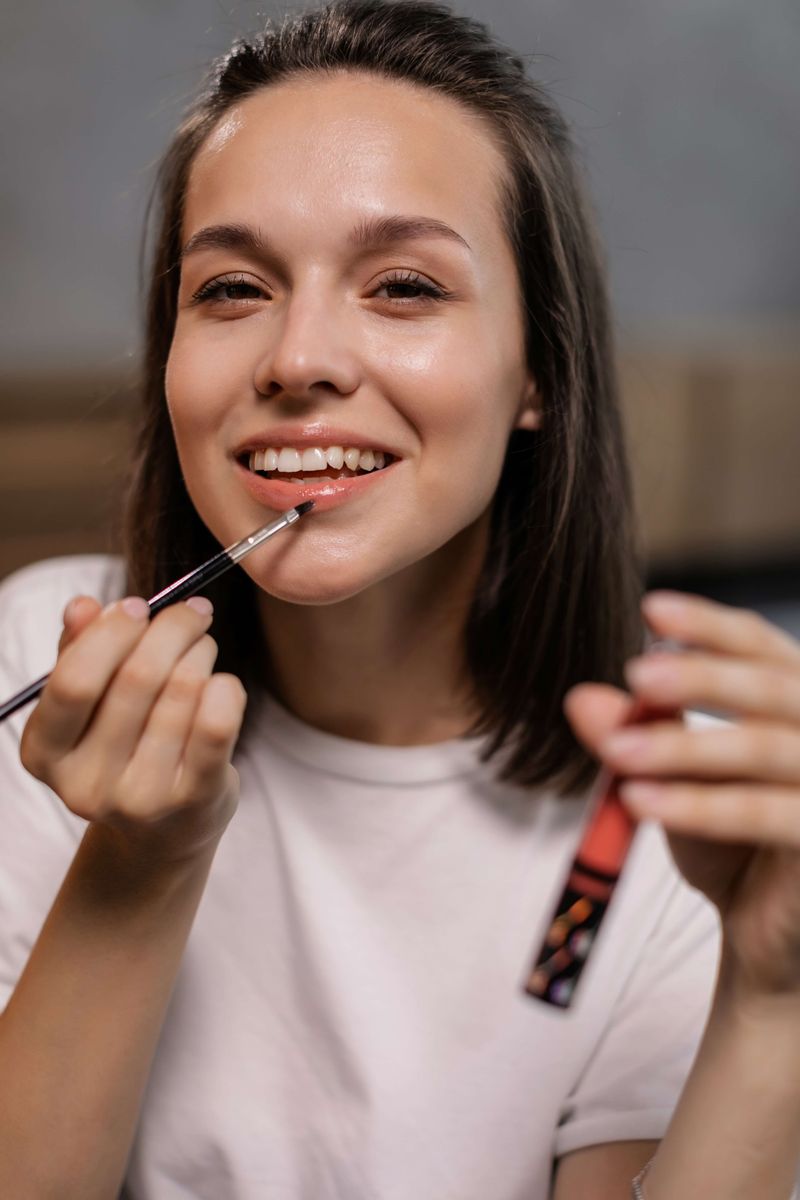
18. Perfecting the Gradient Lip Effect
The gradient or “popsicle-stained” lip looks youthful and natural on every lip shape. I start by applying a bit of concealer or foundation over my entire lip to mute my natural color. This creates a blank canvas for the gradient effect.
Next comes the fun part. I apply my chosen lip color only to the inner part of my lips, then use a clean finger or sponge to tap and blend the color outward. The result should be intense color in the center that gradually fades toward the edges.
For a longer-lasting gradient, I use a lip stain or tint for the inner portion, then top with clear balm. This technique works especially well for casual daytime looks when I want color without the maintenance of full lipstick.
19. Harmonizing Lip Color with Face Shape
Your lip makeup should complement not just your lip shape but your overall face shape too. For round faces, I create more angular definition in my lipstick application, emphasizing the cupid’s bow and corners for structure.
Long or rectangular faces benefit from fuller-looking lips that add width. I extend color slightly beyond the corners and focus on making lips appear wider rather than taller. This helps balance facial proportions.
Heart-shaped faces often have a pointed chin, so I balance this by creating rounded, soft lip lines rather than sharp angles. Square faces, meanwhile, benefit from softly rounded lip shapes that contrast with the angular jawline.