
20 Glitter Nail Designs To Add Some Everyday Sparkle To Your Look
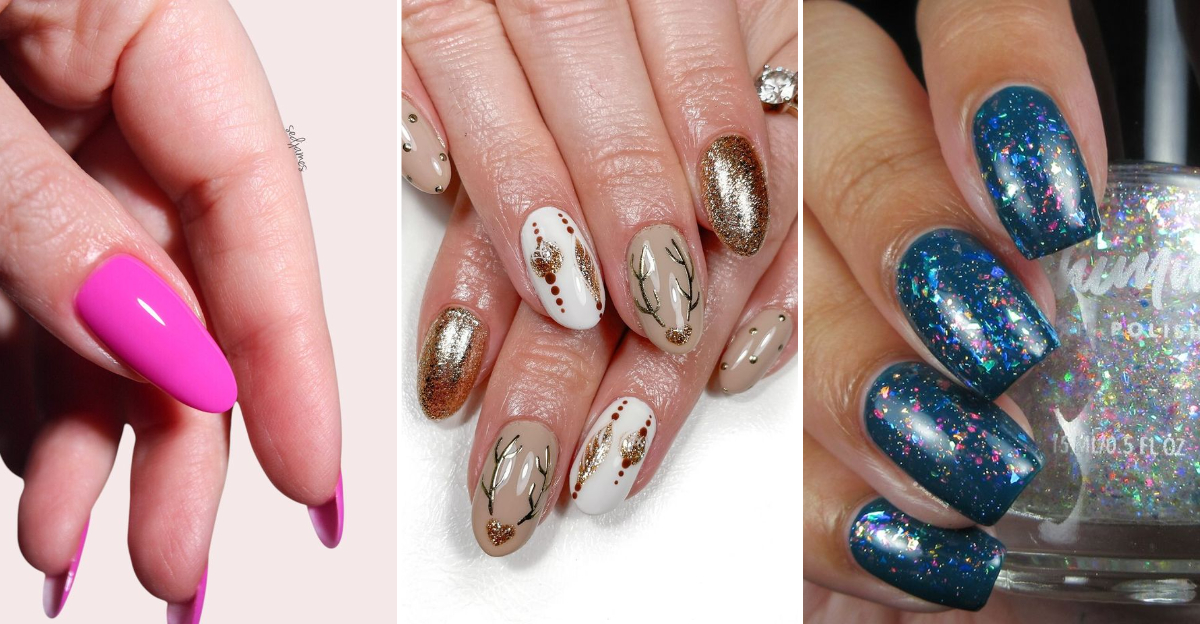
Who doesn’t love a little sparkle on their fingertips?
Glitter nail designs are my absolute favorite way to add that touch of magic to everyday looks. I’ve been obsessed with nail art for years, and nothing beats the way light catches on a perfectly applied glitter polish.
From subtle shimmer to full-on disco ball effects, I’ve gathered my top 20 glitter nail ideas that’ll make your hands the center of attention without being too over-the-top for regular wear.
1. Rose Gold Glitter Tips
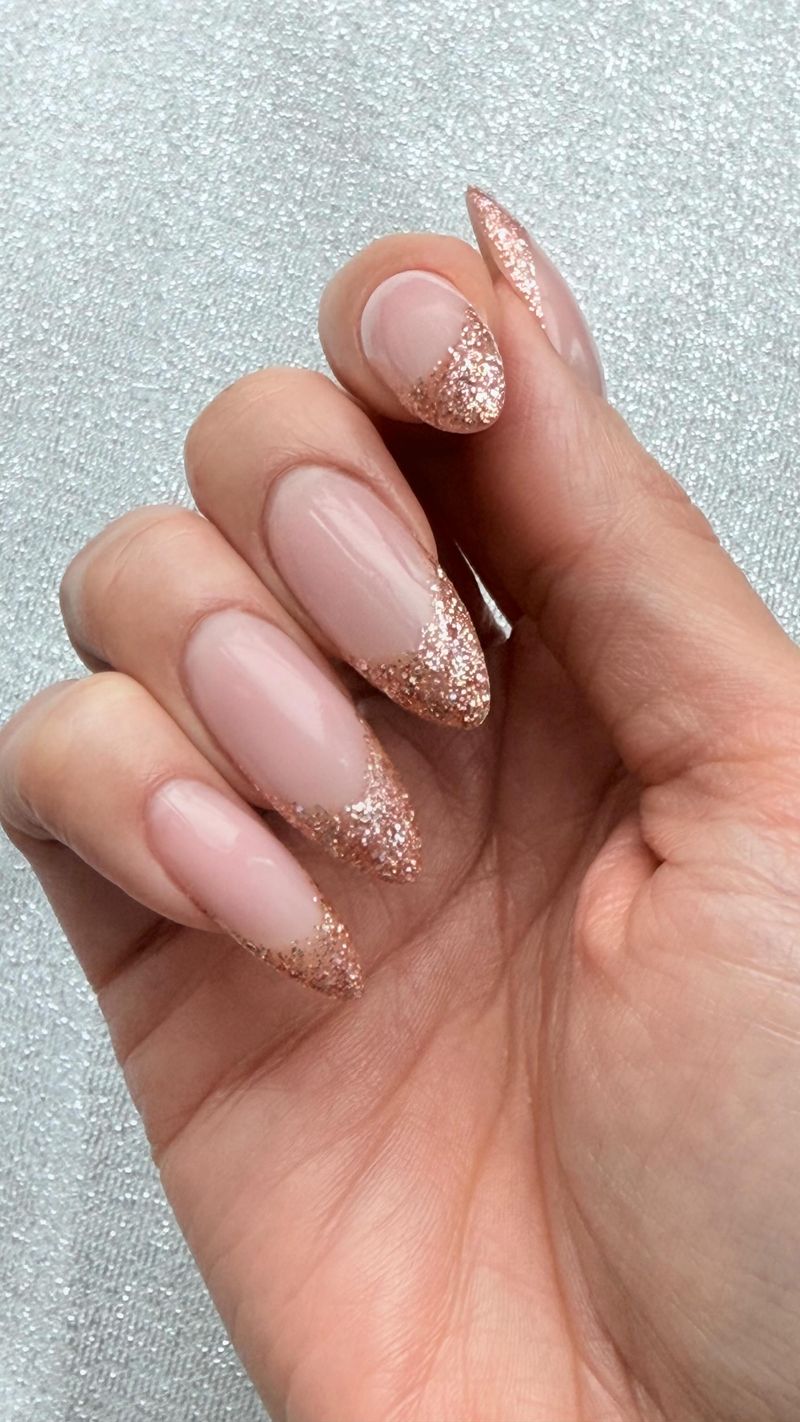
Rose gold has stolen my heart completely! The warm, pinkish metallic tone works beautifully as a glitter tip accent against a neutral base. I wore this to a job interview last month and received so many compliments without it feeling inappropriate for the setting.
The trick is keeping the glitter concentrated just at the tips, creating a modern take on the French manicure. For best results, I use a makeup sponge to dab the glitter polish just at the tips, creating a perfect fade effect.
This design pairs beautifully with both casual outfits and formal wear, making it my go-to choice when I’m unsure about what nail look to commit to for the week ahead.
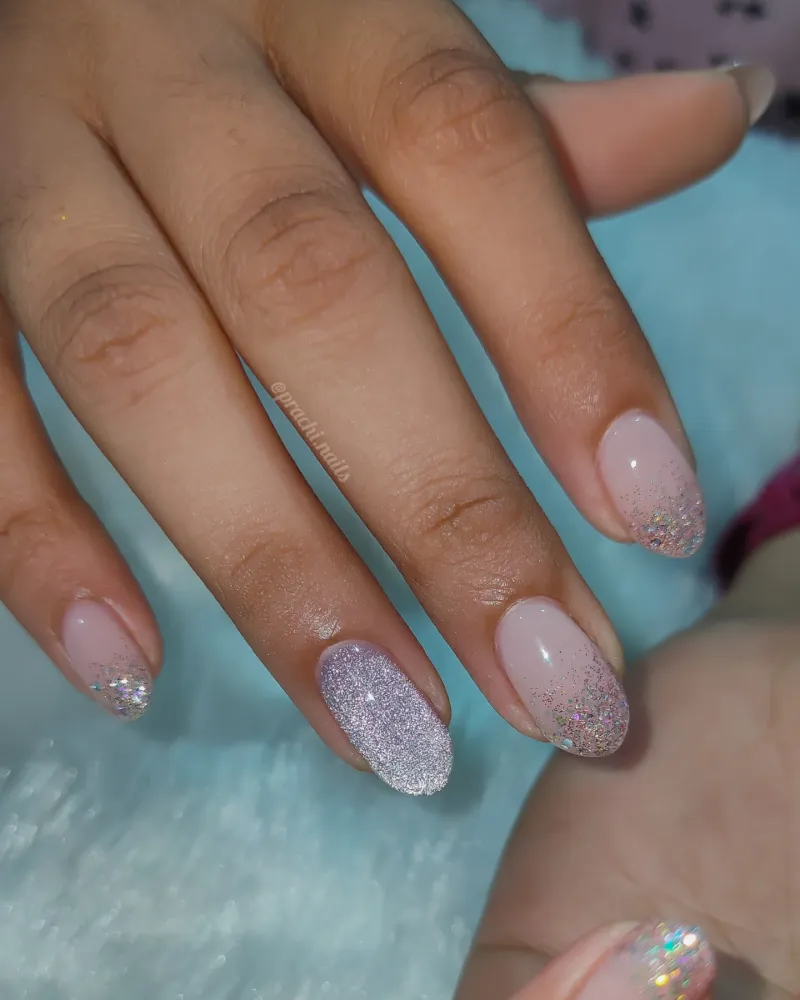
2. Silver Ombré Sparkle
Silver glitter polish creates the most eye-catching ombré effect I’ve ever tried. Starting with a light gray base, I gradually build up silver sparkles from the cuticle upward, creating this gorgeous fading effect that catches light from every angle.
My coworkers couldn’t stop staring at my hands during our last team meeting! The subtle transition from solid color to full sparkle makes this design sophisticated enough for the office while still being fun.
For longevity, I sandwich the glitter between two layers of top coat. This prevents the annoying snag-on-everything problem that sometimes happens with textured glitter manicures while maintaining all that beautiful sparkle.
3. Holographic Confetti Topper
My phone camera never does these justice! Holographic confetti toppers contain those magical little flecks that shift colors as your hands move. I layer them over absolutely any color—though they look particularly magical over dark bases like navy or black.
The random placement of the confetti pieces creates this gorgeous scattered effect that reminds me of tiny stars. No need for nail art skills here—just one coat of your favorite color followed by a coat of holo confetti topper.
I found my holy grail confetti topper at a drugstore for under $5, proving you don’t need to spend a fortune for show-stopping nails. For extra dimension, try layering different sized holographic flakes.
4. Gold Accent Nail
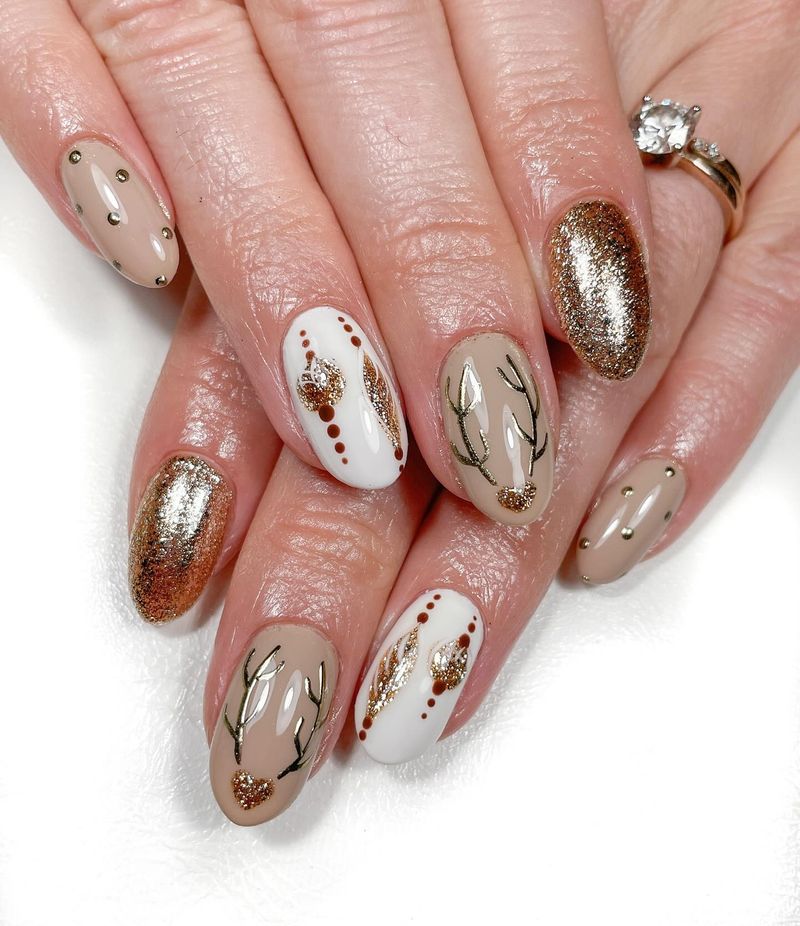
Sometimes less is more! I keep four nails in a classic color (my favorite is a creamy taupe) and then go all-out with gold glitter on just my ring finger. This creates an elegant statement without overwhelming my whole hand with sparkle.
My mom used to call this my “rich lady” manicure because it looks so expensive and put-together. The contrast between the cream and gold creates this sophisticated look that works for literally any occasion—I’ve worn this exact combo to both board meetings and birthday parties.
For the gold accent nail, I apply 2-3 coats of chunky gold glitter until I get complete coverage. The textural difference between the cream and the glitter creates amazing visual interest.
5. Rainbow Glitter Fade
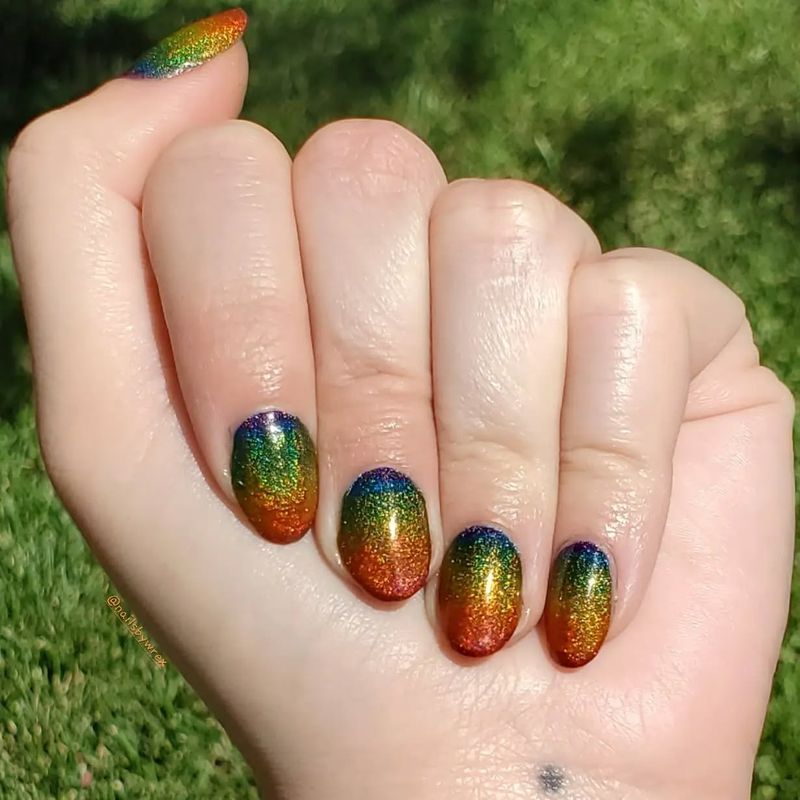
Rainbows aren’t just for special occasions! I created this multi-colored glitter fade by using five different glitter polishes, applying each one to a different section of my nail and gently blending where they meet.
The result is this gorgeous color progression that moves from red at the cuticle through orange, yellow, green, and blue at the tip. Friends have asked if I had this done professionally, but it’s actually pretty simple once you get the hang of the placement.
My niece calls these my “unicorn nails” and always asks for matching ones when she visits. I find this design lasts exceptionally well—even when the polish begins to wear at the tips, the multi-color effect disguises it beautifully.
6. Glittery French Tips

French manicures got a major upgrade when I swapped white tips for glitter! I use a thin striper brush to apply silver or gold glitter polish just along the tips of my nails, keeping the base a clean, sheer pink.
The result is classic and timeless but with that extra special something. My grandmother even approved of these when I wore them to our family holiday dinner—high praise from someone who normally thinks glitter is “too much.”
The best part about this design is how forgiving it is. Any little mistakes blend right into the sparkle, making it perfect for beginners. As they grow out, the design still looks intentional rather than like you’re desperately needing a fill.
7. Champagne Shimmer All-Over
Champagne shimmer is the little black dress of glitter nails! This warm, golden-beige glitter polish with fine particles creates the most flattering sparkle effect that somehow matches everything in my wardrobe.
I wore this to three weddings last summer and received compliments each time. The neutral tone with that hint of sparkle makes it appropriate for formal events while still being fun.
For the most elegant finish, I apply three thin coats rather than one thick one. This builds up the shimmer gradually for a more sophisticated look. The champagne tone is particularly flattering on my olive skin, but I’ve seen it look gorgeous on friends with completely different skin tones too.
8. Pink Sparkle Base With Negative Space
Negative space designs keep getting more popular, and adding pink glitter takes them to another level! I leave half-moon shapes at the base of each nail completely bare, then fill the rest with a gorgeous pink sparkle polish.
The contrast between my natural nail and the glitter creates this modern, graphic look that feels both edgy and feminine. My nail tech showed me this trick of using hole reinforcement stickers as guides to create the perfect curved edge.
This design grows out beautifully since the bare section at the cuticle hides any new growth. I find myself reaching for this style whenever I want something special but don’t have time for complex nail art or regular touch-ups.
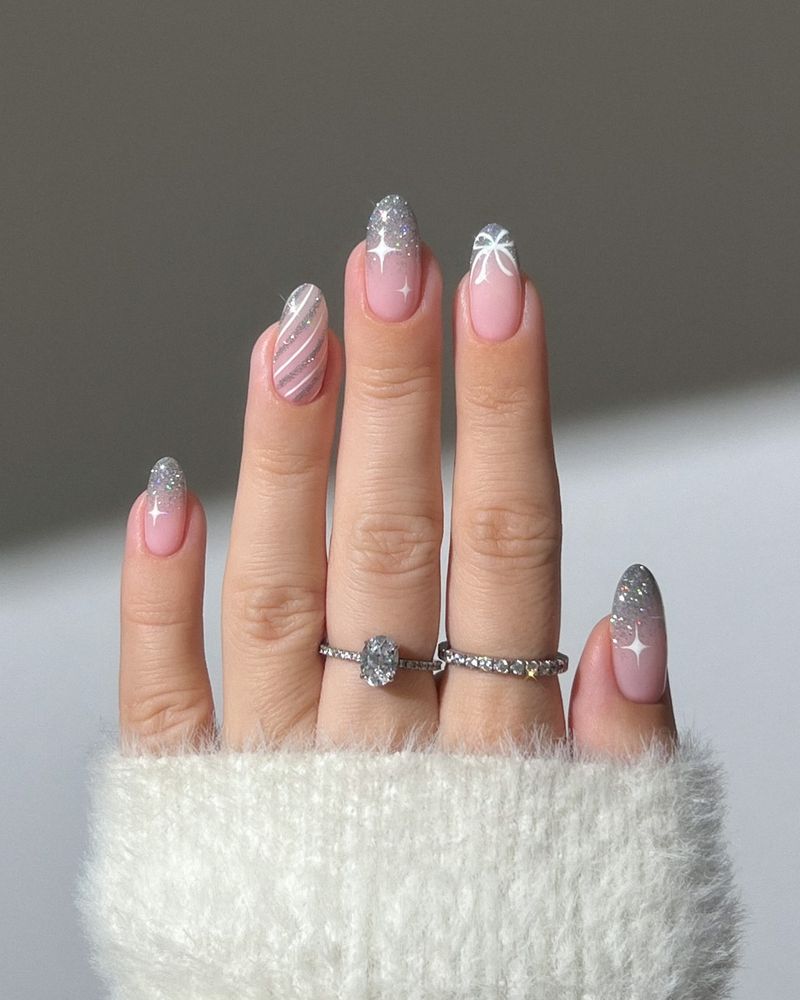
9. Blue Glitter Stars On Clear Base
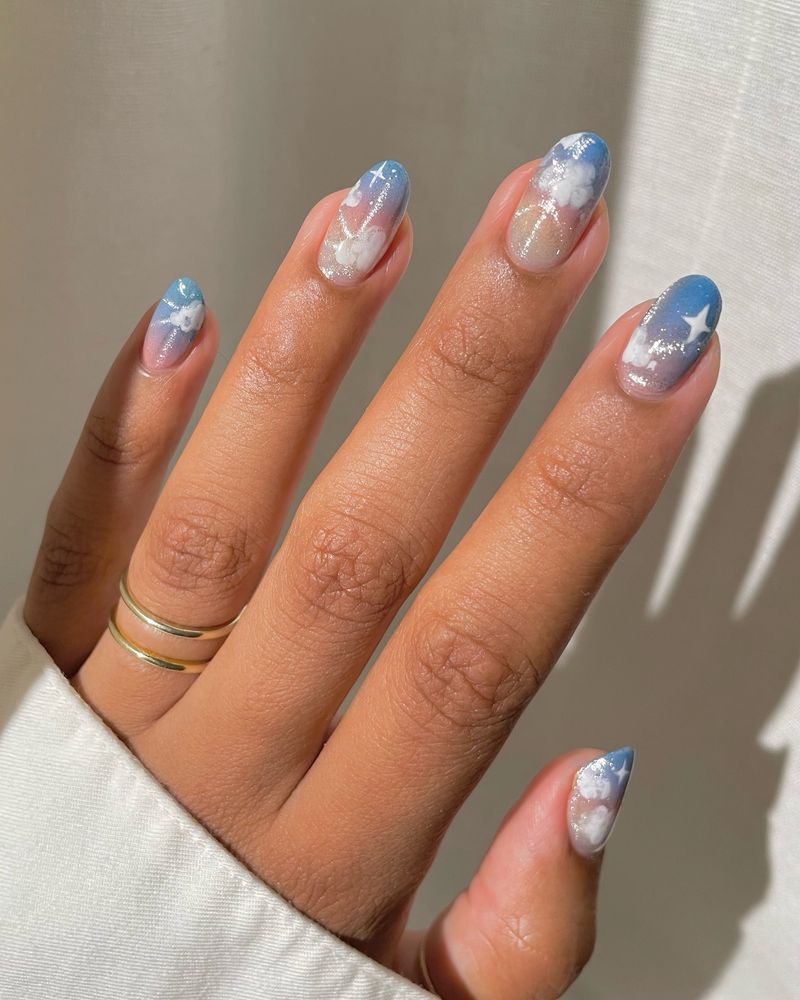
Star-studded nails always make me smile! I apply a clear base coat and then place tiny blue glitter stars randomly across each nail. The stars seem to float on my natural nail, creating this dreamy, celestial effect.
Finding the right glitter stars was a challenge until I discovered nail art supply stores online. Now I have them in every color imaginable! For placement, I use a wax pencil or the end of a bobby pin dipped in clear polish to position each star exactly where I want it.
My students are always fascinated by these nails—they call them my “space teacher” nails. The clear base makes this design surprisingly subtle for everyday wear while still adding that special touch of whimsy.
10. Black Glitter Fade To Matte
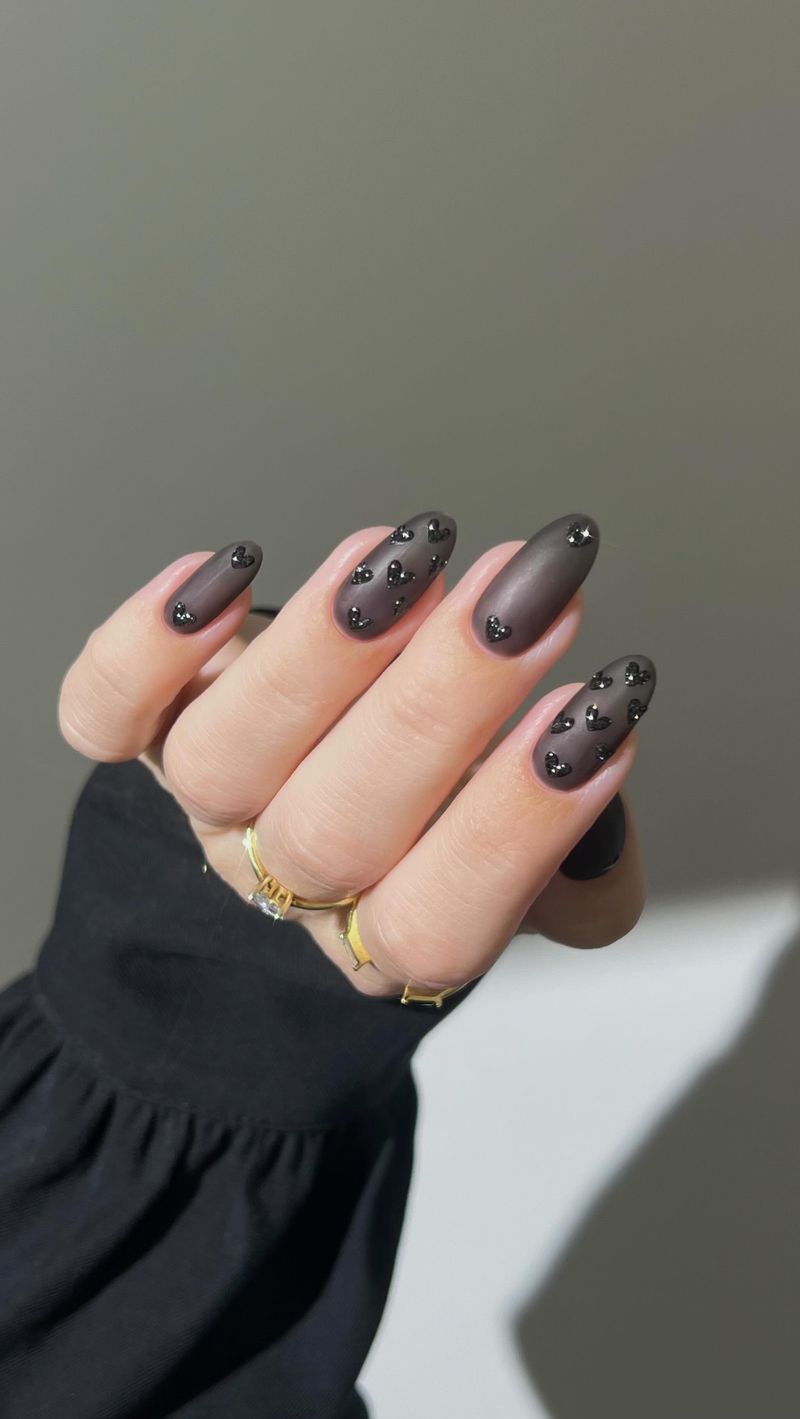
Black glitter feels unexpectedly sophisticated! I apply it at the base of my nails, gradually fading to a matte black at the tips. The textural contrast between sparkly and matte creates this amazing visual effect that looks different in every lighting situation.
I discovered this look accidentally when I ran out of glitter polish halfway through doing my nails. Now it’s become one of my signature styles for evenings out.
For the perfect fade, I use a makeup sponge to dab the glitter polish at the cuticle, blending upward before applying the matte black to the tips. A matte top coat over the entire nail ties everything together while maintaining that beautiful textural difference that makes this design so unique.
11. Metallic Foil Glitter Accents
Foil glitter takes sparkle to a whole new dimension! Unlike regular glitter, metallic foil pieces reflect light in these incredible flashes that look almost like tiny mirrors on your nails.
I apply a base color (usually a deep burgundy or navy) and then press random pieces of gold or silver foil into the still-tacky polish. Each nail ends up with a completely unique pattern of metallic accents that catch the light in surprising ways.
My boss actually commented on how “artistic” my nails looked last time I wore this style to work. The random placement of the foil pieces makes this design look much more complex than it actually is to create—my favorite kind of nail art trick!
12. Glitter Half-Moon Cuticles
Flipping the traditional French manicure upside down creates these gorgeous glitter half-moons at the cuticle! I apply a clear sticker or tape in a curved shape near my cuticle, paint the rest of my nail with a solid color, then remove the sticker and fill in the empty space with glitter.
The result is this perfect crescent of sparkle that frames my cuticle beautifully. I‘ve found purple glitter against a neutral nail creates the most striking contrast.
This design always looks incredibly precise and professional, even though it’s fairly simple to do at home. The placement of the glitter near the cuticle also means it stays looking fresh longer than designs with glitter at the tips, which tend to show wear faster.
13. Silver Stripes Over Neutral Base
Geometric designs with glitter create such modern, architectural nails! I start with a neutral base and then use striping tape to create clean lines of silver glitter across each nail.
Sometimes I do diagonal stripes, other times horizontal or vertical—each direction creates a completely different look. The contrast between the matte neutral and the reflective silver stripes is so striking, especially in natural light.
My friend who works in fashion says these nails always look like they belong in a magazine editorial. The precision of the lines makes them appear much more difficult than they actually are! I’ve found this design works with nails of any length, making it super versatile for whenever I need to switch up my look.
14. Glitter Gradient With Tiny Gems
Combining glitter gradient with tiny rhinestones creates the most magical effect! I start with a clear base, then sponge on silver glitter from the tips upward, creating a soft fade effect. While the polish is still tacky, I place 2-3 tiny crystal gems near the cuticle of each nail.
The contrast between the delicate gems and the textured glitter creates this gorgeous juxtaposition. My sister asked me to do this exact design for her on her wedding day!
The placement of the gems is key—I arrange them in a small triangle or curved line near the base of the nail where they catch the light but don’t get caught on anything. This design feels special enough for occasions but subtle enough that I can wear it to my conservative office.
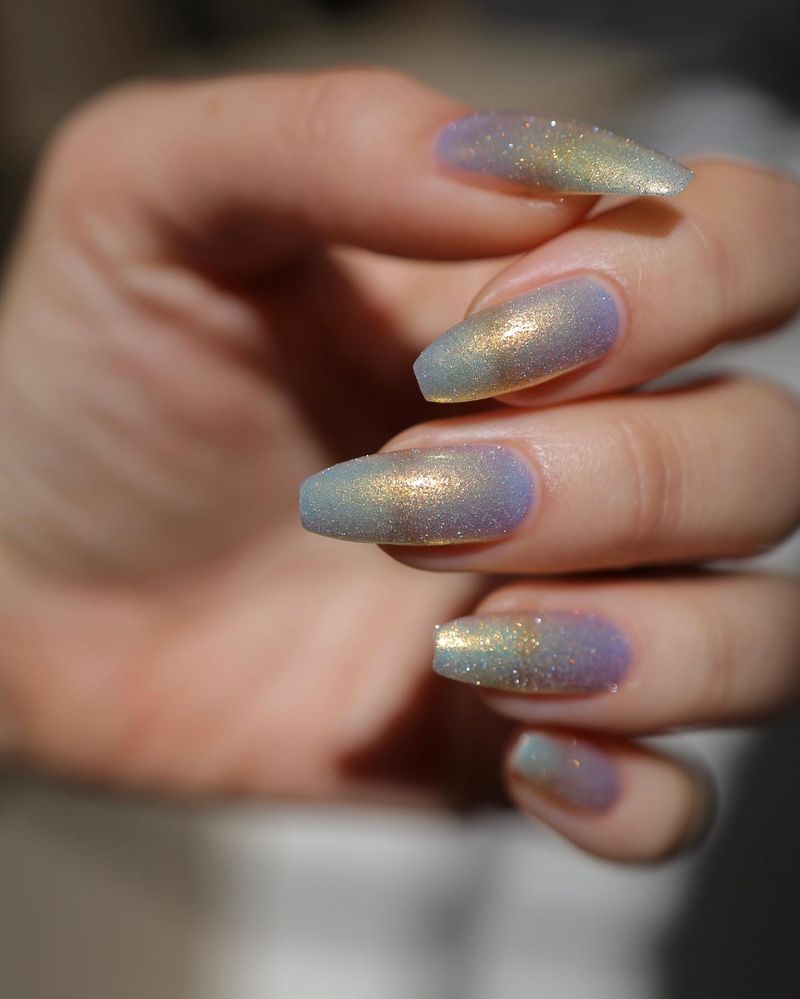
15. Multi-Color Sparkle Mix
Mixing different colored glitters creates this incredible depth that single-color glitter just can’t match! I combine fine particles of gold, copper, bronze, and rose gold in a clear base for a multi-dimensional effect that looks different from every angle.
The key is using glitters with similar undertones but different particle sizes. This creates a complex, layered look that reminds me of looking into a kaleidoscope.
My roommate calls these my “rich girl” nails because they have this expensive, custom look to them. I love how the multiple colors ensure they coordinate with practically any outfit in my closet. For extra impact, I sometimes add a scattered holographic top coat that makes the whole mixture shift colors in different lighting.
16. Glitter Cuticle Accents
Sometimes the tiniest touch of glitter makes the biggest impact! I apply a thin line of gold glitter just along my cuticle, keeping the rest of the nail in a classic color like burgundy or navy blue.
The glitter outline creates this gorgeous framing effect that draws attention to the shape of my nails. My nail tech taught me this trick when I complained about how my cuticles never look perfect in photos.
The glitter cleverly disguises any unevenness while adding that special something to an otherwise simple manicure. This has become my go-to look for important meetings when I want to look polished but not flashy. The thin line of sparkle catches the light just enough to be interesting without being distracting.
17. Frosted Glitter Polish Effect
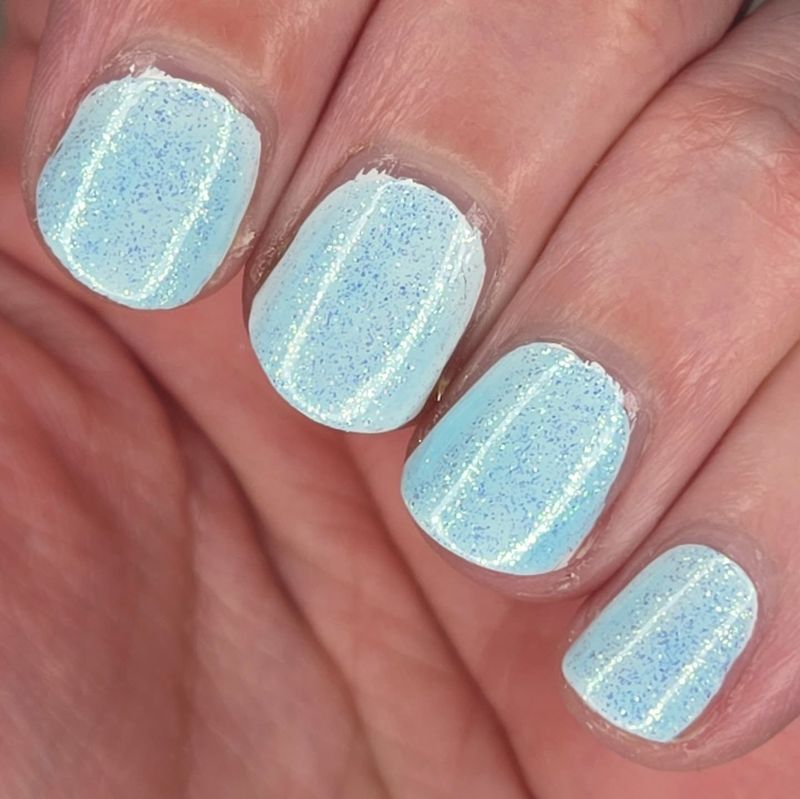
Frosted glitter polish gives me winter wonderland vibes year-round! This special type of glitter has a semi-transparent, icy quality that creates depth unlike any other polish in my collection.
The secret is in the base—instead of clear, it has this milky, semi-opaque quality that diffuses the light through the glitter particles. I layer it over pale blue or white for the most dramatic frosted effect.
My hands look like they’ve been dipped in freshly fallen snow with tiny ice crystals! For everyday wear, I apply just one coat for a subtle effect, but for parties, I build up to three coats to get that full snowglobe sparkle. This look has become my signature during the holiday season.
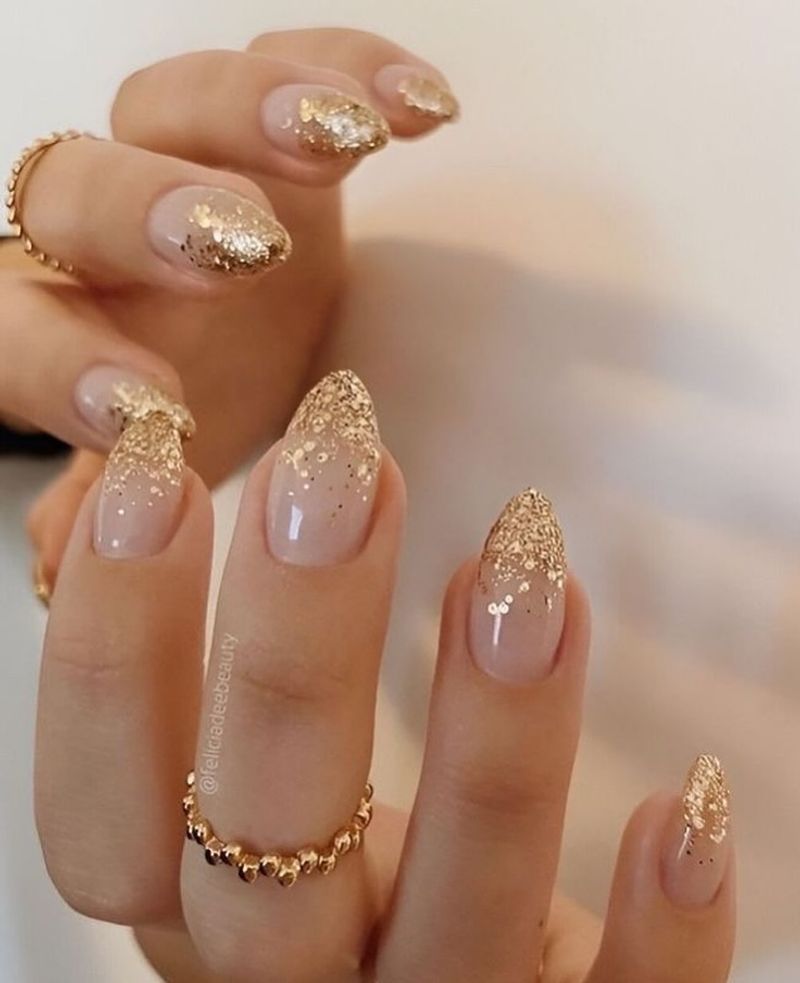
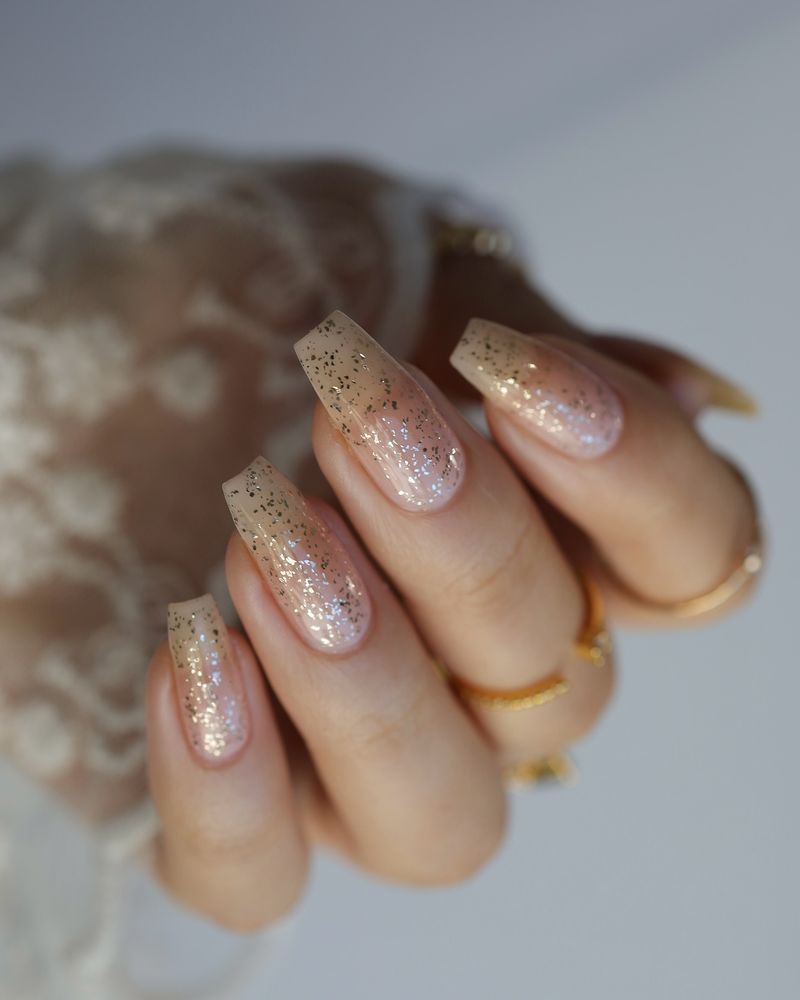
18. Clear Base With Gold Flecks
There’s something so effortlessly chic about scattered gold flecks in a clear base! This subtle approach to glitter gives my nails a delicate sparkle that’s noticeable without being overwhelming.
The transparent background lets my natural nail show through, creating this gorgeous, minimalist look that works for absolutely any occasion. I’ve worn this same style to both beach vacations and business meetings!
The key is finding a polish with just the right density of gold particles—not so many that it looks solid, but enough to catch the light as my hands move. My bottle is running dangerously low because I reach for it at least once a month. This style is my perfect balance of professional and fun.
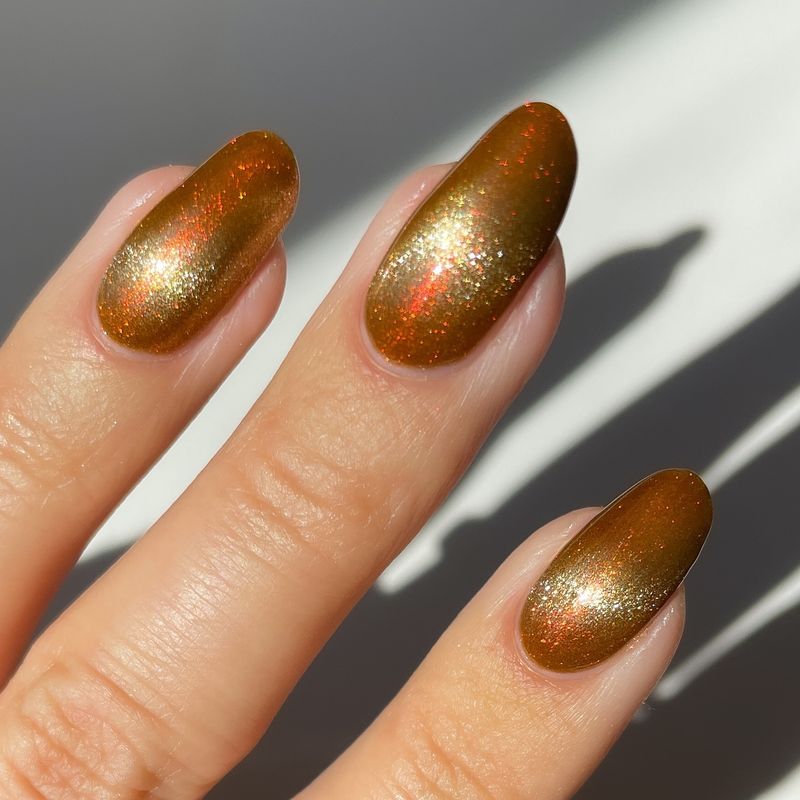
19. Copper Glitter Ombré
Copper glitter creates the warmest, most flattering ombré effect I’ve ever tried! The reddish-orange metallic tone looks incredible against my skin and brings a unique alternative to the more common gold or silver glitters.
I start with a neutral base and sponge the copper glitter from the tips upward, creating a gradual fade. The color reminds me of pennies catching sunlight or autumn leaves—there’s something so rich and dimensional about it.
My coffee barista actually stopped mid-order to ask about my nails last time I wore this look! For special occasions, I add a few copper studs near the cuticle of my ring finger for extra drama. The warm tone of the copper makes this my favorite fall and winter glitter choice.
20. Emerald Sparkle With Negative Space
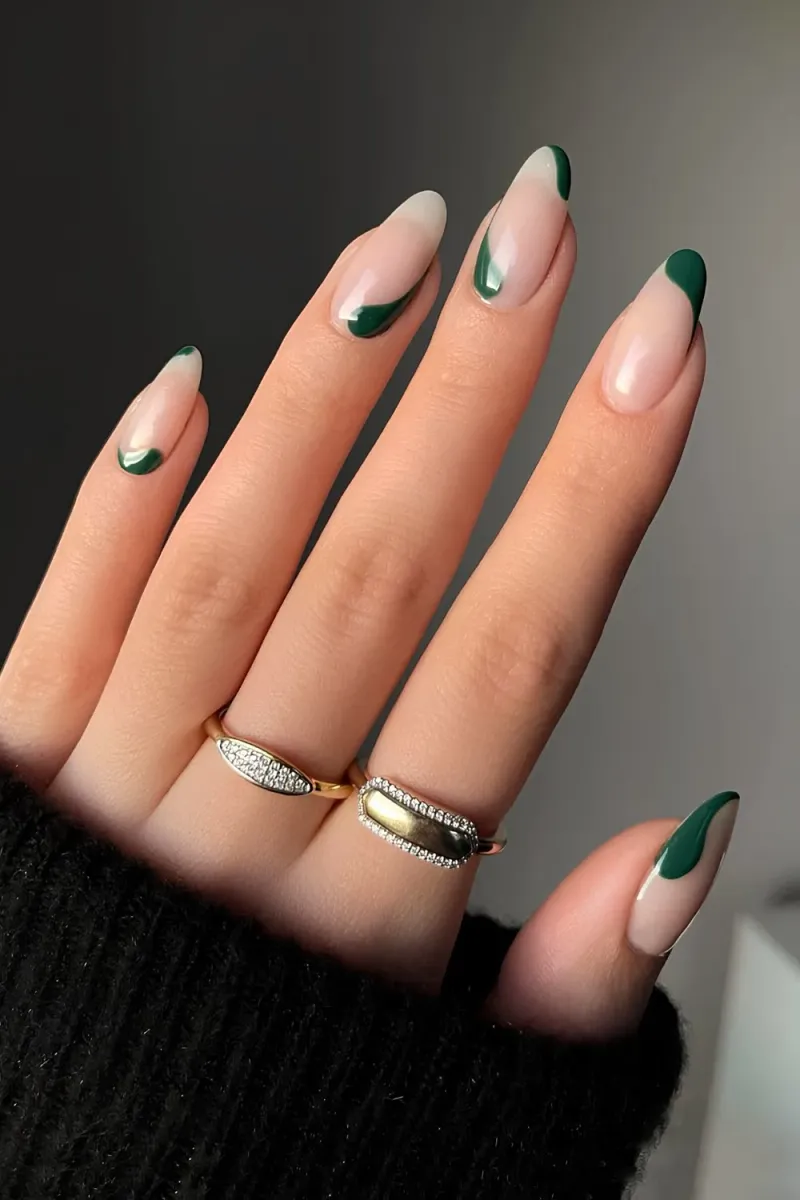
Emerald green glitter has this incredible depth that reminds me of looking into a gemstone! I combine it with strategic negative space to create geometric patterns that feel both elegant and edgy.
My favorite design involves painting half of each nail diagonally with emerald glitter while leaving the other half completely bare. The contrast between the rich, sparkly green and my natural nail creates this striking visual effect.
Green might seem like an unusual choice for everyday wear, but the deep emerald tone is surprisingly versatile. I’ve found it pairs beautifully with both neutral outfits and other jewel tones in my wardrobe. For a more subtle approach, I sometimes just add a thin emerald glitter stripe down the center of each nail.