
11 Summer Nail Looks To DIY Or Bring To The Salon
Summer is the perfect time to show off those fun nail designs we’ve been dreaming about all winter.
I’ve been experimenting with bold colors and playful patterns that capture the season’s carefree vibe.
Whether you’re headed to the beach or just want to brighten your everyday look, these nail ideas will have you feeling summer-ready from fingertip to toe.
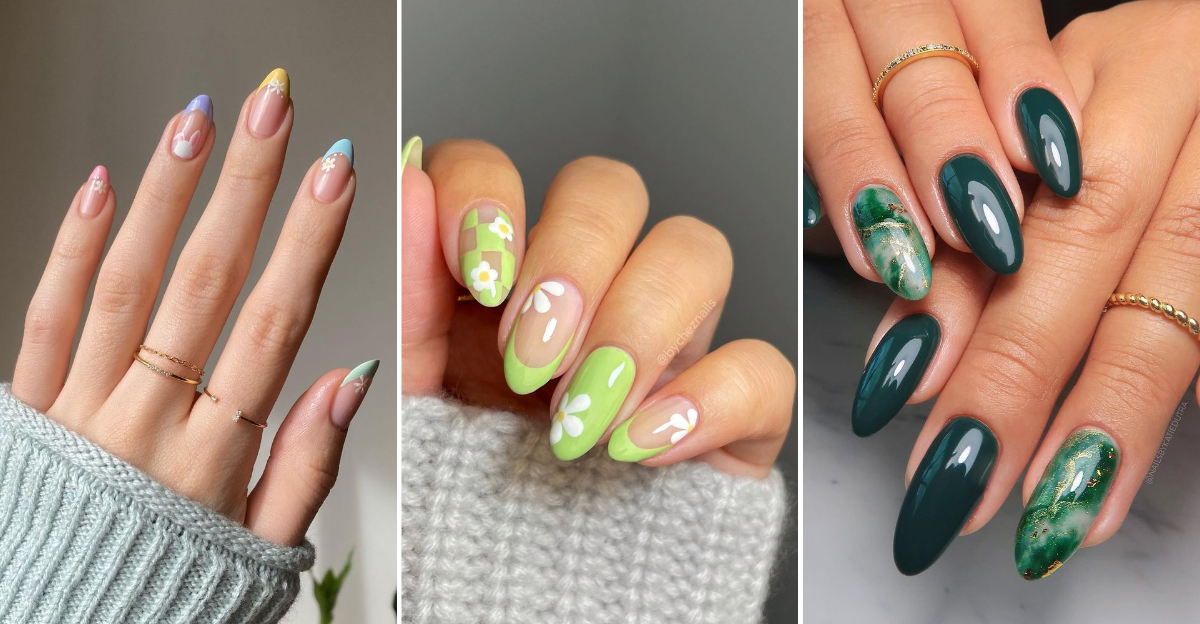
1. Pastel French Tips
Remember when French tips were just white? Those days are gone! I recently swapped the classic white for baby blue, mint, and soft pink pastels, and the compliments haven’t stopped coming.
The technique is surprisingly simple. Start with a clear or neutral base coat, then use a thin brush to create a delicate line of color along each tip. Don’t worry about perfection – slightly uneven lines give it a handmade charm that feels more modern.
This style works for any nail length but looks especially cute on shorter nails. For extra staying power, seal with a quality top coat and reapply every few days to keep that glossy finish.
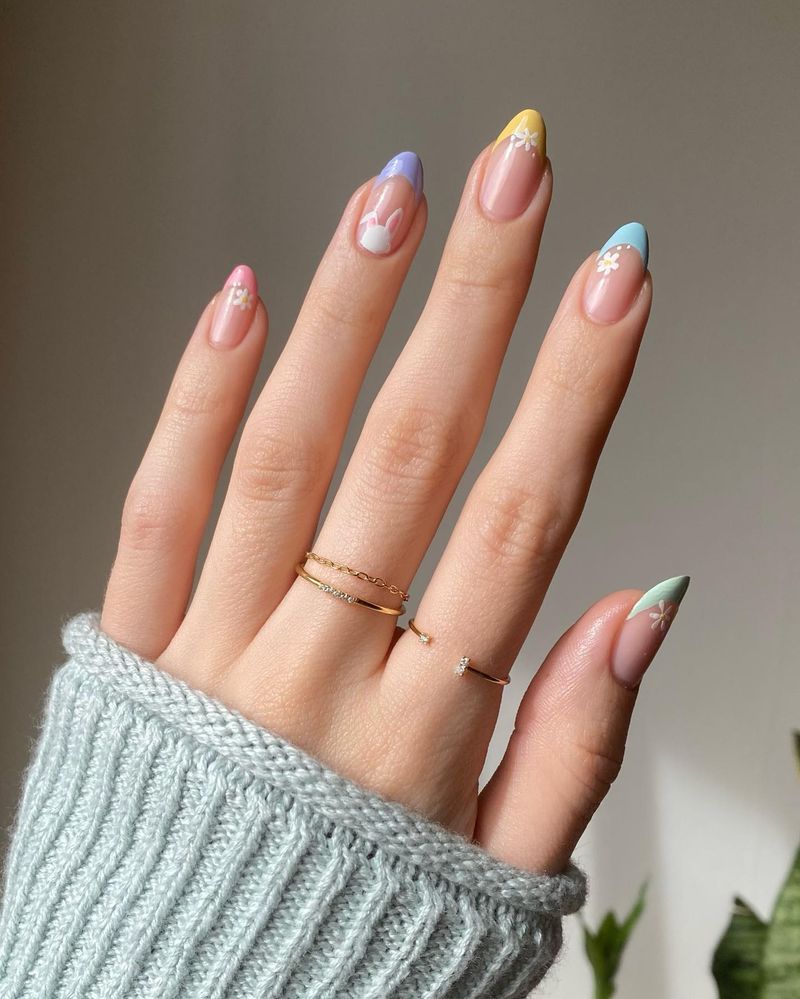
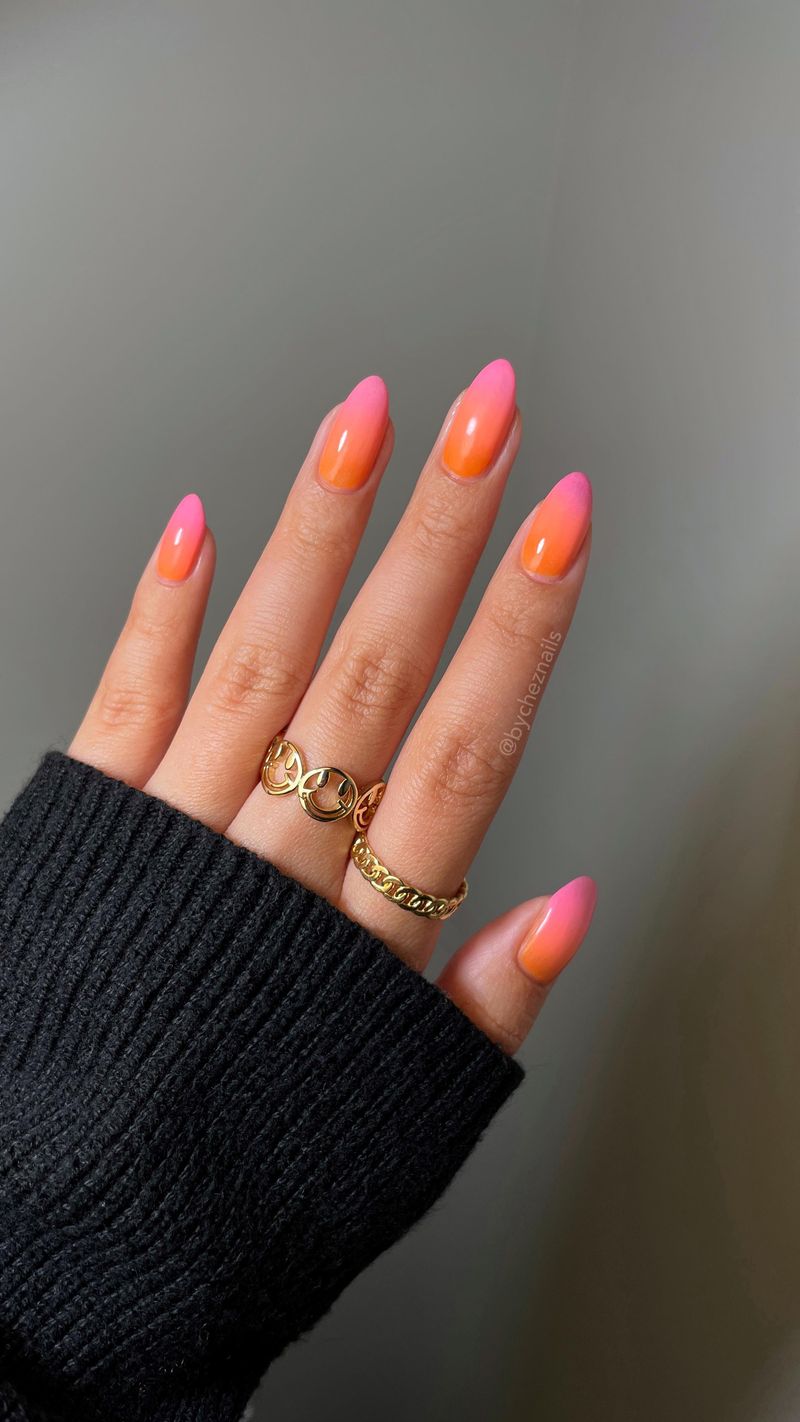
2. Ombré Coral Fade
Coral is my go-to summer shade – it flatters every skin tone and instantly brings warmth to your look. An ombré effect takes this color to the next level by gradually fading from deep coral at the tips to a softer hue near the cuticle.
You’ll need a makeup sponge for this technique. Paint stripes of your chosen coral shades on the sponge, then dab onto nails for that perfect gradient effect. The best part? Any smudges around your cuticles wash away easily after a shower.
For a beach-ready twist, I like adding a tiny gold seashell decal to one accent nail. This look pairs beautifully with both sundresses and swimsuits!
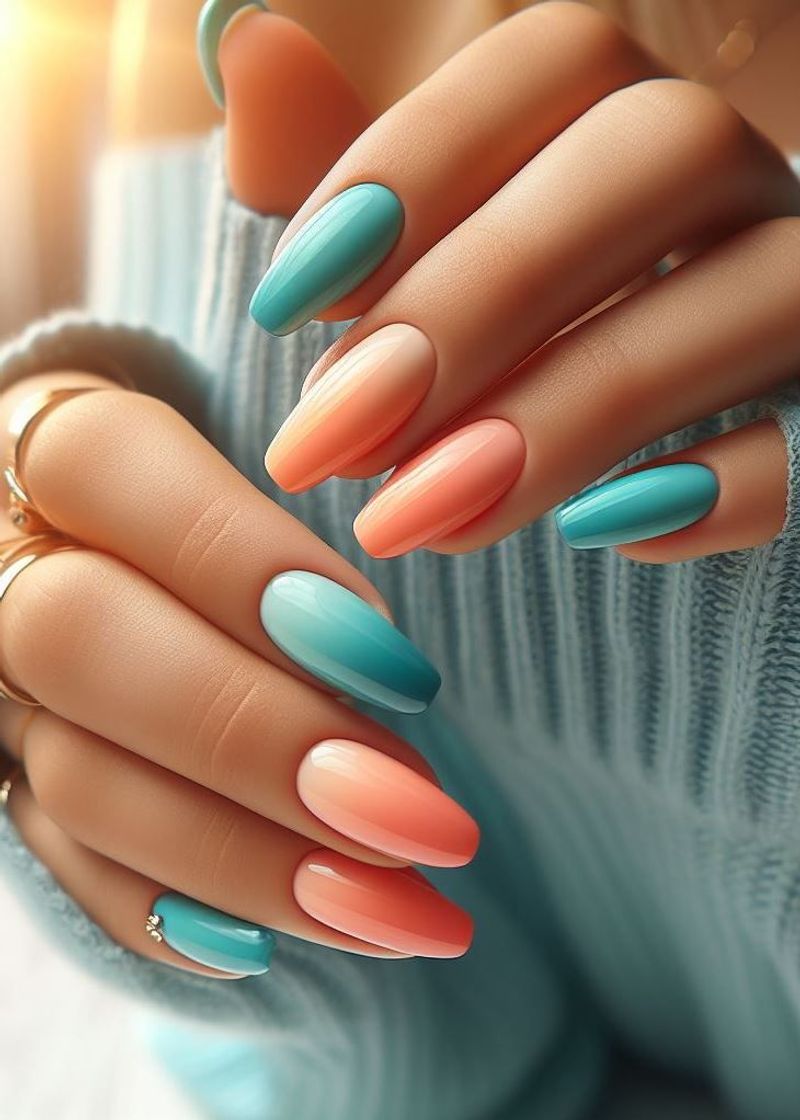
3. Daisy Dot Nails
Nothing says summer like daisies! I created this look using just a dotting tool (though a bobby pin works too). Start with a bright base – yellow is classic, but I’ve tried sky blue and it looks amazing.
For each flower, make five white dots in a circle, then add a yellow dot in the center. Keep some nails solid for balance. My niece asked me to teach her this design, and she mastered it on her first try!
These cheerful daisies last about a week before chipping. When people ask if they’re nail stickers, I love revealing I painted them myself. Pair with a sundress and straw hat for peak summer vibes.
4. Glossy Neutral with Gold Foil
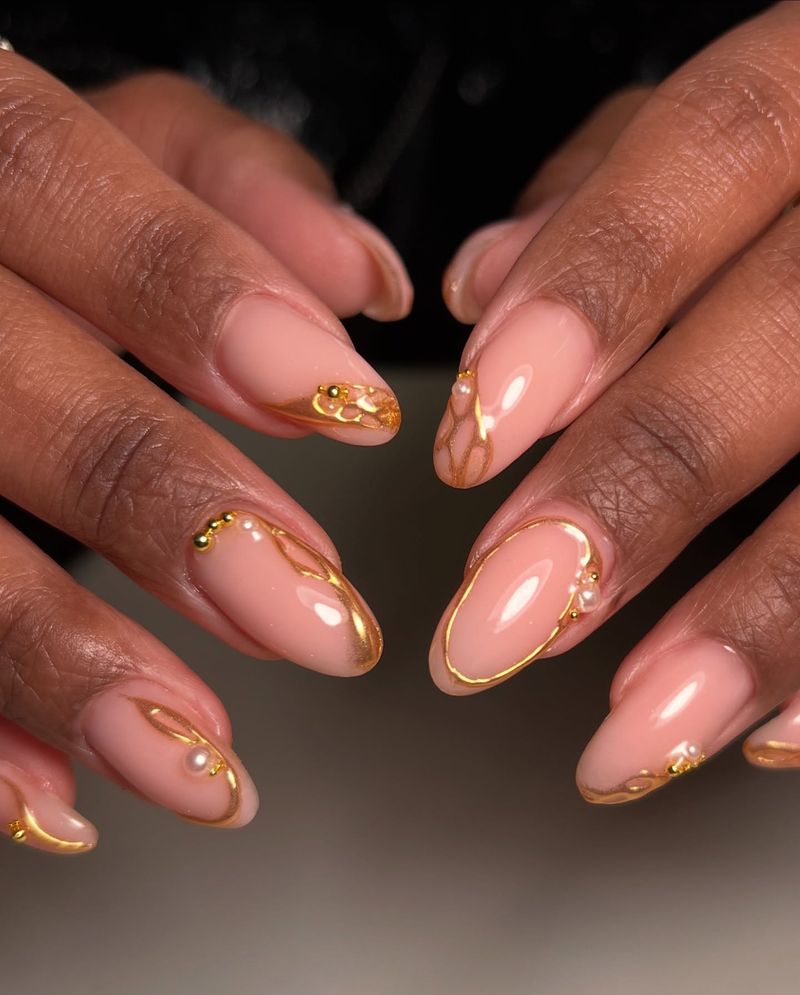
Sometimes less truly is more. I discovered this elegant look at my cousin’s beach wedding and immediately asked her nail tech for tips. The base is a creamy neutral polish that matches your skin tone, topped with random pieces of gold foil for a sun-kissed sparkle.
Getting the foil right takes practice. Apply a clear sticky base where you want the gold, then press foil flakes gently before sealing with top coat. I found that scattered placement looks more natural than trying to create patterns.
This style grows out gracefully, making it perfect for vacation when touch-ups aren’t an option. It catches the light beautifully against tanned skin and looks expensive without the salon price tag.
5. Lavender Swirl Design
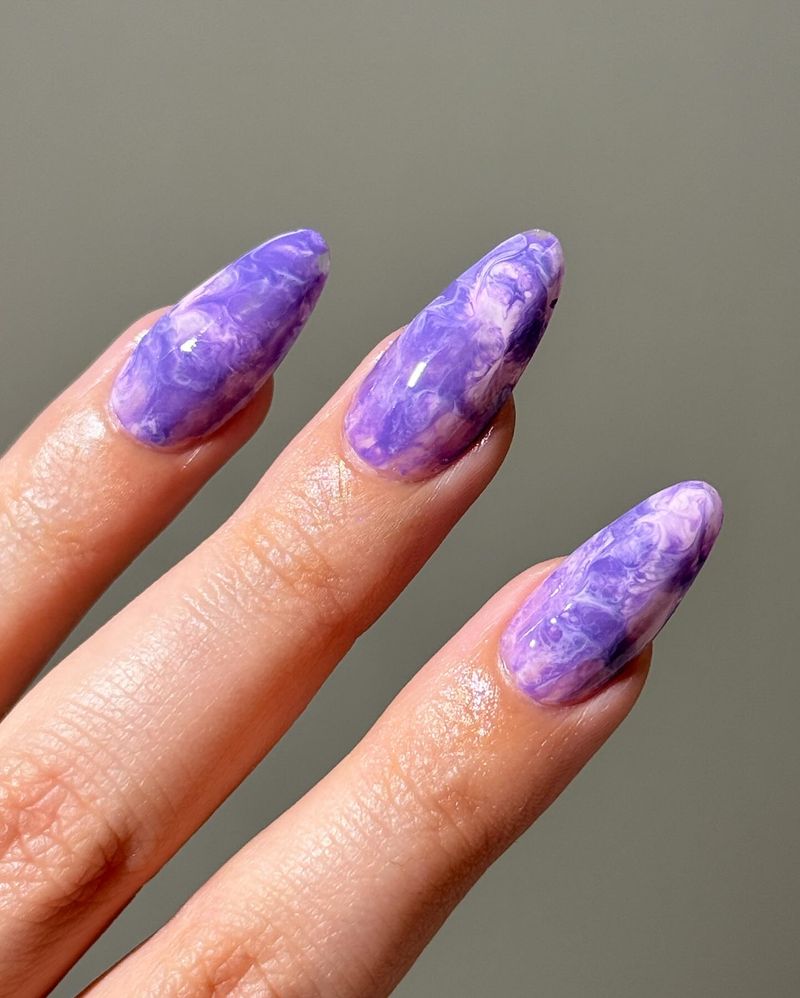
I stumbled across this dreamy look on my feed and had to try it. The base is a soft lavender, with thin swirls of white and deeper purple creating a marble-like effect that reminds me of lavender ice cream.
Creating the swirls is surprisingly forgiving. Apply dots of your colors close together while the base is still tacky, then use a toothpick to gently drag through them. No two nails turn out exactly alike, which is part of the charm.
My teenage daughter borrowed this idea for her graduation party and got so many questions about where she had them done. The lavender feels fresh against summer whites and looks gorgeous holding a glass of lemonade.
6. Mint Green Minimalist Art
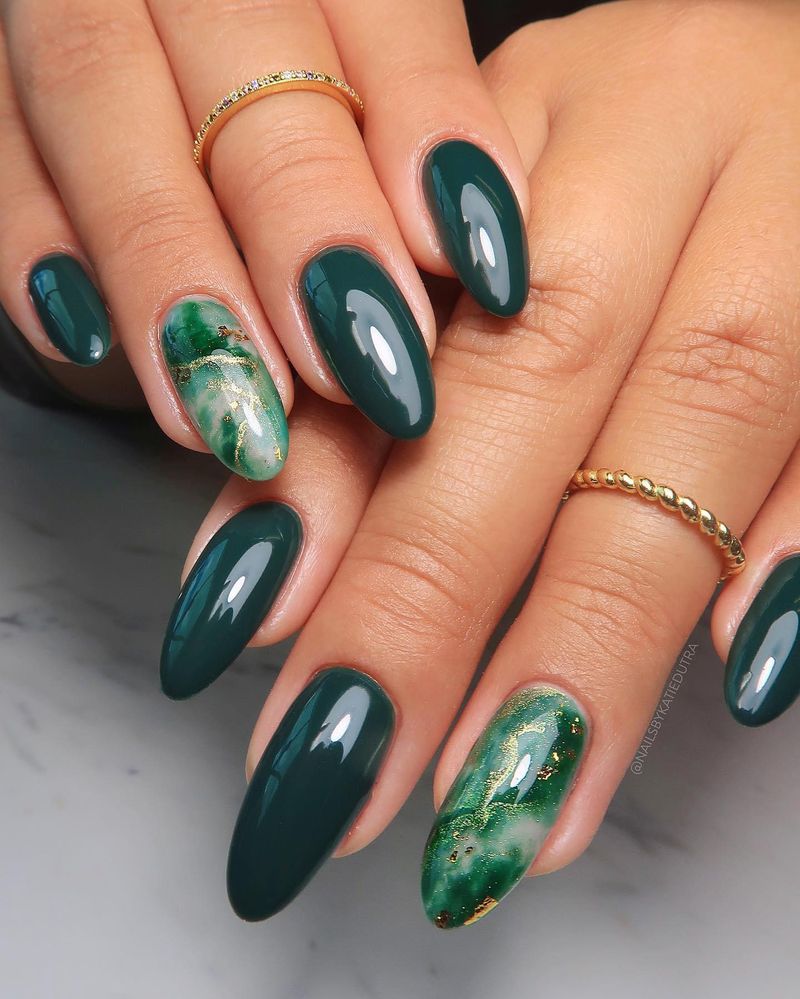
Green is having a moment this summer, and mint is the most refreshing shade in the heat. I kept the design intentionally simple – a mint base with one or two thin black lines creating abstract shapes on each nail.
The key to this look is patience and a steady hand. I use a thin brush dipped in black polish, drawing single lines across the nail. Sometimes I add tiny dots at the ends of lines for a finished look.
My coworker thought these were salon nails, but they took me just 30 minutes at home! They pair perfectly with white jeans and gold jewelry. For a longer-lasting finish, I reapply top coat every other day to maintain that glossy, just-done look.
7. Neon Half-Moon Mani
Last weekend I tried this retro-inspired look using paper hole reinforcements as guides. The bright neon pink against a white base creates a striking contrast that’s perfect for pool parties and festivals.
First paint your nails white, then place the reinforcement stickers at the base of each nail. Apply neon polish over the exposed area and carefully remove the sticker before it dries. My trick is to use tweezers for clean removal.
This design gets noticed – I wore it to a concert and three strangers asked about my nails! The half-moon shape elongates shorter nails and grows out nicely. For extra fun, I did alternating neon colors on my toes to match.
8. Blue Tie-Dye Effect

After tie-dying shirts with my kids, I wondered if I could create the same effect on my nails. Turns out you can! I used various shades of blue and teal to create a beachy, ocean-inspired tie-dye look.
The technique involves dropping small amounts of different blue polishes onto a clear base while it’s still wet. Then use a toothpick to swirl them together slightly – don’t overmix or you’ll lose the tie-dye effect. Each nail becomes a tiny work of art!
My husband actually noticed these nails without prompting (a miracle!). They’re perfect for beach trips and look amazing in swimming pool photos. The random pattern means small chips aren’t obvious, making this design surprisingly practical.
9. Watermelon Accent Nails
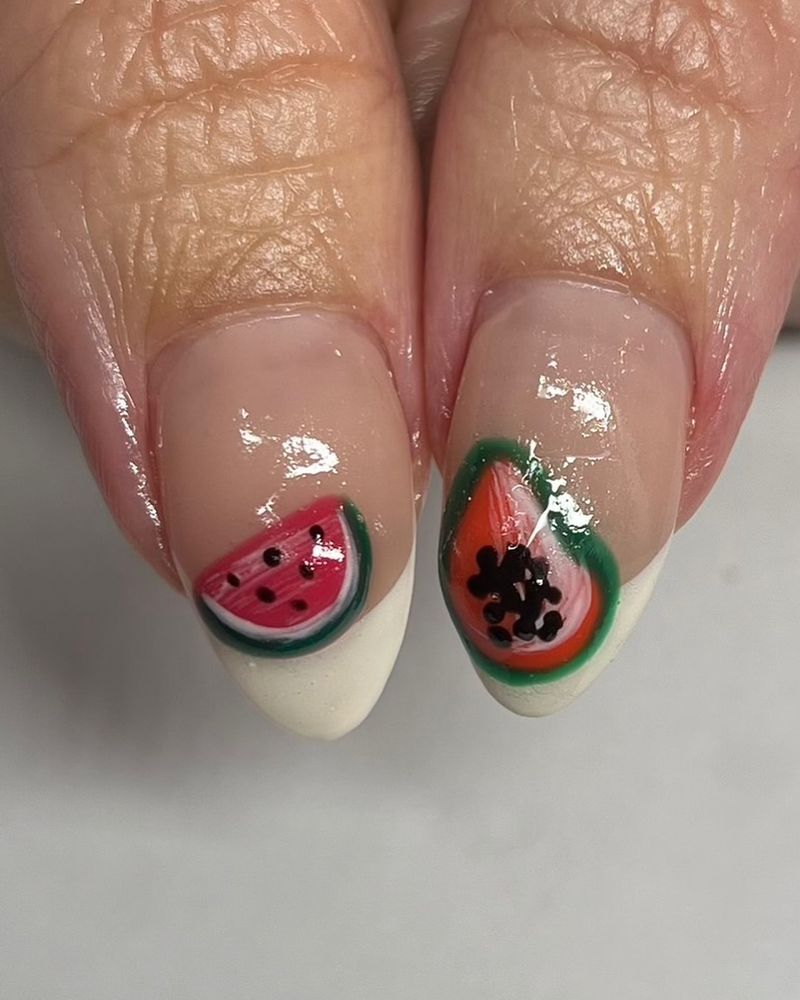
Nothing screams summer like watermelon! I created this playful design with a bright pink base, a thin white stripe near the tip, and a green French tip. Add tiny black seeds using a dotting tool, and you’ve got watermelon slices at your fingertips.
I keep most nails a solid pink and just do the watermelon design on my ring fingers. This makes the look wearable even for more conservative settings like my office. My 7-year-old niece begged for matching nails when she saw mine!
The best part about this design is how it makes people smile. The grocery store cashier noticed them yesterday and it sparked a whole conversation about favorite summer fruits. These nails are basically happiness in manicure form.
10. Chrome Shimmer Tips

I discovered chrome powder at my local craft store and it’s been a game-changer for creating salon-quality looks at home. The effect is stunning – regular polish transformed into a mirror-like metallic finish that catches every ray of sunlight.
Apply any color base (I love teal for summer), then rub a small amount of chrome powder over the tips while they’re still slightly tacky. The powder blends into the base color for a subtle gradient effect. My neighbor thought I’d spent $80 at the salon!
This technique works best with gel polish and UV lamp, but I’ve had decent results with regular polish and a quick-dry top coat. The chrome catches light beautifully when holding a cocktail glass – perfect for sunset happy hours!
11. Sunset Gradient Blend
My vacation to Hawaii inspired this look – a gradient that mimics those perfect sunset colors. I blend orange, pink, and purple to create a sky-at-dusk effect that looks surprisingly sophisticated.
The secret is working quickly while the polish is wet. Paint stripes of each color on a makeup sponge, slightly overlapping them, then dab onto nails. It takes 2-3 applications to build up the color intensity. My first attempt was messy, but practice makes perfect!
These nails photograph beautifully for social media – I got more likes on my sunset nail post than my actual vacation photos! They’re perfect for summer evenings and special occasions. I added a matte top coat for a velvety finish that really makes the colors pop.