
9 Makeup Hacks That Actually Work & 9 That Are Just Made Up
I’ve spent years experimenting with makeup tricks from magazines, YouTube videos, and TikTok trends.
Some beauty hacks have completely changed my routine, while others left me with raccoon eyes and wasted products.
After countless mornings in front of my bathroom mirror, I’m sharing what really works and what’s just fancy fiction in the beauty world.
Ready to separate makeup fact from fiction?
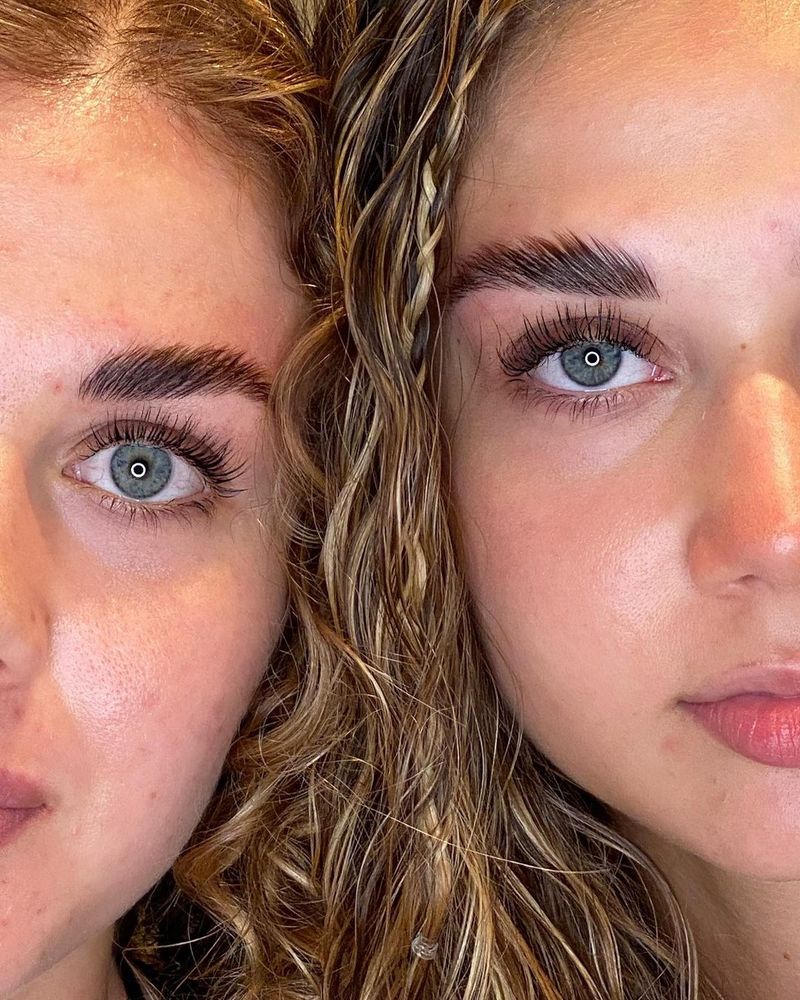
1. White Eyeliner for Brighter Eyes
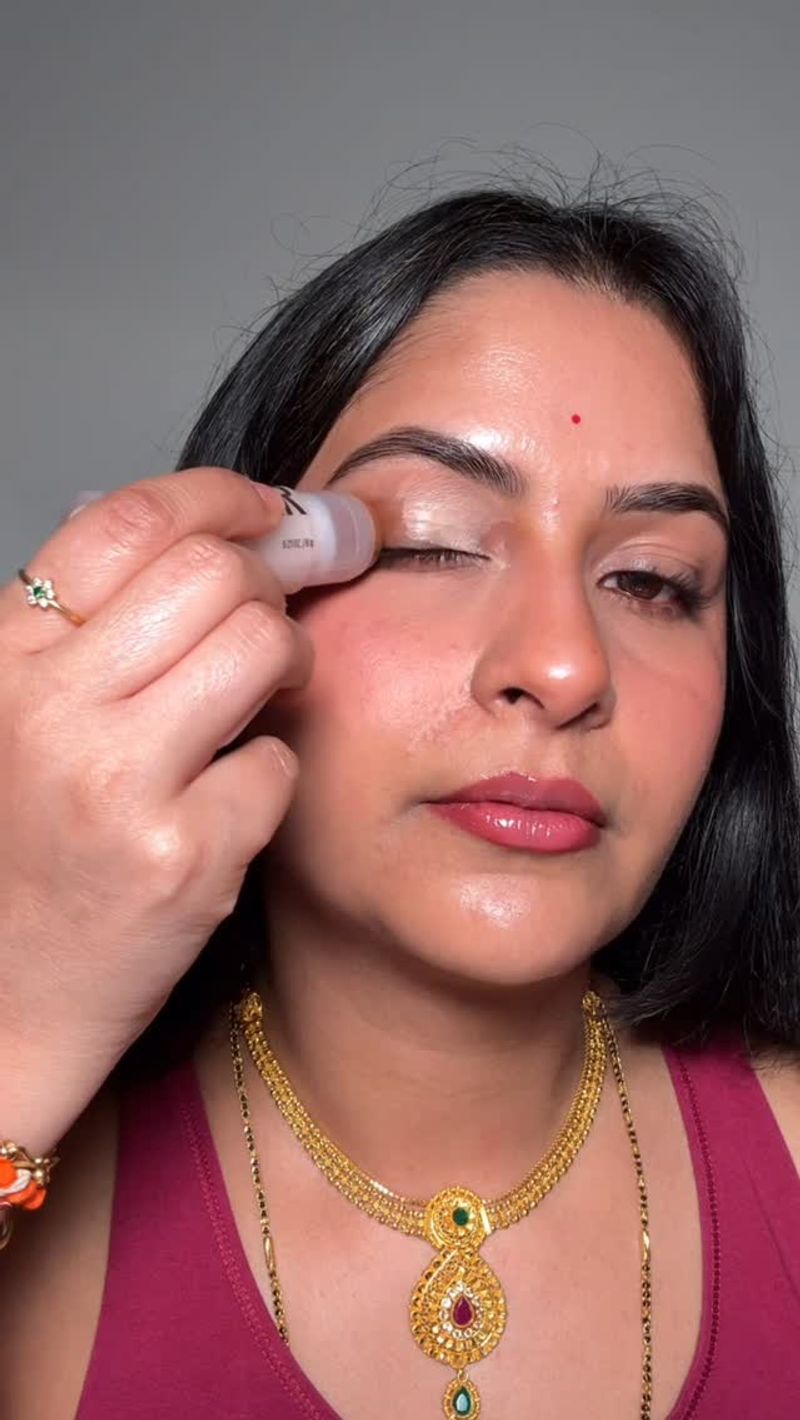
White eyeliner on your waterline genuinely makes your eyes pop! I was skeptical when my friend first suggested this trick, but the difference is remarkable. The white creates contrast against your natural eye color, making everything look more awake and vibrant.
Morning meetings after late nights became so much easier once I added this step. The trick works because it counteracts any redness in your eyes and creates the optical illusion of larger, more open peepers.
Pro tip: If stark white seems too dramatic for daytime, try a neutral or light beige liner instead. They create a similar brightening effect but look more natural. This five-second addition to your routine delivers impressive results without any complicated techniques.
2. Damp Beauty Sponge for Flawless Foundation
Running your beauty blender under water before using it isn’t just TikTok nonsense – it’s a game-changer! My foundation used to disappear into my sponge until I tried dampening it first. The water prevents the sponge from absorbing too much product, saving you money and giving better coverage.
The slight moisture also helps blend everything seamlessly. Foundation that once looked cakey now melts into my skin like it’s not even there. I’ve tried both ways side by side, and the difference is obvious.
Just squeeze out the excess water first – you want the sponge damp, not dripping wet. This simple step takes seconds but transforms how your base makeup looks. My friends always ask how I get such natural-looking foundation now.
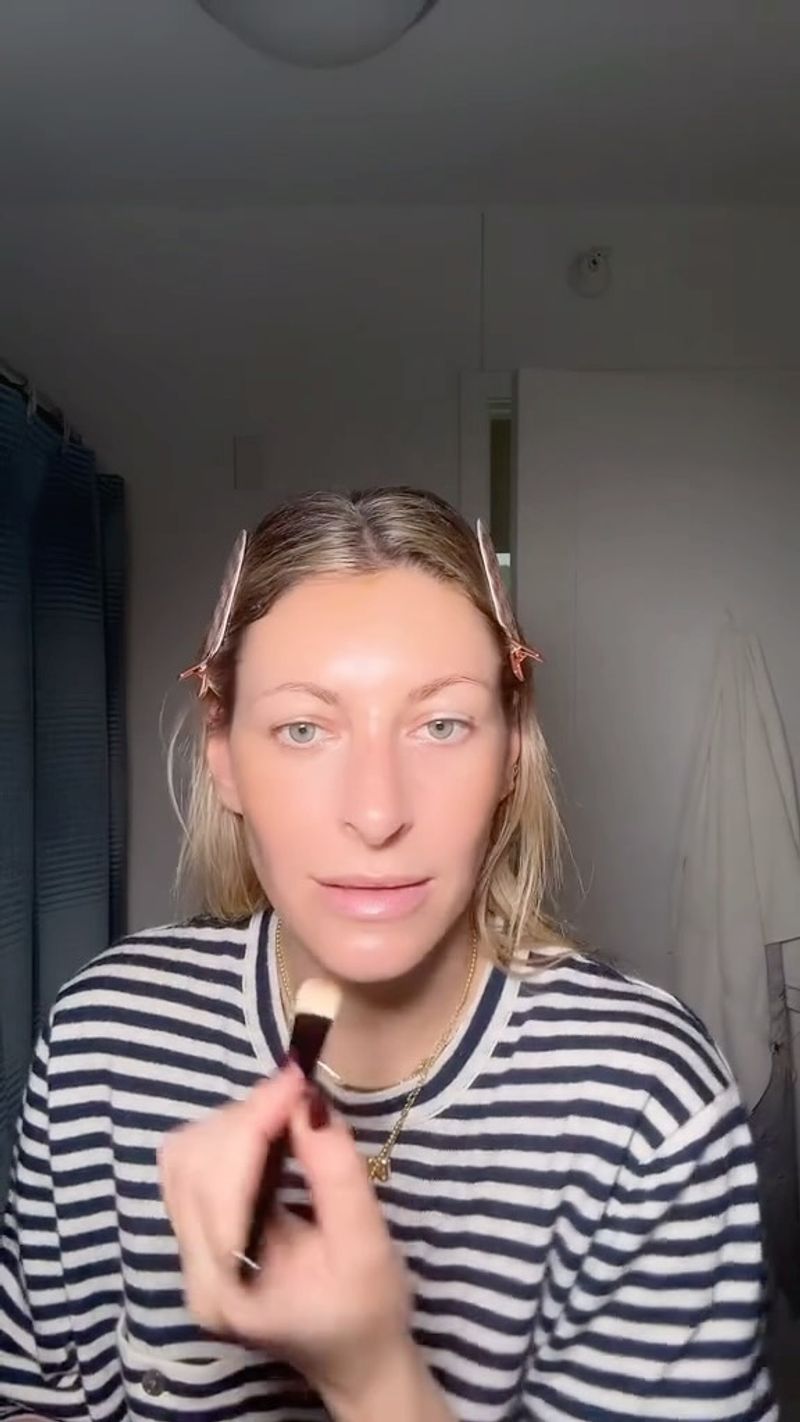
3. Center-Out Foundation Application
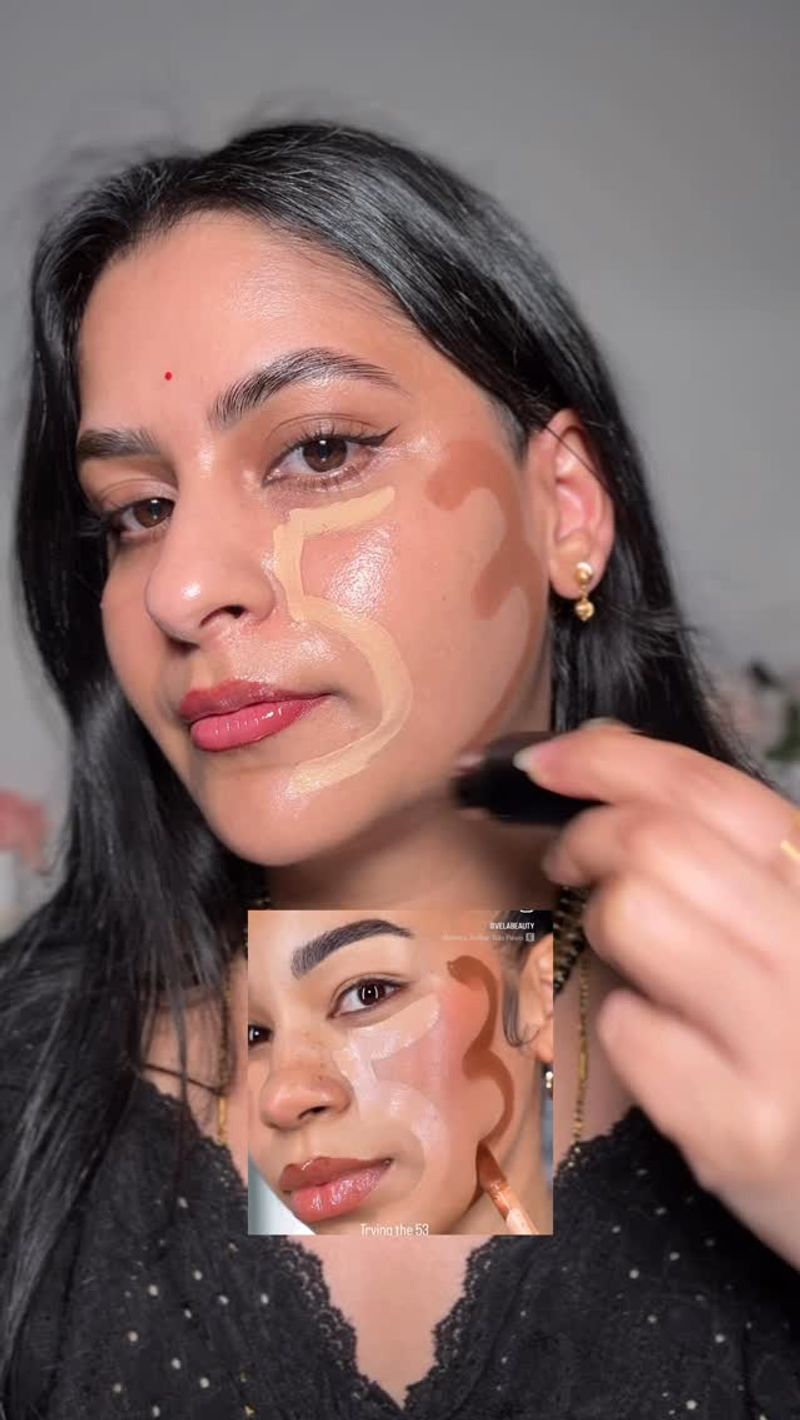
Starting foundation application in the center of your face and working outward completely changed my makeup game. Most of us need coverage in the center (around the nose, cheeks, and forehead) while the edges of our face need less product.
By starting in the middle, you naturally distribute more product where needed and less where you don’t. I used to slather foundation everywhere equally and wondered why my face looked like a mask.
This approach gives a more natural finish because it mimics how our skin actually looks – with some areas needing more evening out than others. Try applying dots of foundation on your nose, cheeks, and forehead first, then blend outward with a brush or sponge. Your foundation will look like second skin!
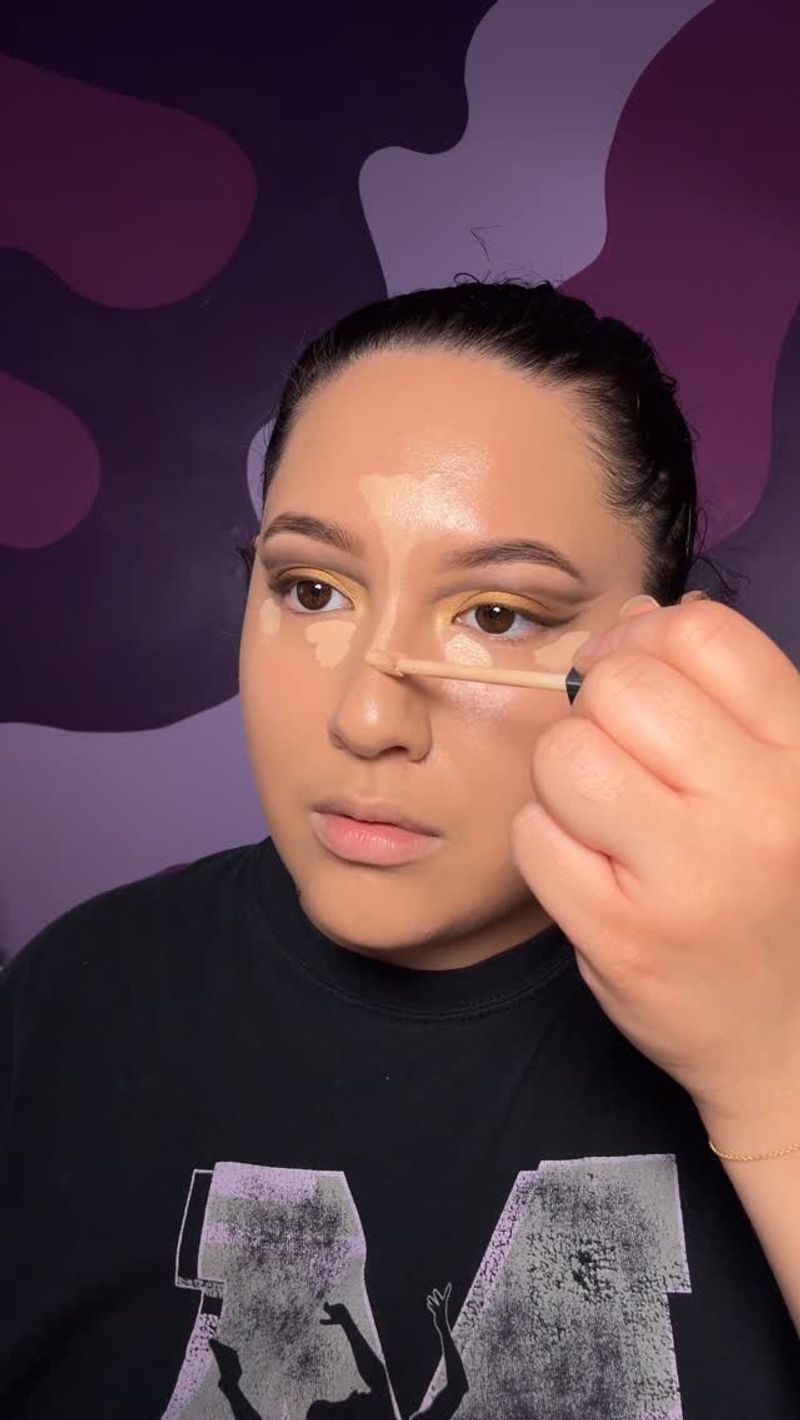
4. Triangle Concealer Placement
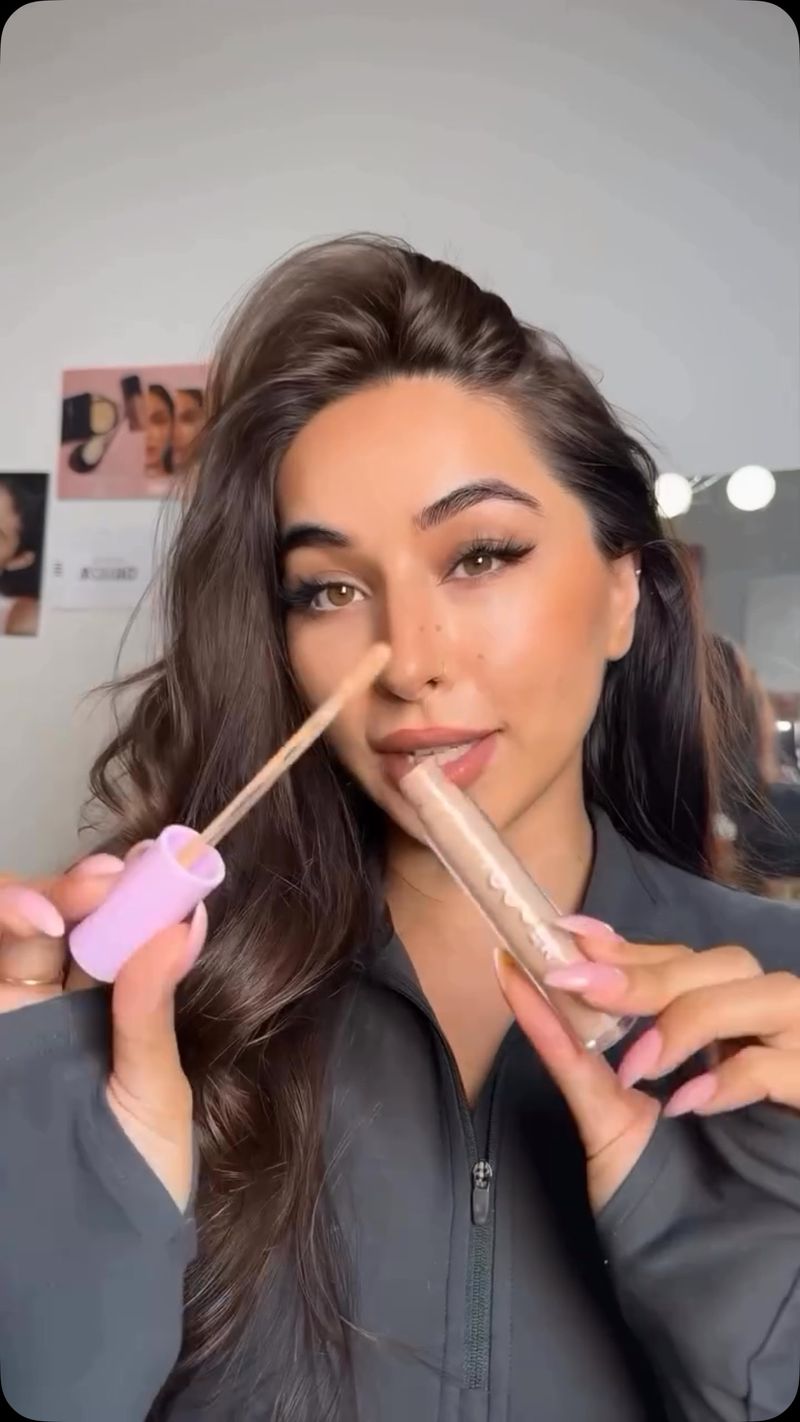
Drawing an upside-down triangle with concealer under your eyes instead of just dabbing it on dark circles works shockingly well! I stumbled across this technique years ago and haven’t looked back. The triangular shape brings light to your entire cheek area, not just under the eye.
The wider base of the triangle extends down toward your cheek while the point aims toward your eye. This creates a lifting effect that brightens your whole face. Regular spot concealing never gave me these results.
The trick also prevents that obvious circle of concealer that can make tired eyes look even more obvious. Make sure to blend the edges well with a damp sponge. This technique uses a bit more product but the brightening payoff makes it totally worth it.
5. Tap, Don’t Rub Products
Tapping motions instead of rubbing changed my entire makeup application. My foundation used to streak and my concealer would disappear when I rubbed products in. Switching to a gentle tapping motion with my fingertips or a sponge made everything stay put longer.
The science makes sense – rubbing can actually push product around or off your face, while tapping presses it into your skin. This works especially well with cream products like blush and highlighter.
My foundation now stays looking fresh all day instead of wearing off by noon. For powder products, pressing them into the skin rather than sweeping also increases longevity. This simple change in technique costs nothing but improves your makeup’s staying power dramatically. No fancy products needed!
6. Setting Cream Products with Powder
Layering powder over cream products isn’t just makeup artist mumbo-jumbo – it actually works! My cream blush used to disappear by lunchtime until I started setting it with a matching powder blush. The double-layer technique creates depth and serious staying power.
The cream creates a sticky base that helps the powder adhere better. This works for blush, contour, bronzer, and even eyeshadow. The result looks more dimensional than using either product alone.
For oily skin like mine, this technique is especially helpful. The powder absorbs excess oil throughout the day while the cream prevents that flat, chalky look powders can sometimes create. Try applying a cream product, letting it set for 30 seconds, then lightly dusting a similar powder shade on top. Your makeup will still look fresh at dinner!
7. Tightlining for Fuller Lashes
Tightlining – applying eyeliner right at the base of your upper lashes – creates the illusion of thicker lashes without obvious liner. I discovered this trick when trying to achieve a natural but defined eye look, and it’s been a staple in my routine ever since.
By filling in the tiny gaps between lash roots, your lash line instantly appears fuller and more defined. The beauty is that nobody can tell you’re wearing liner! It’s makeup magic that looks completely natural.
Use a waterproof pencil liner and gently lift your upper lid to access the underside of your lash line. Dot the liner between lash roots rather than drawing a continuous line. This technique also makes mascara look more impressive by creating a seamless dark base. For minimalist makeup days, it’s perfect.
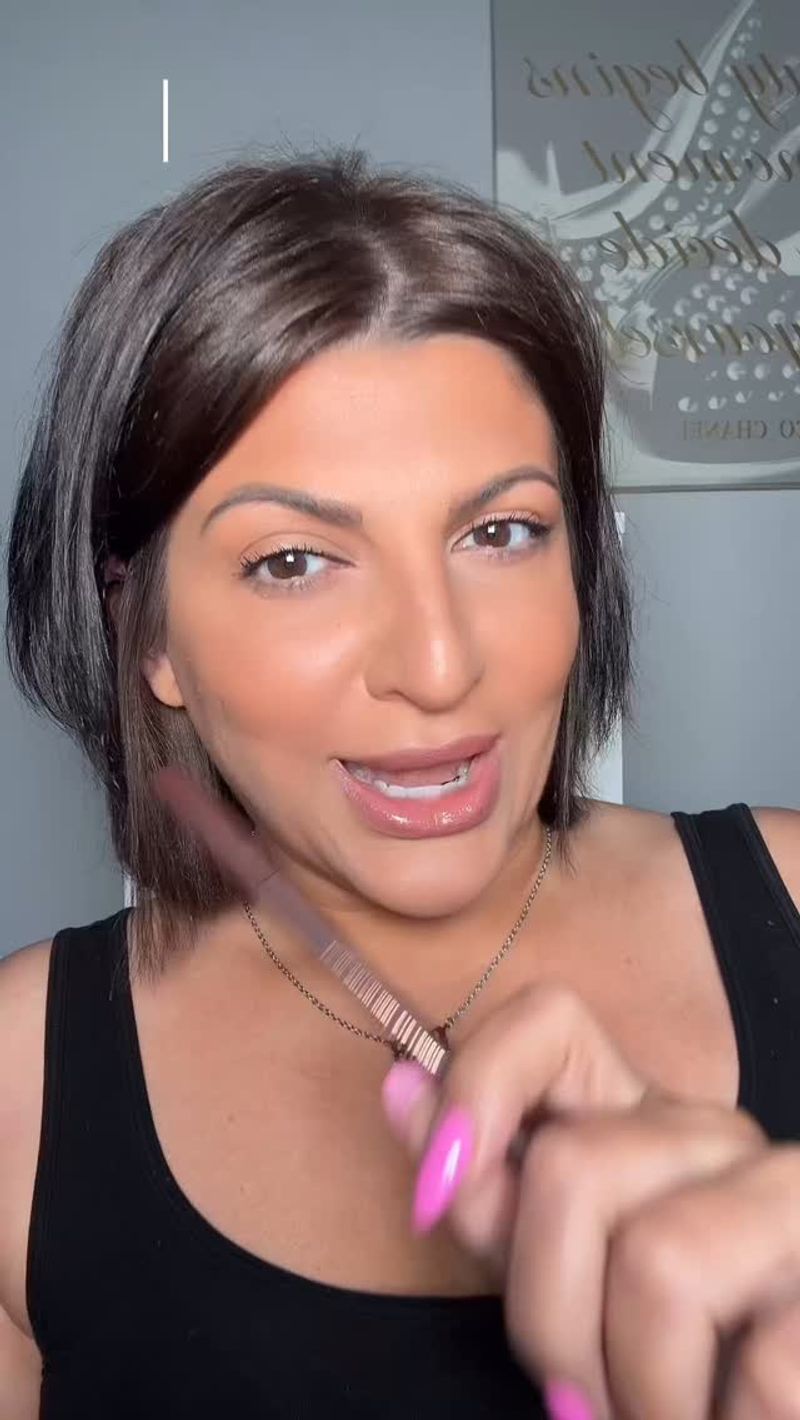
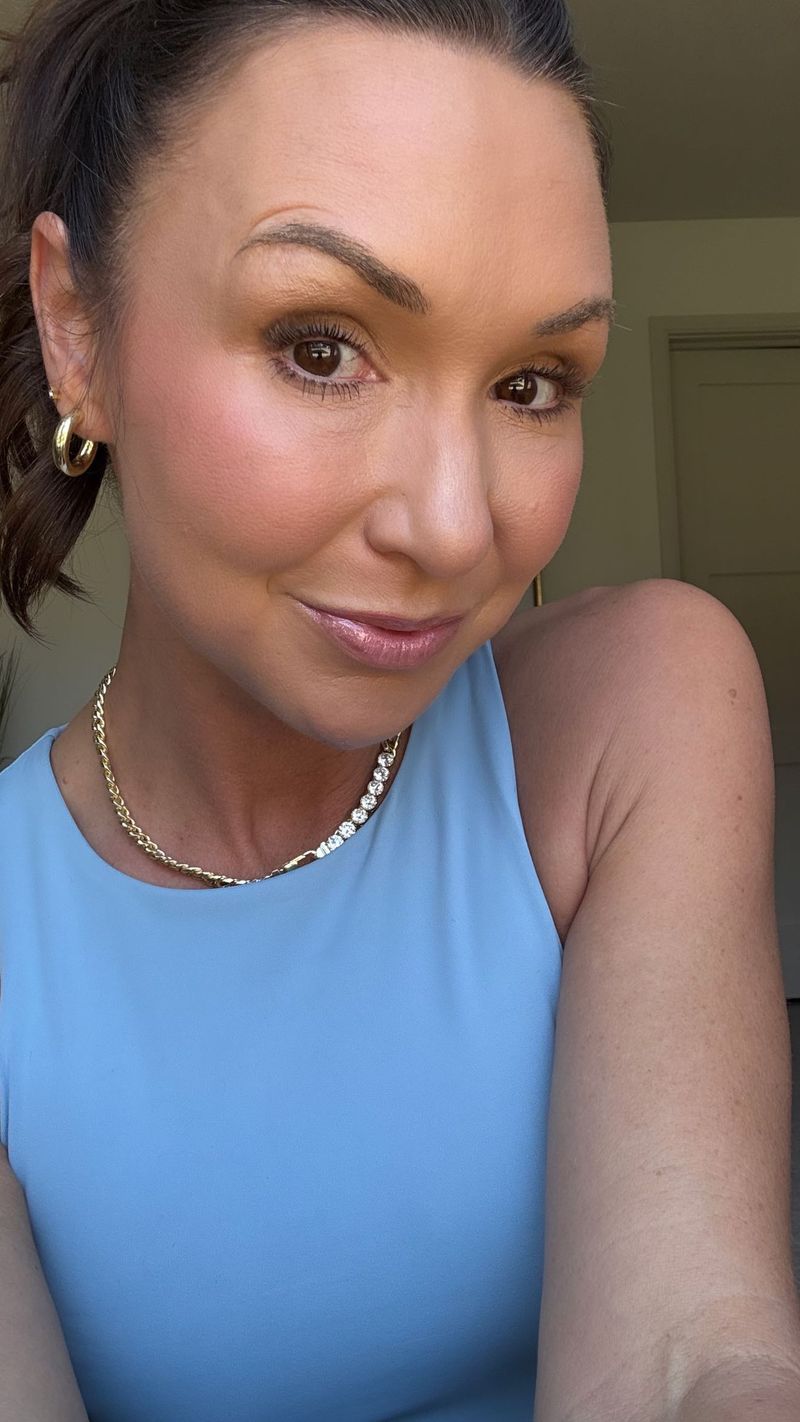
8. Higher Blush Placement for a Lifted Look
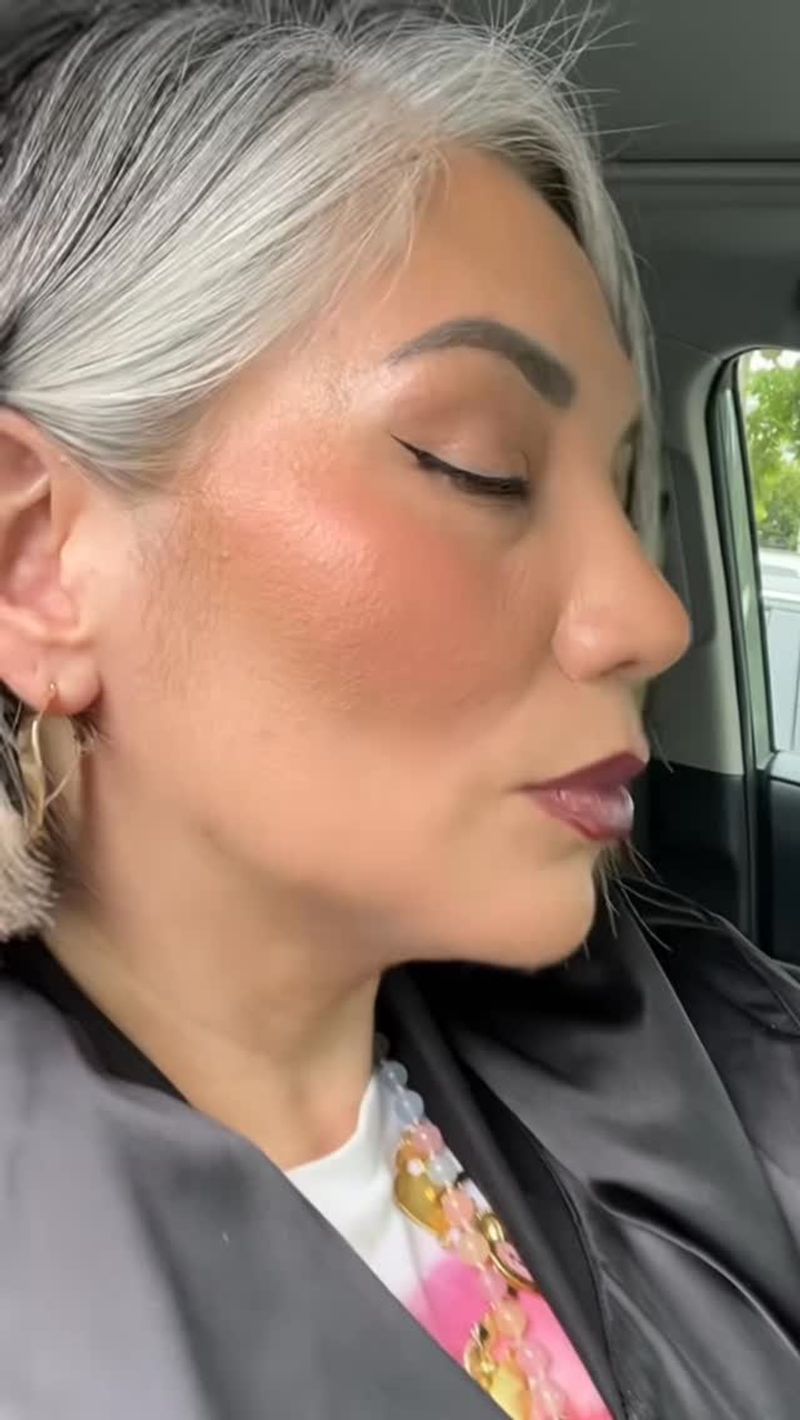
Applying blush higher on the cheekbones instead of directly on the apples completely transforms your face shape. I used to smile and put blush on the roundest part of my cheeks until a makeup artist showed me this trick. The higher placement instantly lifts your entire face.
Aim for the highest points of your cheekbones, angling toward your temples. This creates a more youthful, lifted appearance compared to the traditional apple-of-cheek placement, which can actually drag your face downward.
This technique works especially well as we age since it counteracts any natural sagging. For an extra modern look, bring the blush slightly onto the temples too. The placement feels strange at first if you’re used to the old-school method, but once you see the difference in photos, you’ll never go back!
9. Lip Liner All Over Lips Before Lipstick
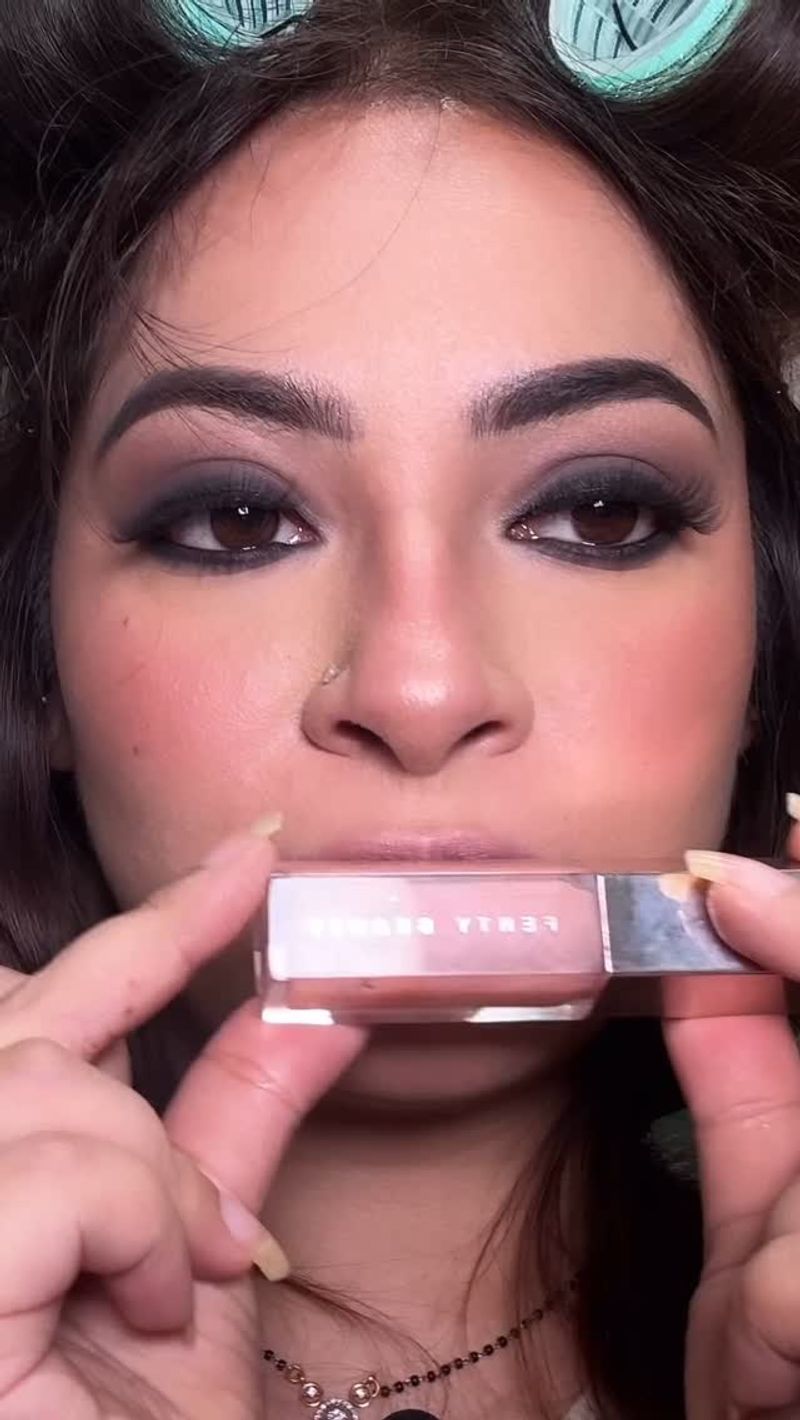
Filling in your entire lips with liner before applying lipstick isn’t just for makeup artists – it’s a real game-changer! My lipstick used to fade unevenly throughout the day, leaving that weird ring around my lips. Using liner all over creates a base that helps color last dramatically longer.
The waxy texture of lip liners helps grip the lipstick while preventing bleeding and feathering. I’ve tested this in real life through meals and coffee, and the difference in staying power is impressive.
Choose a liner that matches your natural lip color or your lipstick shade. For extra definition, you can still outline your lips with a slightly darker shade first. This technique also works great with glosses that normally disappear quickly. Your lipstick will fade more evenly, saving you from constant touch-ups throughout the day.
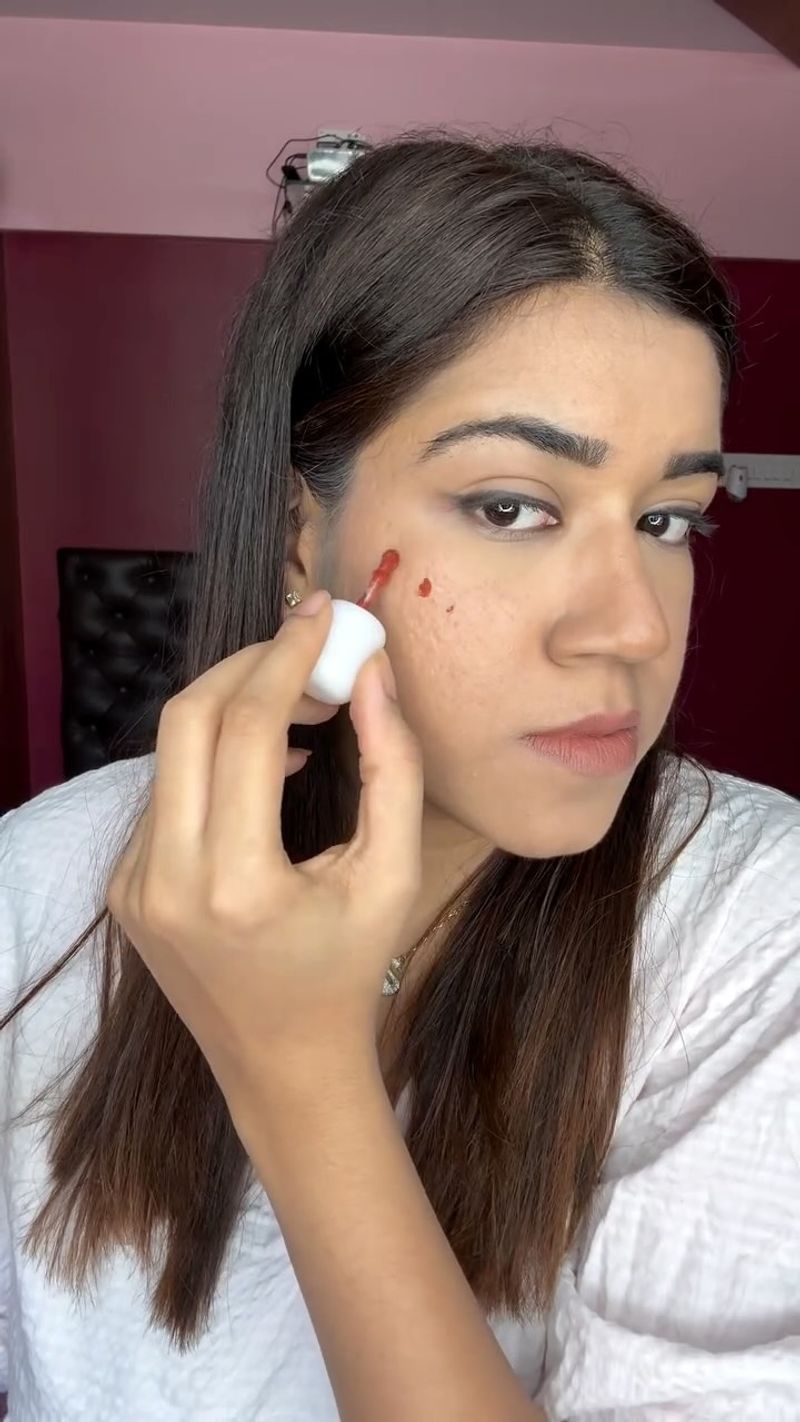
10. Red Lipstick as Undereye Concealer

Using red lipstick to cancel out dark circles is one of those viral hacks that sounds clever but falls flat in real life. I tried this after seeing countless beauty gurus rave about color correction, and ended up looking like I had a bizarre rash under my eyes.
The theory makes some sense – red should neutralize blue-toned circles. But in practice, most lipsticks are too creamy, too pigmented, and not formulated for the delicate undereye area. They crease badly and can cause irritation.
Even when topped with regular concealer, the red often peeks through or creates a muddy gray cast. If you want to try color correction, skip the lipstick and invest in a proper peach or orange color corrector specifically made for undereyes. This hack wastes good lipstick and usually creates more problems than it solves.
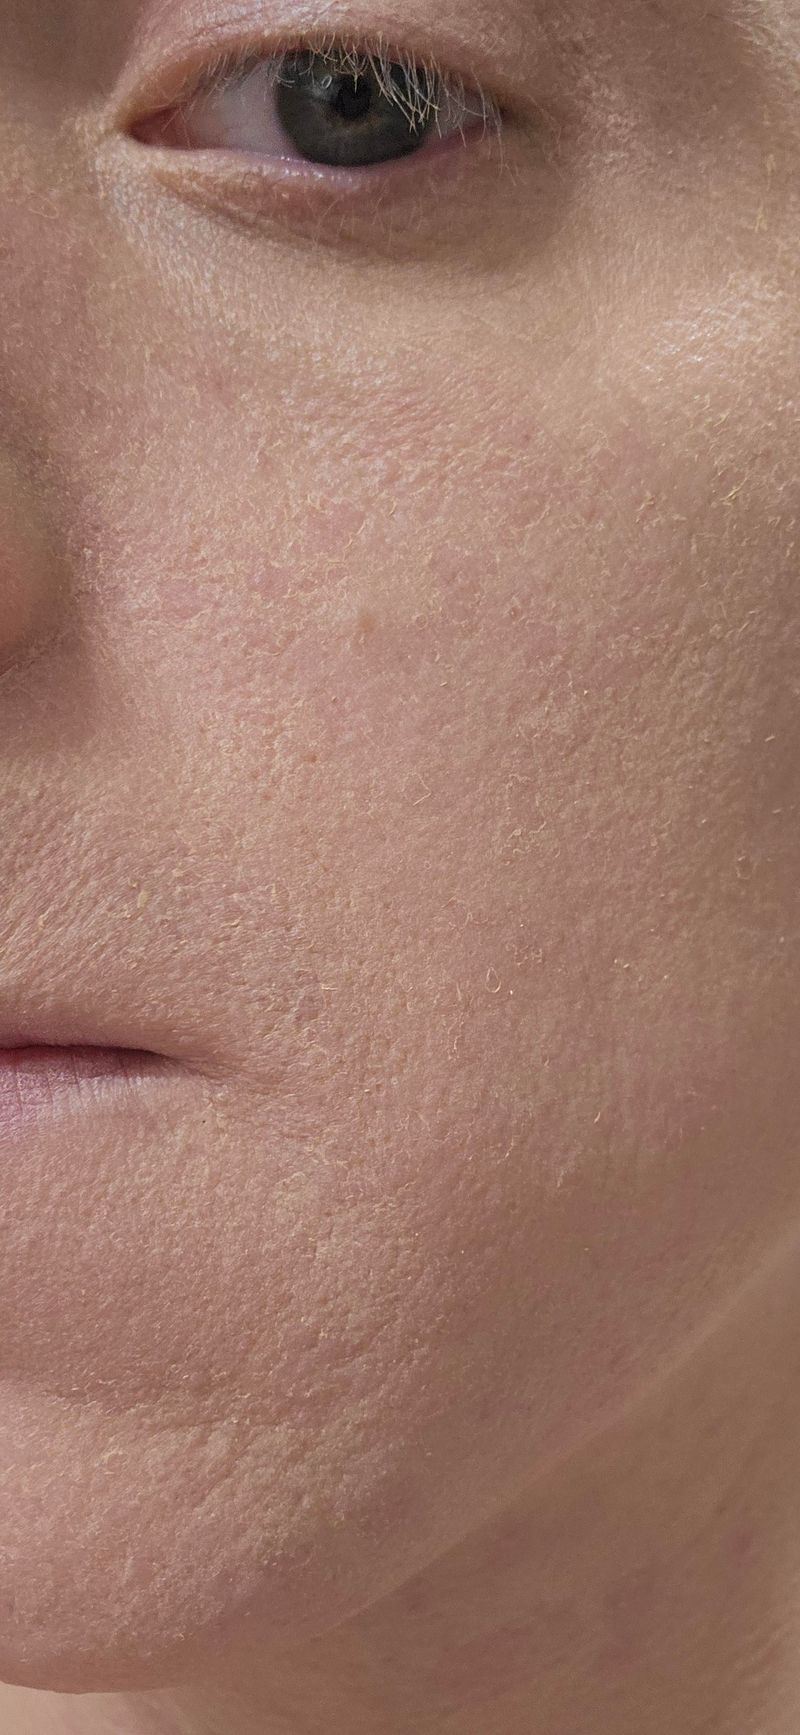
11. Excessive Powder to Control Oil
Piling on translucent powder to control oily skin is a mistake I made for years. I’d dust layer after layer, thinking more powder meant longer oil control. Instead, my makeup looked cakey by midday and my skin actually produced MORE oil in response!
Excessive powder triggers your skin to compensate for the dryness by ramping up oil production. The result is makeup that separates and looks worse than if you’d used minimal powder. I’ve learned that blotting papers throughout the day work much better than initial over-powdering.
If you have oily skin, use a mattifying primer, a thin layer of powder, and keep blotting sheets handy. For touch-ups, blot first, then apply a small amount of fresh powder if needed. Your makeup will look more natural and actually stay fresh longer than with the heavy-handed approach.
12. Toothpaste as Pimple Treatment
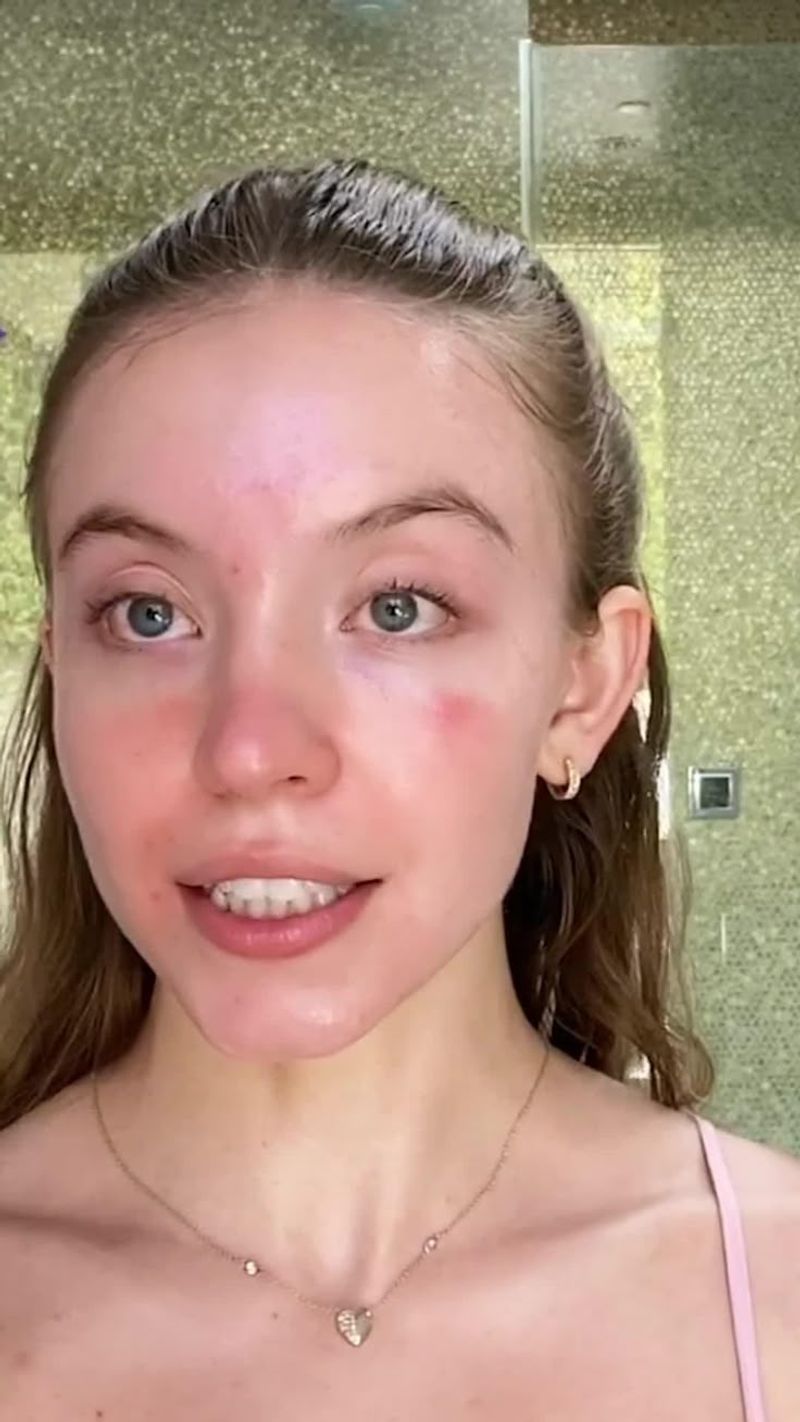
Putting toothpaste on pimples overnight is one of the oldest beauty myths that refuses to die. My teenage self tried this countless times, hoping for a miracle. Instead of clearing my zits, it left me with dry, irritated patches that were harder to cover with makeup.
Toothpaste contains ingredients like baking soda, hydrogen peroxide, and essential oils that can severely irritate skin. While it might temporarily dry out a pimple, it often causes more inflammation and potential scarring.
Modern acne treatments with ingredients like salicylic acid or benzoyl peroxide are formulated specifically for skin. They’re gentler and more effective than toothpaste could ever be. Save your Colgate for your teeth and invest in proper skincare products. Your face will thank you, and you’ll avoid the weird minty smell that lingers after this misguided treatment!
13. School Glue as Eyebrow Gel
Using school glue to laminate your brows is a dangerous TikTok trend I wish would disappear. Some influencers claim Elmer’s glue creates that perfect brushed-up brow look, but this hack makes me cringe! Regular glue isn’t tested for skin safety and can cause serious irritation.
I foolishly tried this once and spent the next day with red, itchy skin above my eyes. Plus, removing the glue often pulls out precious brow hairs you’ve worked hard to grow. The removal process is a sticky, uncomfortable mess.
Proper brow gels and soaps are specifically formulated to be safe around eyes and provide hold without damage. They’re worth the investment compared to risking an allergic reaction. If you’re on a budget, clear mascara works in a pinch and won’t risk your skin health. This is one hack that deserves to be forgotten!
14. Applying Foundation Before Moisturizer Dries
Slapping foundation on before your moisturizer fully absorbs is a recipe for patchy, pilling makeup. I rushed my routine for years, wondering why my foundation never looked smooth. Turns out, patience really is a virtue in makeup application.
When moisturizer hasn’t fully absorbed, it mixes with your foundation, diluting the coverage and preventing it from properly adhering to your skin. The result is uneven application and makeup that slides around throughout the day.
Most moisturizers need 3-5 minutes to properly sink in. Use this time to do your eye makeup or brush your teeth. The wait is worth it for foundation that applies smoothly and lasts longer. If you’re truly pressed for time, gently press a clean tissue over your face to remove excess moisturizer before applying foundation. Your makeup will thank you!
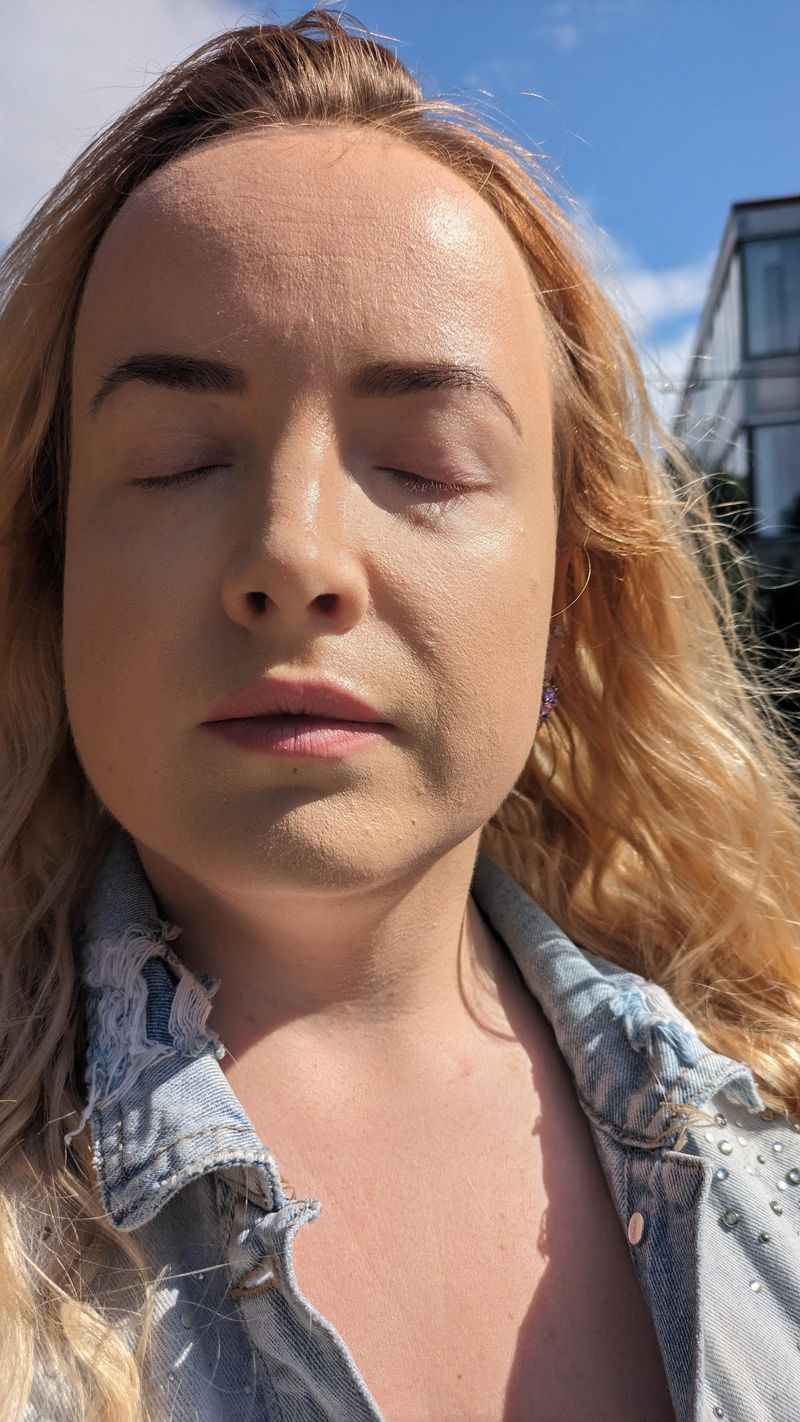
15. Baking Makeup on Mature Skin
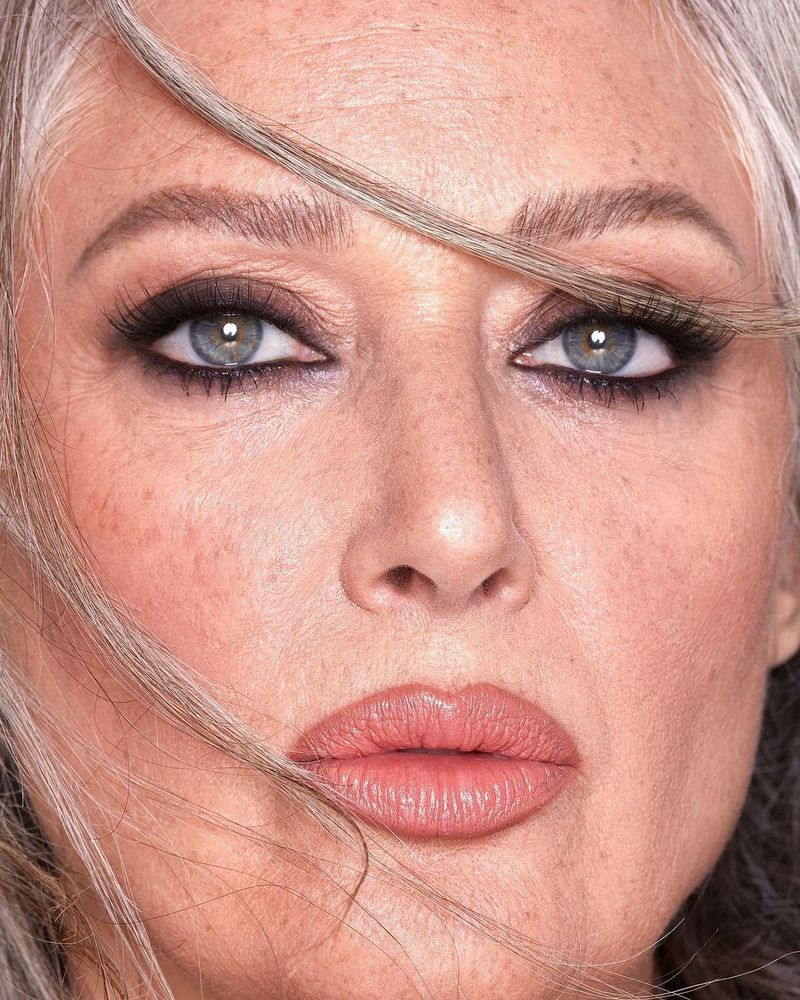
Heavy powder “baking” on mature skin is one trend that should stay in the YouTube tutorial world. This technique involves packing on layers of loose powder and letting it sit before brushing away the excess. While it might work for 20-somethings under studio lights, it’s brutal on anyone with fine lines.
The excess powder settles into every tiny crease, actually highlighting wrinkles instead of creating that smooth finish you’re after. I tried this at my cousin’s wedding and looked about 10 years older in photos!
Mature skin looks most youthful with minimal powder applied with a light hand. If you want that brightening effect under the eyes, try a luminous setting powder with a small fluffy brush, pressing gently rather than packing it on. Your skin’s natural texture will show through in the most flattering way possible.
16. Highlighter All Over the Face
Applying highlighter all over your face for that “dewy” look is a fast track to looking like a disco ball in person. I fell for this trend hard and couldn’t figure out why my makeup looked bizarre in daylight and horrifying in flash photography.
Strategic highlighting on the high points of your face (cheekbones, brow bone, cupid’s bow) creates dimension. But all-over application removes that dimension and just makes you look sweaty or oily, especially in real-life lighting conditions.
If you want an all-over glow, opt for a luminous foundation or mix a drop of liquid illuminator into your base product. This creates a subtle radiance without the sparkle overload. Save your actual highlighter for the spots where light naturally hits your face. Your photos will look much more flattering without those weird reflective patches everywhere!
17. Setting Spray Before Makeup Application
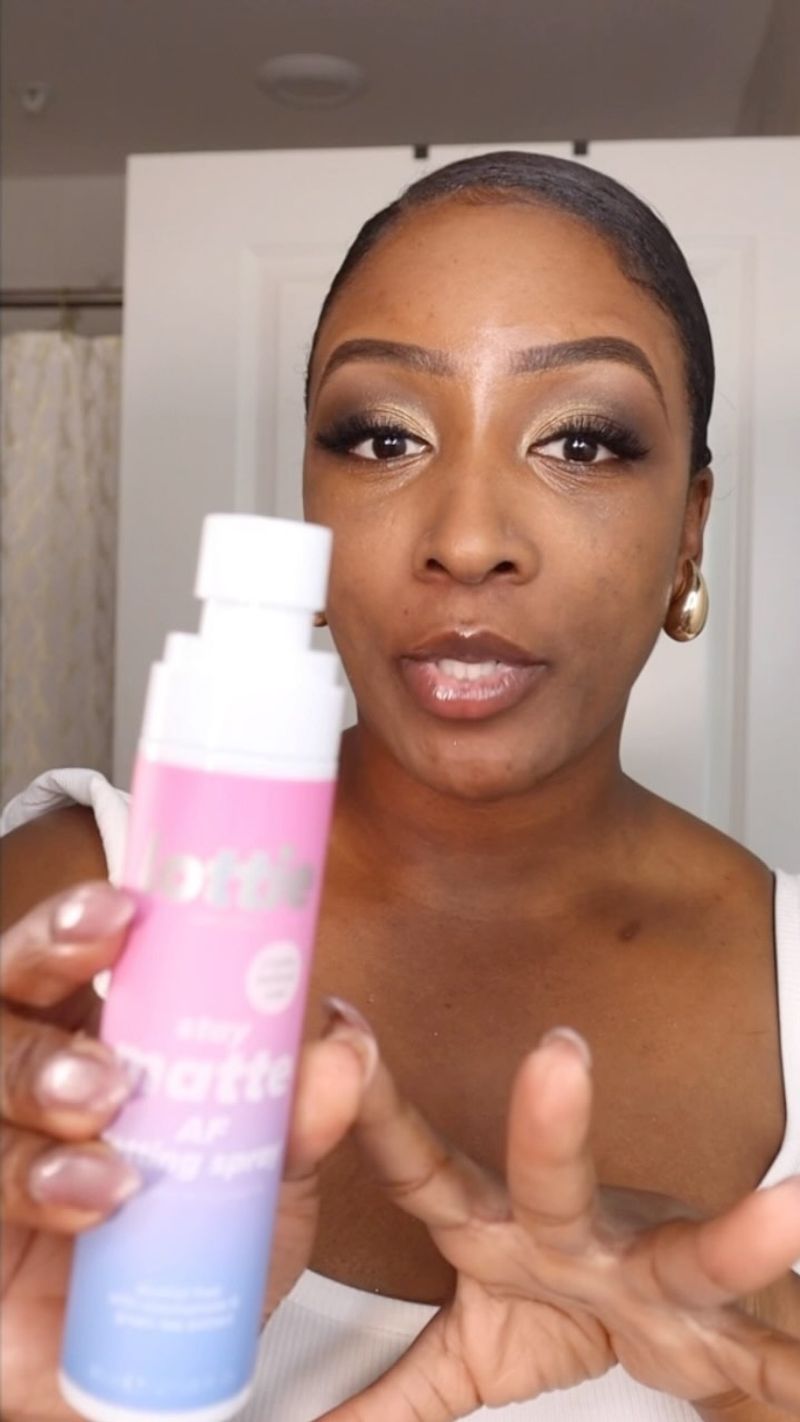
Using setting spray as a primer before applying makeup is a bizarre trend that makes little sense. Setting sprays are designed to lock makeup in place after application, not prepare the skin for products. I tried this hack after seeing it online and ended up with patchy foundation that never properly set.
Most setting sprays contain alcohol that can dry out your skin when used as the first step. They create a barrier that actually prevents foundation from blending properly. The result is often streaky, uneven coverage that looks worse as the day goes on.
For makeup that truly lasts, use an actual primer formulated for your skin type, then save the setting spray for its intended purpose – as the final step. Primers contain ingredients that help products adhere to skin, while setting sprays work by creating a protective film over completed makeup. Keep them in their proper order!
18. Mascara as Eyeliner Substitute
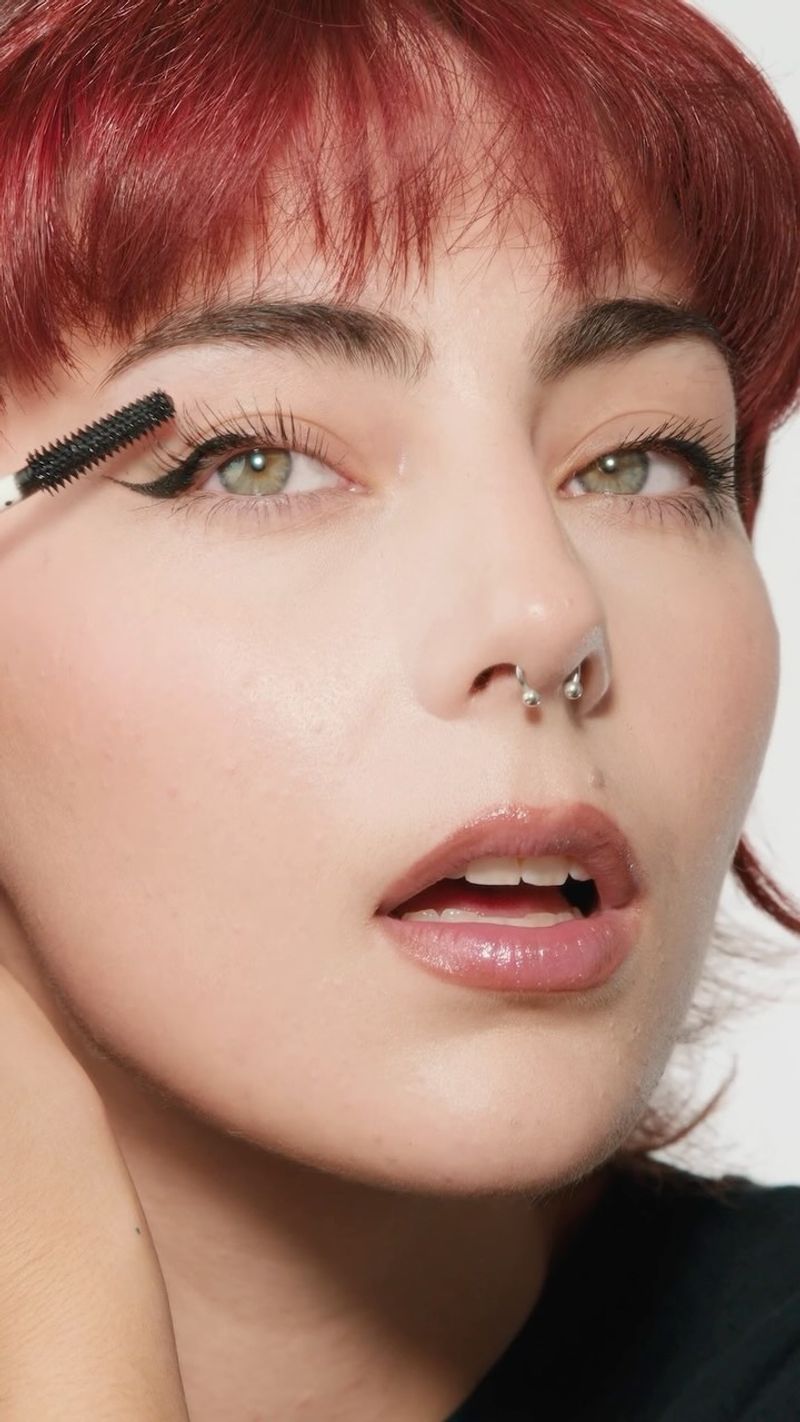
Using mascara as eyeliner by applying it with a brush seems clever until you try it. I attempted this in a hotel room after forgetting my eyeliner and quickly discovered why it’s a terrible hack. Mascara formulas aren’t designed for this purpose!
The texture is too thick and clumpy for precise lines, and it smudges almost immediately. Even worse, mascara formulas contain fibers and thickening agents that can be incredibly irritating if they get into your eyes from the lash line.
Mascara also dries much faster than eyeliner, making it nearly impossible to create a smooth line before it sets. If you’re in a pinch, using a dark eyeshadow applied with a damp brush makes a much better emergency eyeliner. It’s safer, more precise, and won’t leave you with irritated, watery eyes all day.