
10 Makeup Techniques That Work Beautifully On Mature Skin
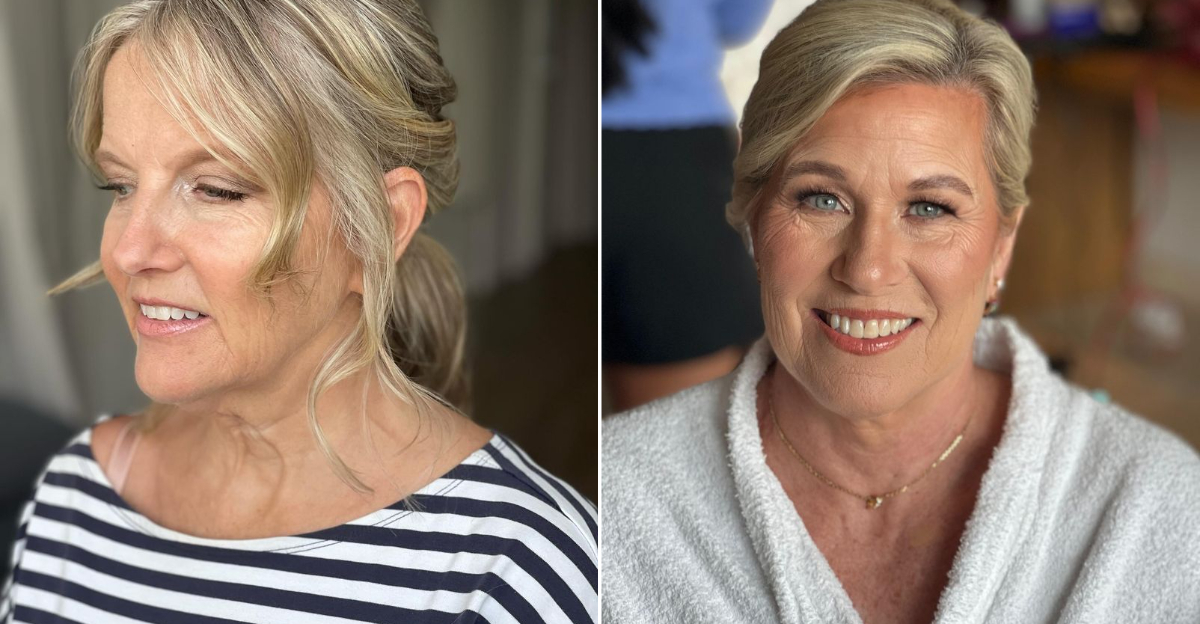
Makeup application changes as our skin matures, and what worked in our 20s might not give the same results now.
I’ve spent years testing different techniques on clients with mature skin, and I’ve discovered that the right approach can truly enhance natural beauty without settling into fine lines.
The secret isn’t piling on more product—it’s about strategic application and choosing formulas that complement skin that’s lived a little.
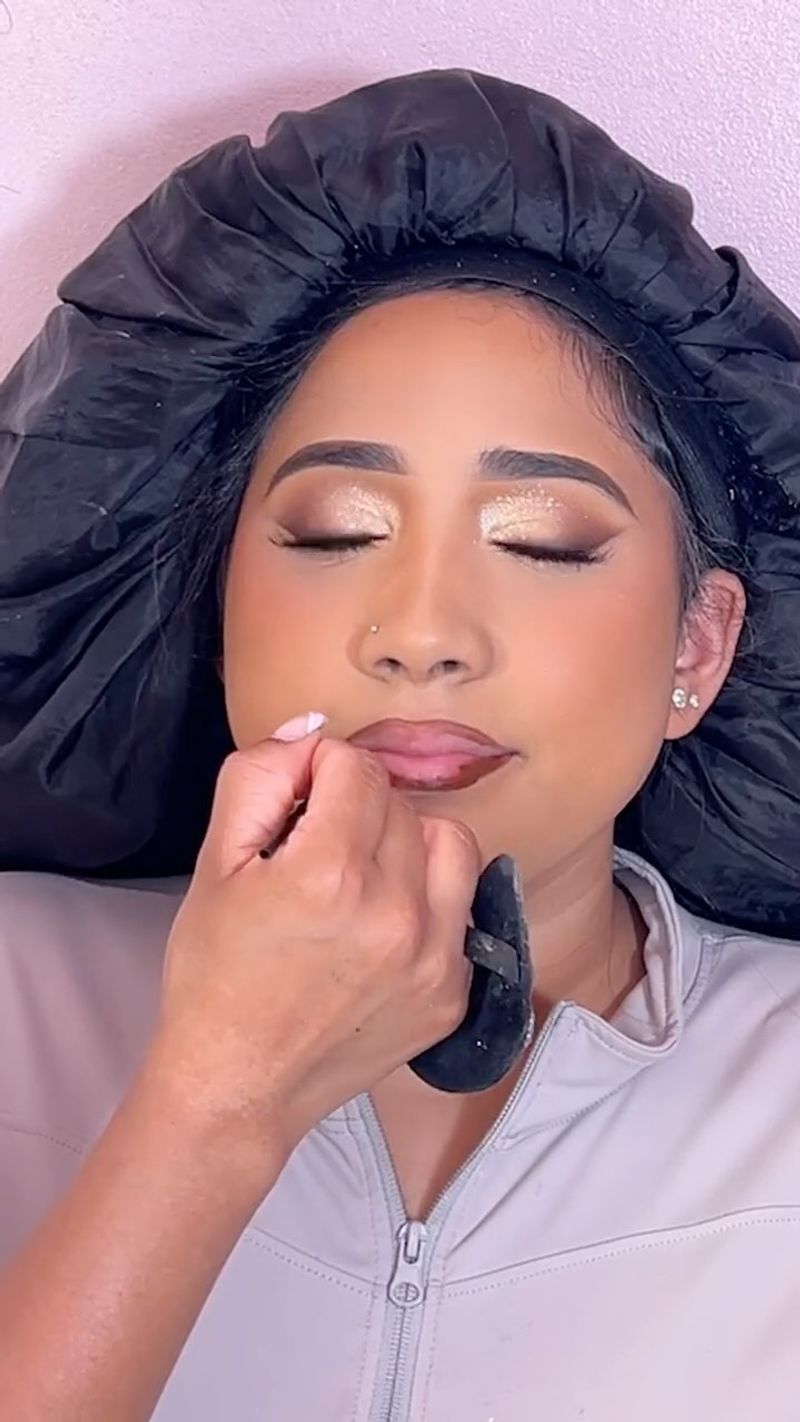
1. Prep With Hydrating Primer
Mature skin tends to be drier, making hydration the cornerstone of a flawless makeup application. I always start my clients with a moisture-rich primer that creates a smooth canvas while plumping up fine lines. The right primer doesn’t just help makeup last longer—it actually improves how foundation sits on the skin.
Look for ingredients like hyaluronic acid or glycerin that pull moisture into the skin rather than silicone-heavy formulas that can pill under foundation. Pat the primer gently into the skin rather than rubbing, focusing extra attention on areas where makeup typically settles or disappears first—around the nose, mouth, and under the eyes.
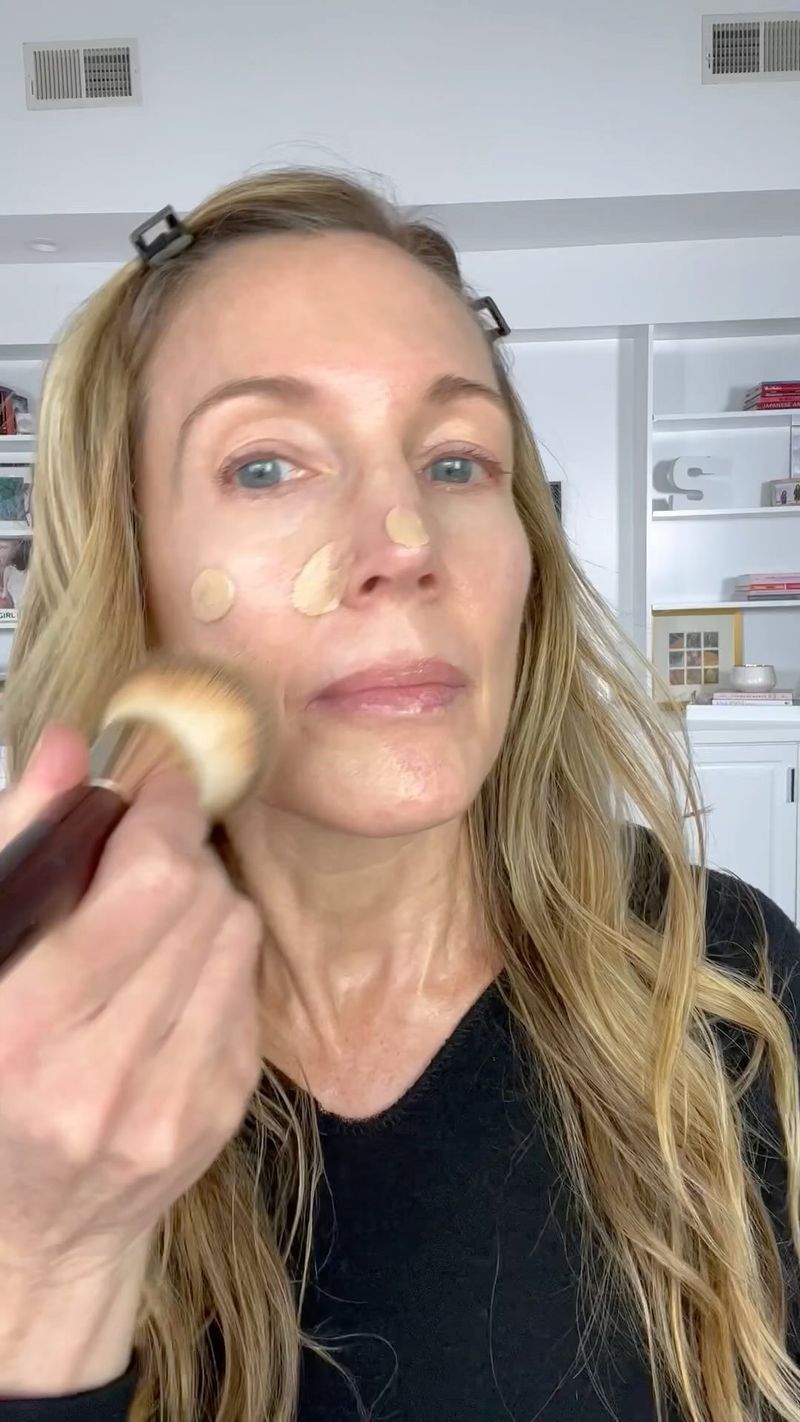
2. Sheer Foundation Application
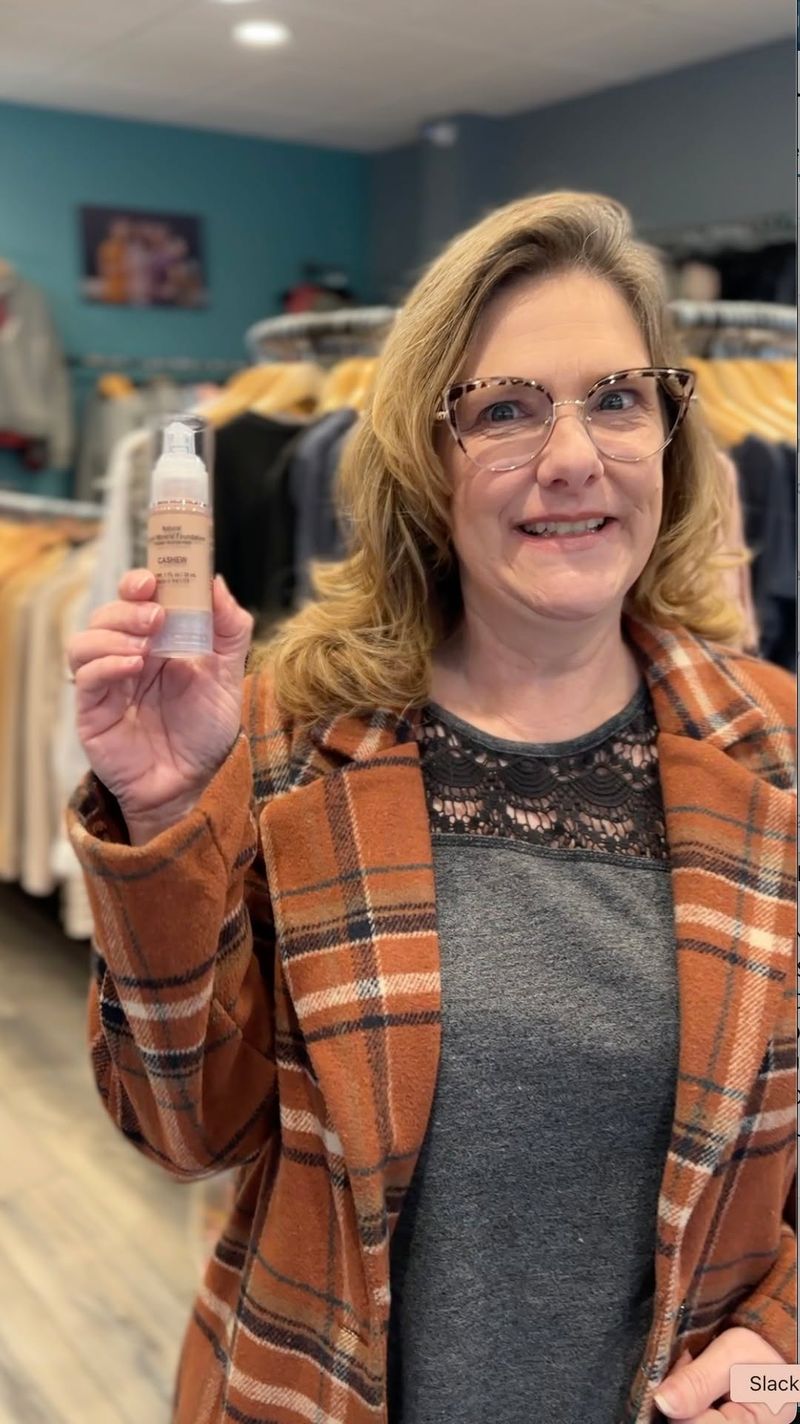
Heavy foundation is the fastest way to age the face. I’ve found that applying thin layers of a lightweight, luminous foundation gives mature skin a natural, youthful appearance without masking its character. Start with a small amount—about a dime-sized dollop—and warm it between your fingers before pressing it into the skin.
This technique helps the product melt into your complexion rather than sitting on top where it can emphasize texture. Focus coverage where you need it most, usually the center of the face, and blend outward with a damp makeup sponge. The sheerer application at the edges creates a seamless transition that looks like naturally beautiful skin.
3. Cream Blush For Youthful Glow
Powder blush can look flat and accentuate dryness on mature skin. I switched all my older clients to cream formulas years ago and the difference is remarkable. Cream blush melts into the skin, creating that natural flush that immediately brightens the face. Apply with your ring finger (it uses the perfect amount of pressure) to the apples of your cheeks when smiling, then blend upward toward your temples.
The placement is crucial—slightly higher than where you might have worn blush in your younger years. For the most natural look, choose soft pinks, peaches, or berry tones that mimic the color your cheeks turn when naturally flushed. These shades bring life back to the face without looking obvious or made-up.
4. Soft-Focus Concealer Technique
Forget the heavy concealer triangles you see on social media—they’re aging on mature skin. My approach uses thin layers of a hydrating concealer, patted gently where needed rather than swiped across large areas. Choose a shade that matches your skin tone exactly for discoloration, or go just one shade lighter for under-eyes.
The formula matters tremendously—look for ones with light-reflecting properties but without glitter or obvious shimmer. The magic happens in the application: use your ring finger to warm the product, then press (don’t rub) it into areas of concern. This technique builds coverage while maintaining a natural finish that never cakes or settles into fine lines throughout the day.
5. Eyebrow Definition Without Heaviness
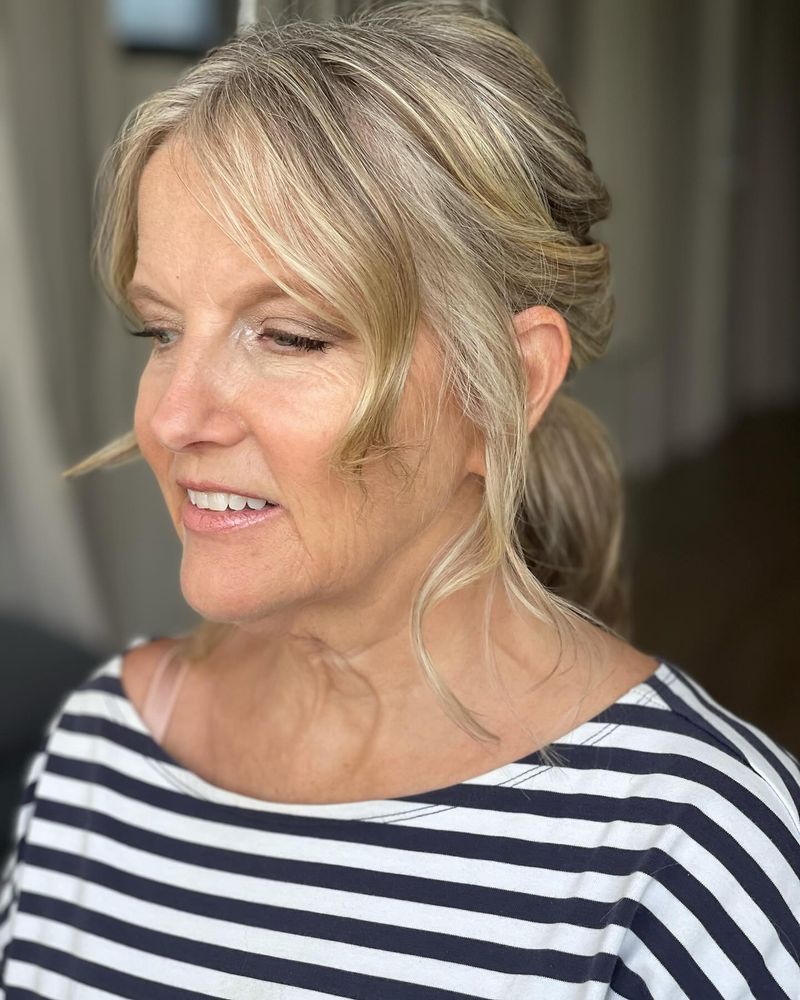
Brows frame the face, but harsh, Instagram-style brows can look severe on mature women. My approach focuses on defining the natural shape while creating softness that lifts the entire face. Fill sparse areas with feathery strokes using a pencil slightly lighter than your natural brow color. The lighter shade prevents that harsh, drawn-on look that can age the face instantly.
After penciling, I always brush through with a spoolie to soften any hard lines, then set with a clear or tinted brow gel. For clients with very sparse brows, I teach them to create a soft powder effect by using a small angled brush dipped in brow powder, applied with a light hand to mimic natural hair patterns.
6. Tightlining For Defined Eyes

Heavy eyeliner can drag down mature eyes and look dated. I’ve converted countless clients to tightlining—a technique that defines eyes without the obvious line of traditional liner. Using a waterproof pencil or gel liner, I carefully apply color between the lashes at the upper lash line rather than above them.
This creates the illusion of thicker lashes and a more defined eye shape without a visible line that can smudge into creases. For extra staying power on clients with watery eyes, I set the liner with a matching eyeshadow pressed into the lash line with a small, flat brush. The result is subtle definition that lasts all day without the aging effect of a harsh line.
7. Strategic Eyeshadow Placement

Forget the complex eyeshadow looks with harsh cut creases. For my mature clients, I focus on strategic placement that lifts and defines the eye area naturally. Apply a neutral matte shadow slightly above the natural crease while your eyes are open.
This creates the illusion of a lifted lid, especially helpful when dealing with hooded eyes that have developed with age. Keep shimmer minimal and strategic—a touch of satin finish (not glitter) on the center of the lid adds dimension without emphasizing texture. The outer corner gets the deepest color, blended in a soft wing shape pointing toward the temple, which creates an instant eye lift without looking like obvious makeup.
8. Lash Enhancement Without Clumps
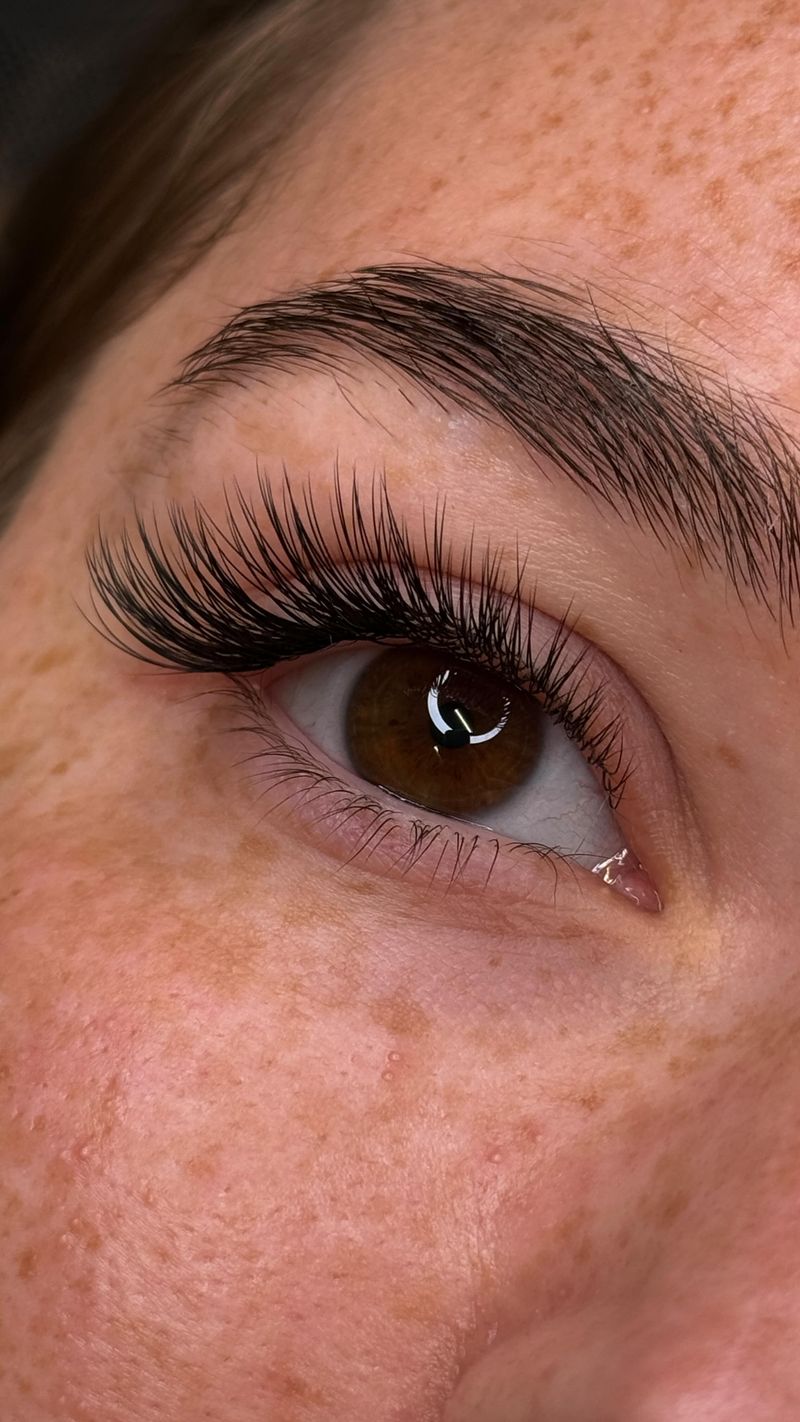
Full, fluttery lashes instantly brighten the eye area, but traditional mascara application can look spidery on thinning mature lashes. My technique starts with curling—a step many women skip but shouldn’t. After curling, wiggle a lengthening mascara (not volumizing) at the roots of your lashes, then pull through to the tips with a clean spoolie to remove excess product.
This prevents the heaviness that can make eyes look droopy. For clients with very sparse lashes, individual false lash clusters applied just to the outer corners create a natural opening effect. Choose brown rather than black for the most natural enhancement, especially for those with lighter coloring or those who’ve experienced lash thinning with age.
9. Lip Line Restoration
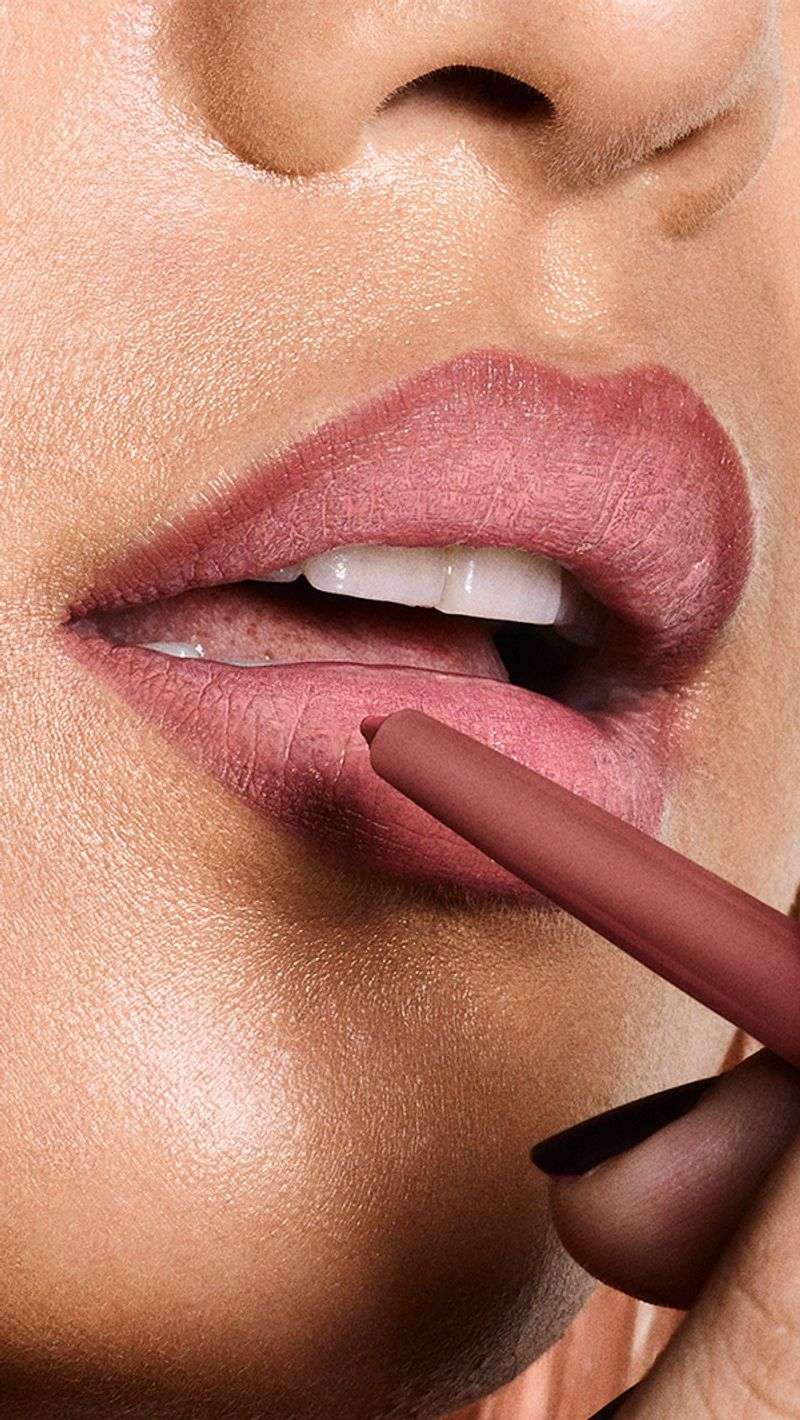
As we age, our lip line often loses definition, causing lipstick to feather and making lips appear thinner. My favorite technique uses a neutral lip liner that matches your natural lip color—not darker—to recreate that crisp edge without looking obvious. Draw slightly outside your natural lip line, focusing on the cupid’s bow and center of the lower lip to create fullness where it looks most natural.
The key is to blend the liner inward with a small brush so there’s no harsh line if your lipstick wears off. Follow with a moisturizing lipstick or tinted balm in a cream finish—not matte, which can look aging, or high-gloss, which tends to bleed. For clients concerned about feathering, I recommend a clear anti-feathering lip pencil applied to the skin around the mouth before liner.
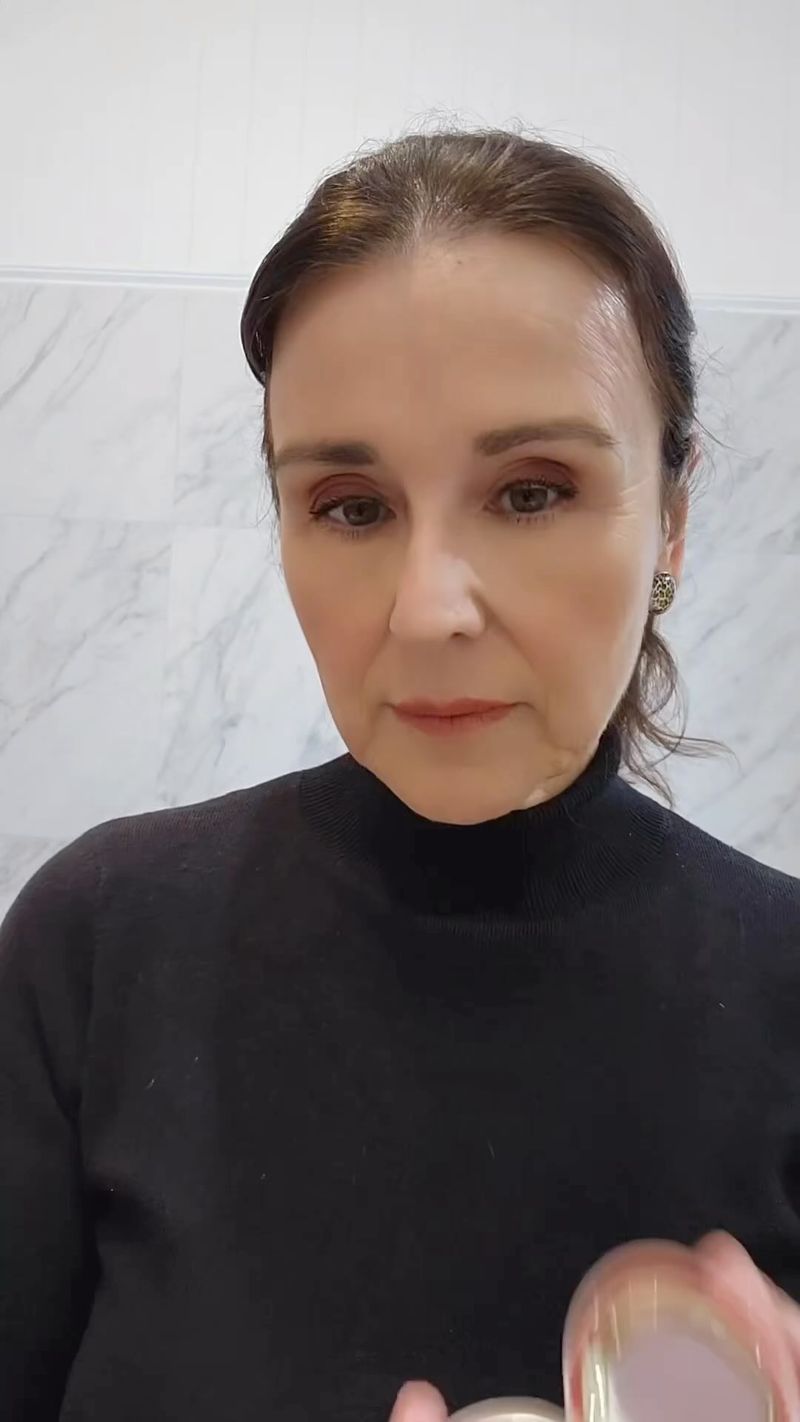
10. Luminous Setting Method
Heavy powder aging the face faster than almost anything else I see in my makeup chair. For mature skin, I’ve developed a setting technique that maintains radiance while controlling shine only where needed. Apply translucent setting powder with a small brush only to areas that get oily—typically the T-zone—while leaving the high points of the face powder-free.
This selective powdering maintains dimension and natural glow in all the right places. Finish with a spritz of setting spray that has hydrating properties, holding it about 8 inches from your face. This final step melds all the makeup layers together, removing any powdery look and giving the skin a natural, luminous finish that lasts without settling into fine lines.