
10 Common Mistakes People Make When Filling In Their Brows
I’ve spent years perfecting my brow game, and trust me, I’ve made every mistake in the book.
Perfect brows frame your face and can instantly elevate your look, but one wrong move can leave you looking surprised, angry, or just plain odd.
From my own trial and error (and many emergency makeup wipes), I’ve gathered the most common brow-filling blunders that might be sabotaging your makeup routine.
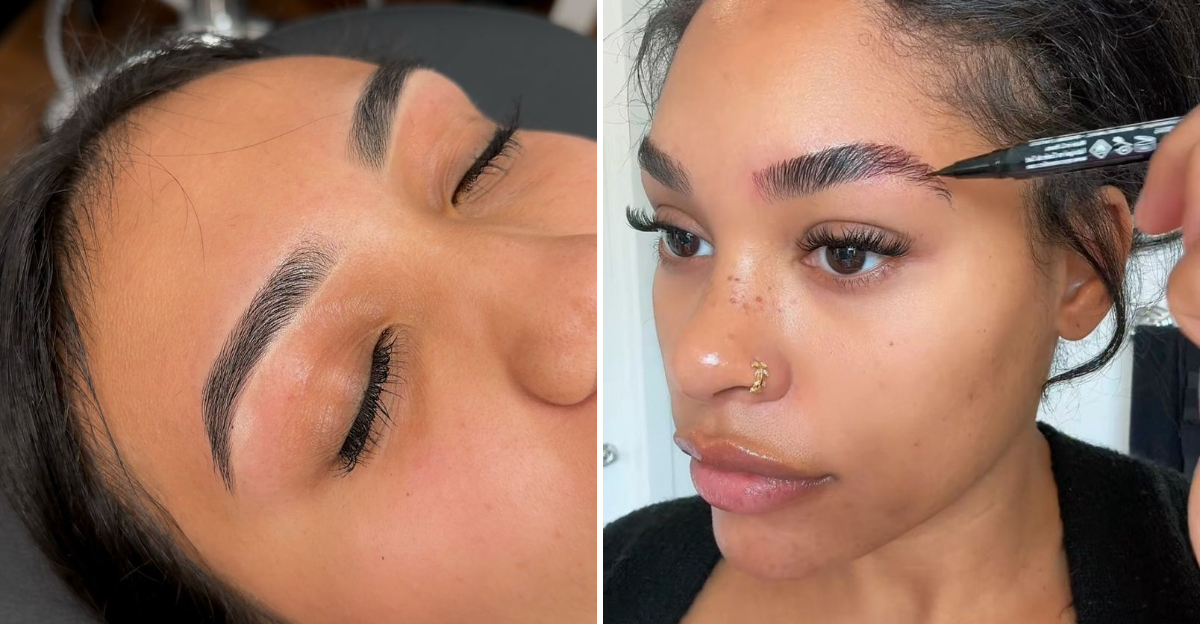
1. Going Too Dark With Your Shade
The color mismatch struggle is real! I once walked around with brows so dark they looked like they were drawn with a Sharpie. Yikes. Remember that your eyebrow color should complement your hair, not steal the spotlight.
For blondes and redheads, go one shade darker than your hair. Brunettes, stick to the same shade or slightly lighter. Black-haired beauties, reach for dark brown instead of pure black – it looks more natural.
When testing colors, try them in natural light. Store lighting can be deceiving and leave you with brows that look great in the bathroom but scary everywhere else.
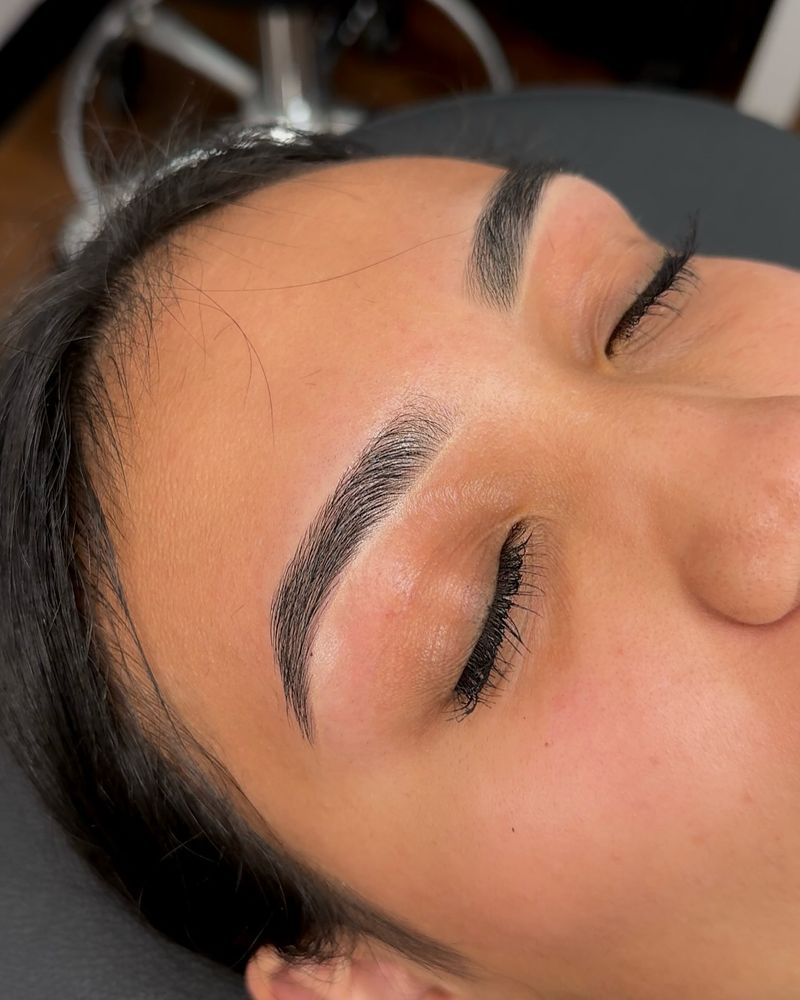
2. Square Inner Corners
Box-like inner corners scream “I filled in my brows!” Nothing gives away amateur brow work faster than those harsh, squared-off starts. I cringe looking back at old photos where my brows started with sharp 90-degree angles.
The natural brow has a soft, feathered beginning. Use light, hair-like strokes at the inner corners, pressing more gently with your pencil or brush. Think of it as a gradient – the inner part should be the lightest, gradually becoming more defined.
If you’ve already drawn them too boxy, grab a spoolie brush and gently buff the inner corners to soften them up.
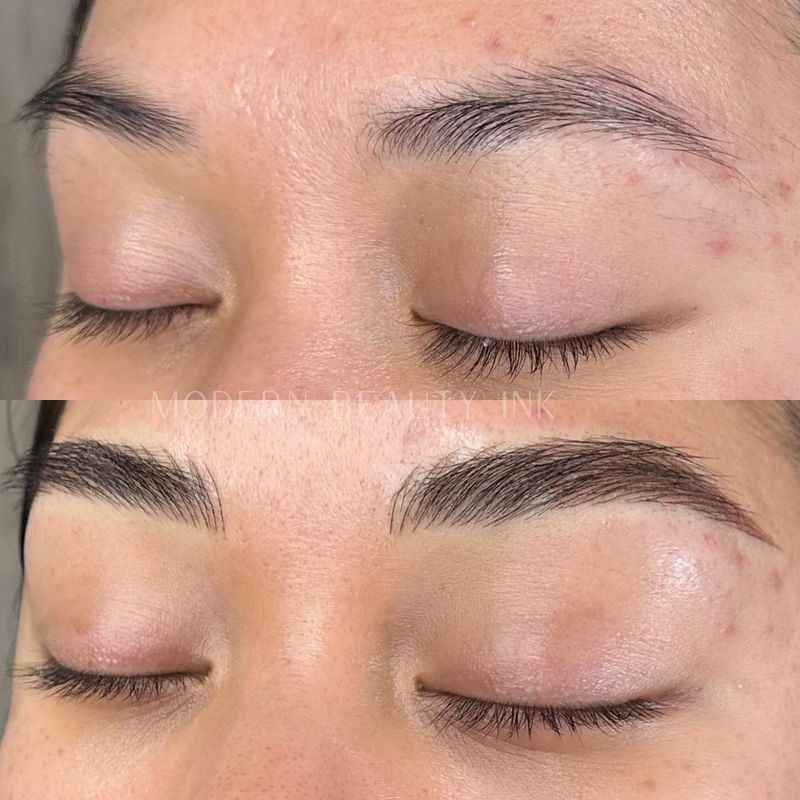
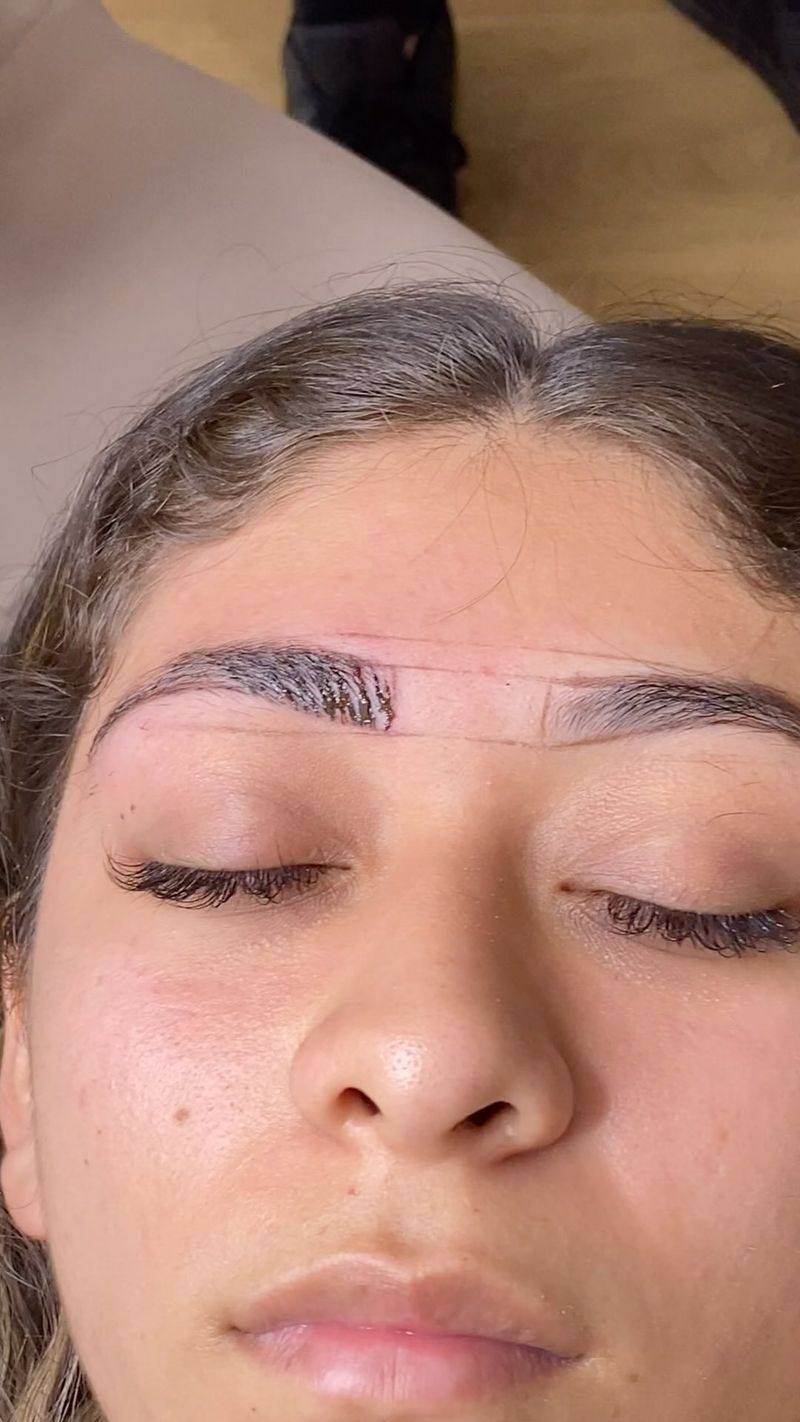
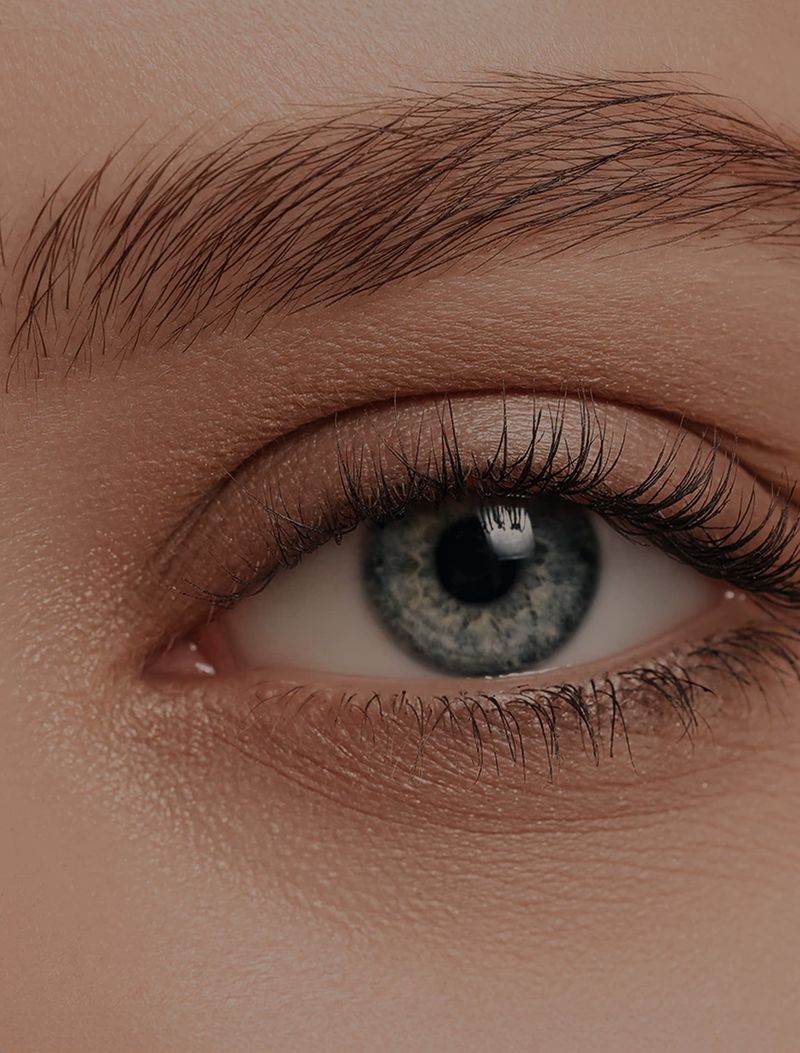
3. Ignoring Your Natural Shape

Fighting against what Mother Nature gave you rarely ends well. I spent years trying to force my naturally straight brows into perfect arches because that’s what magazines told me looked good. The result? Perpetually surprised-looking eyebrows that didn’t match my face.
Your natural brow shape complements your unique facial structure. Work with it, not against it. Enhance what you have instead of completely redrawing.
Try this trick: Before filling in, use a pencil to mark your three key points – the start (aligned with inner corner of your eye), arch (aligned with outer edge of your iris), and tail (aligned diagonally from nostril past outer eye corner).
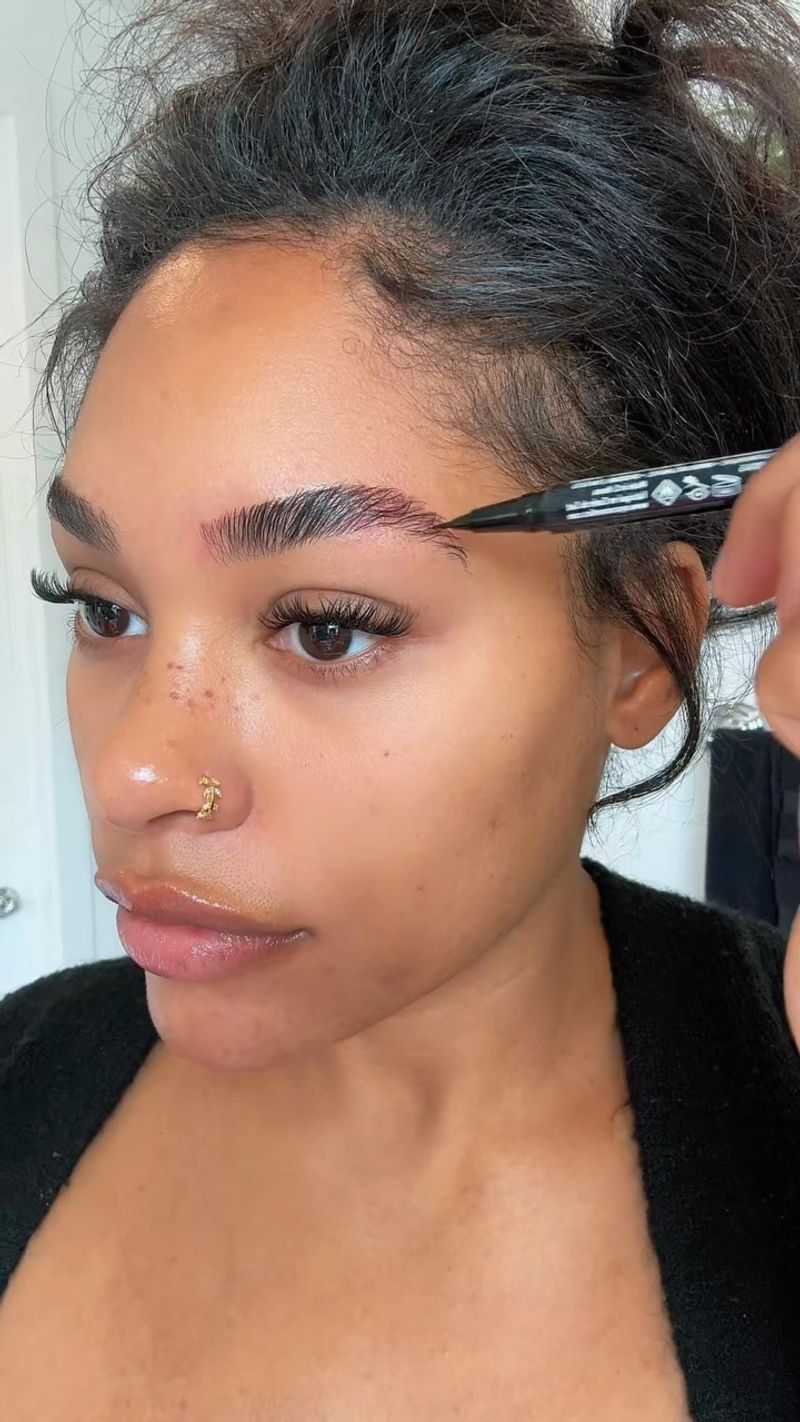
4. Product Overload
More isn’t always better! My rookie mistake was piling on product until my brows looked painted on. Heavy-handed application creates that dreaded “Instagram brow” effect – super defined but completely fake-looking.
Start with minimal product and build gradually. Tap excess off your brush before applying. Remember: you can always add more, but it’s harder to take away.
For everyday looks, consider using a tinted brow gel alone. It adds color and holds hairs in place without the intensity of pomades or heavy pencils. On days when you need more definition, layer products thoughtfully – perhaps a light pencil followed by a touch of powder to set.
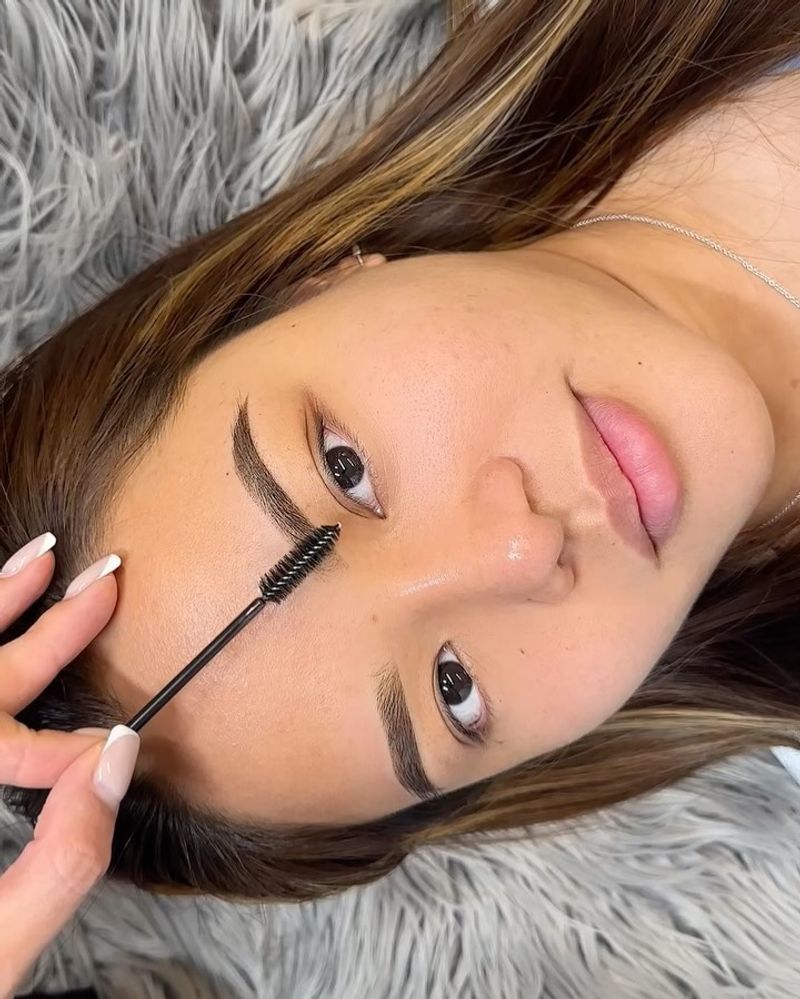
5. Skipping the Spoolie Step
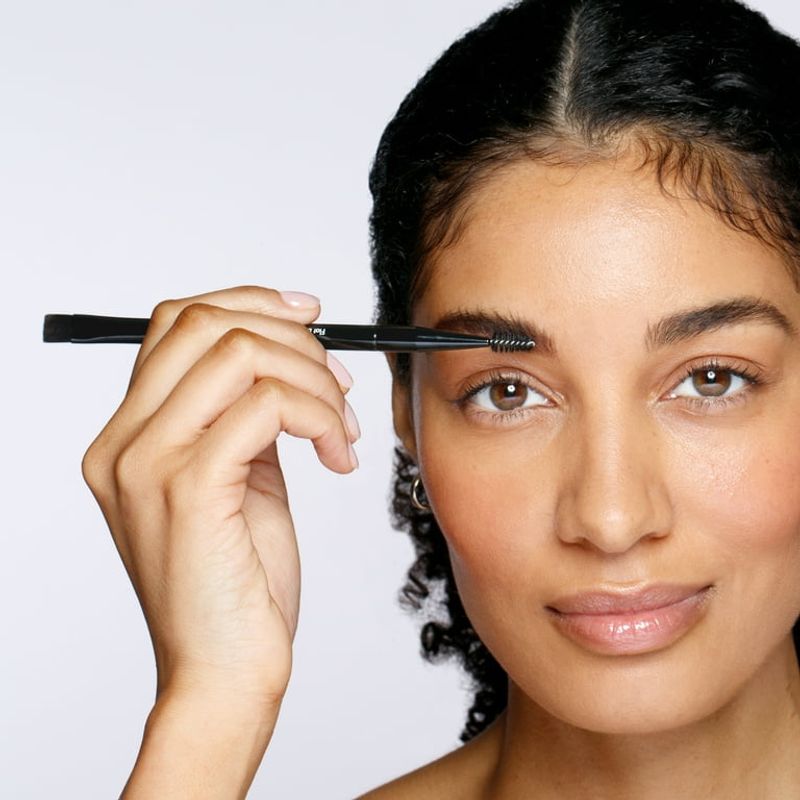
That little brush wand is your best friend, not an optional extra! I used to wonder why my brows looked so obviously filled-in until a makeup artist friend showed me the magic of blending. That tiny spoolie brush makes all the difference.
After applying product, brush through your brows in upward, outward motions. This distributes the color evenly, removes excess product, and softens harsh lines. The result? Brows that look naturally fuller rather than obviously drawn-on.
No spoolie? An old (clean!) mascara wand works in a pinch. Brush through while the product is still slightly workable, before it sets completely.
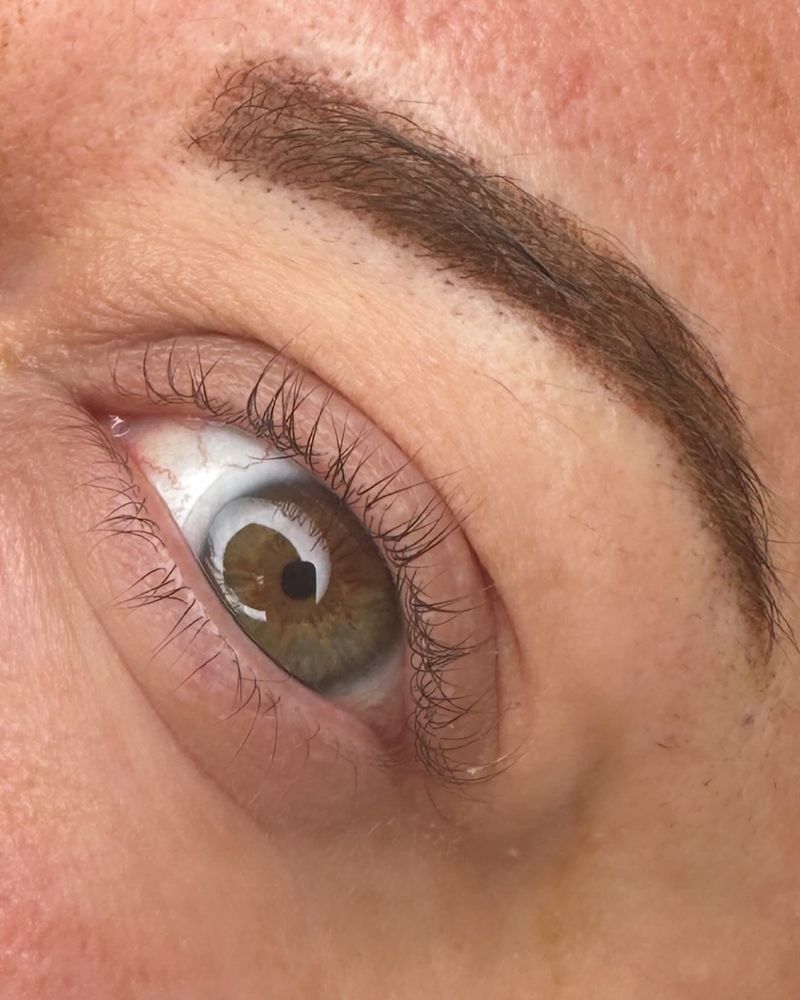
6. Droopy Tails
Downward-pointing tails can make your whole face look sad or tired. Been there! For years I extended my brows following their natural downward slope, not realizing I was dragging my whole expression down.
The tail of your brow should end at or slightly above the level of the start – never dipping below. This subtle lift creates a more youthful, alert appearance. Think of the tail as having a slight upward flick, similar to a perfect winged eyeliner.
If your natural brows droop, don’t follow them all the way down. Instead, end the tail slightly earlier and angle it slightly upward. This small adjustment makes a surprising difference in your overall expression.
7. Forgetting to Set Your Work
All that careful filling means nothing if your brows disappear by lunchtime! I learned this lesson during a summer wedding when my carefully crafted brows melted away faster than the ice sculpture. Setting your brows is non-negotiable.
A clear brow gel locks everything in place and prevents smudging, fading, or transferring. For extra insurance on hot days or special events, dust a tiny bit of translucent powder over filled brows before applying gel.
Waterproof formulas are worth the investment if you have oily skin, sweat a lot, or live in humid climates. Just remember that setting products work best when applied to thin layers of color rather than heavy applications.
8. Heavy-Handed Pressure
Pressing too hard creates those obvious, drawn-on lines that scream “fake brows!” My friends used to tease me about my “Sharpie brows” until I learned to lighten up. The death grip on your brow pencil has to go.
Hold your pencil or brush with a relaxed grip, further back from the tip. This naturally reduces pressure and gives you more control. The lightest touch creates the most natural-looking strokes, especially at the inner corners.
Try this trick: practice drawing imaginary brow hairs on the back of your hand first. If you can see individual strokes rather than a solid line, you’ve got the right pressure. Gradually build intensity where needed rather than going in heavy from the start.
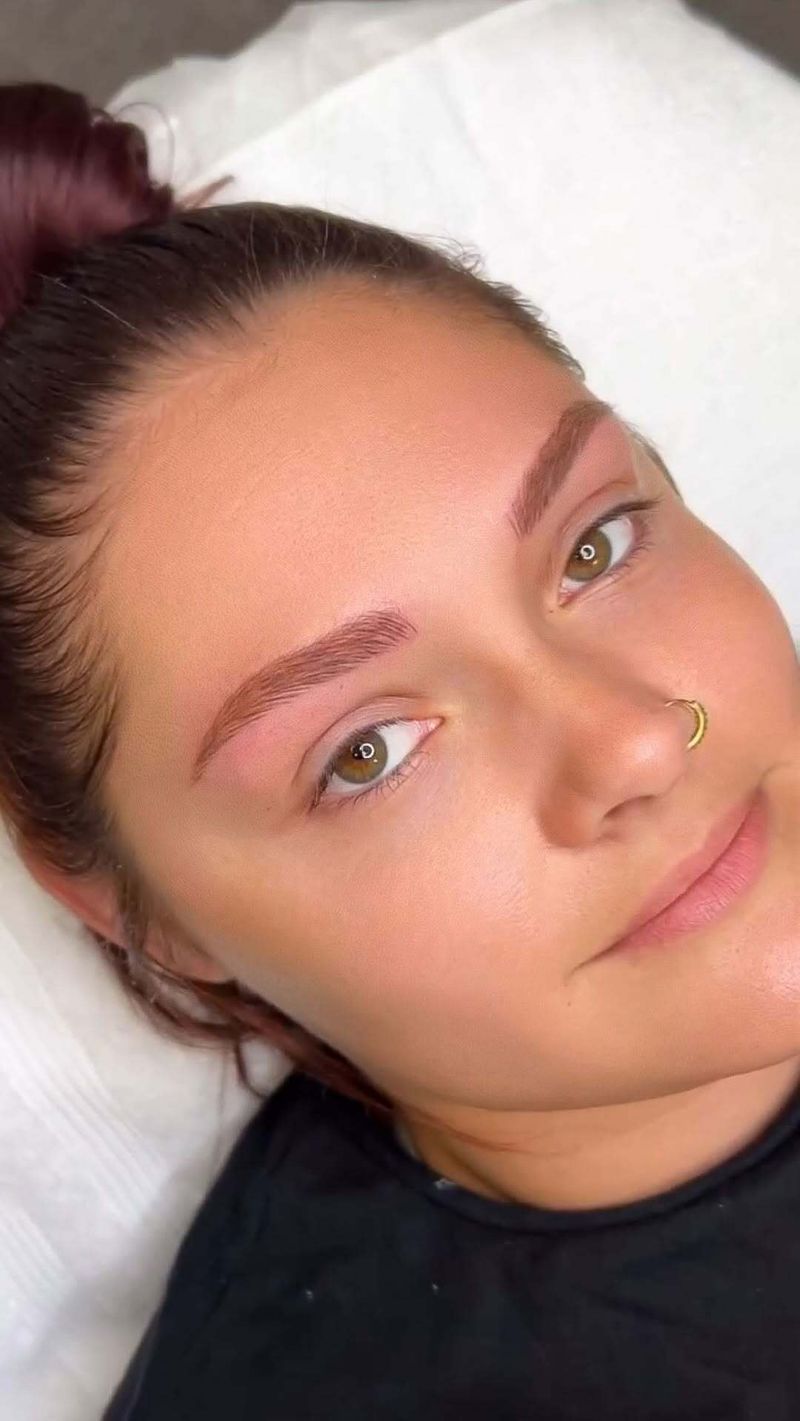
9. Matching Brows Exactly
Obsessing over making your brows identical twins nearly drove me crazy! The breakthrough came when a makeup artist told me: “Brows should be sisters, not twins.” That advice changed everything.
Natural brows have slight differences. Trying to make them perfectly symmetrical often results in overworking them until they look artificial. Focus on making them balanced in terms of thickness and general shape rather than exact duplicates.
Step back from the mirror occasionally to check the overall effect. We tend to notice tiny differences up close that no one else sees. If they look balanced from a normal conversational distance, you’re good to go. Remember, slight asymmetry looks more natural than obviously overdrawn, perfectly matching brows.
10. Neglecting the Brow Bone Highlight
The finishing touch that pulls everything together! For years I carefully filled my brows but missed this crucial final step. A subtle highlight under the arch makes brows appear more lifted and defined without adding more brow product.
Apply a matte or subtly shimmery highlight (nothing too glittery) just beneath the arch of your brow and blend well. This creates the illusion of a more lifted brow and brightens your entire eye area. For daytime, a matte cream or powder works best.
Be careful not to extend the highlight too far – focus mainly on the area beneath the arch and the brow bone. Avoid bringing highlight too close to the actual brow hairs or extending it toward the temples, which can look unnatural.